Serious Sam 3 Bfe Secrets Born Again Where Is the Final Key

Serious Sam iii: BFE
This item has been removed from the community because it violates Steam Community & Content Guidelines. It is only visible to yous. If you believe your item has been removed by mistake, delight contact Steam Back up.
This detail is incompatible with Serious Sam 3: BFE. Please meet the instructions page for reasons why this particular might not work within Serious Sam 3: BFE.
Current visibility: Subconscious
This item will only be visible to you, admins, and anyone marked as a creator.
Current visibility: Friends-only
This detail will only be visible in searches to you, your friends, and admins.

477 ratings

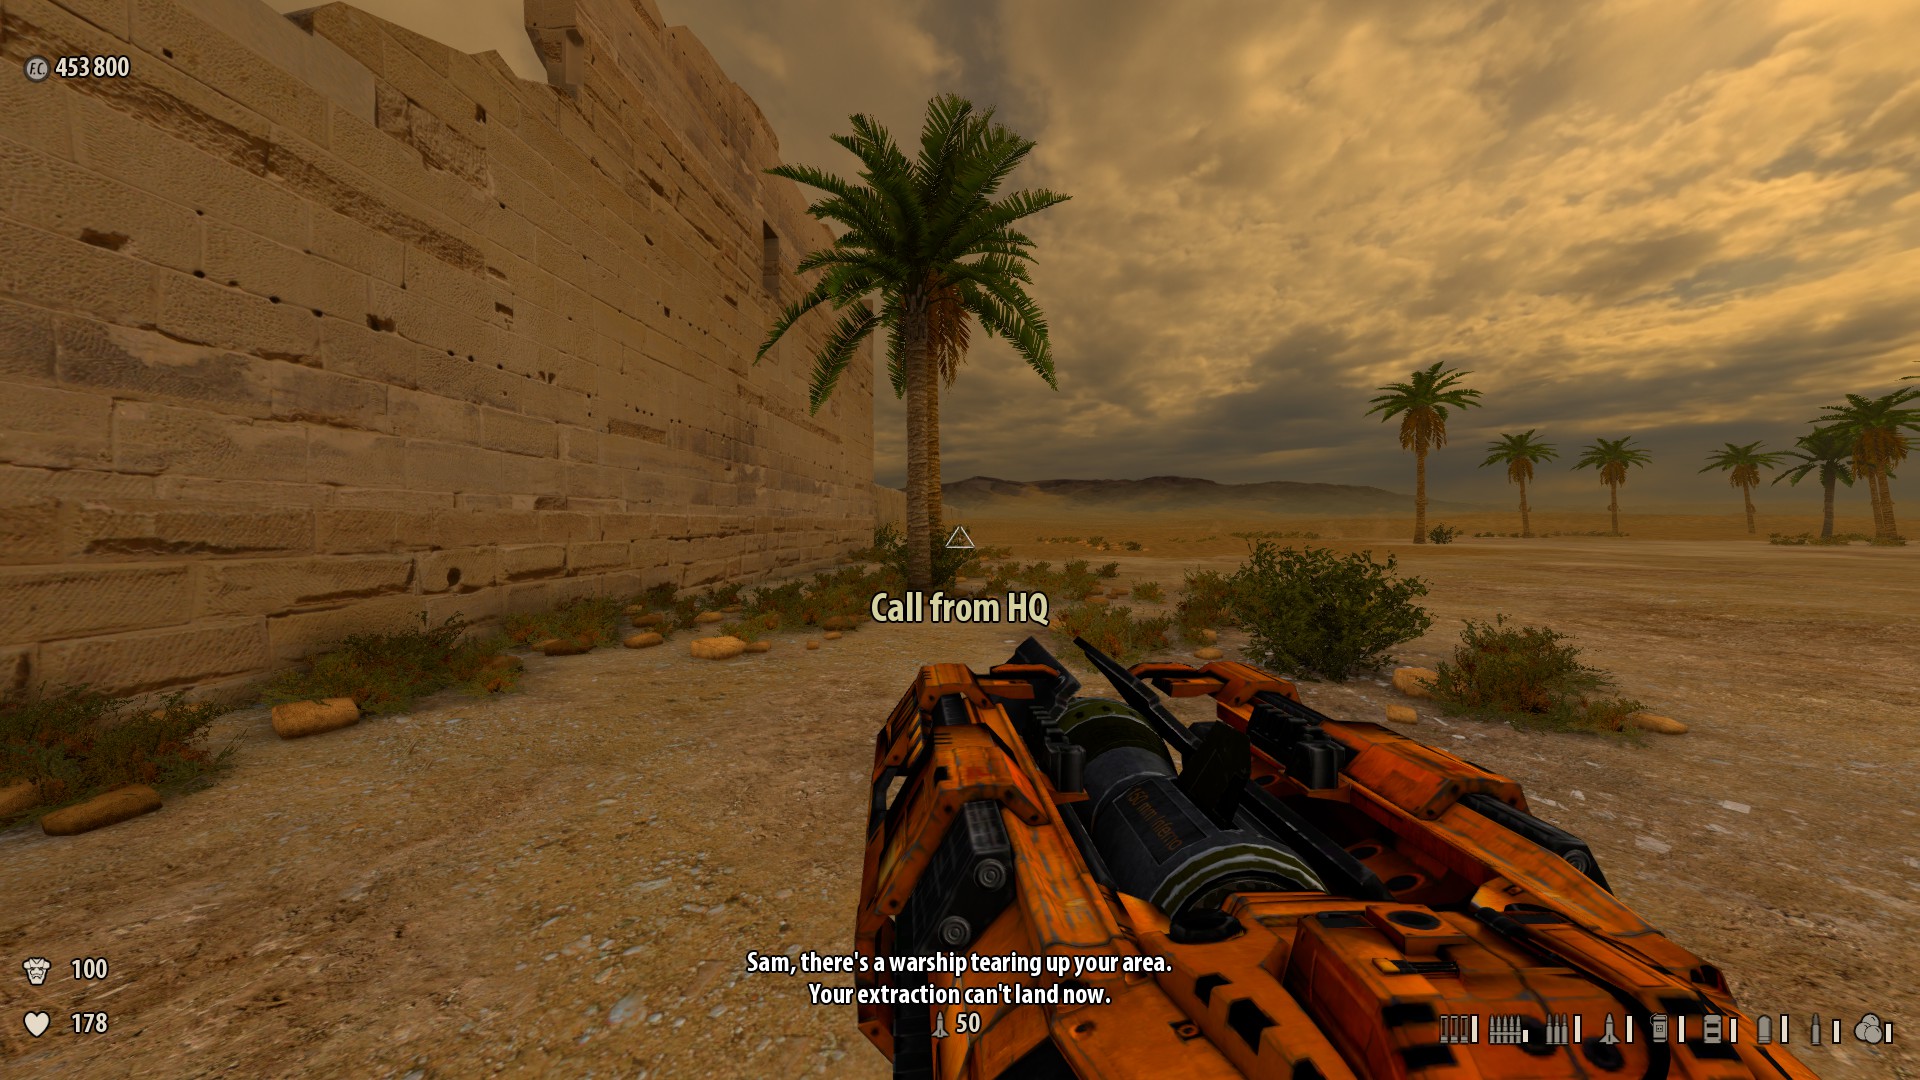
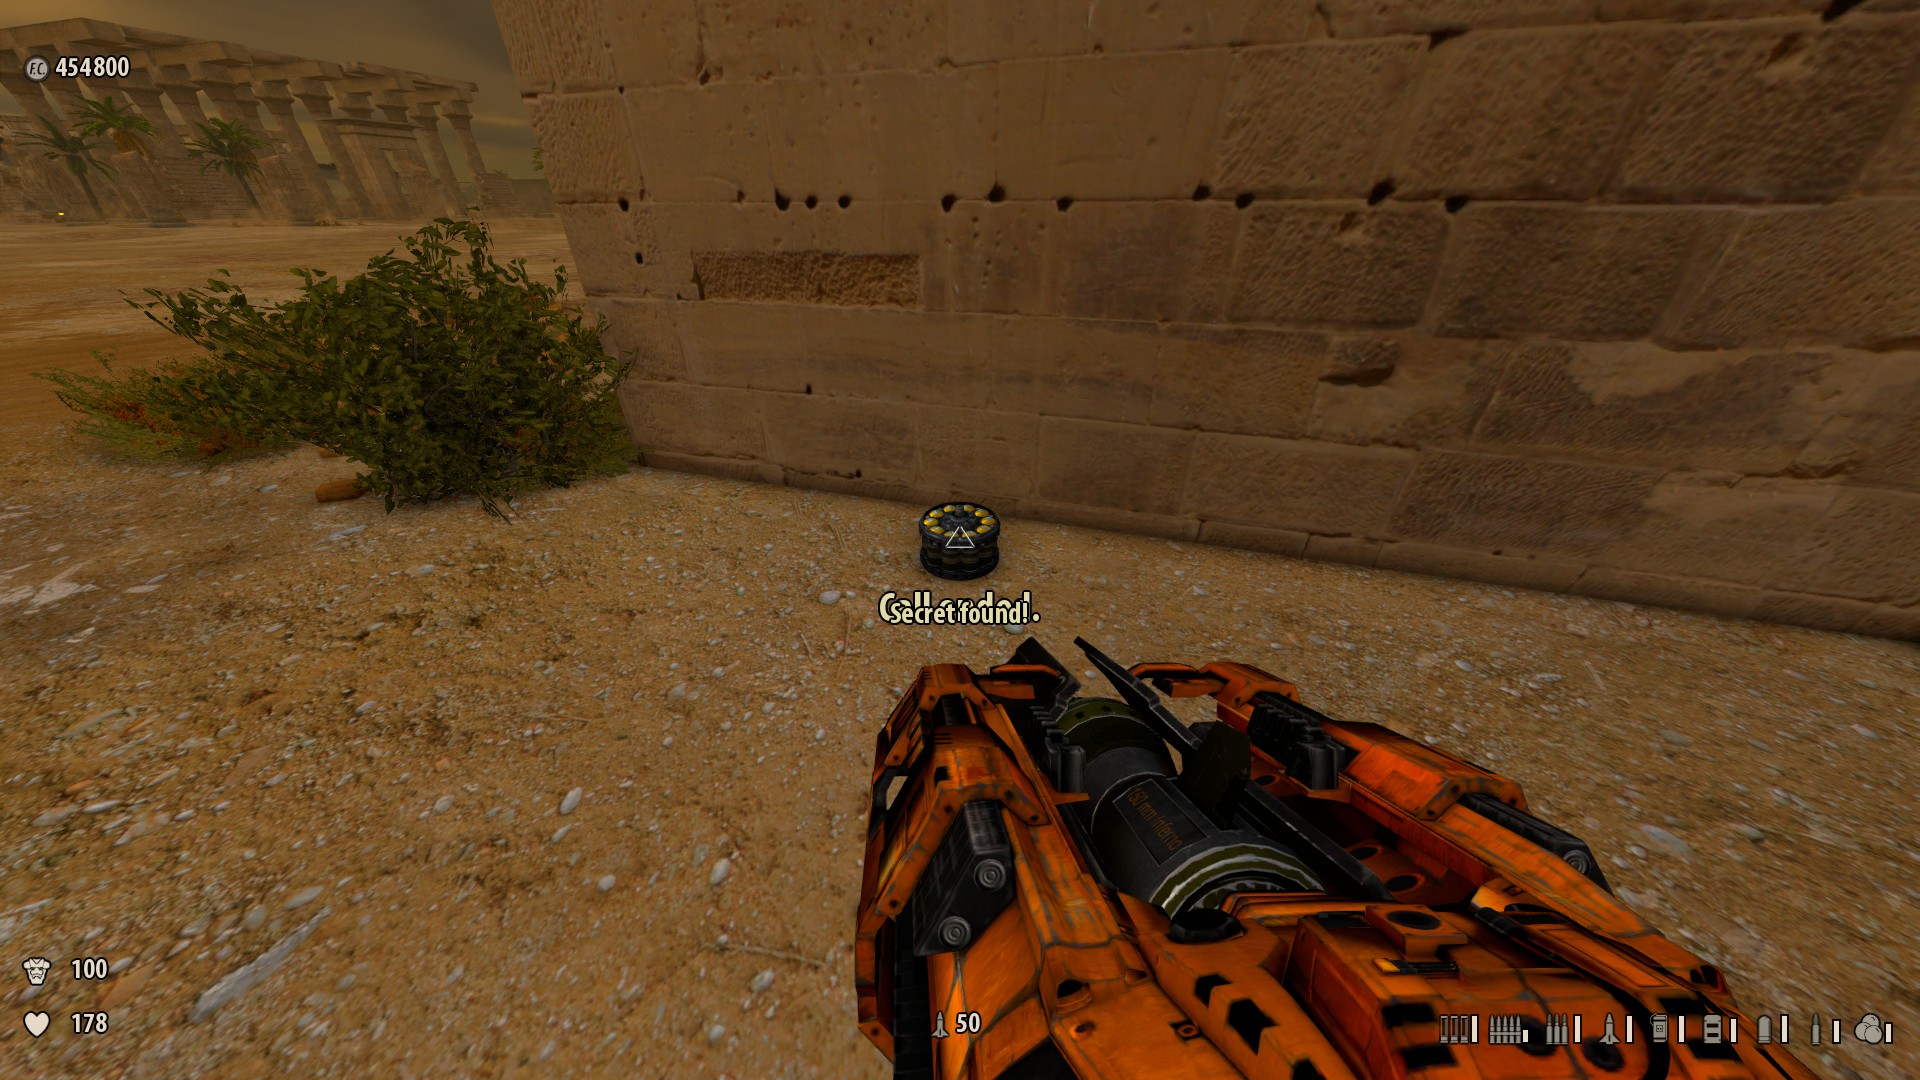
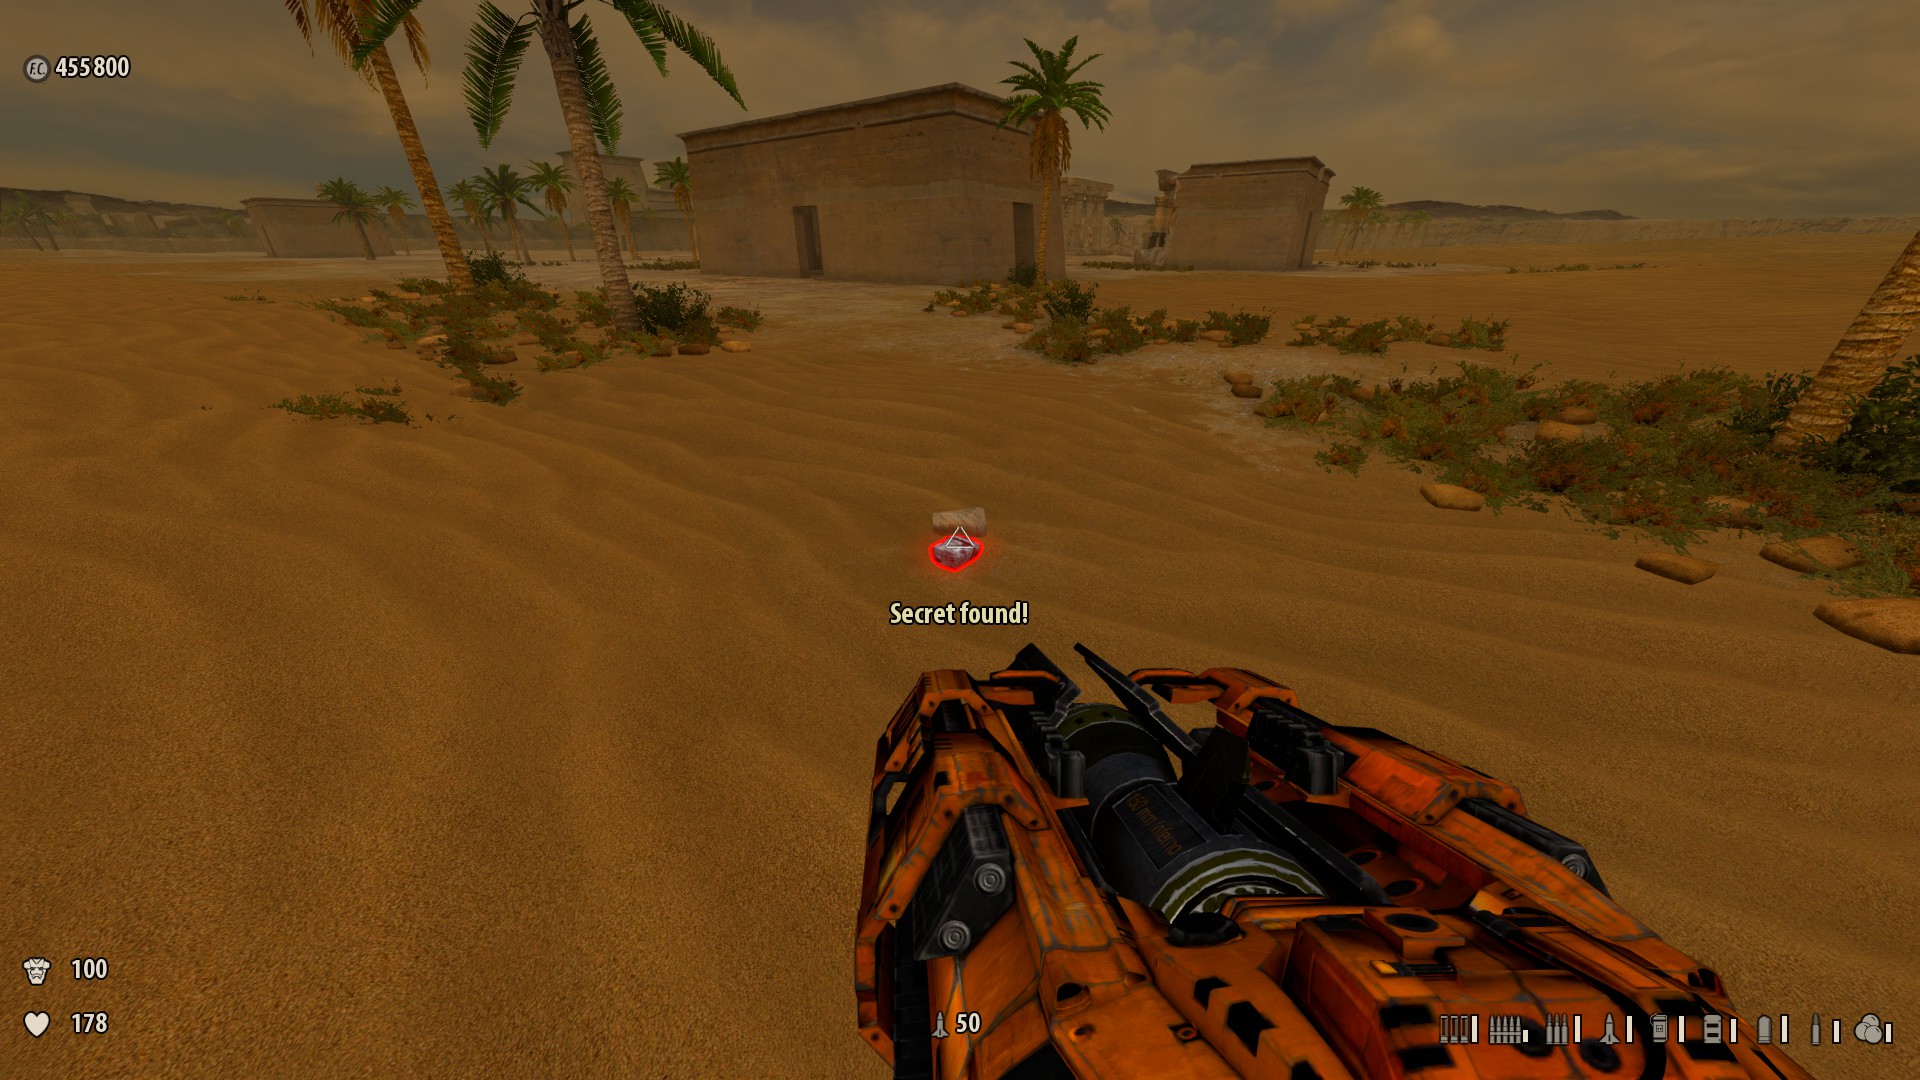
Revamped Secrets Guide for SS3:BFE
DISCLAIMER!: Though there is and has been another SS3 secrets guide for quite some time at present. I feel as if this ane hither is too disorganized and chaotic. A long time agone, I asked the creator of that guide to finalize on improvements: spacing, screenshots, JotN section, etc... no improvements take been made and now I am forcing myself to create another guide of the aforementioned type, but in my ain mode.
Alert: MAJOR SPOILER ALERT!
This is the consummate guide of Serious Sam 3: Before First Encounter. This guide will help explicate of what subconscious objects there are through out all 15 Entrada levels. The new screenshots will assistance give an easier explaination of what the secrets look similar and y'all can probably find the rendered location by yourself. Though each secret is not 100% legit, considering others tin find other routes and skilled tactics on how to get there faster. I only listed the secrets of what I found in lodge, so please, relish this drastically long compliation of every one of the 138 secrets and their screenshots! You can aid by posting comments at the bottom of this page, suggest that on how you might've gotten the secret, or what you think I should fix/add on to this. Thank you, and enjoy!
Please wait while all of the images render themselves, thanks.
If any if the images are besides small for you to see, click one one and it volition enlarge itself to fullscreen.
No cheats were used during gameplay and difficulty is Normal.
Credit to: Game FAQs[www.gamefaqs.com], Serious Sam Wiki[www.serioussam.wikia.com], and galleyuk for data. Me for the screenshots.
Remember to Like/Favorite if you found any of this guide helpful to you lot!
UPDATE: January ix, 2017
Added a whole sleugh of new guides to the (Other Secret Guides) section.
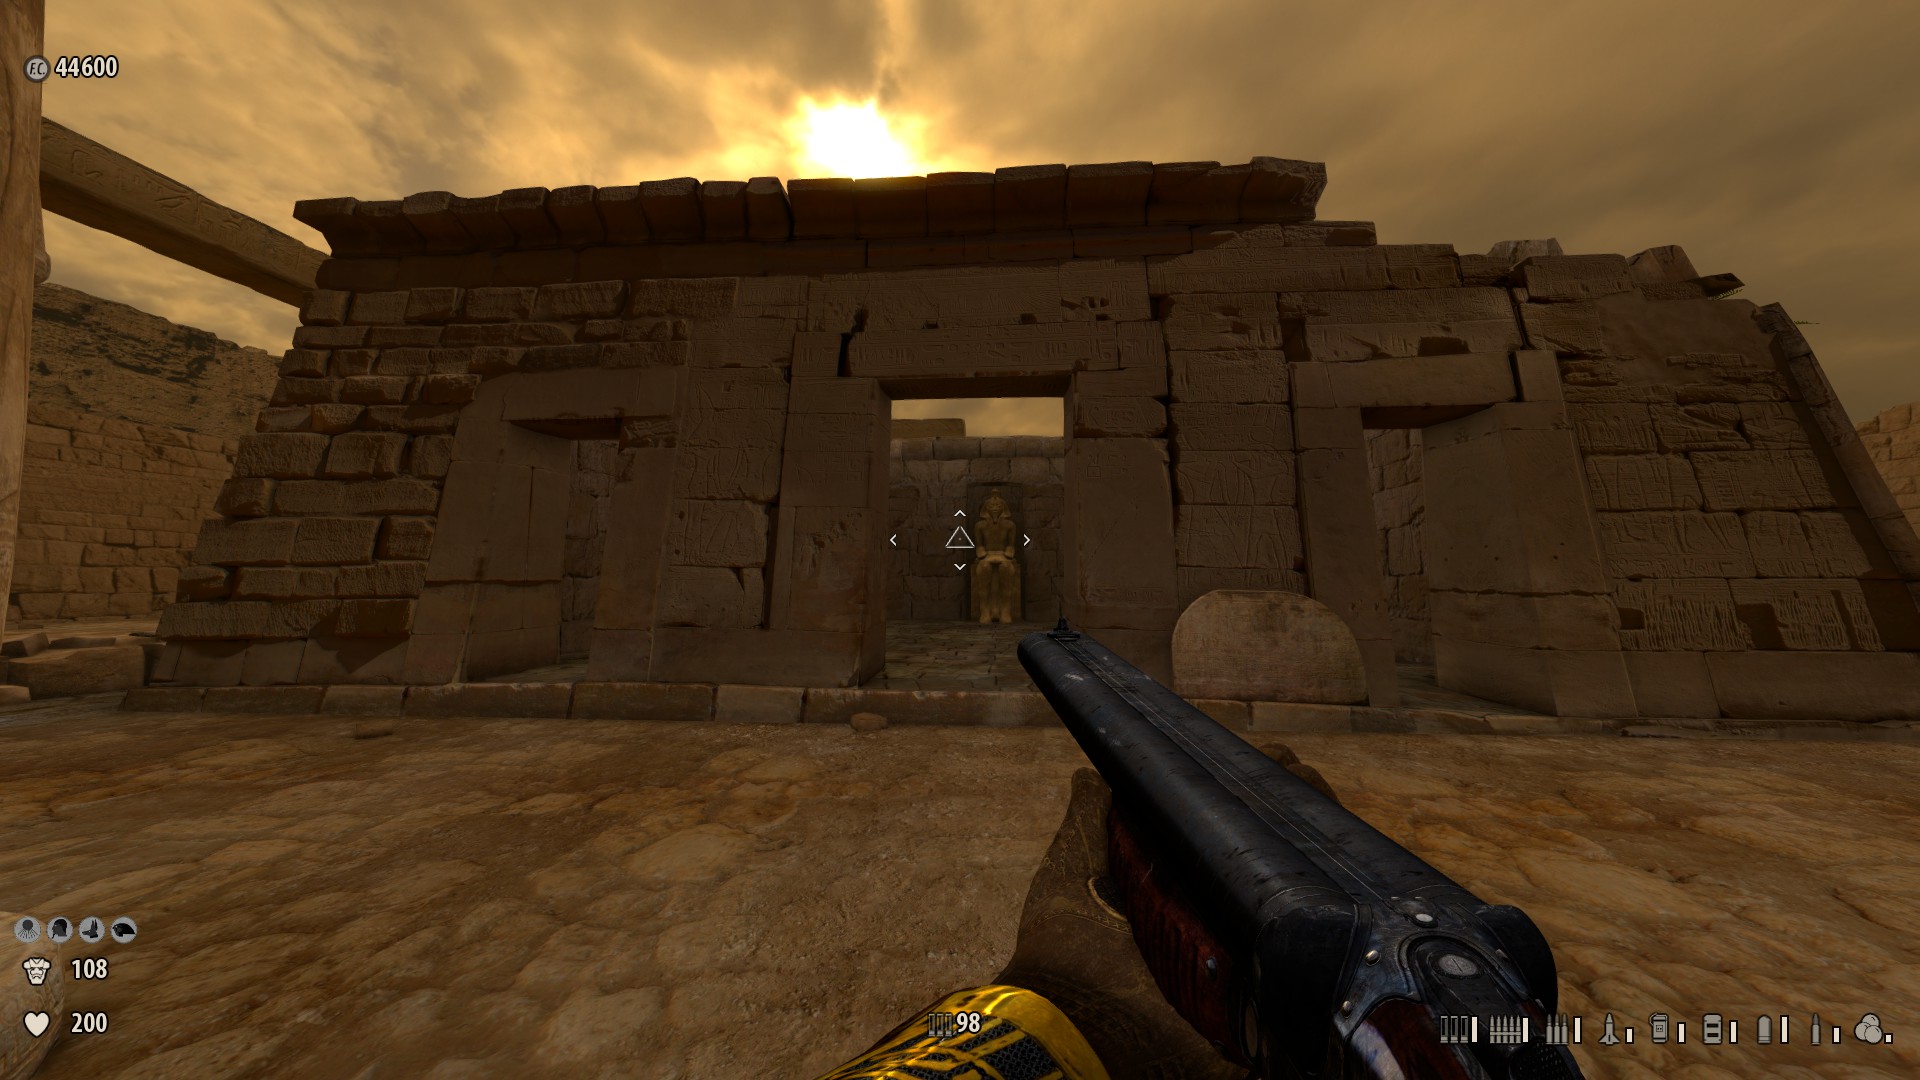
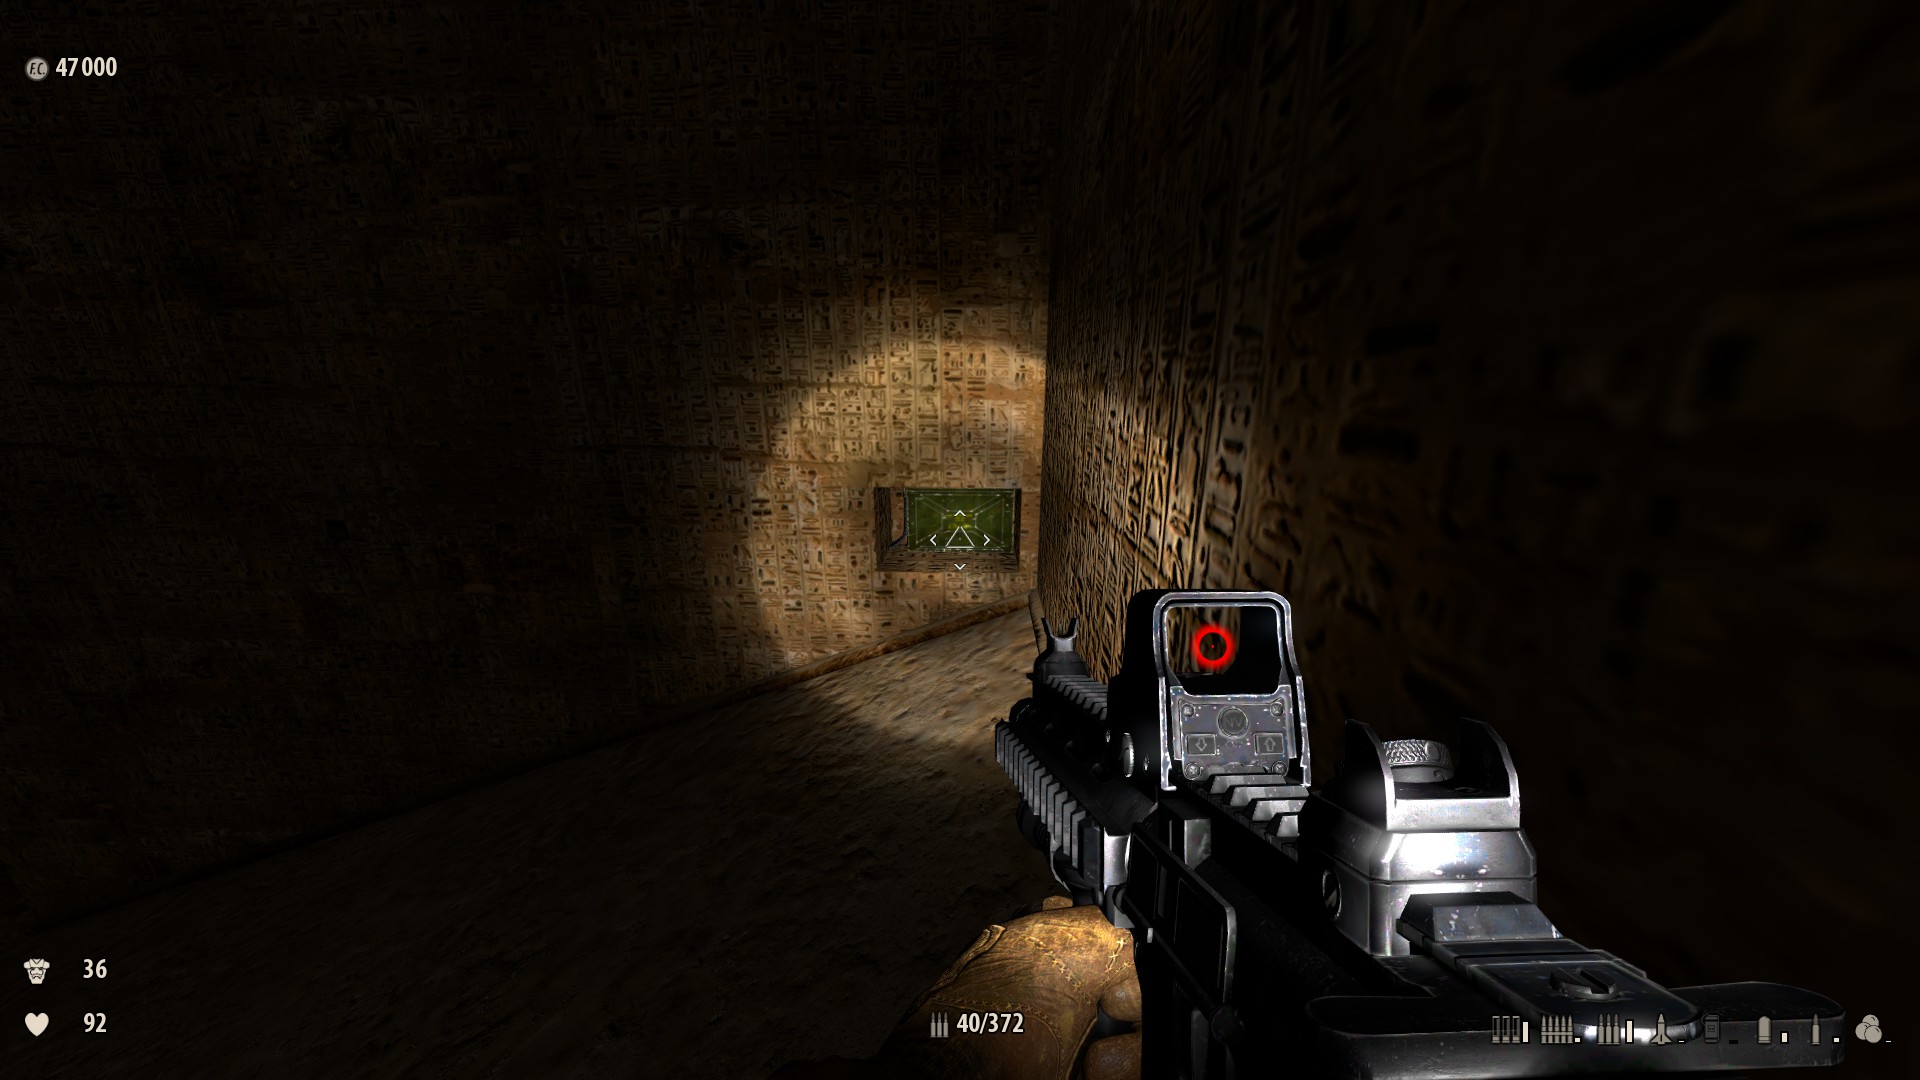
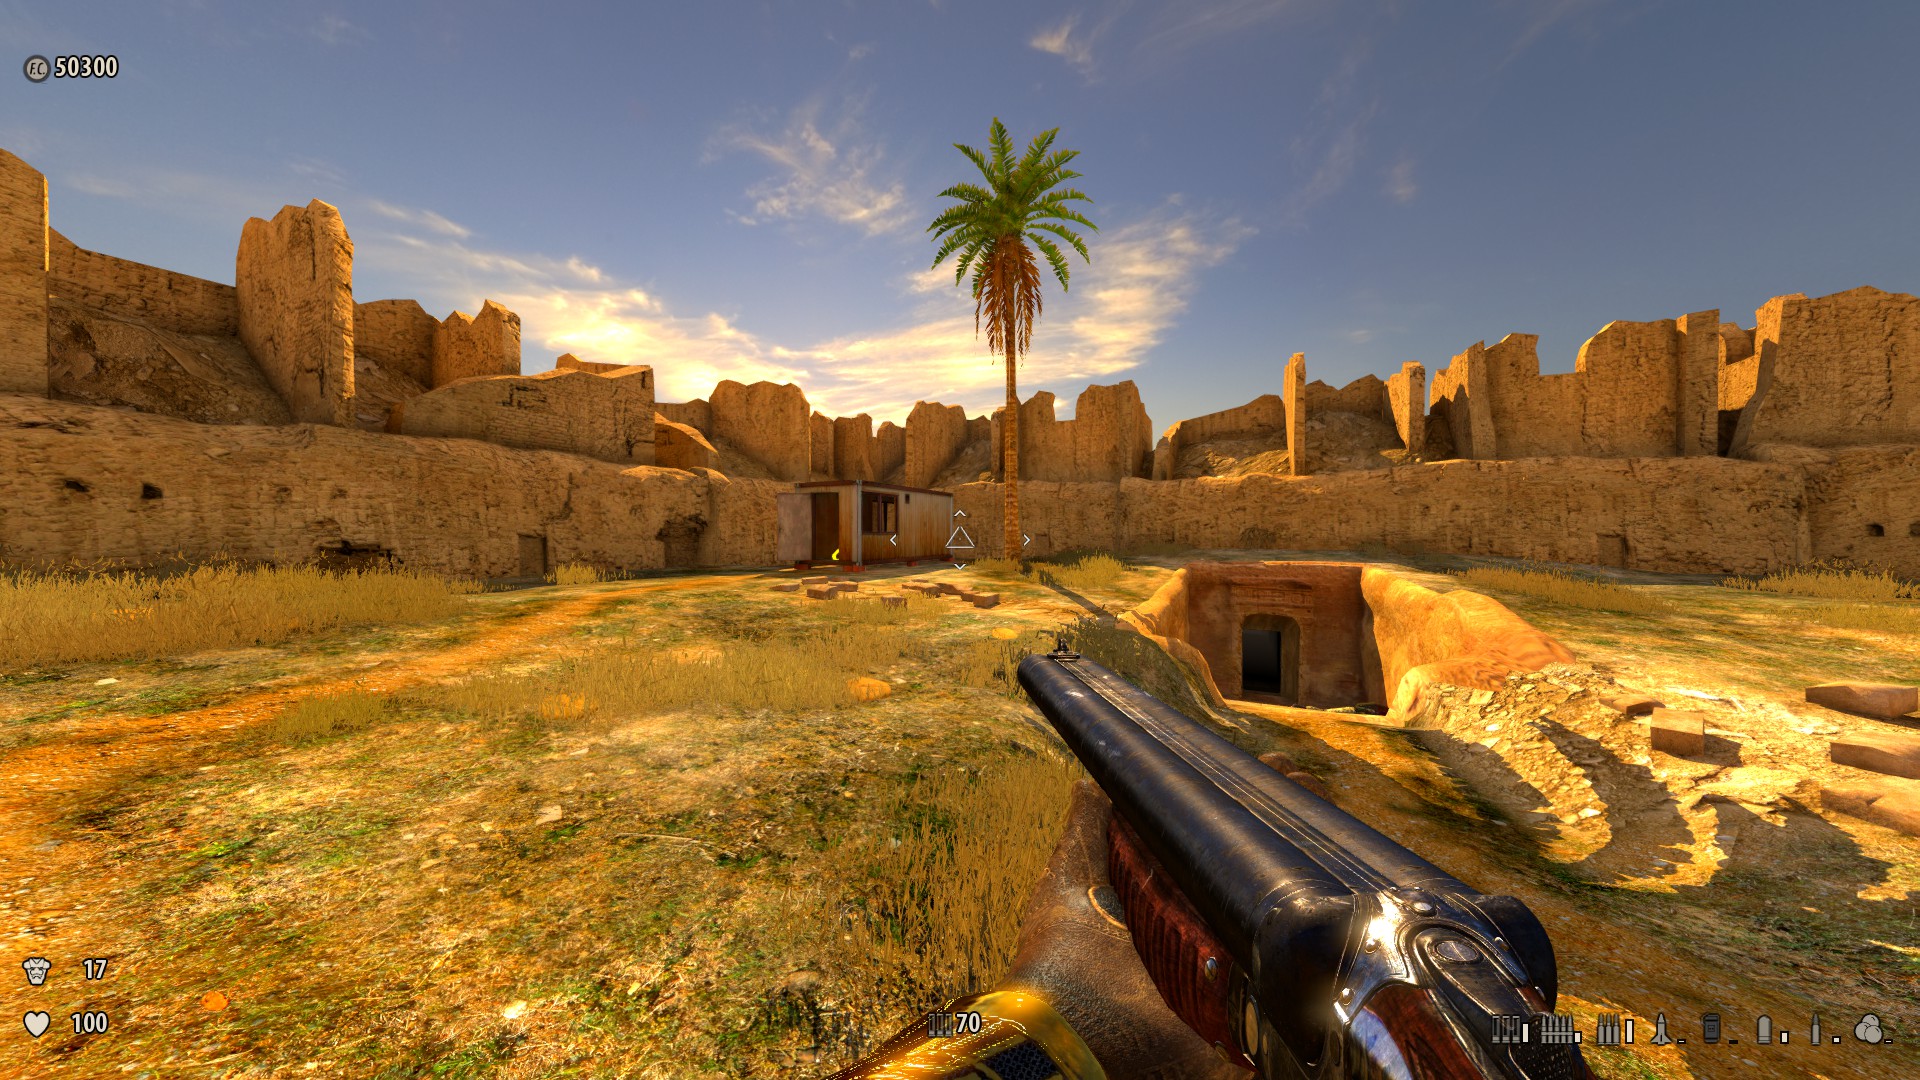
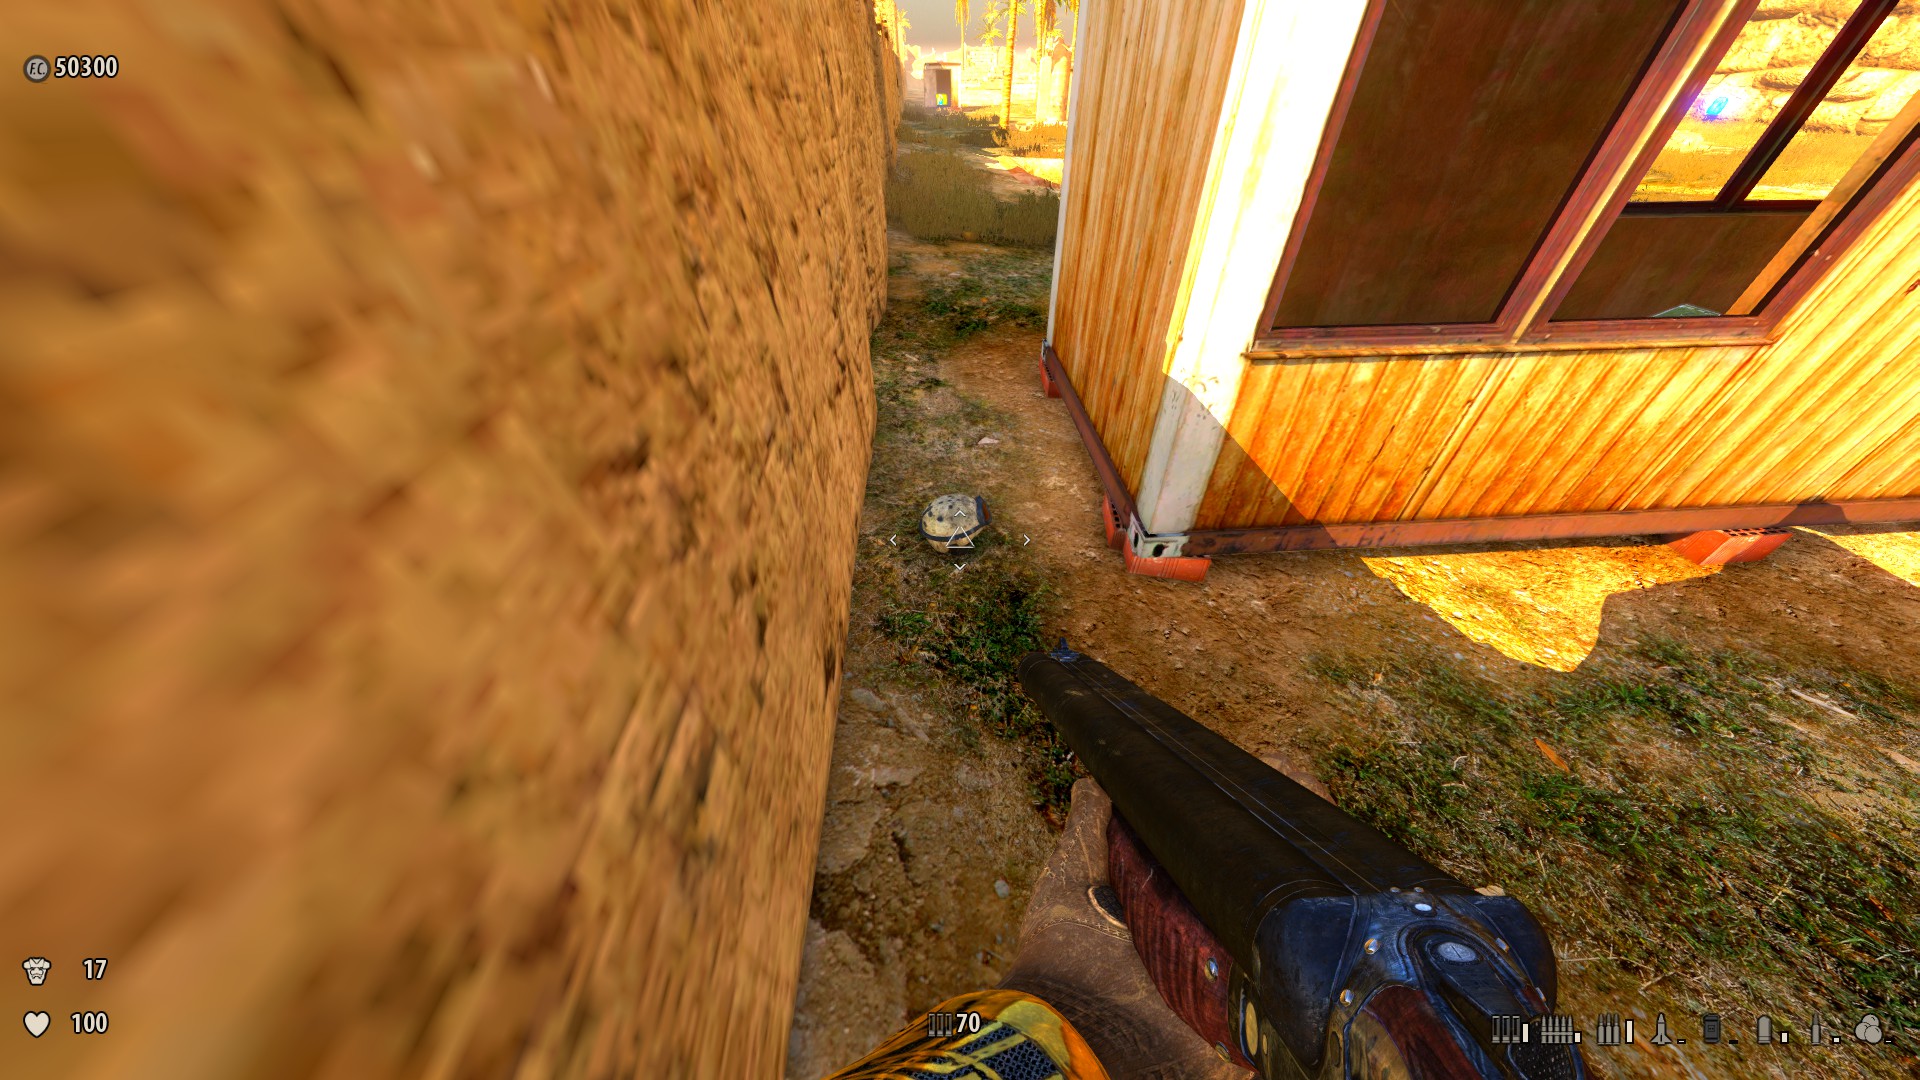
---CHAPTER one: BEFORE FIRST ENCOUNTER---
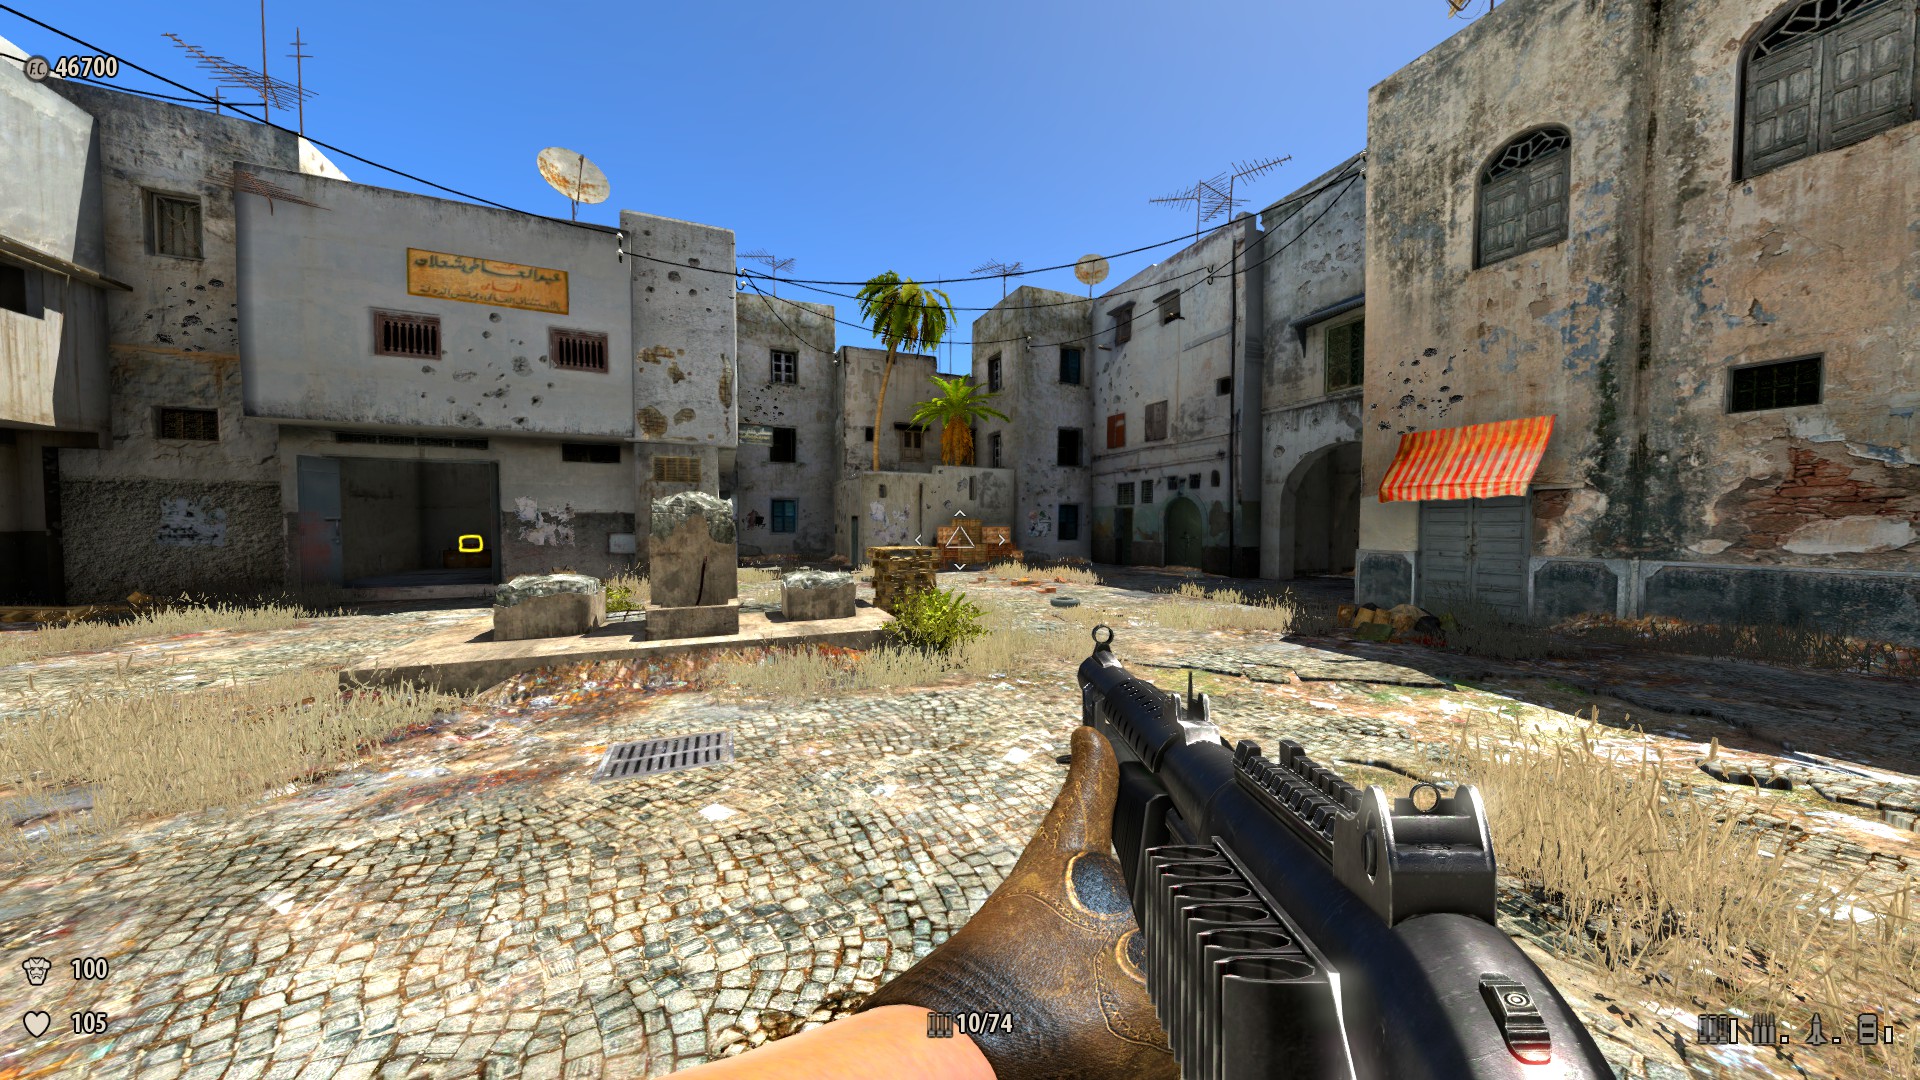
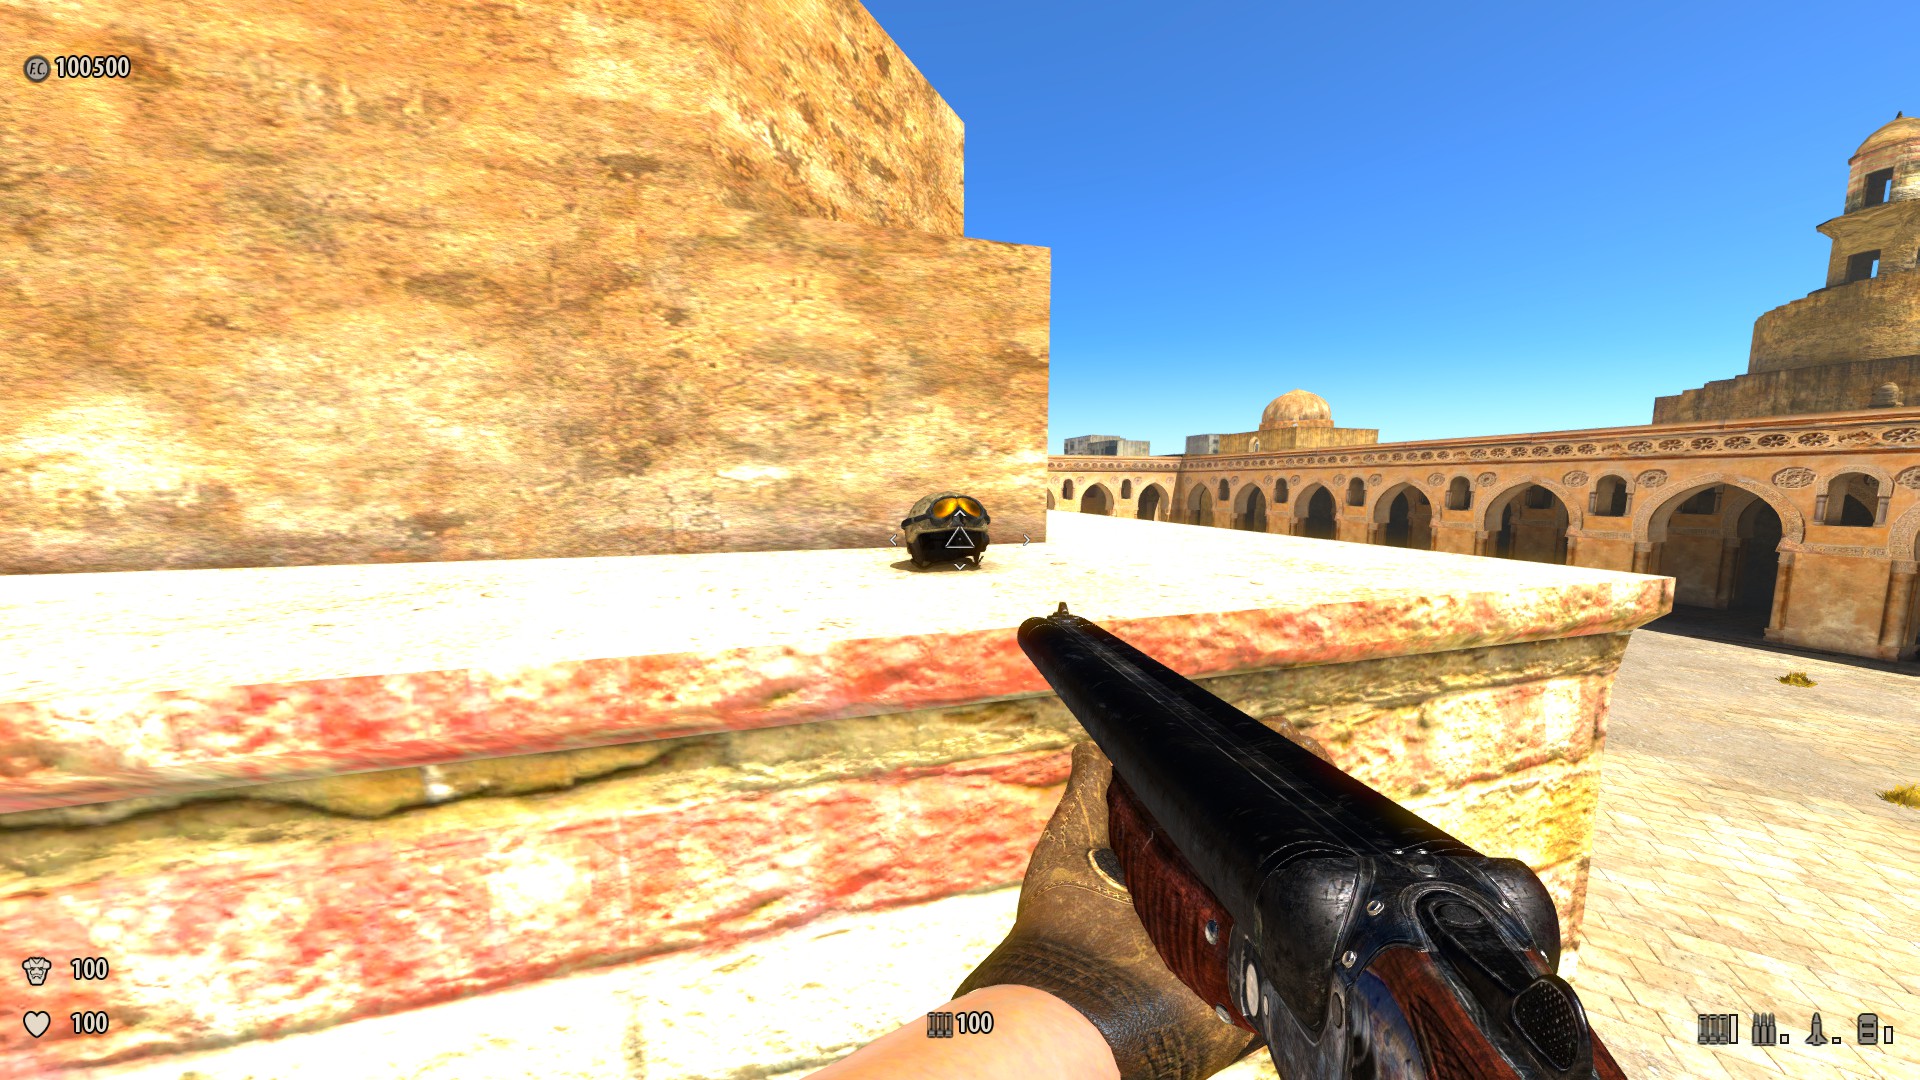
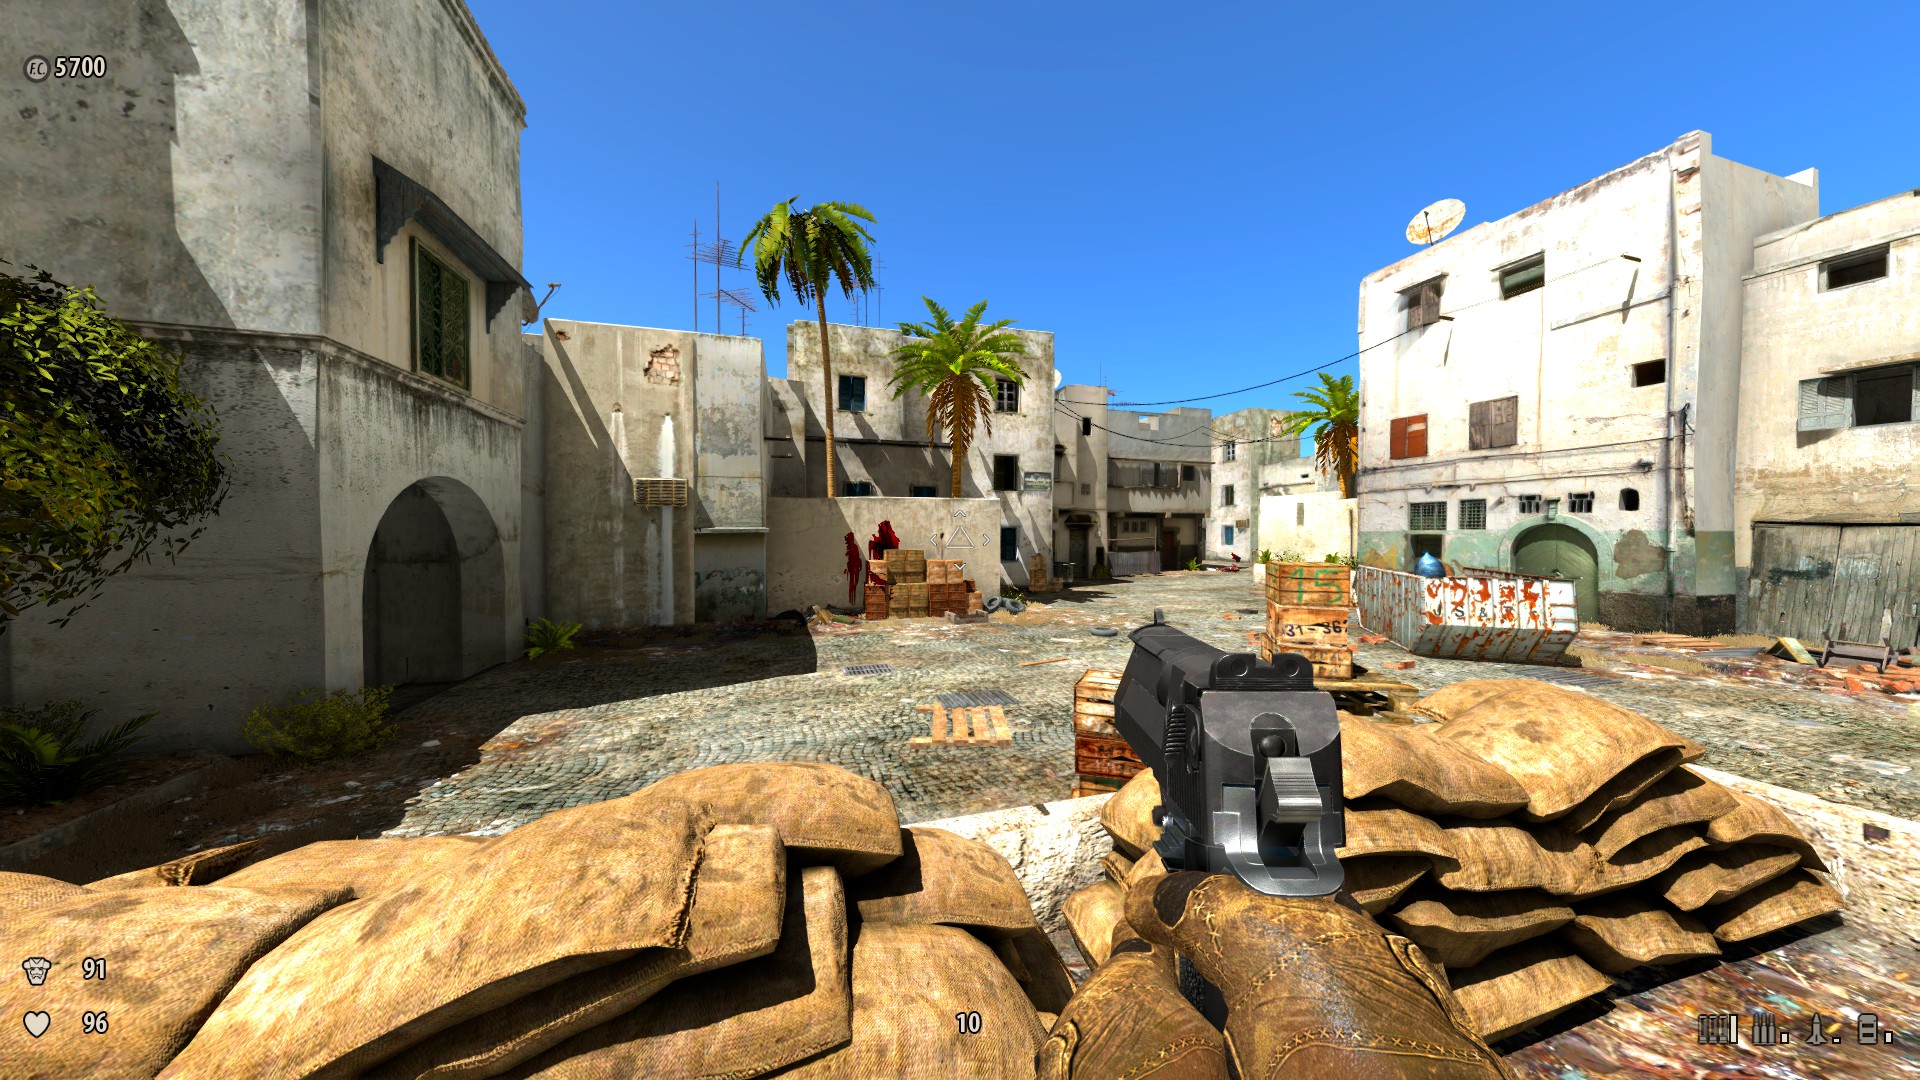
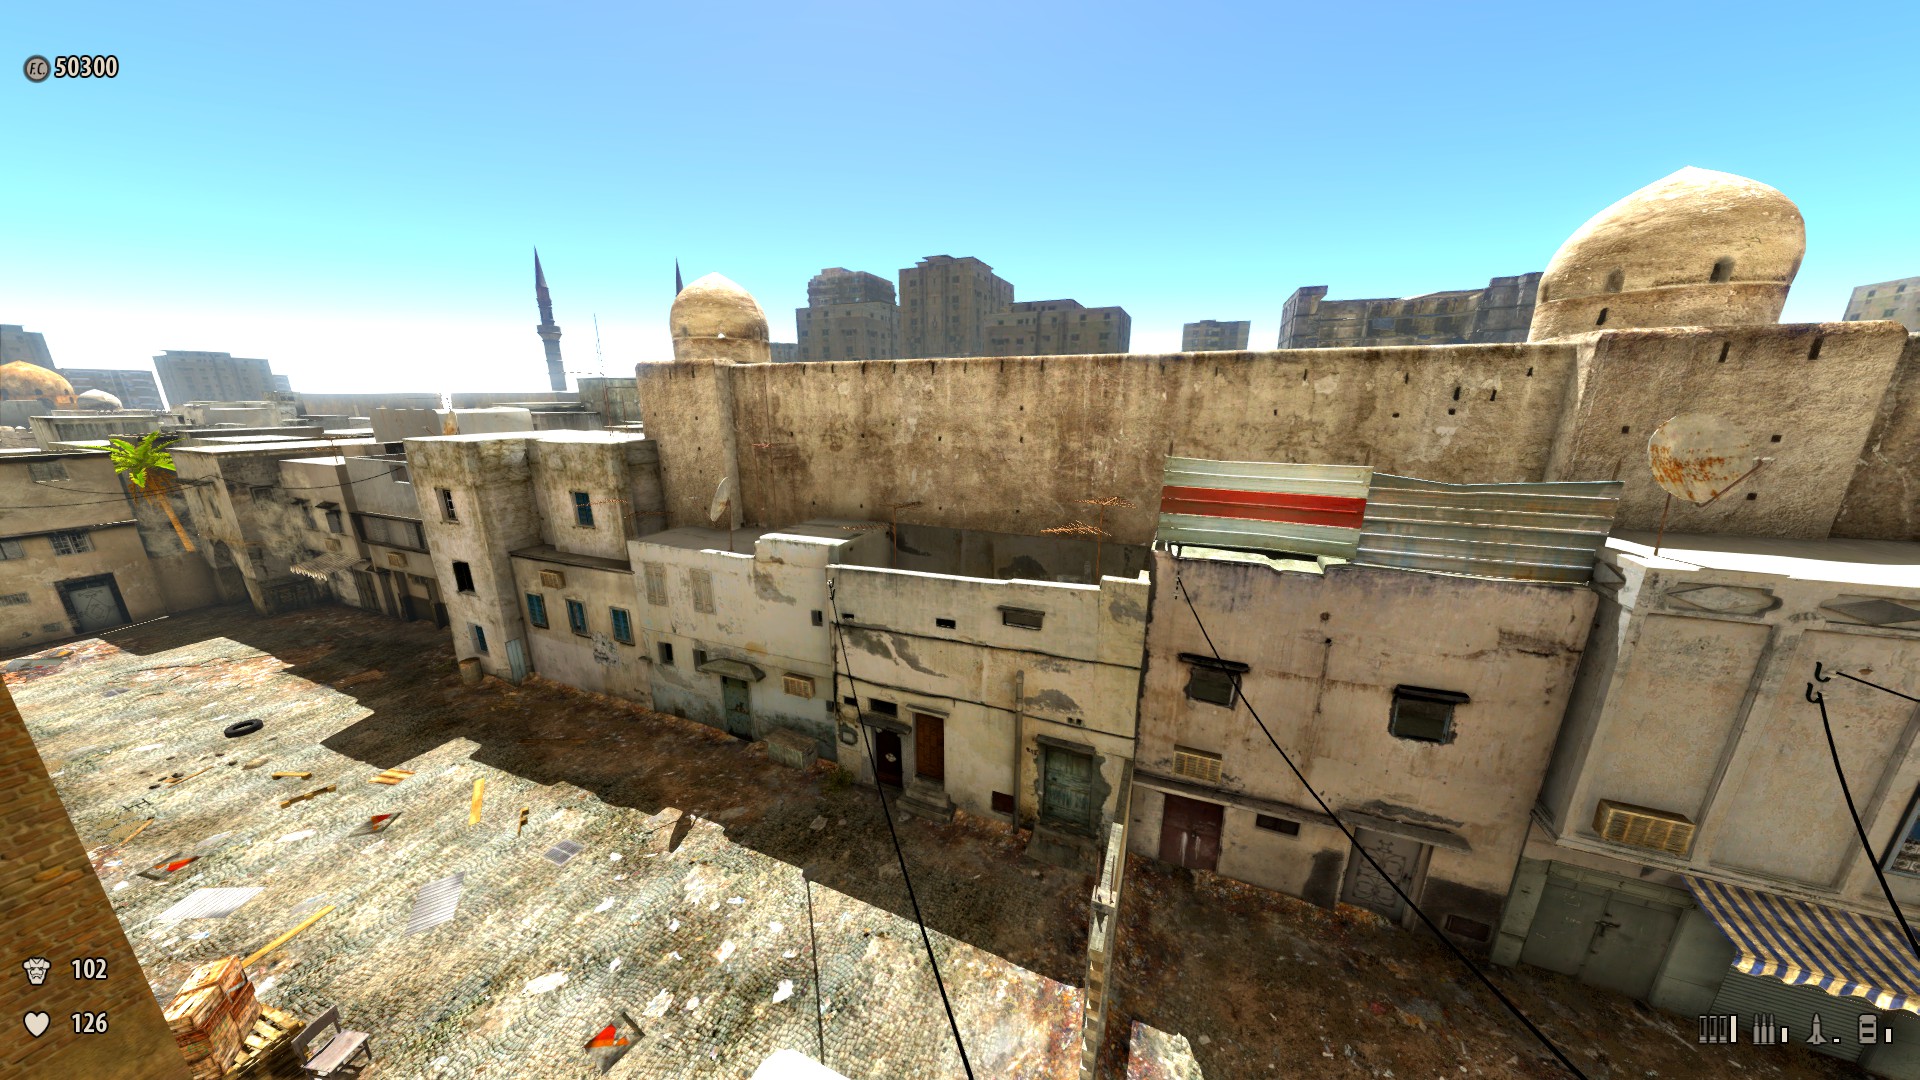
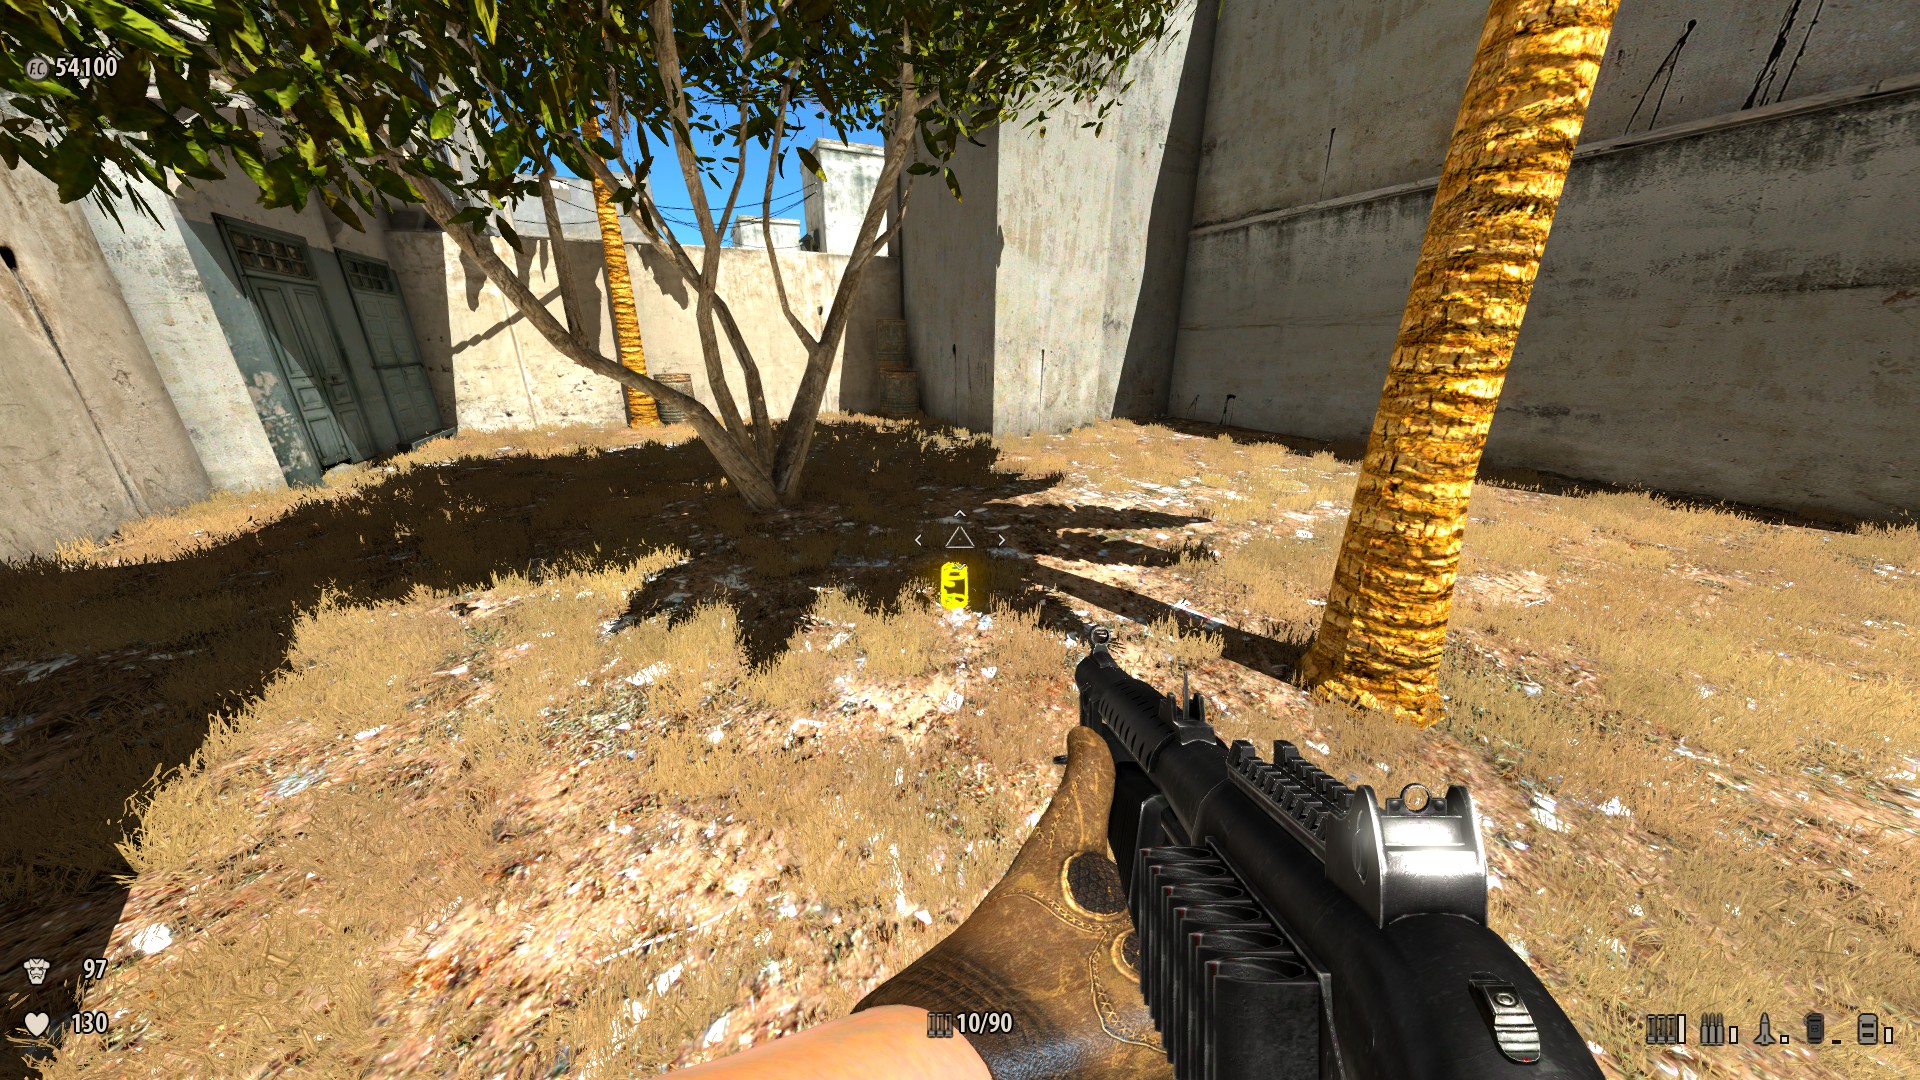
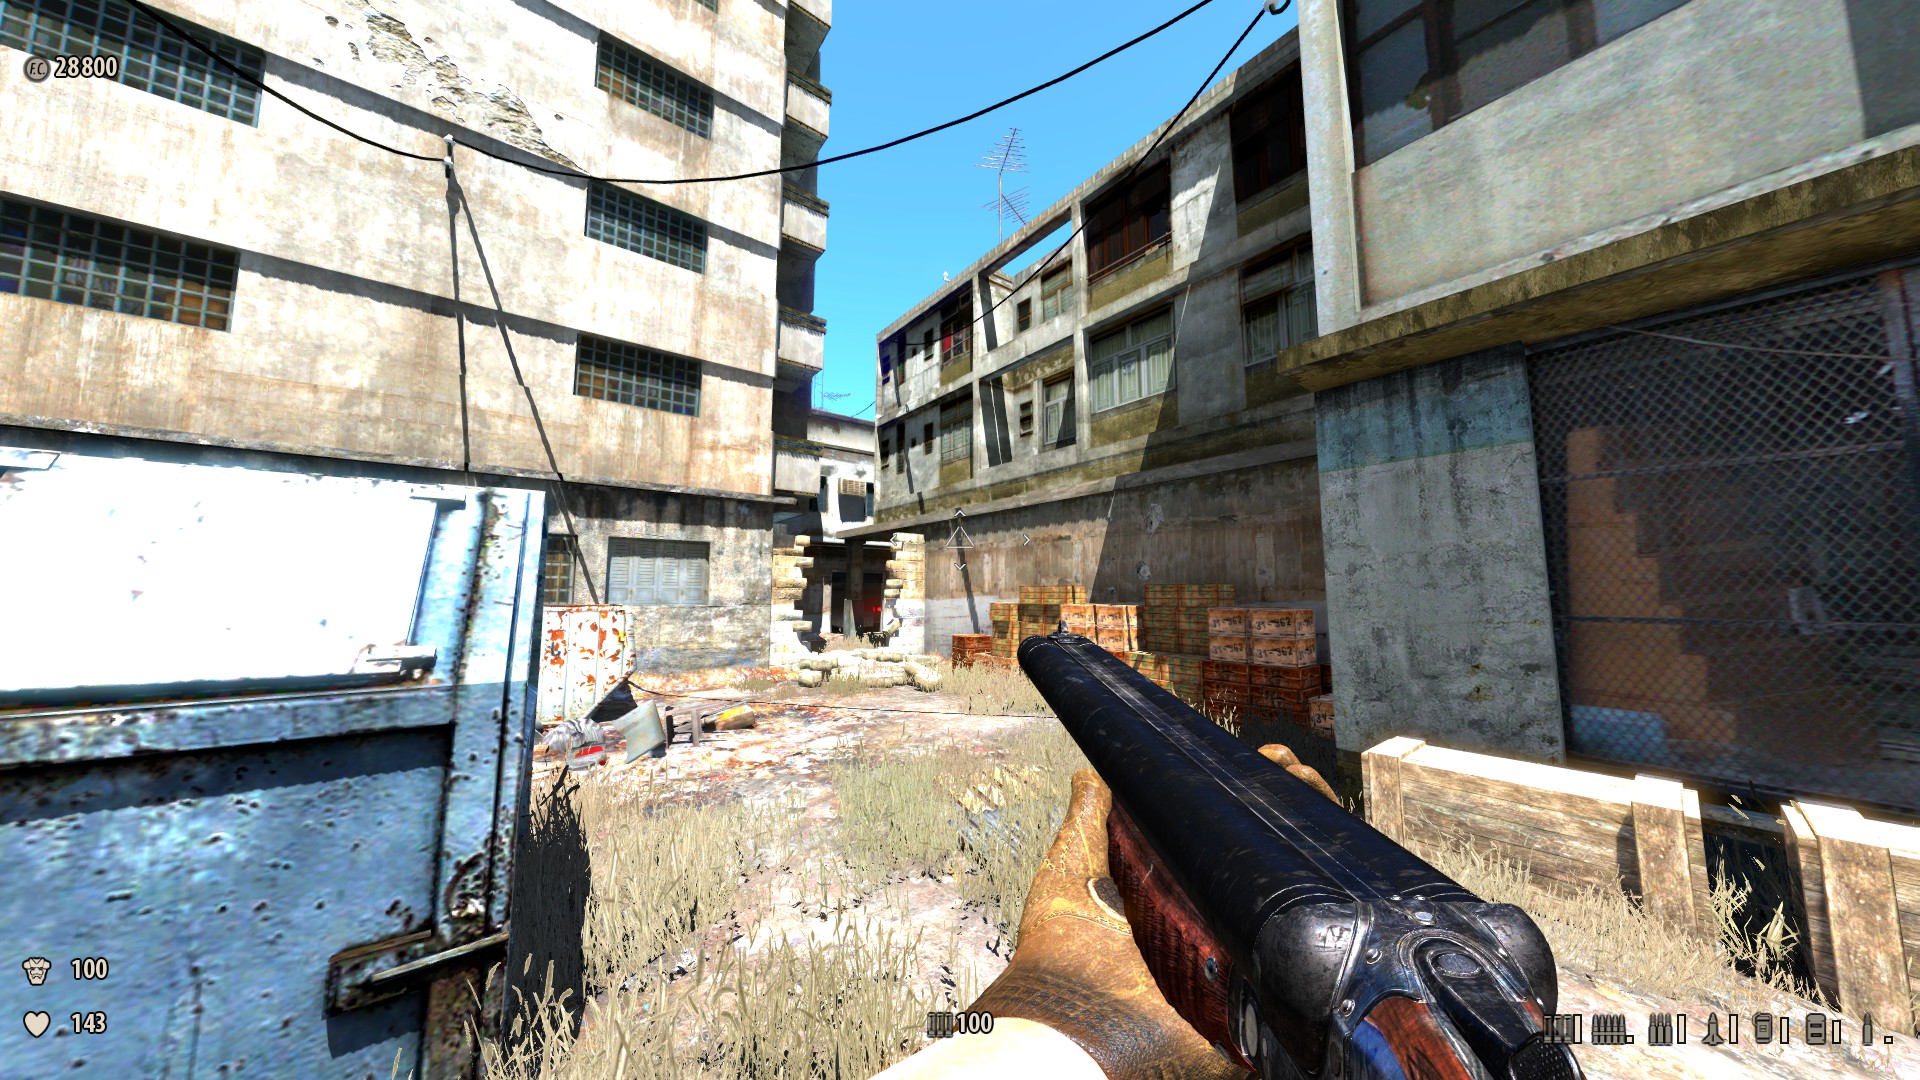
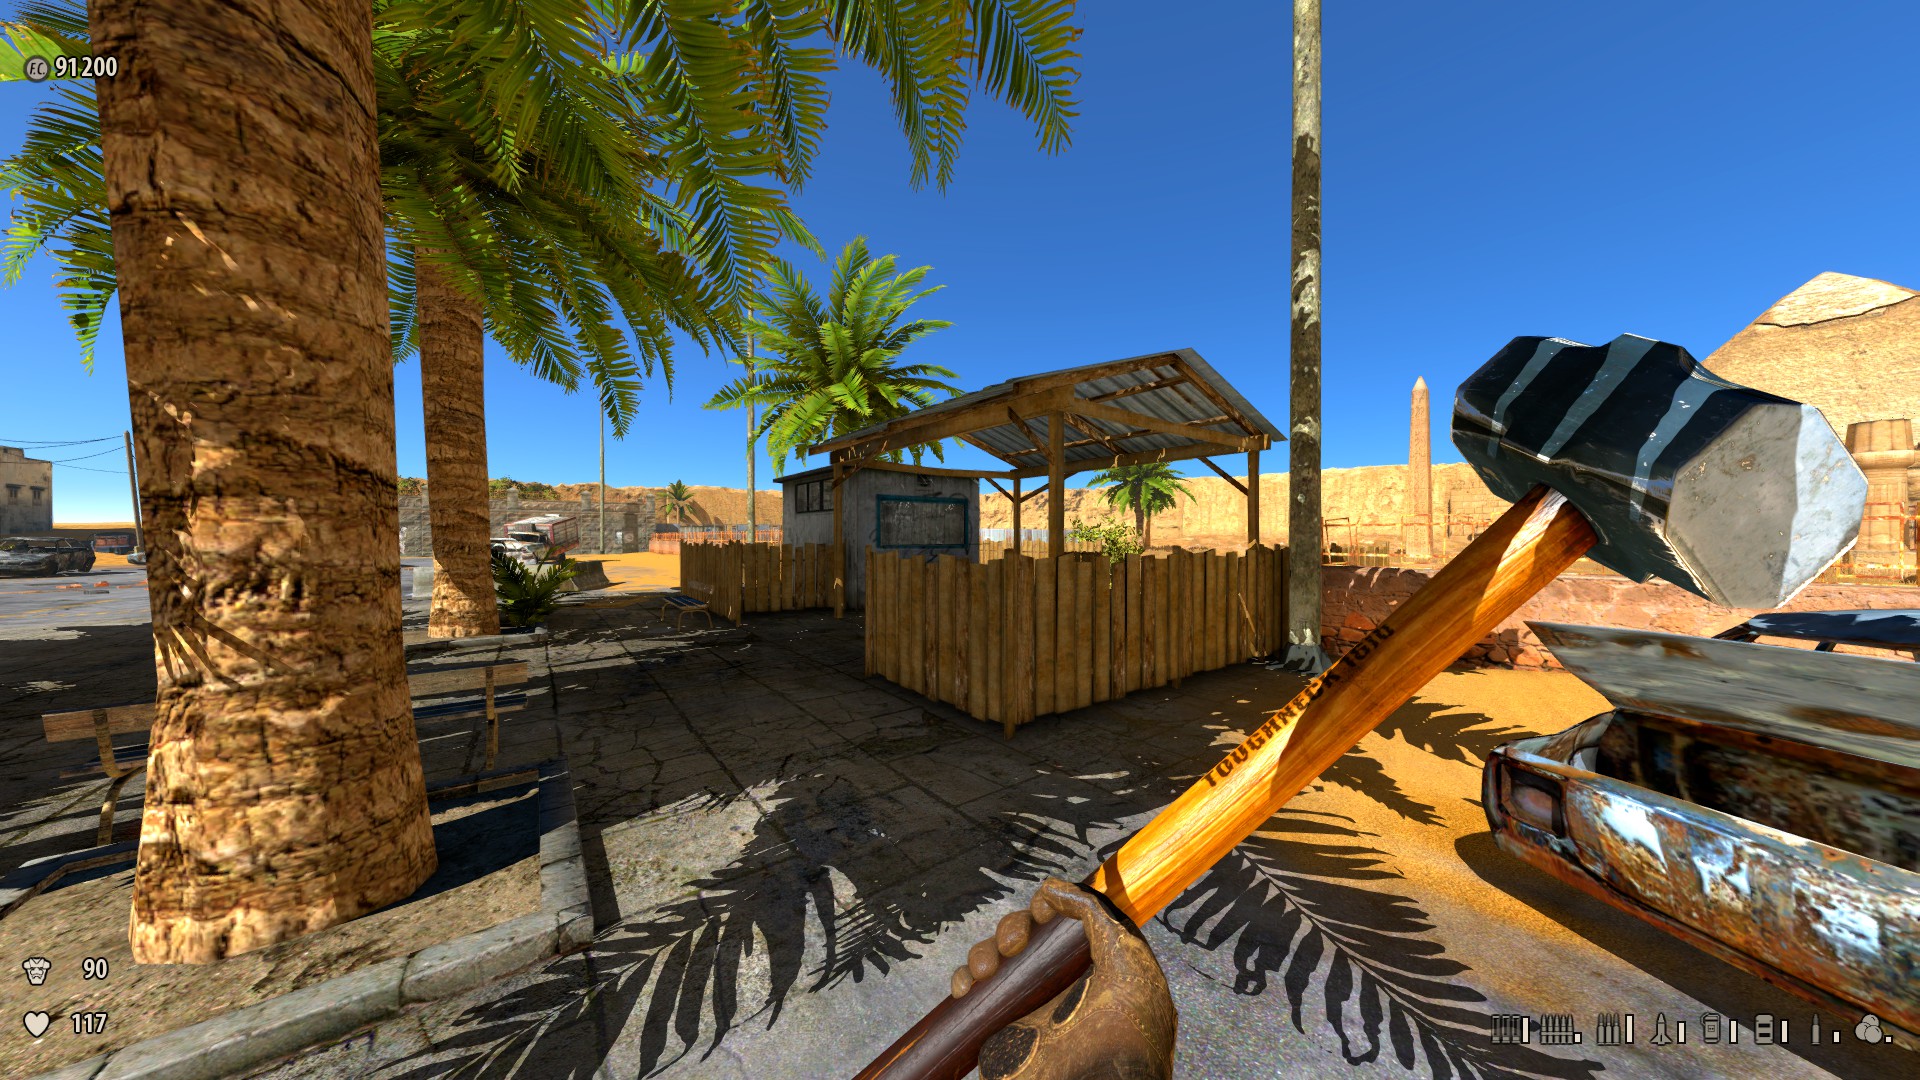
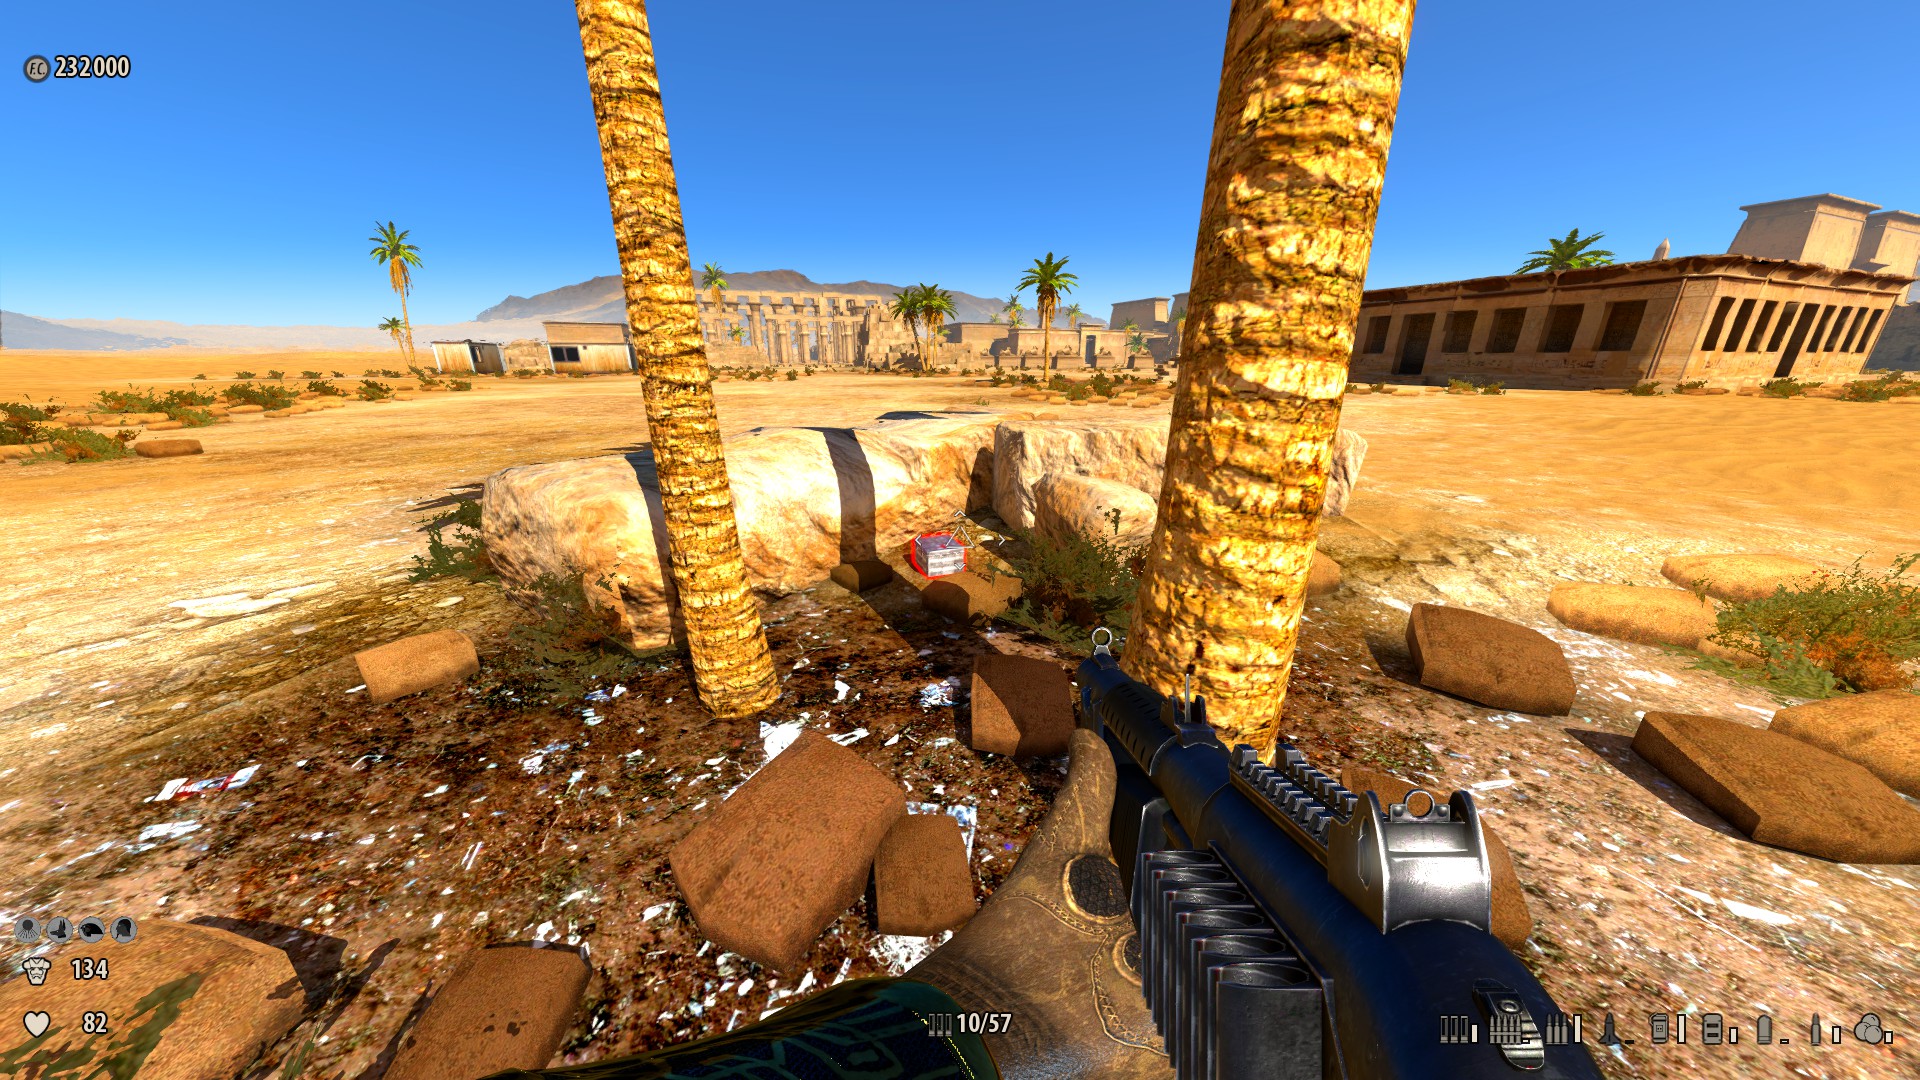
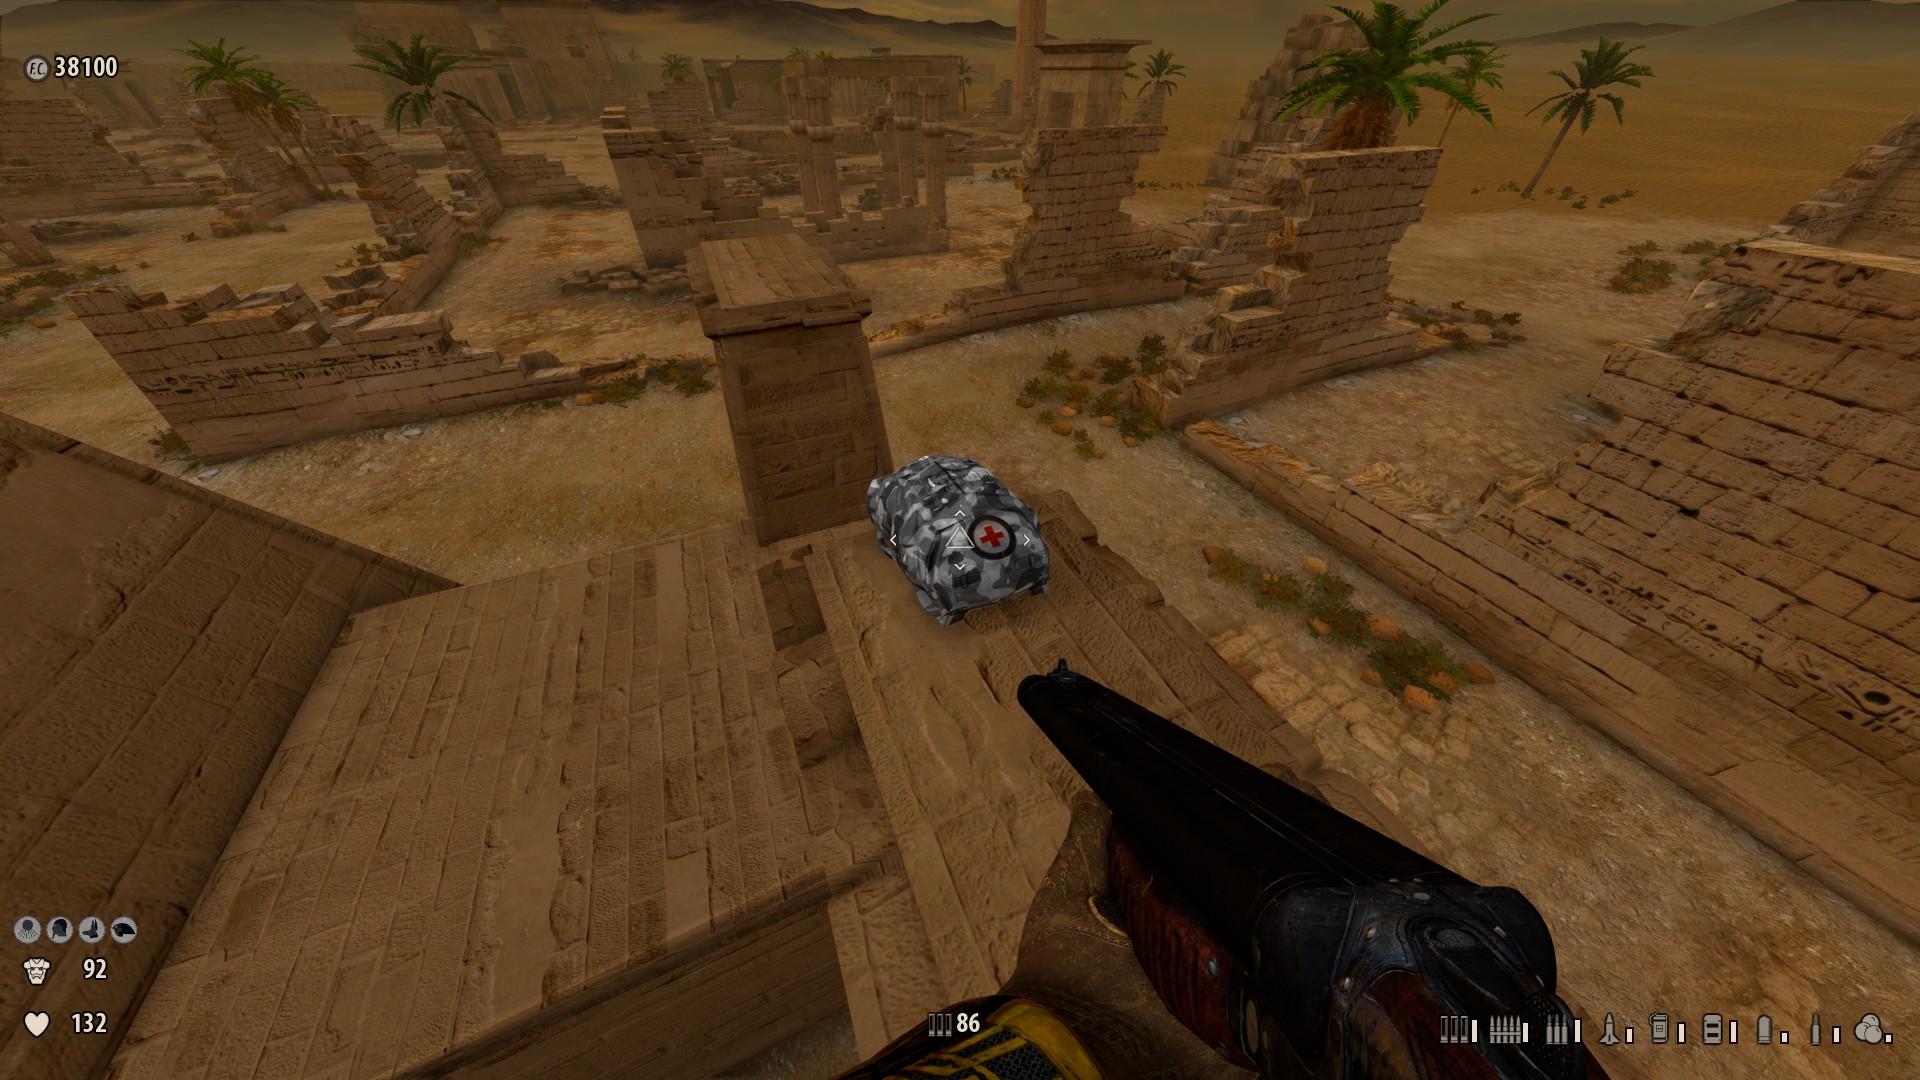
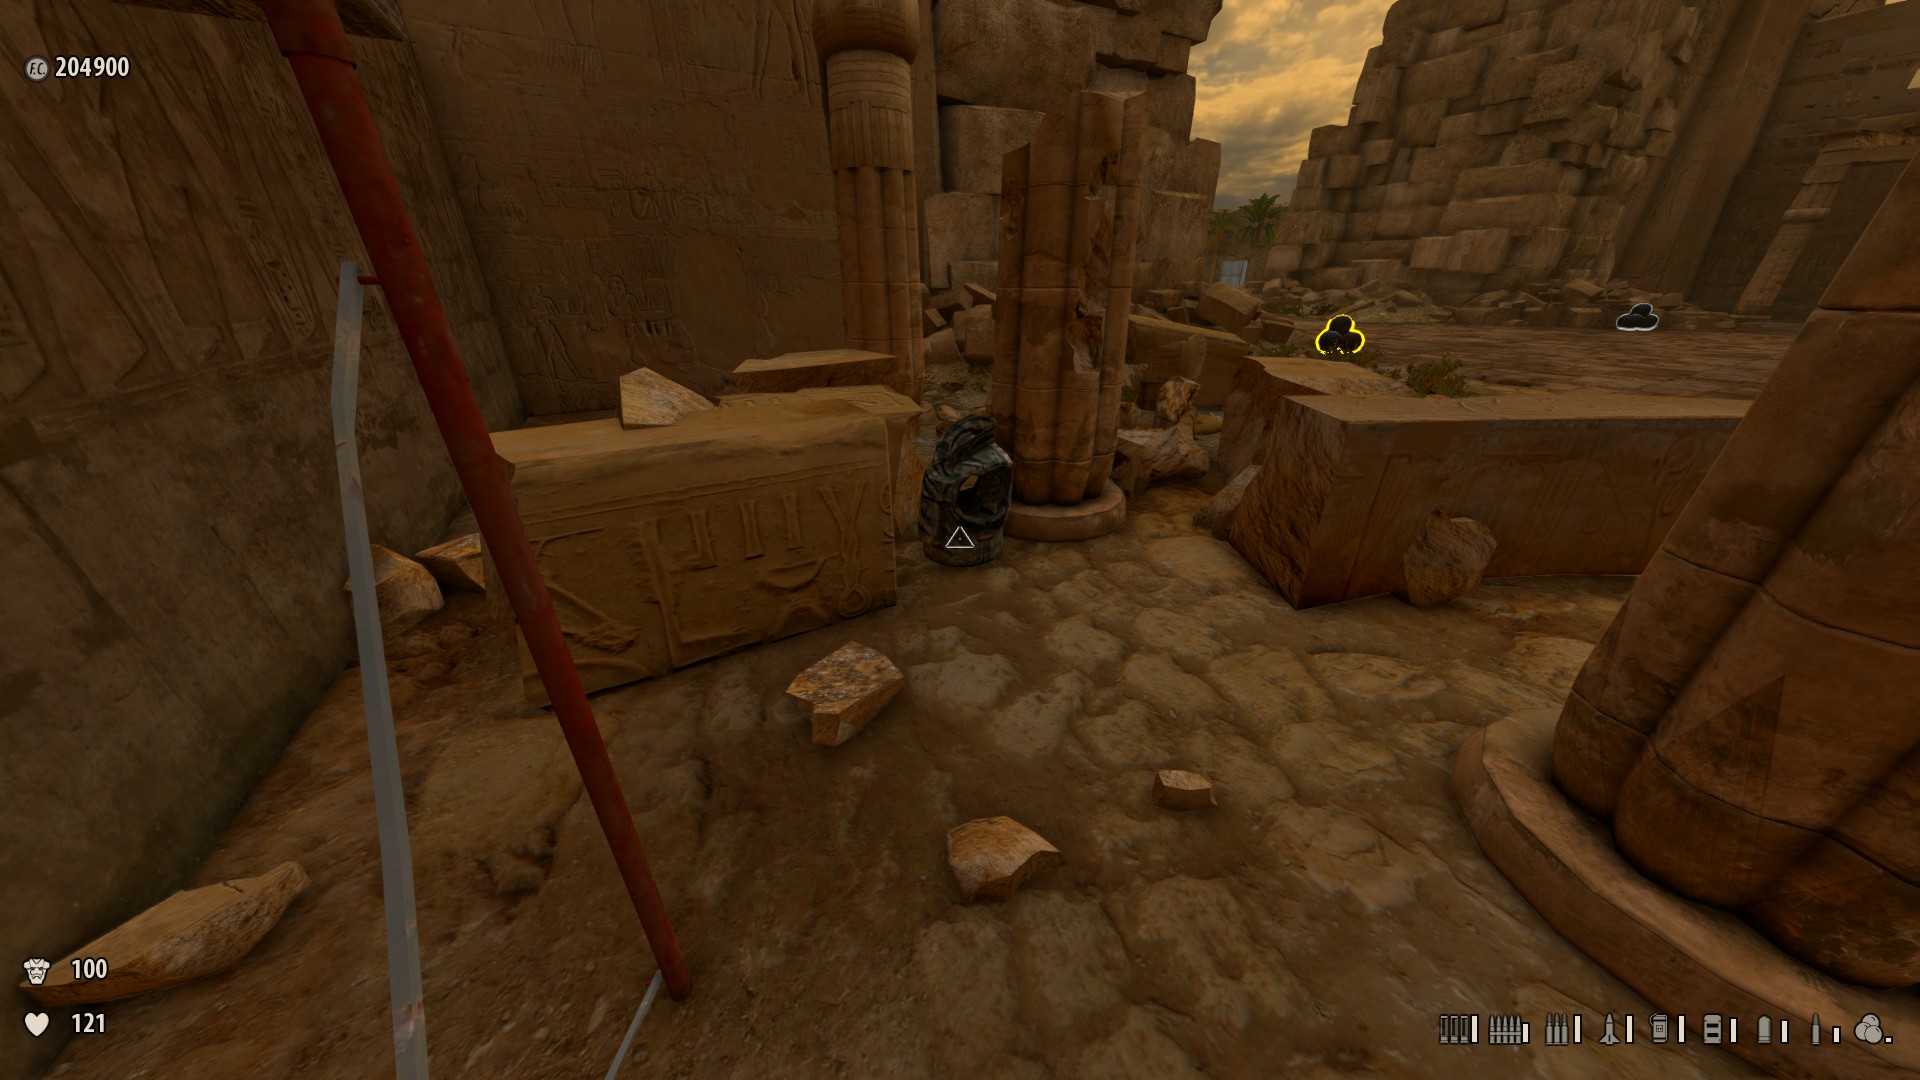
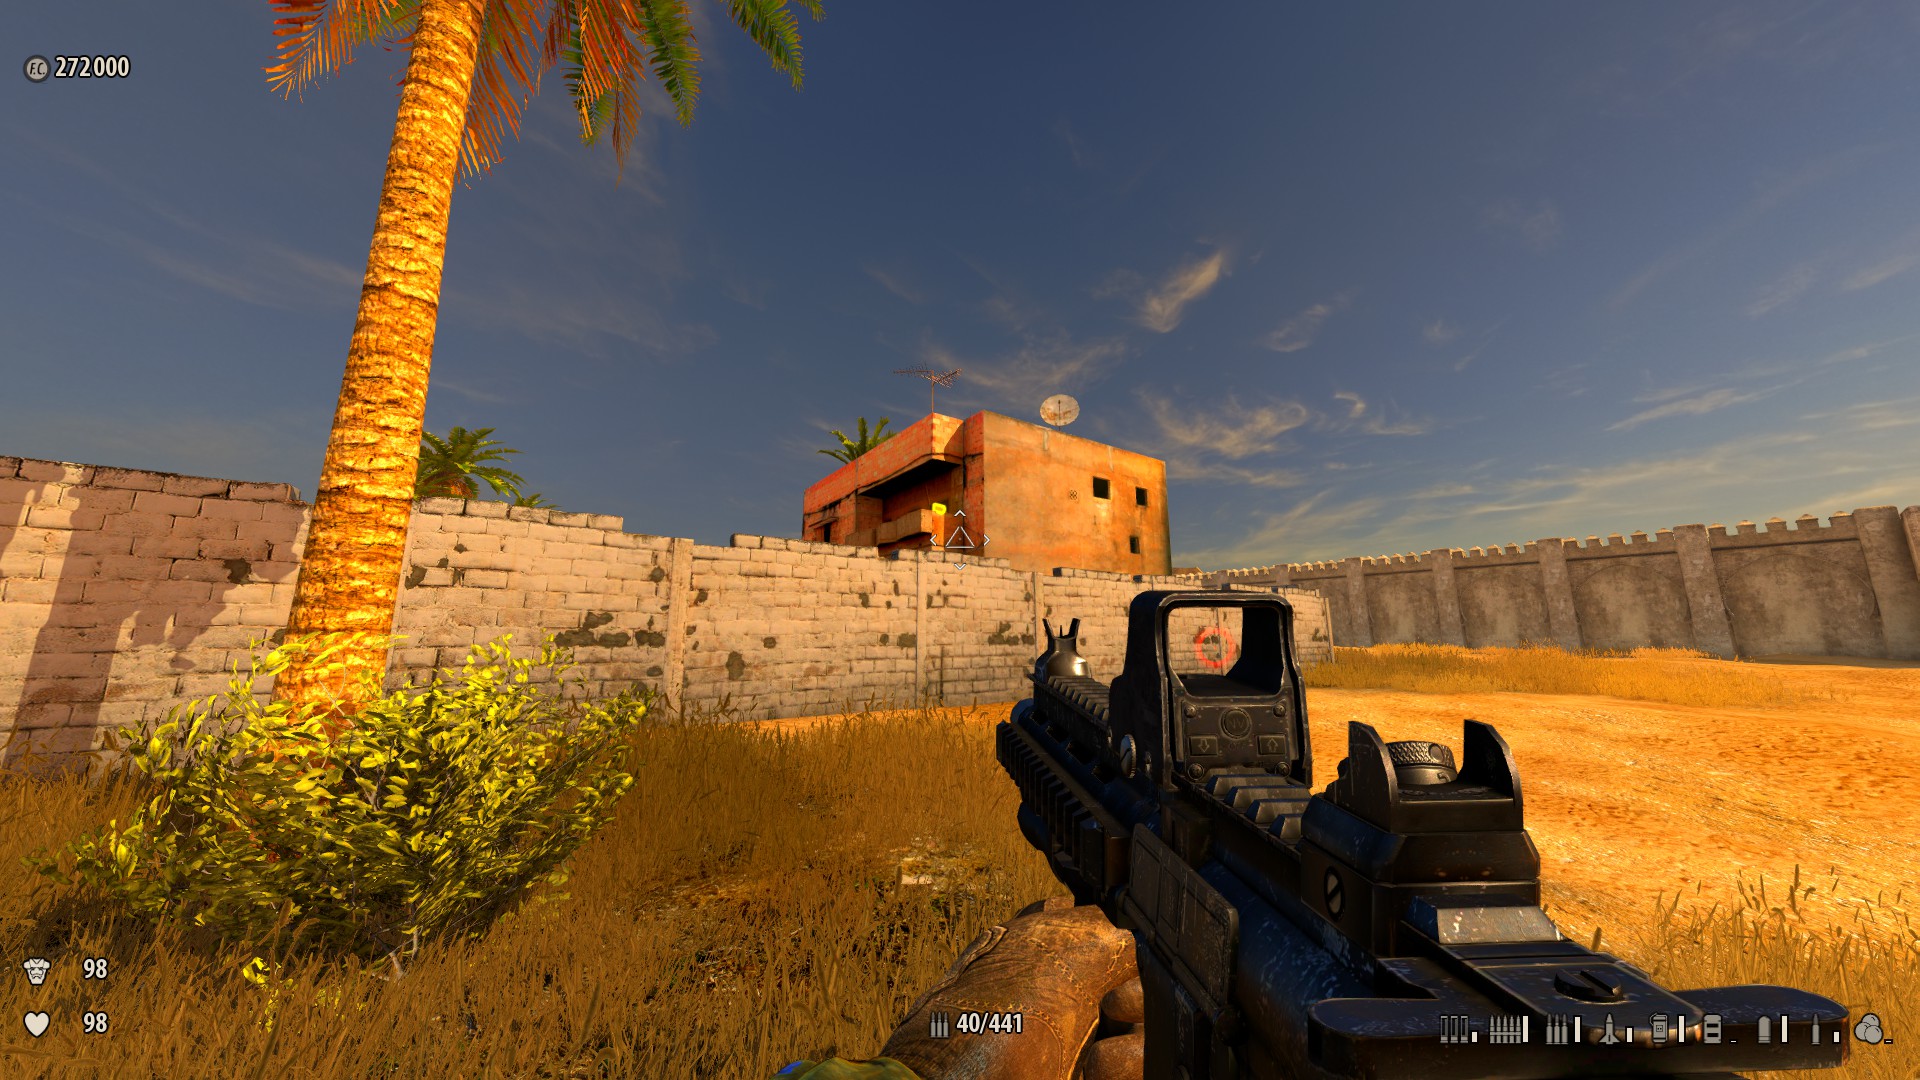
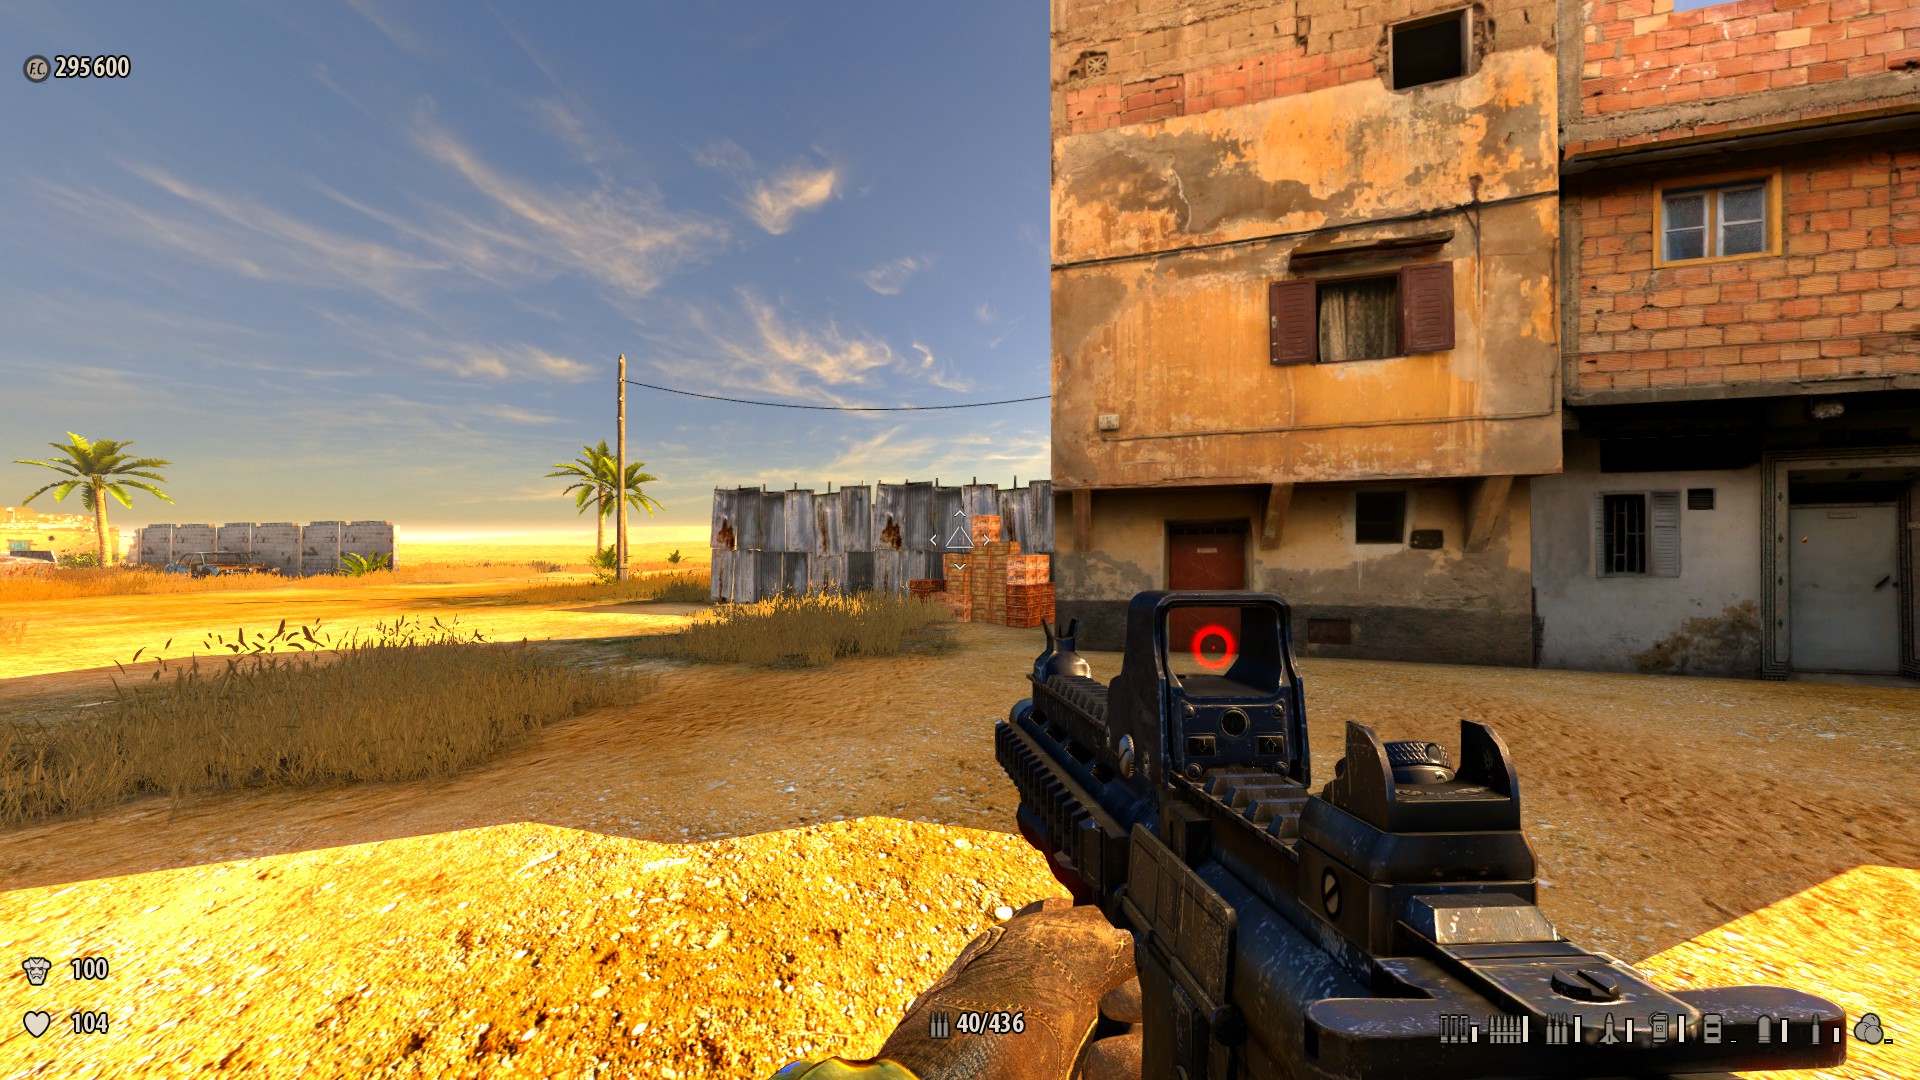
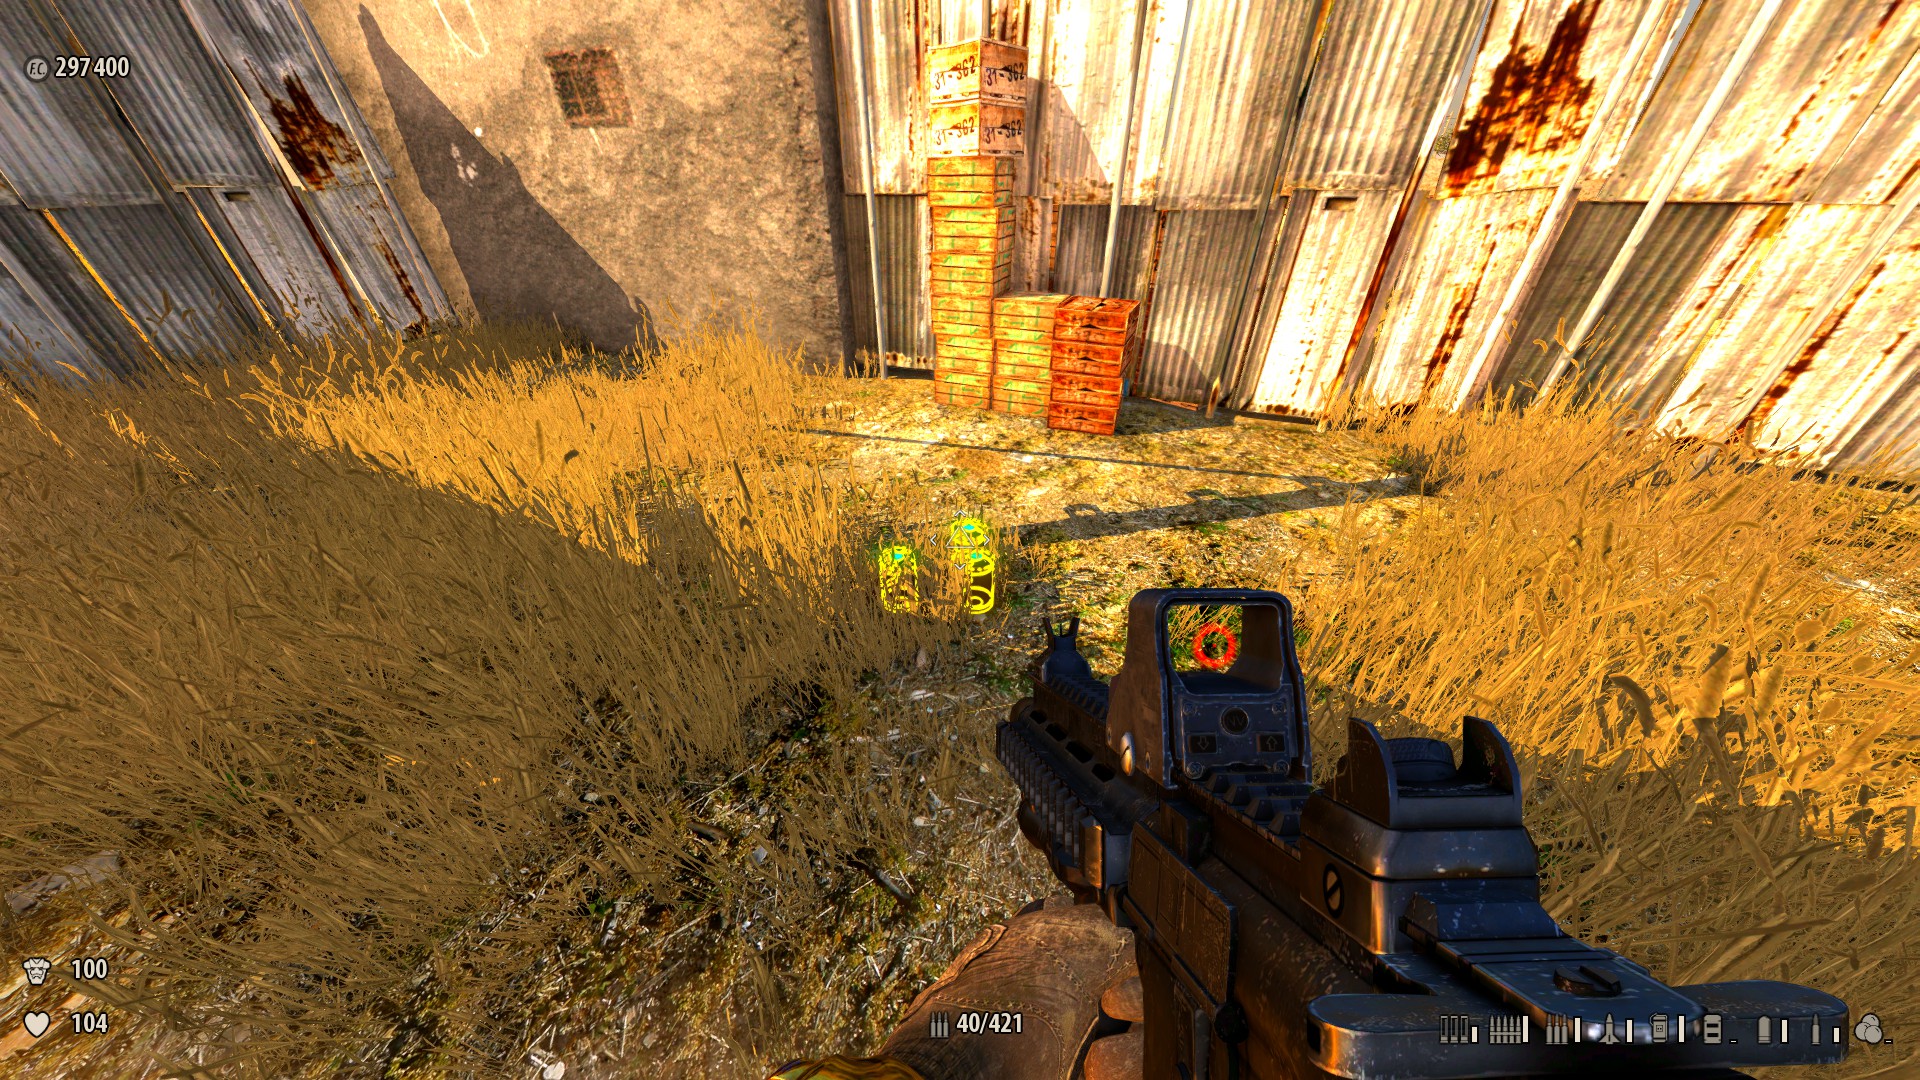
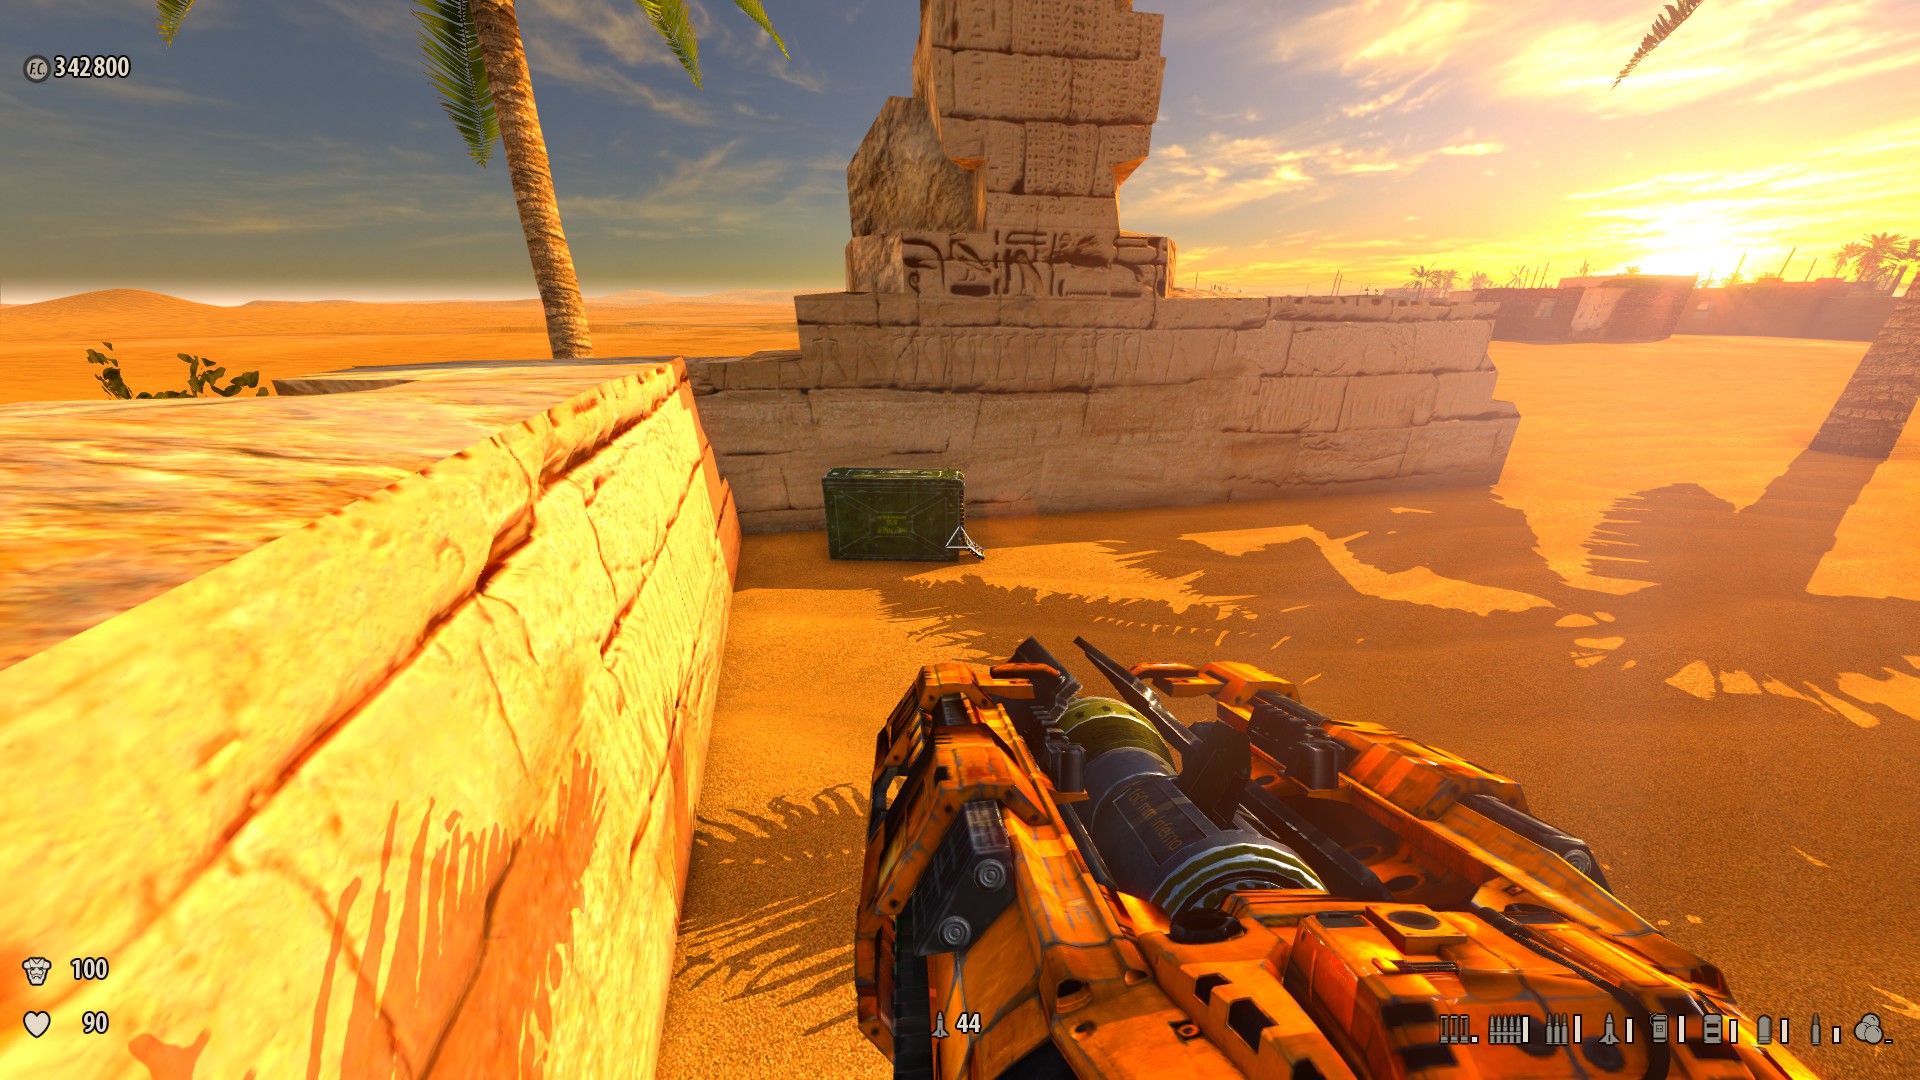
1. Summer in Cairo (17 Secrets)
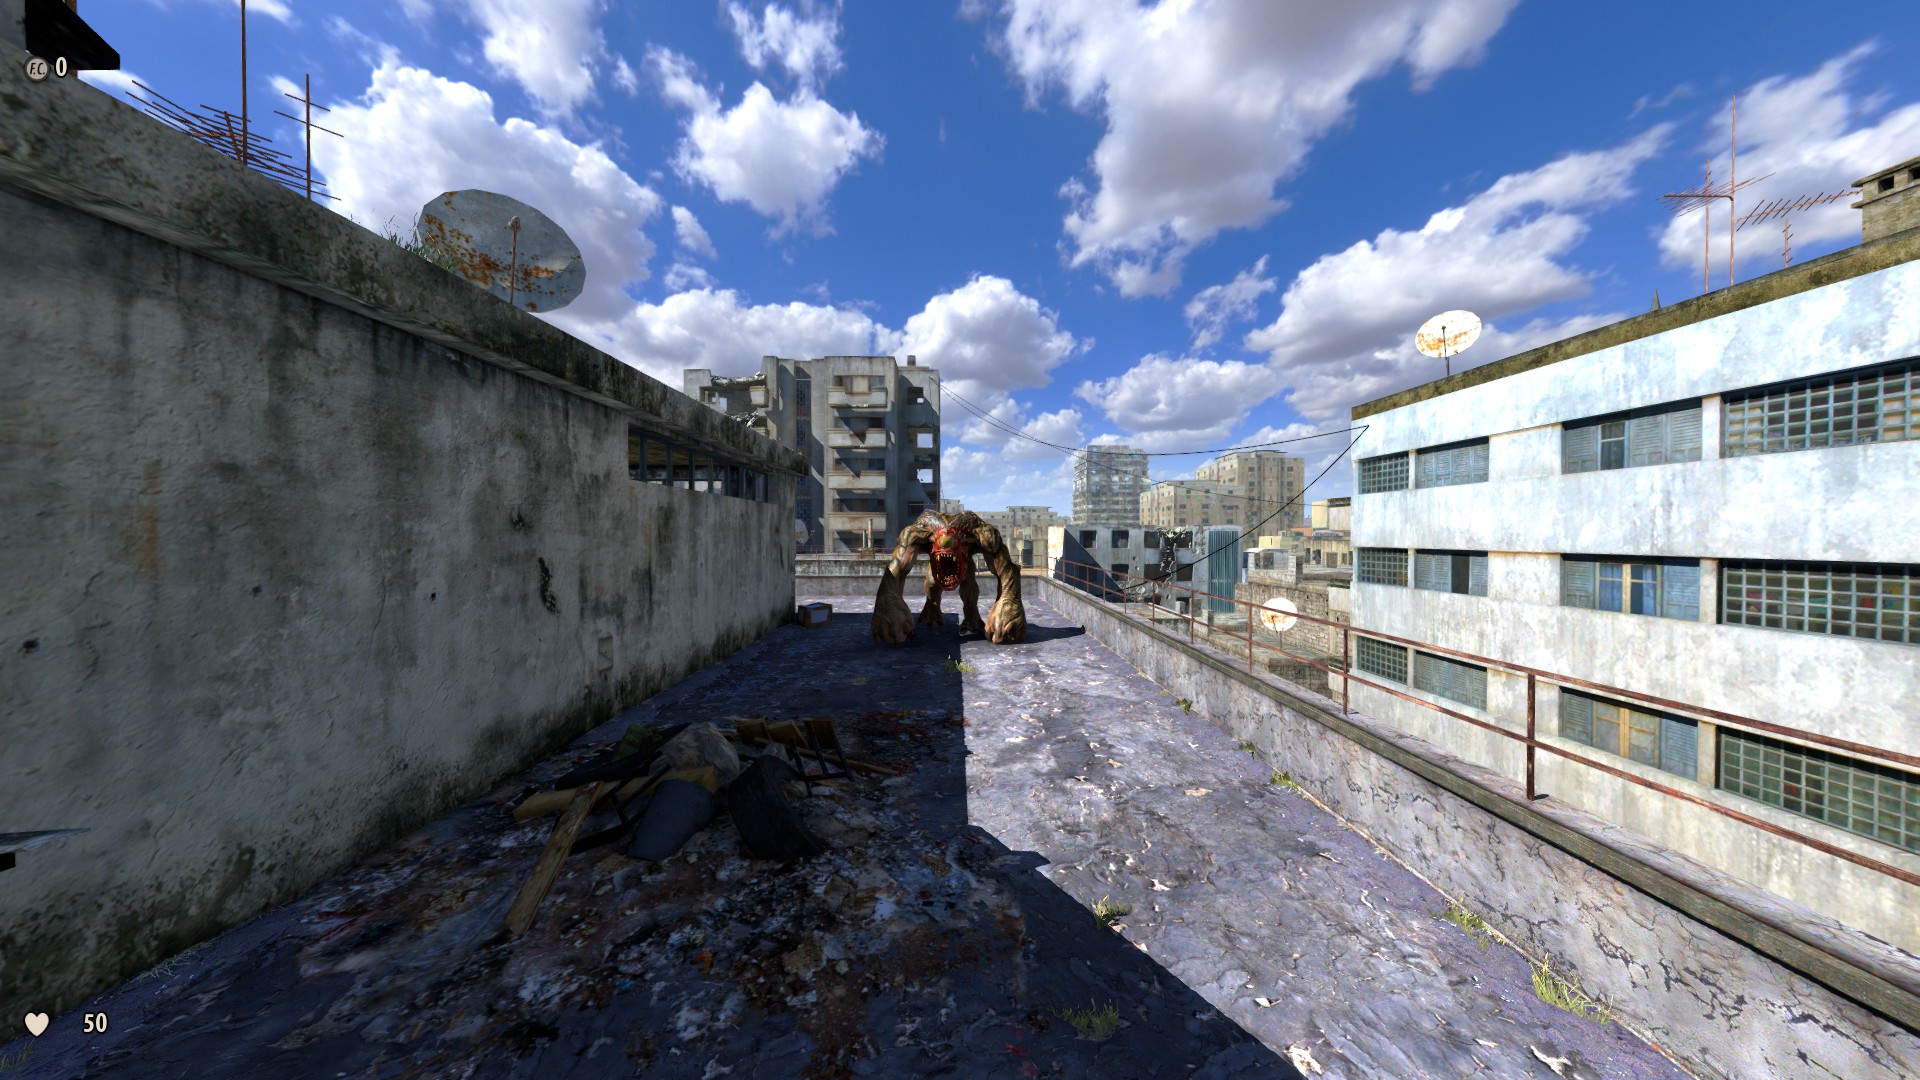
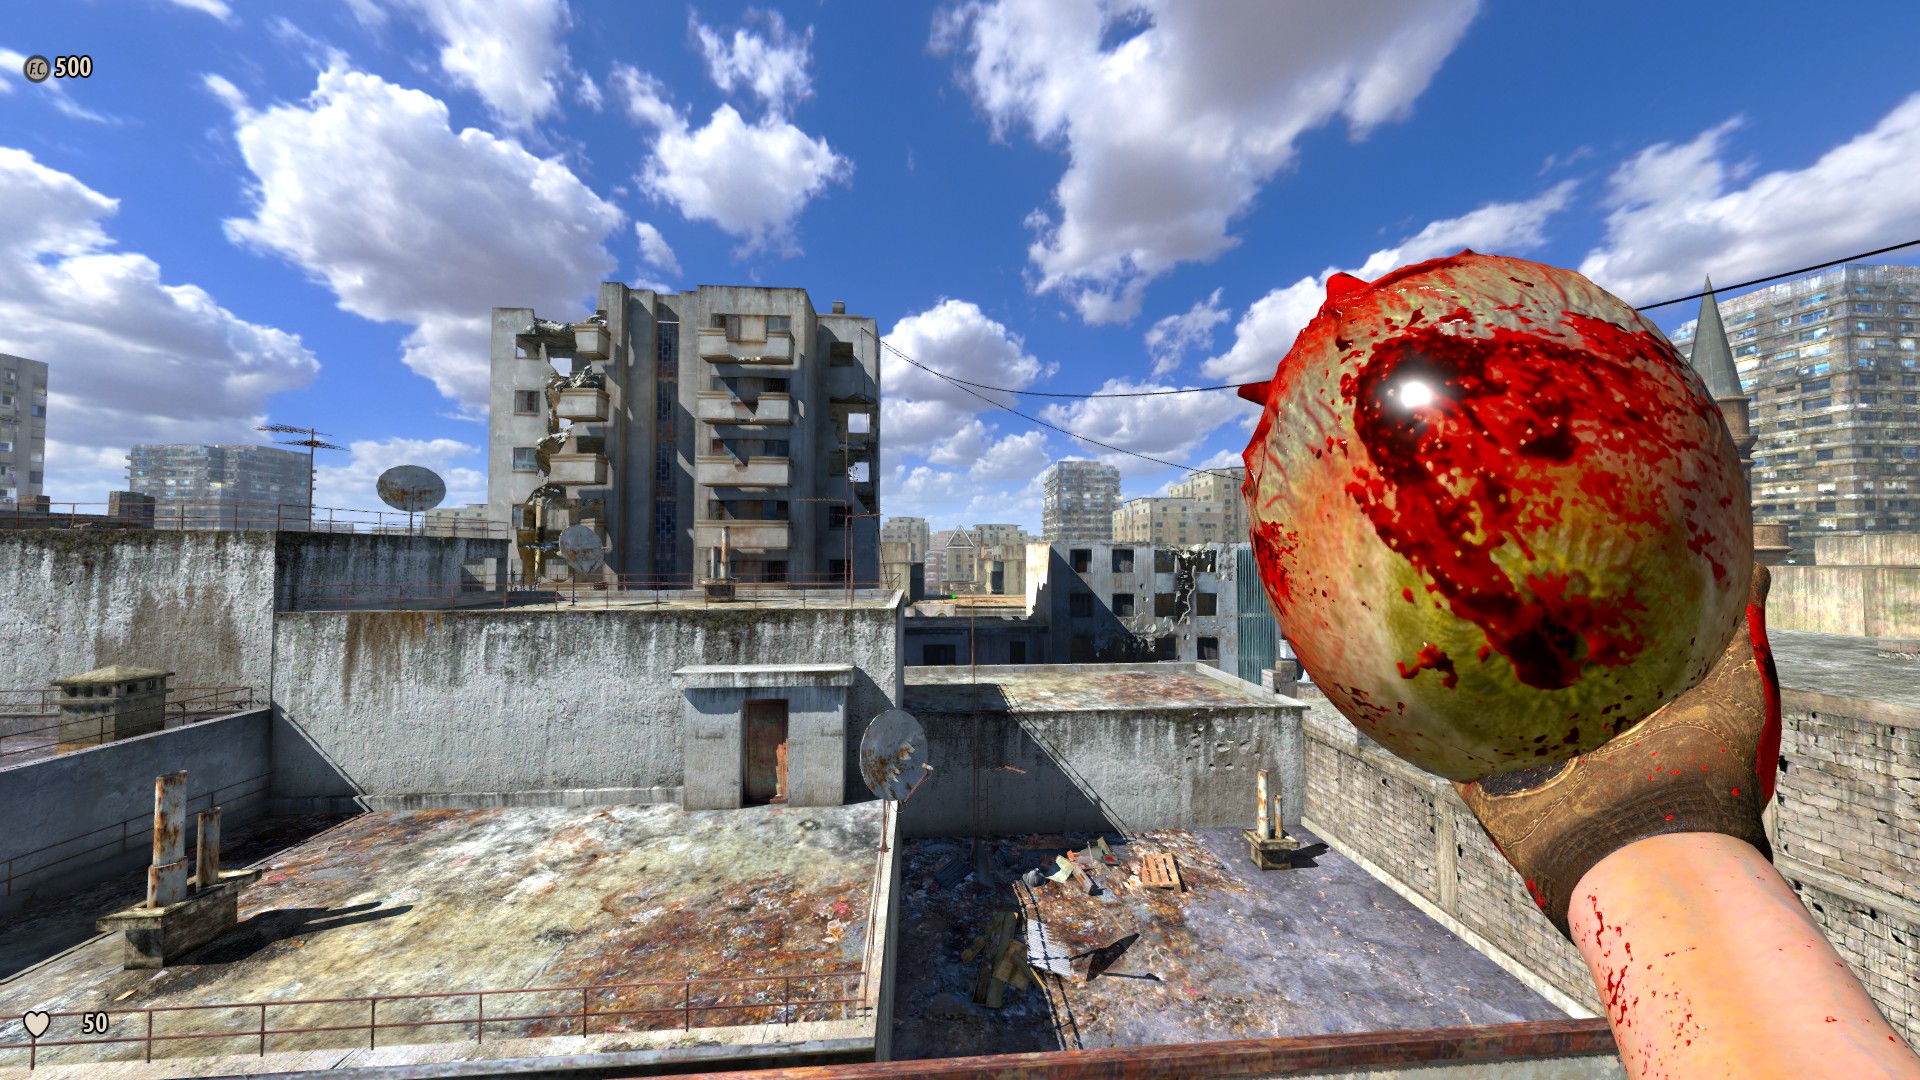
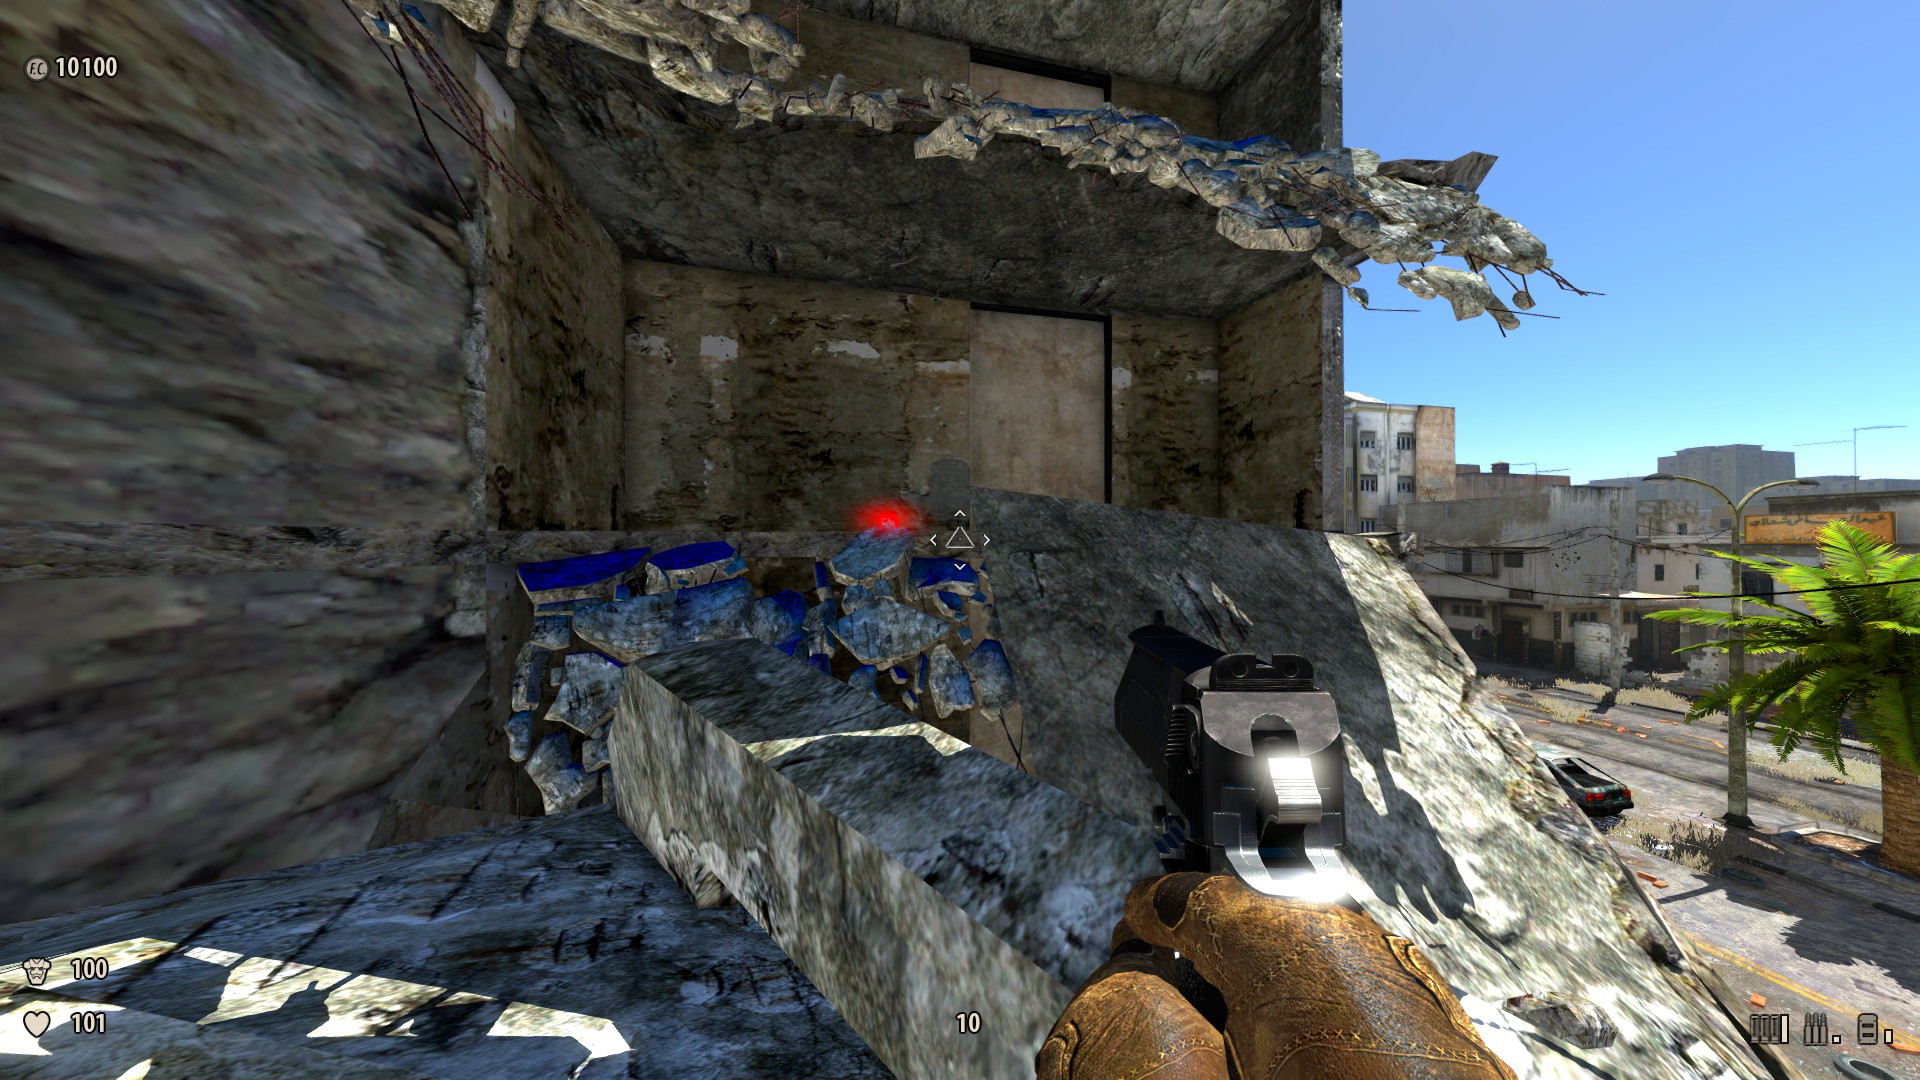
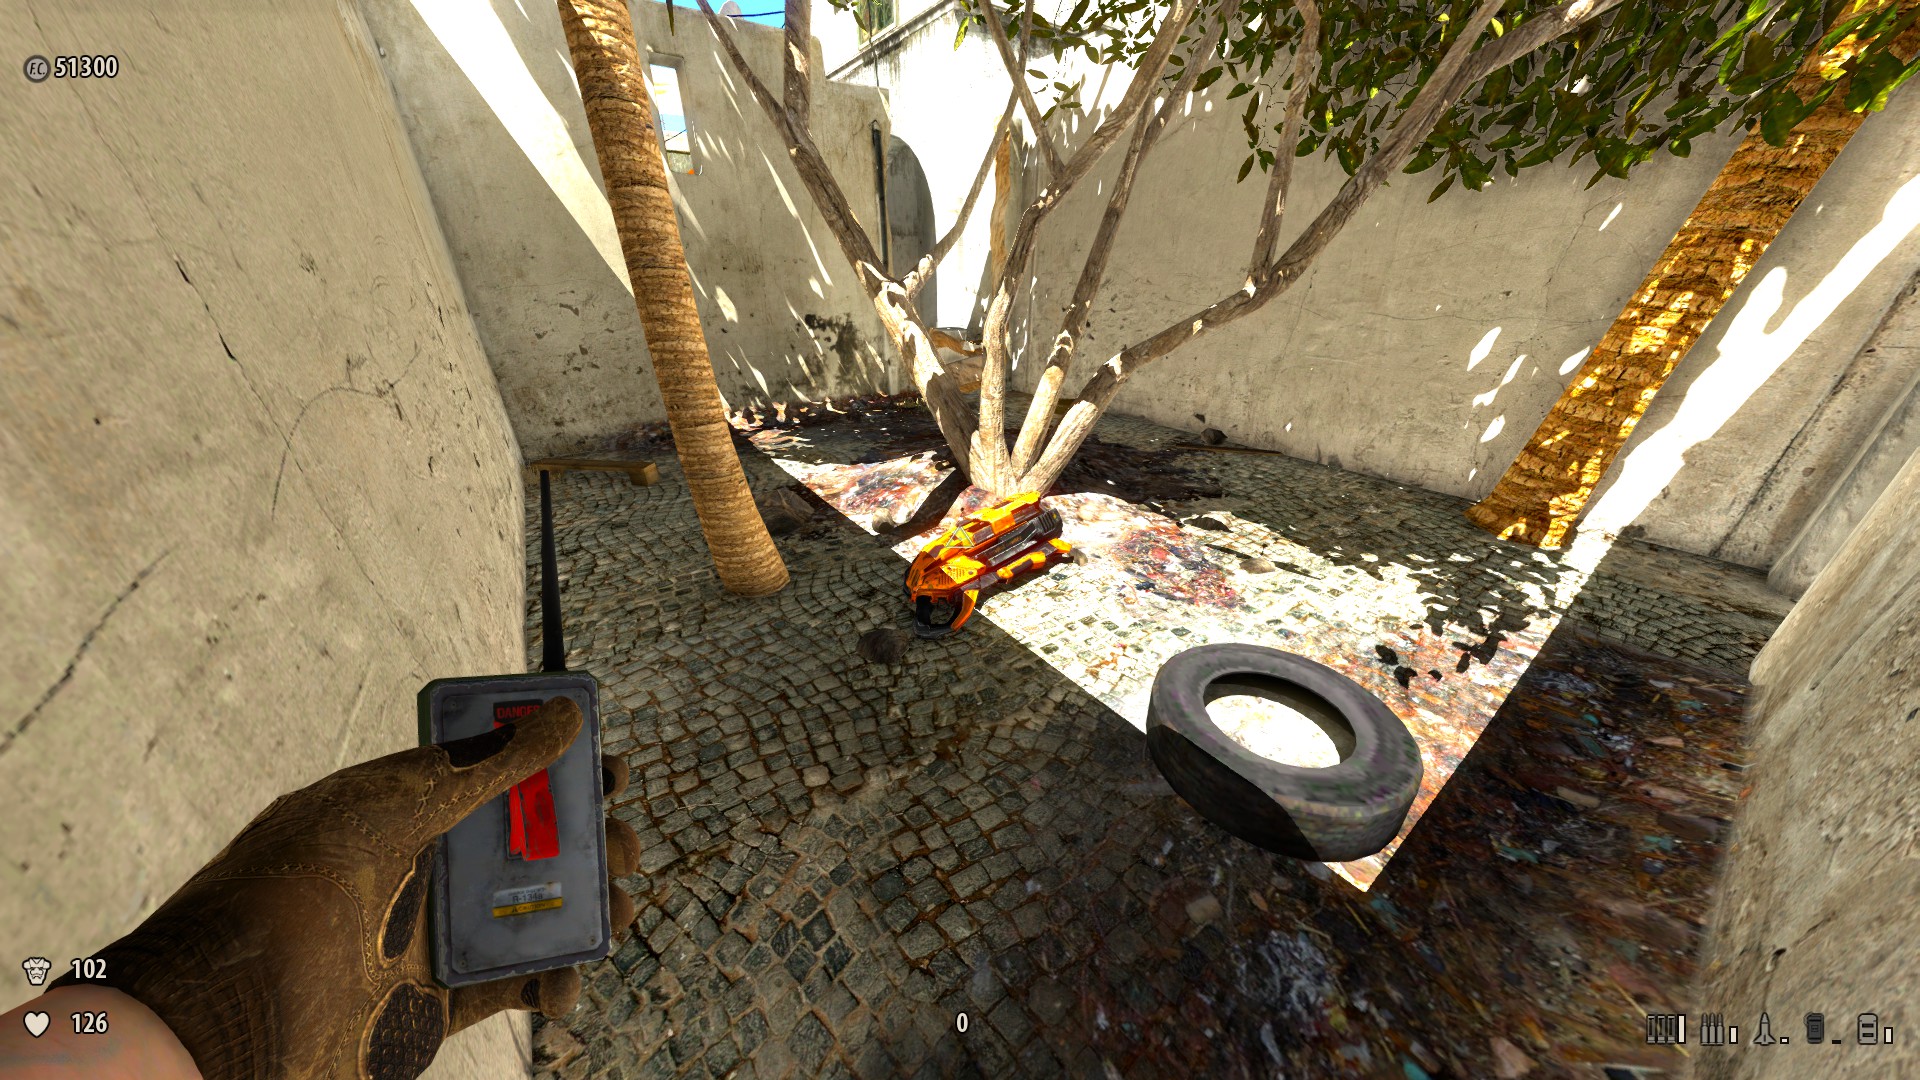
1) Utilize the Gnaar's centre — Equally shortly equally you melee the start Gnaar, await beyond the roof from where she came from. There's a light-green speck two buildings over. Throw the eye at a high enough arc (standing at the edge, at the same level as the top of the tall edifice to the left) that it hits the speck and tosses it onto your roof. If you miss with the eyeball, you tin can try again with 1 from another Gnaar (don't run or modify weapons while holding an eye, as it will cause it to vanish/drop). Option upward the shotgun and kill the next Gnaar, showing a "Secret assistance!" bulletin. Reward: Pump Action Shotgun.

-
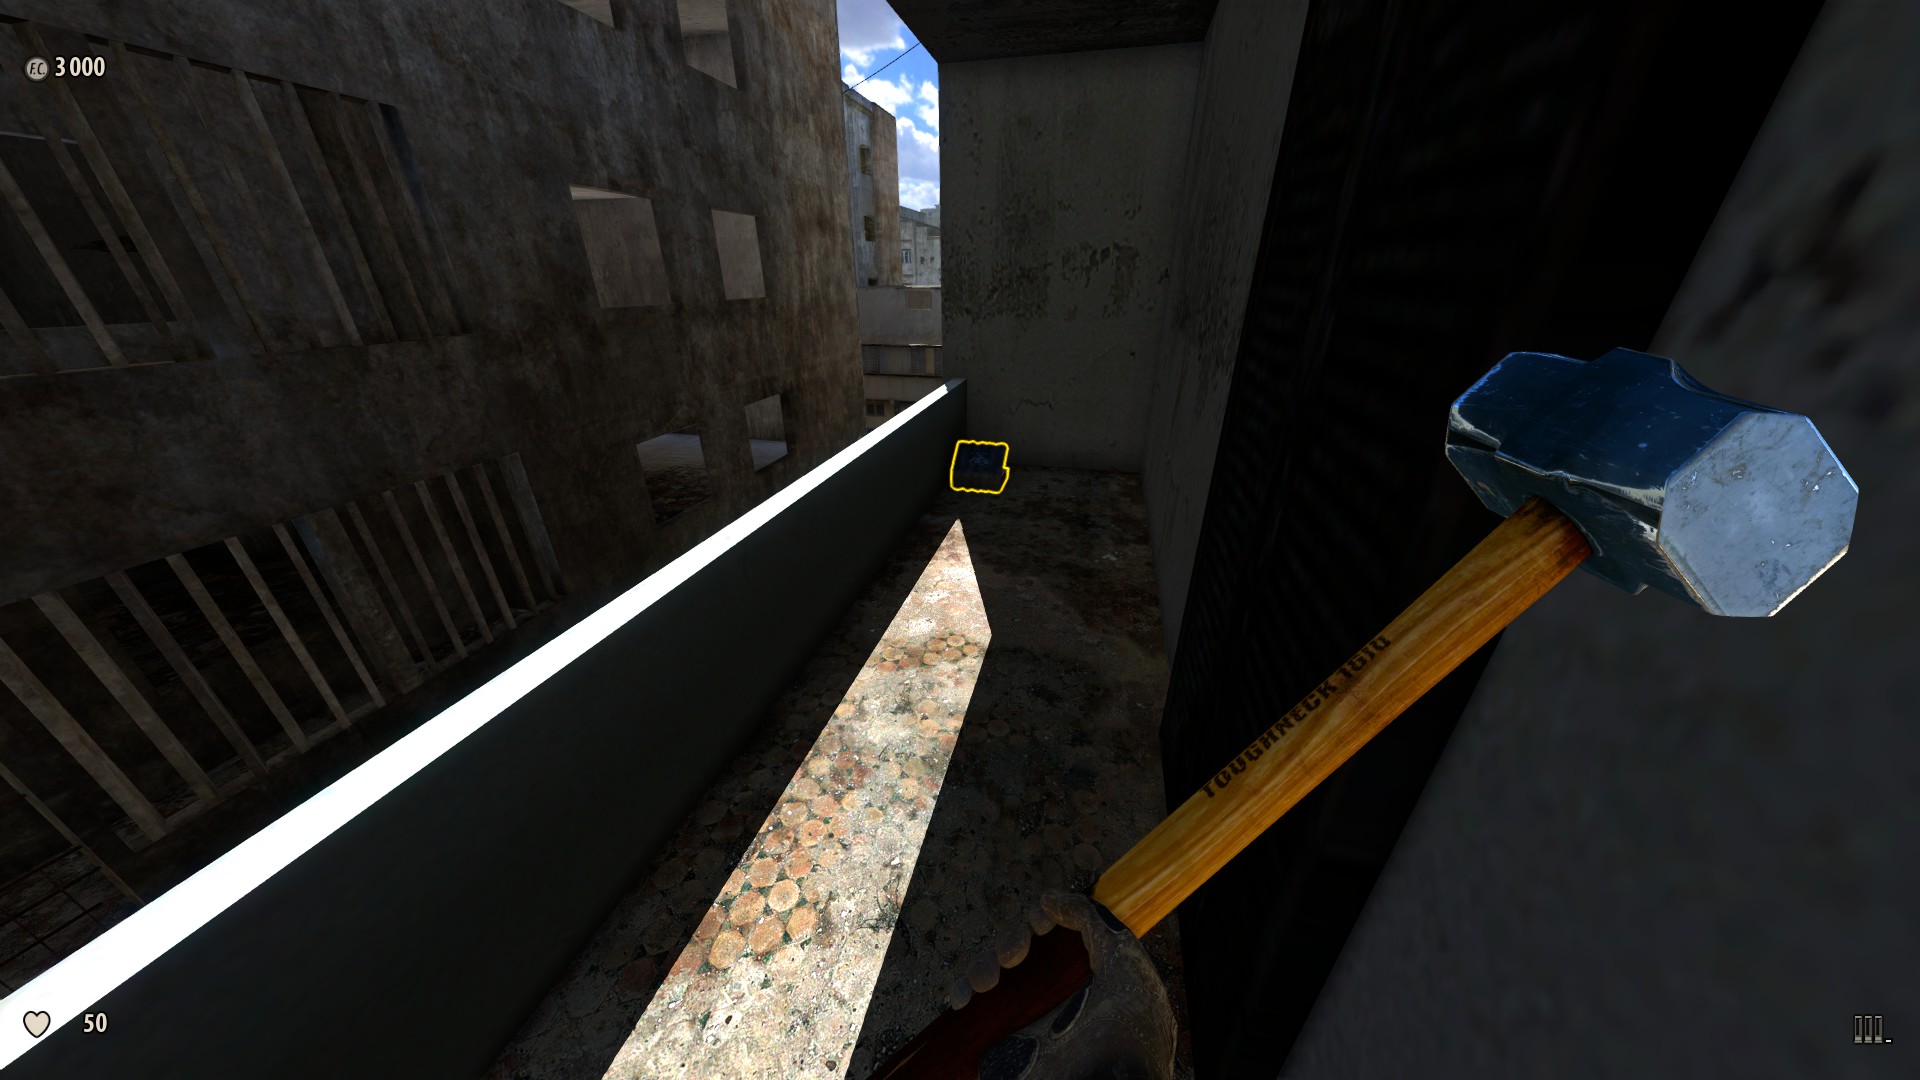
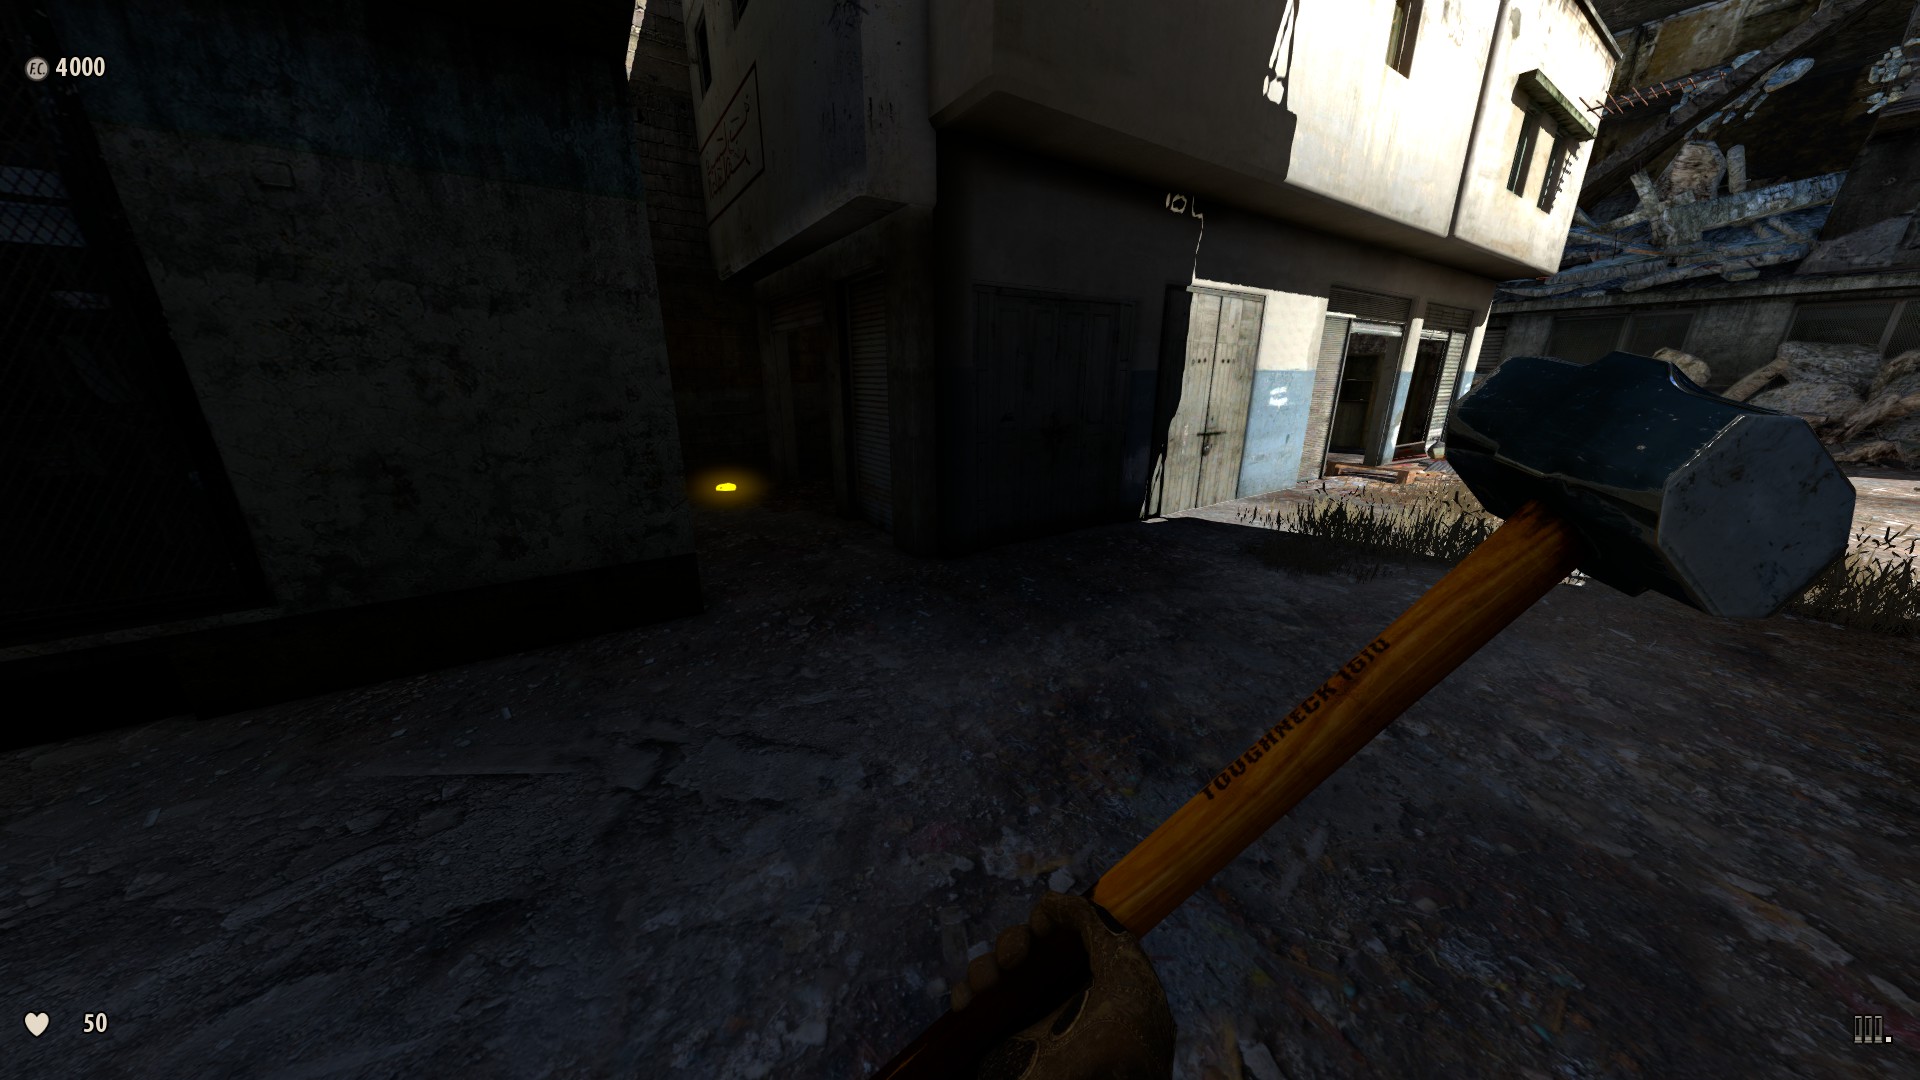
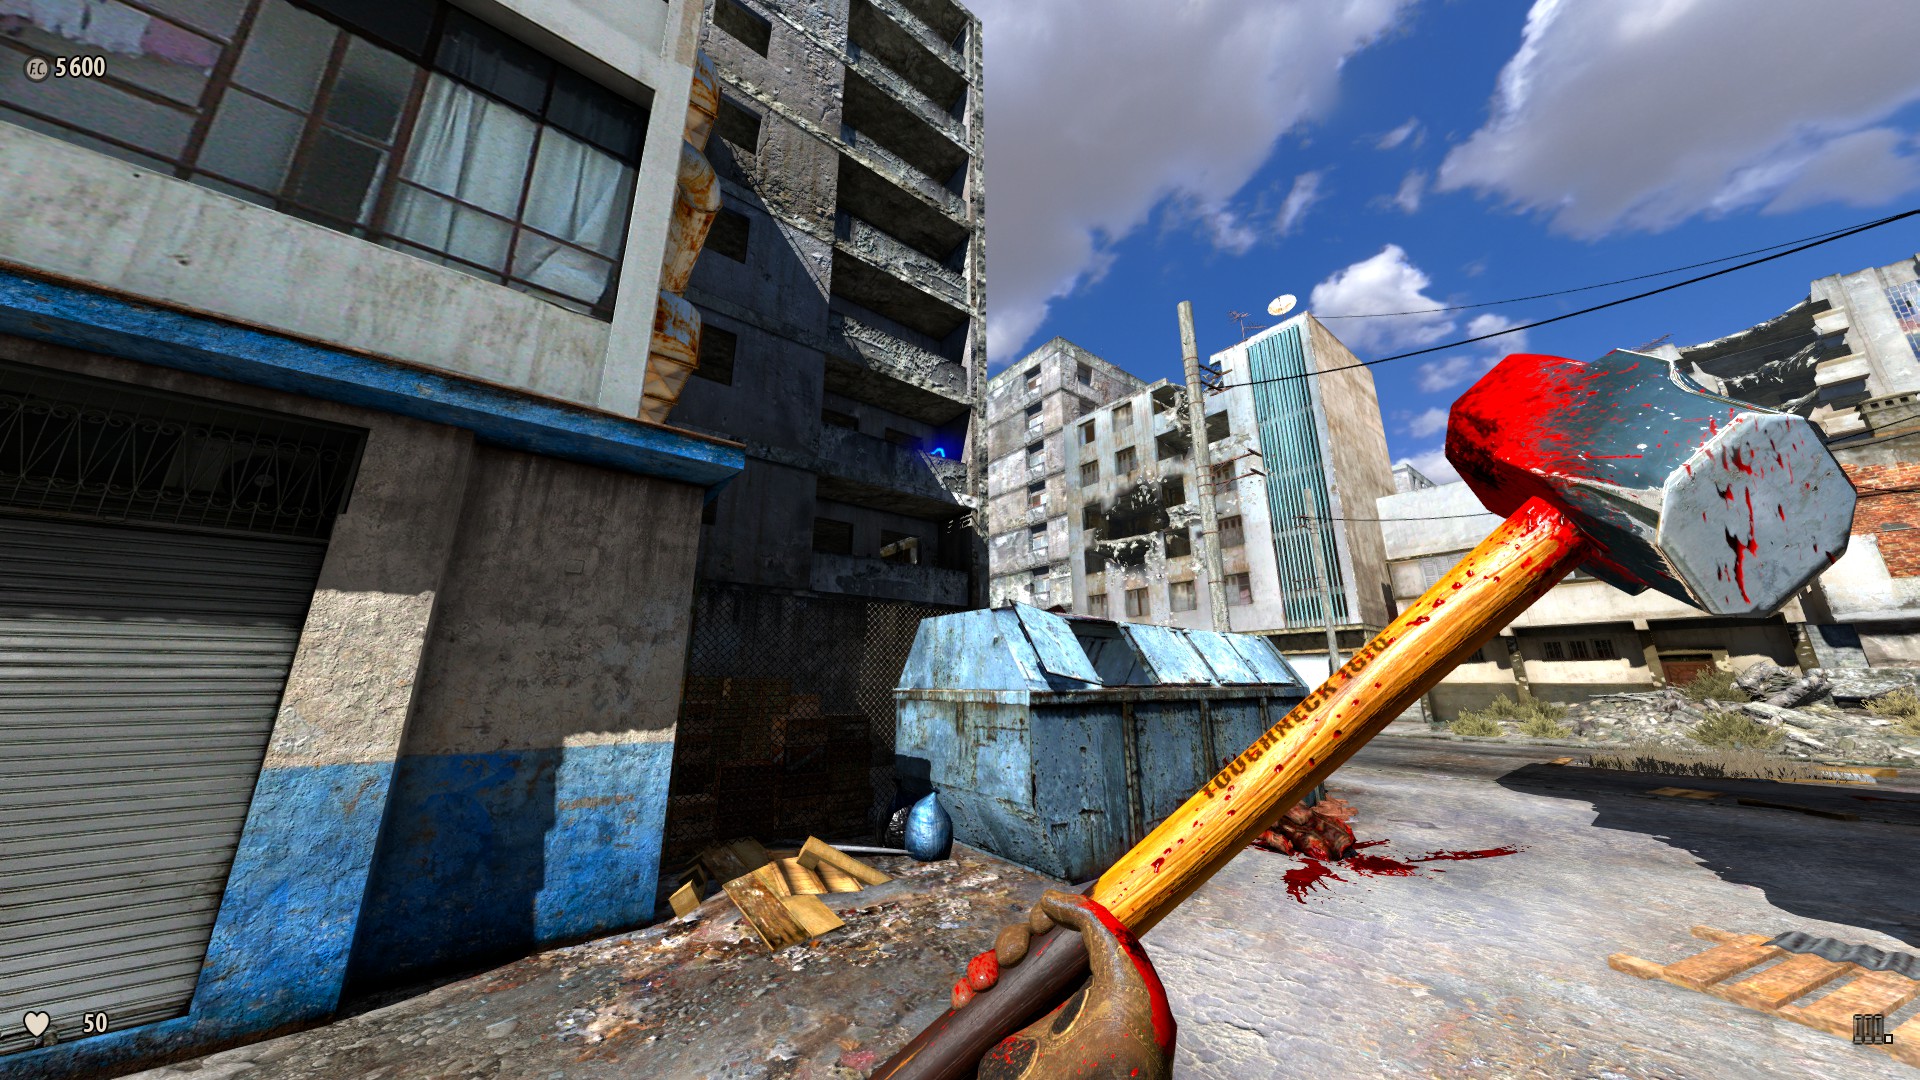
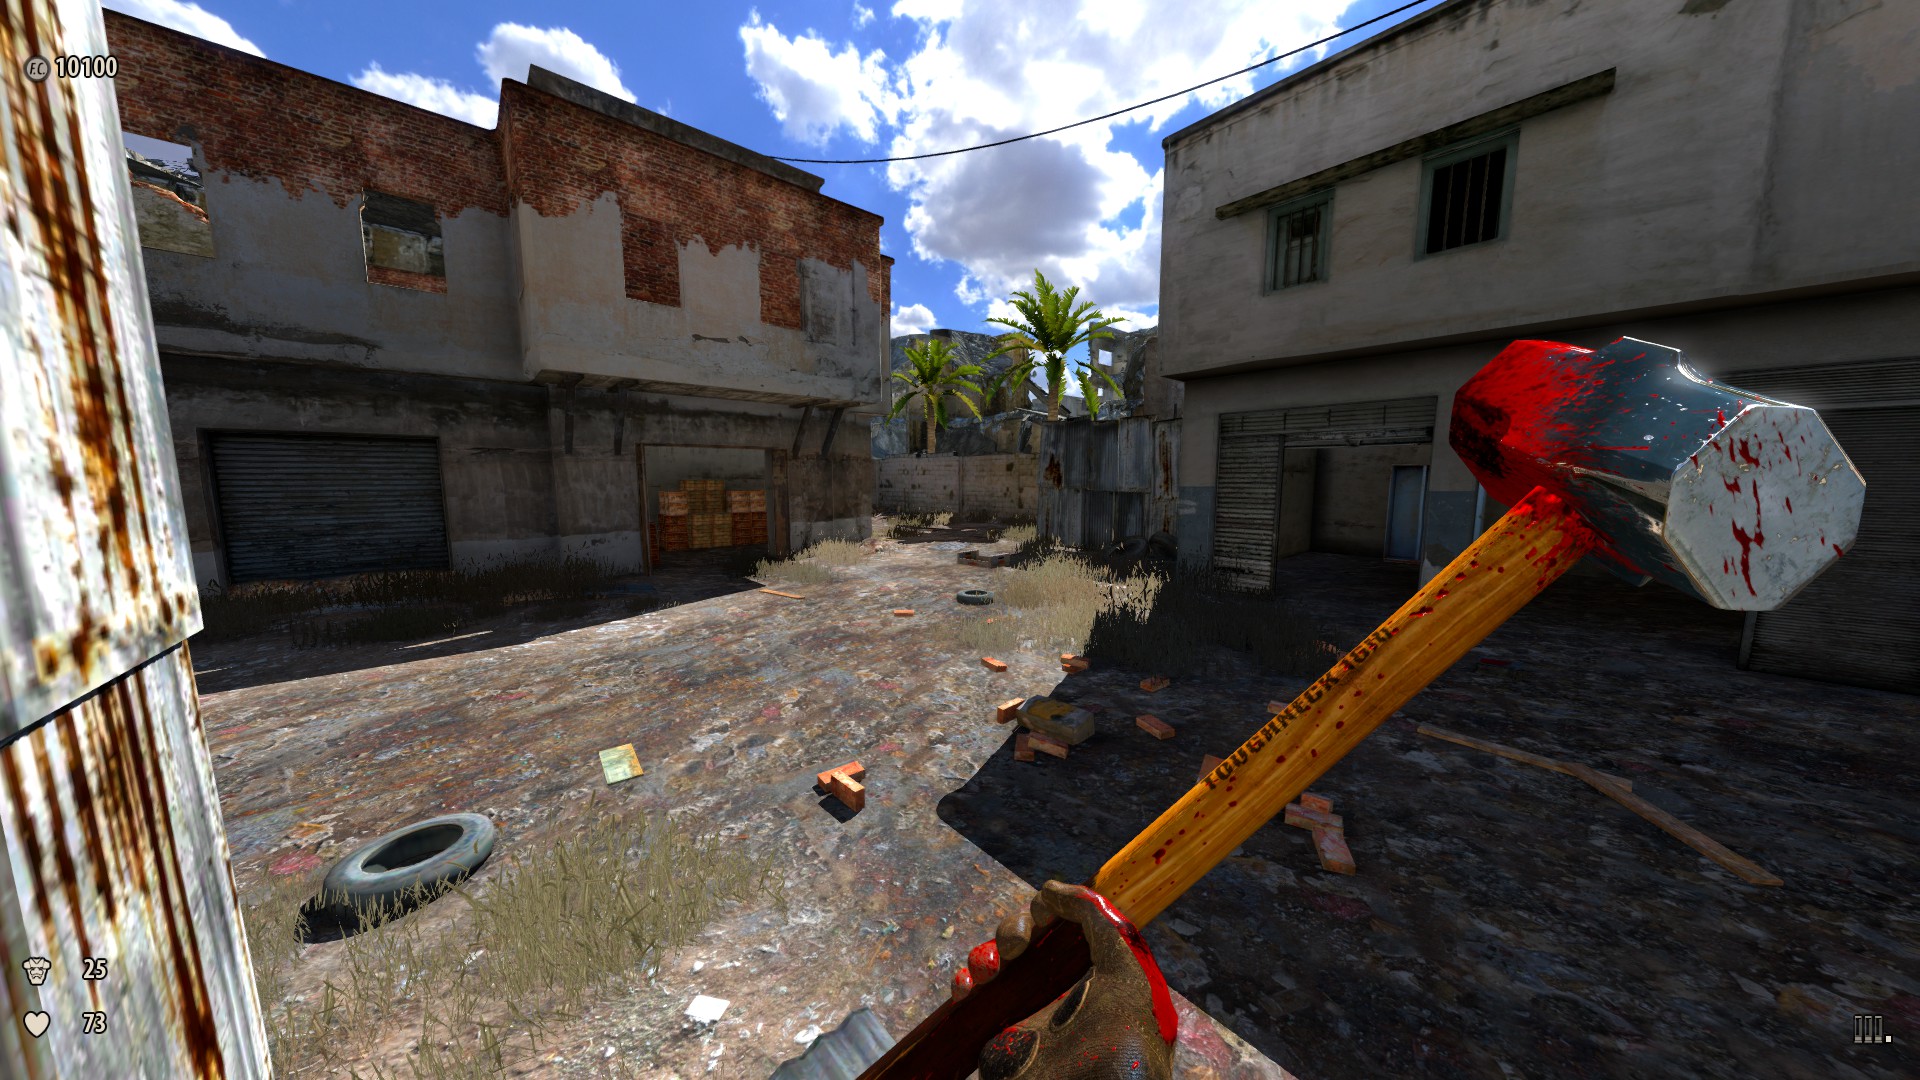
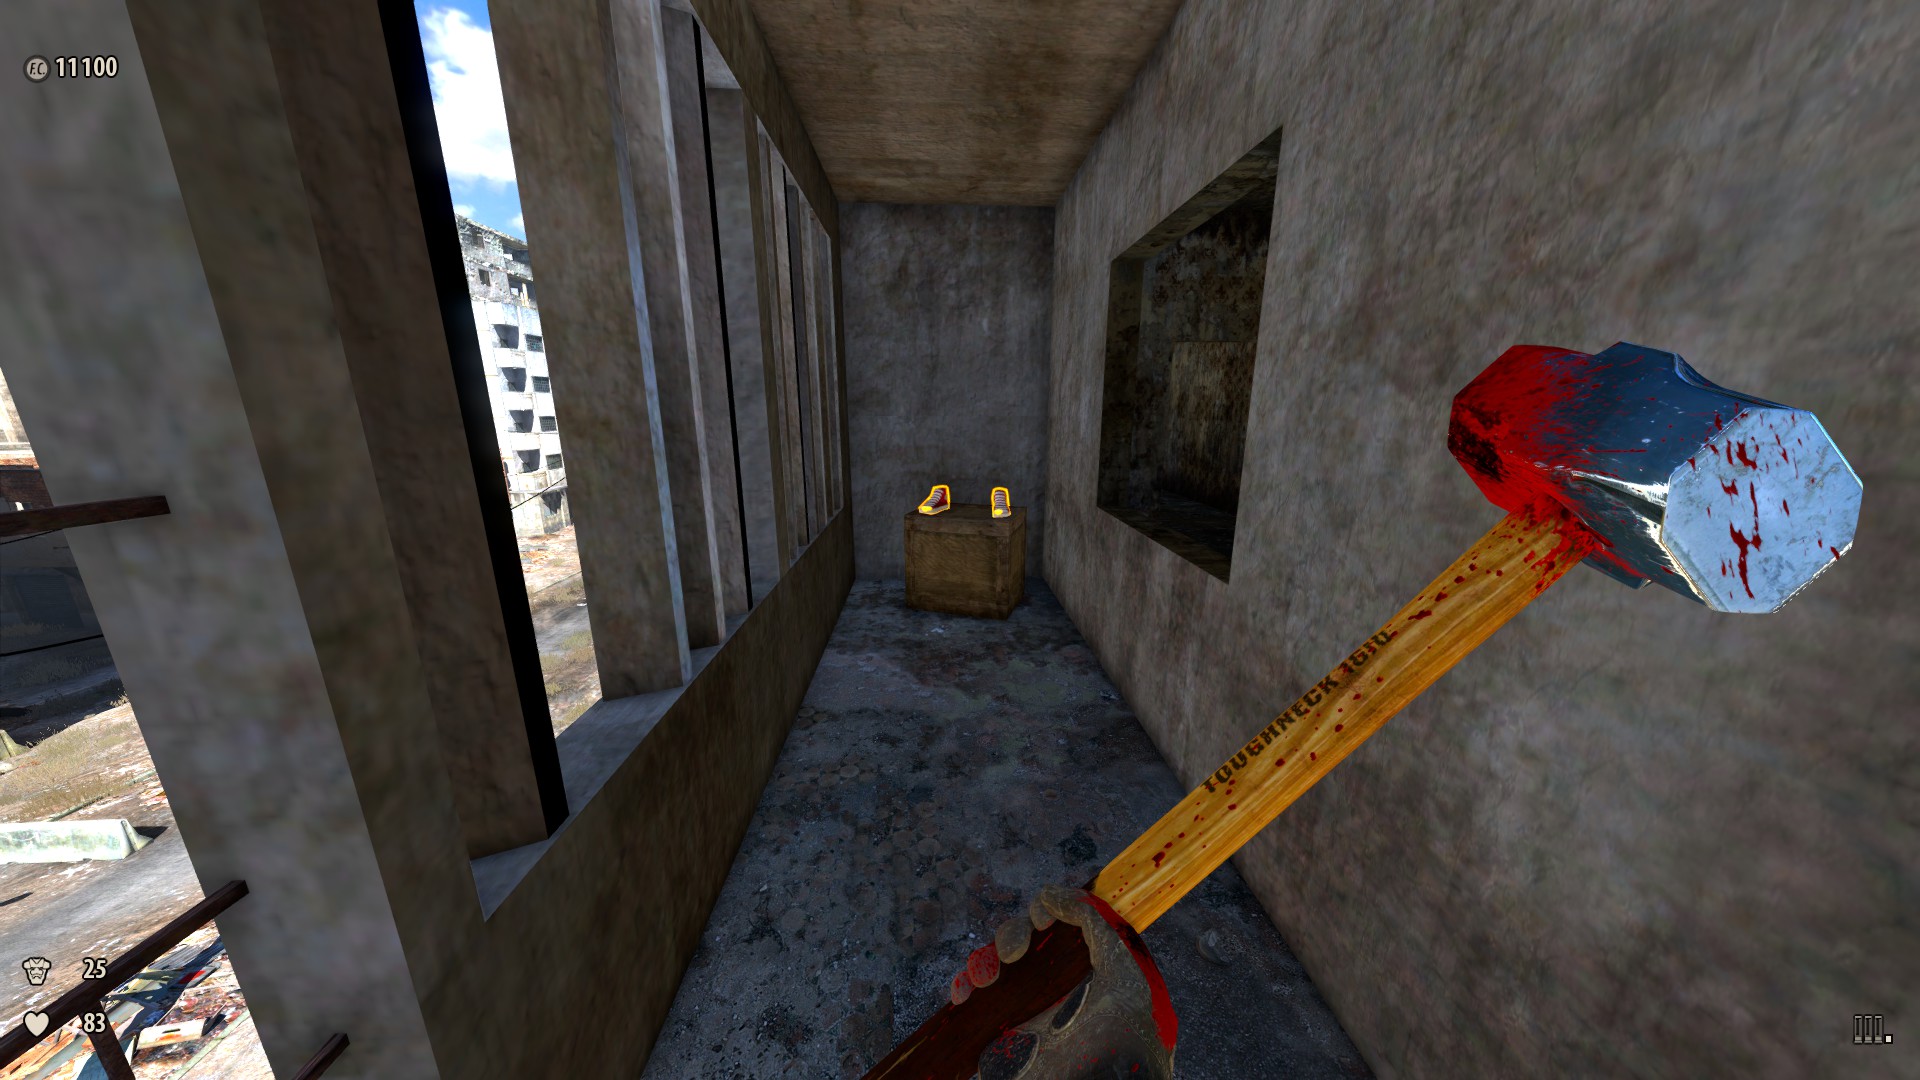
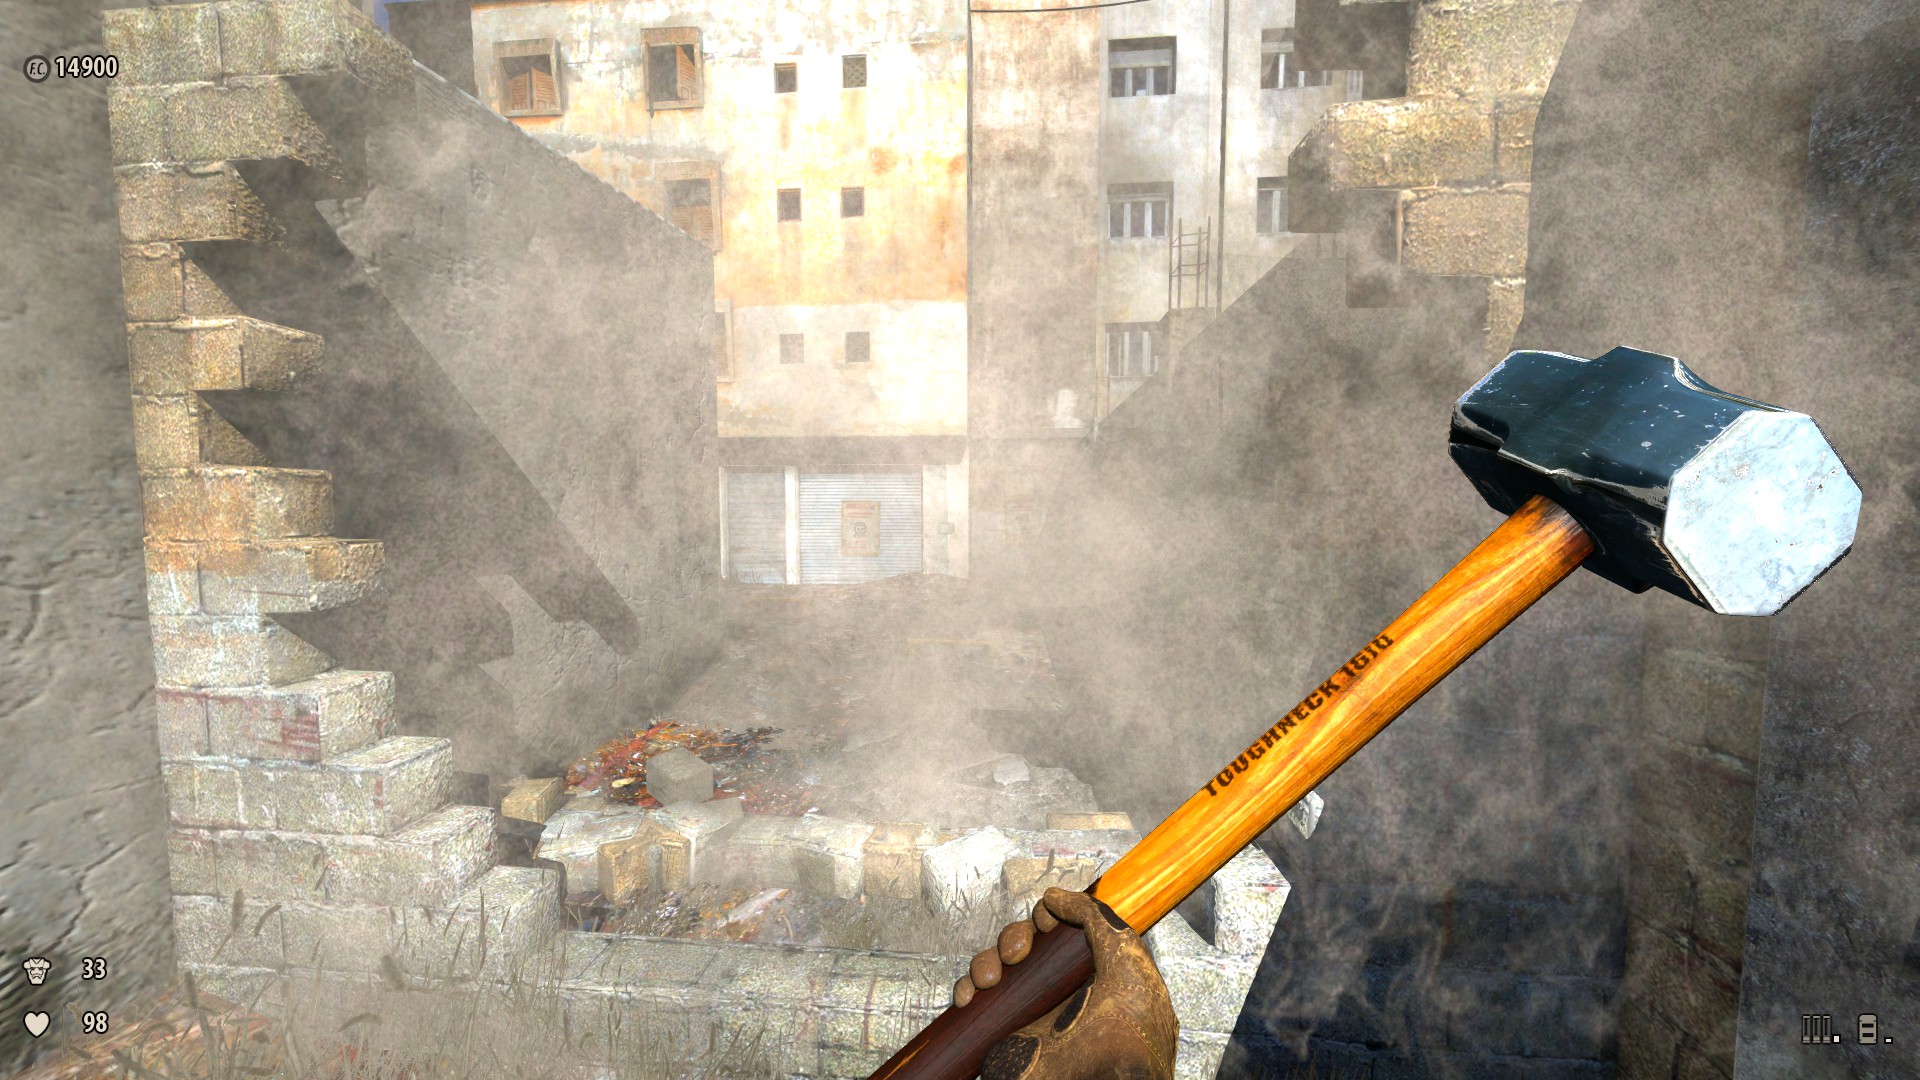
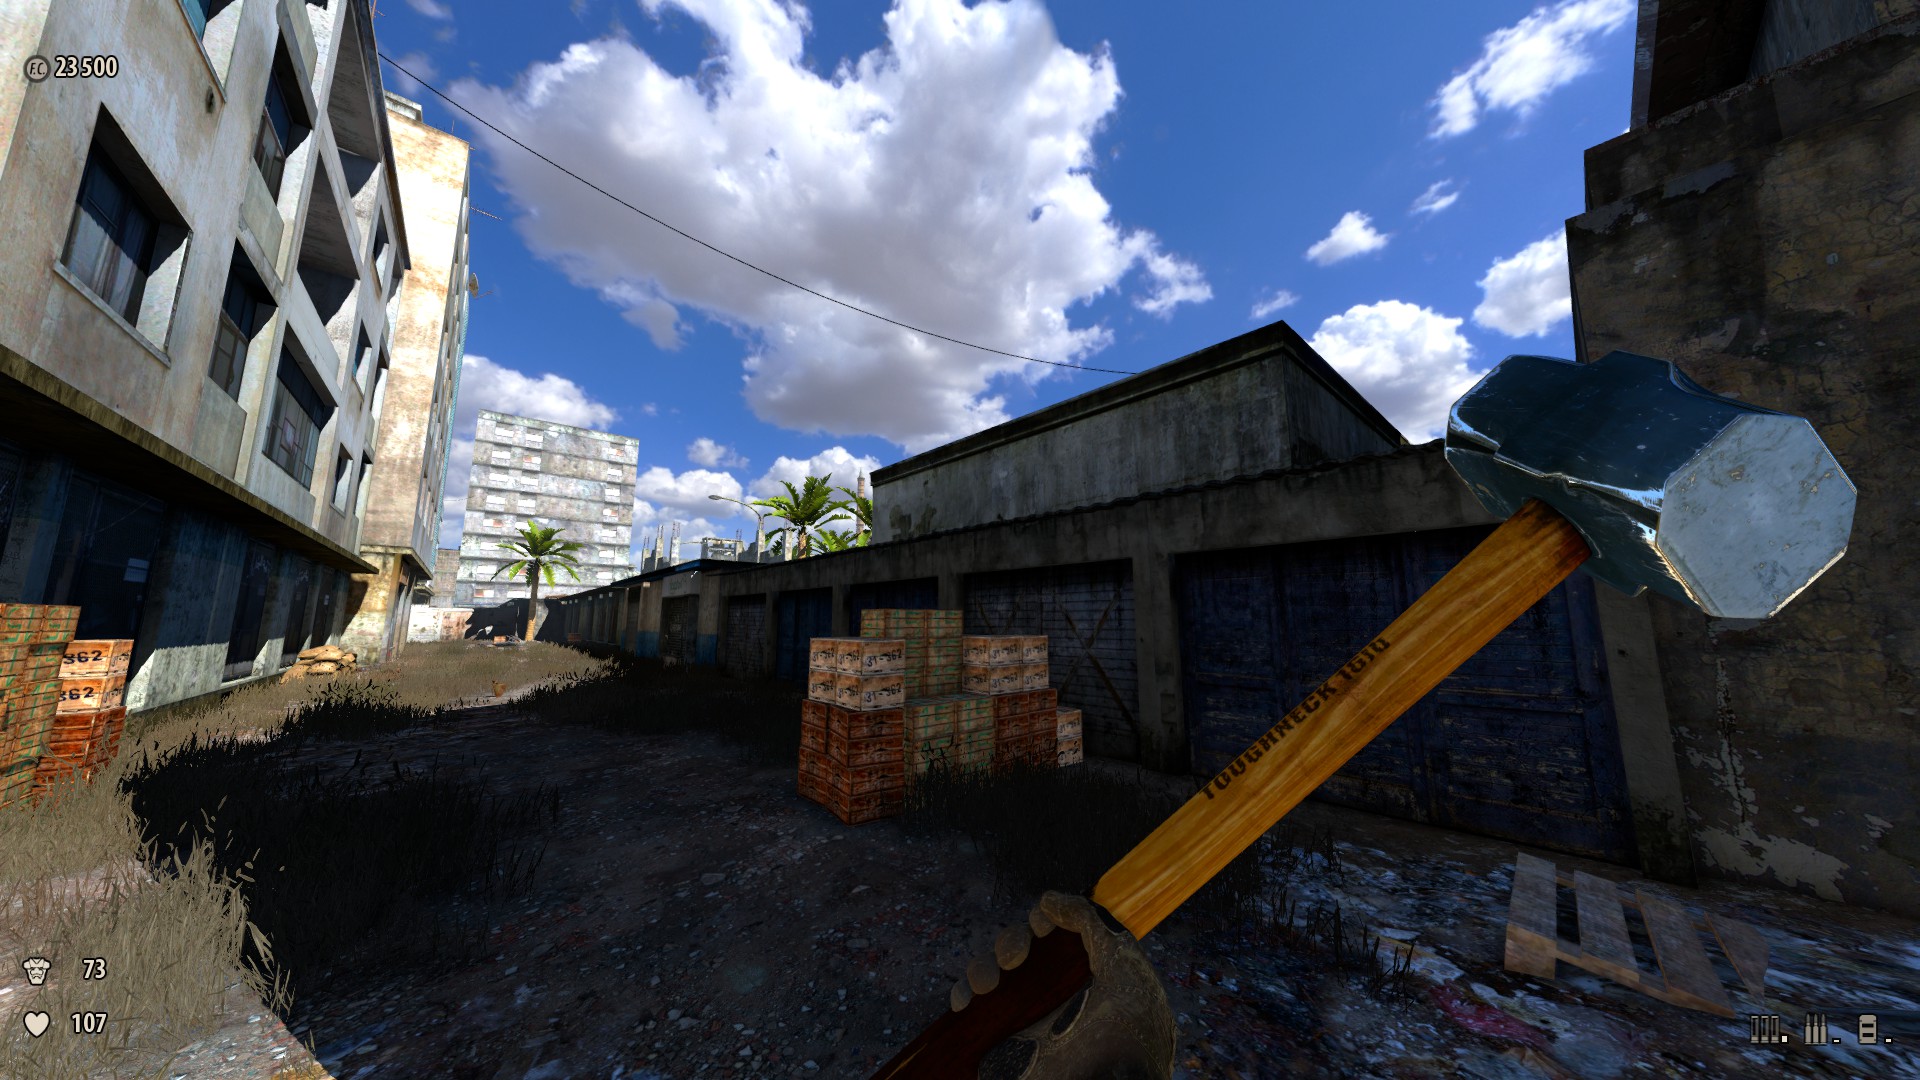
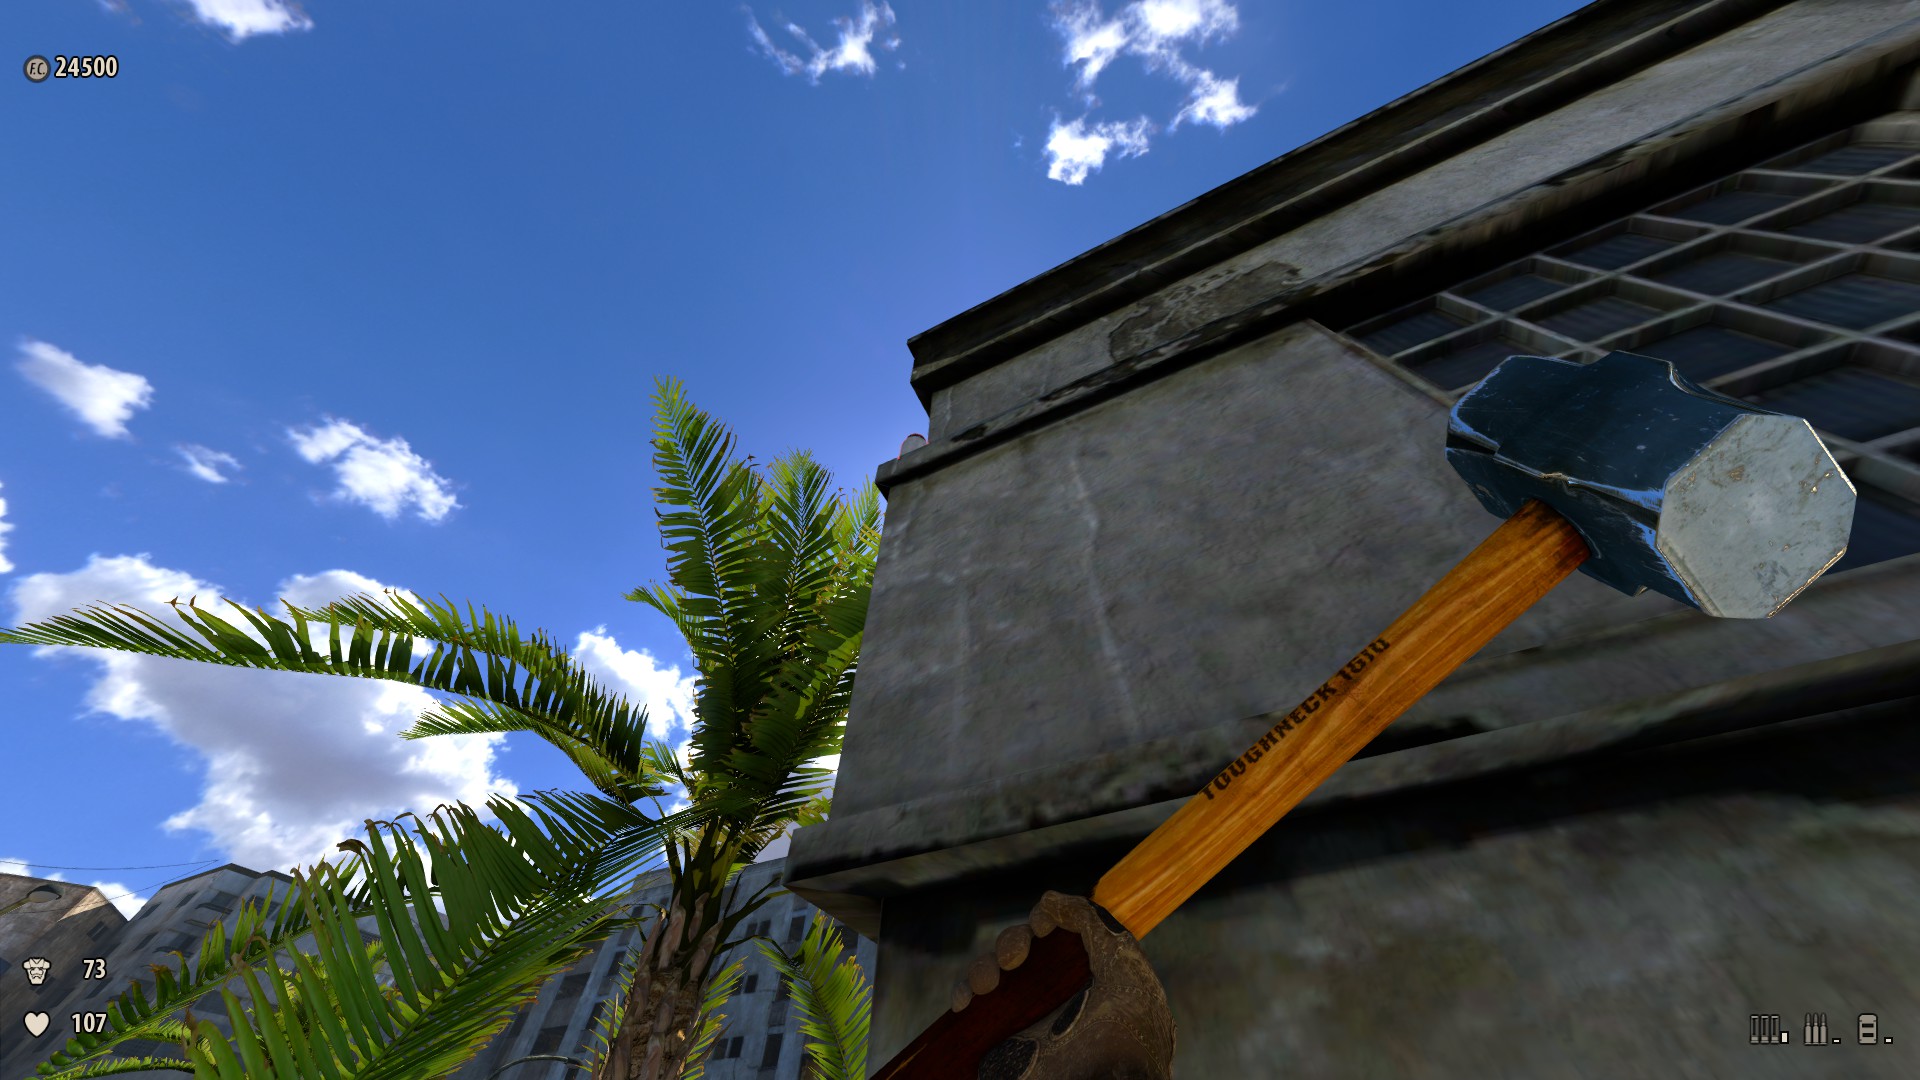
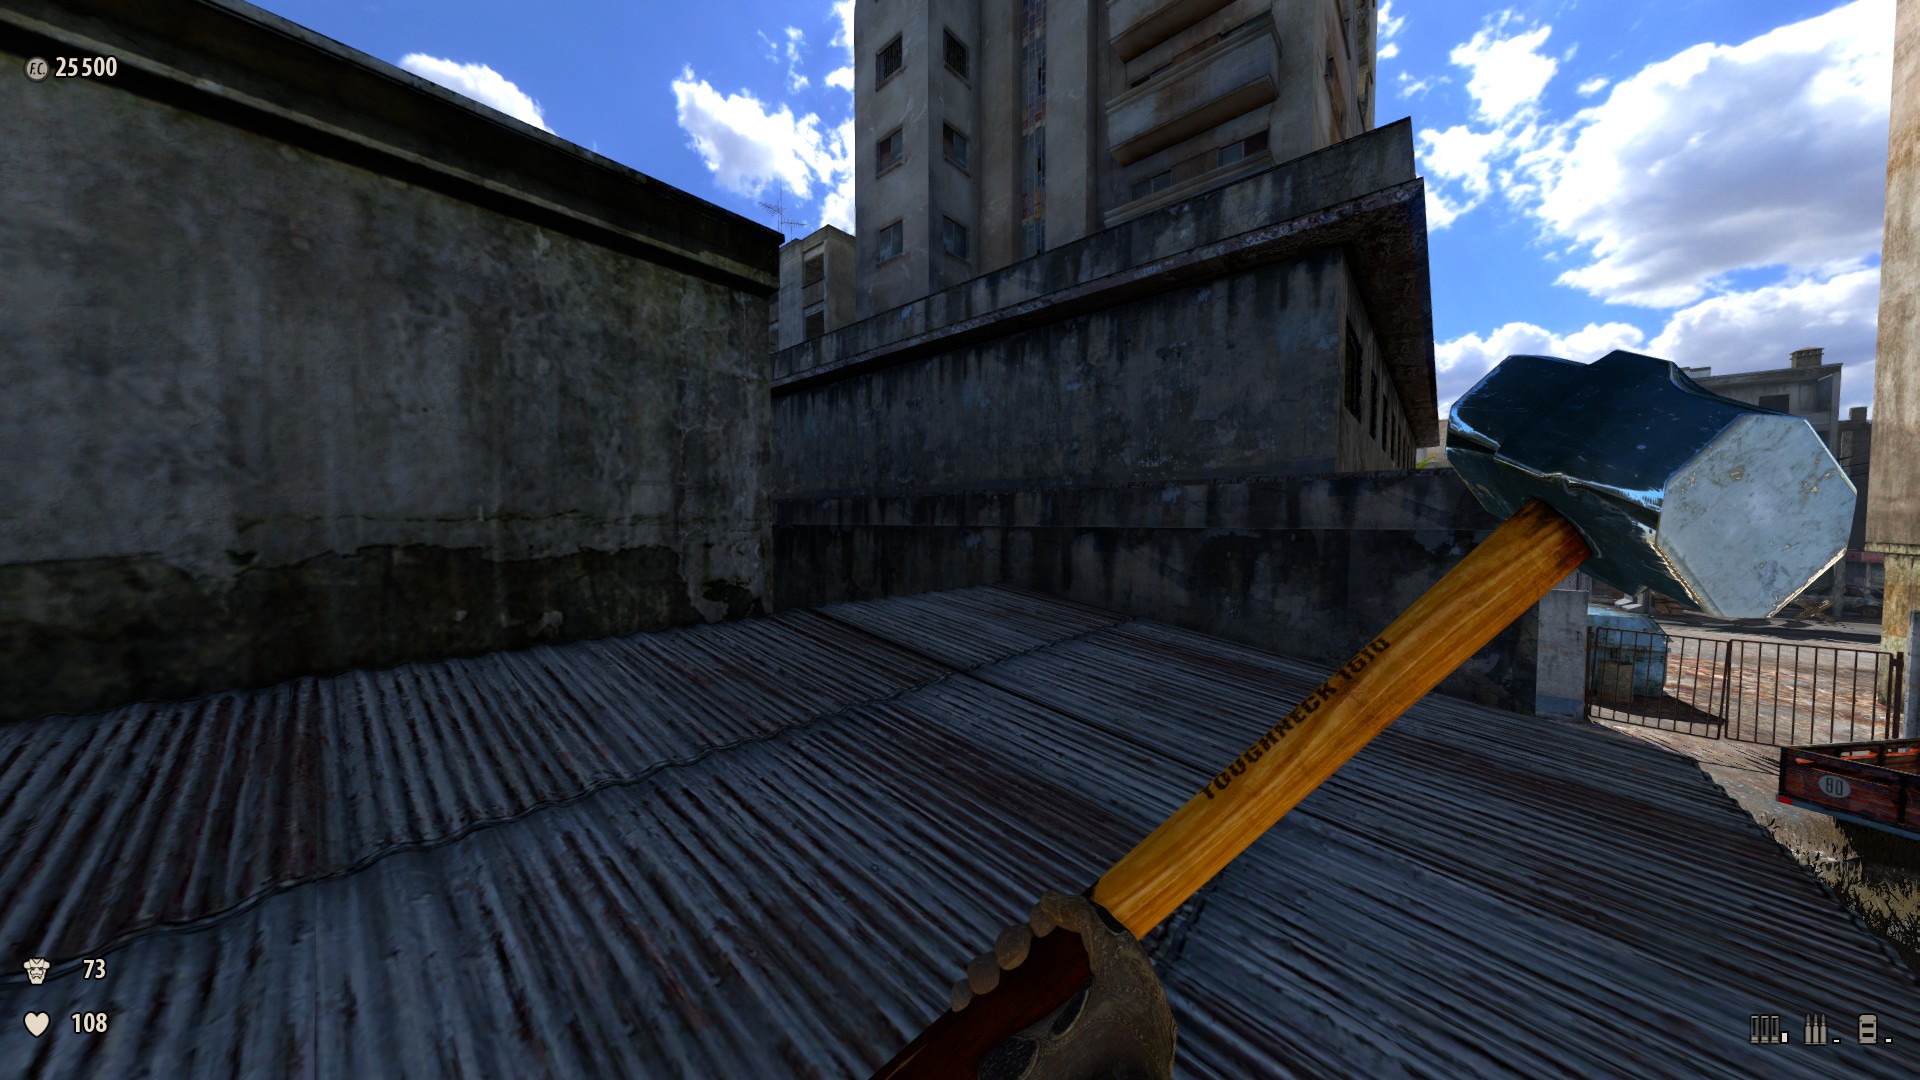
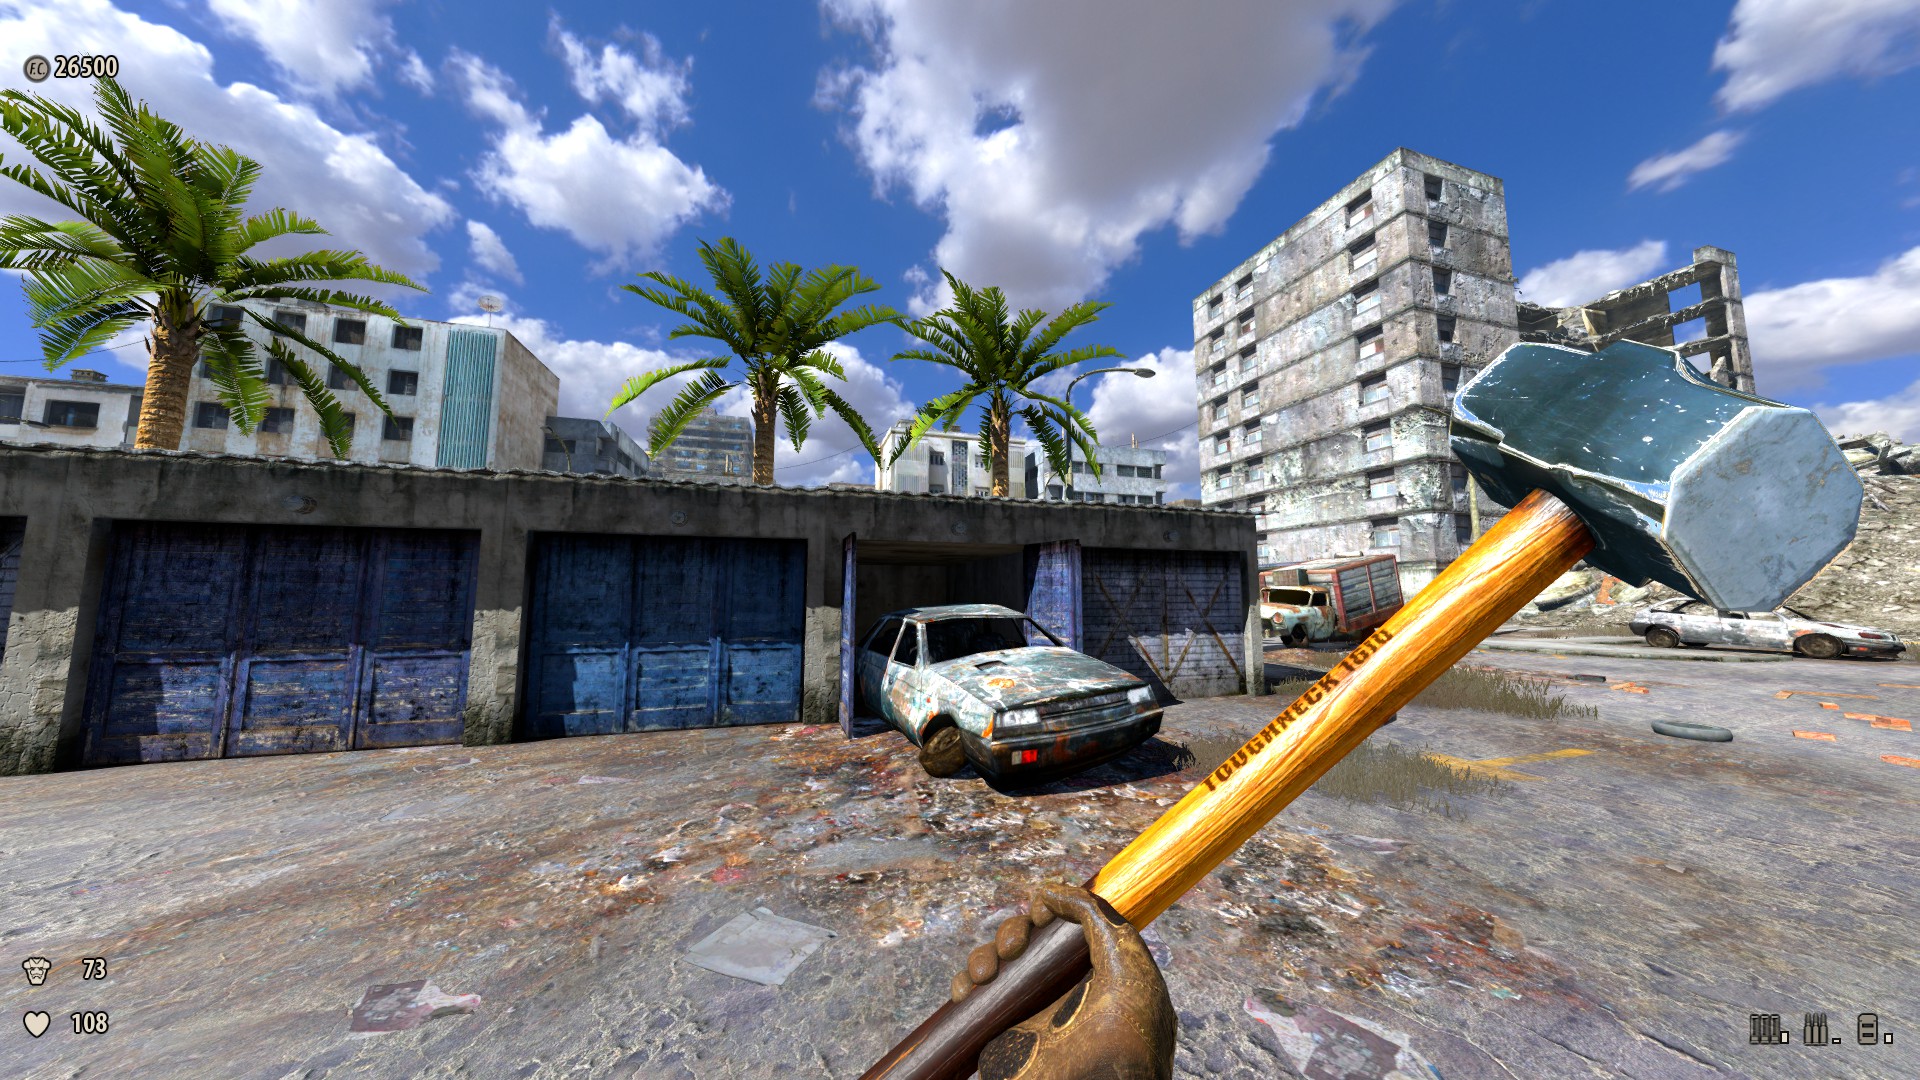
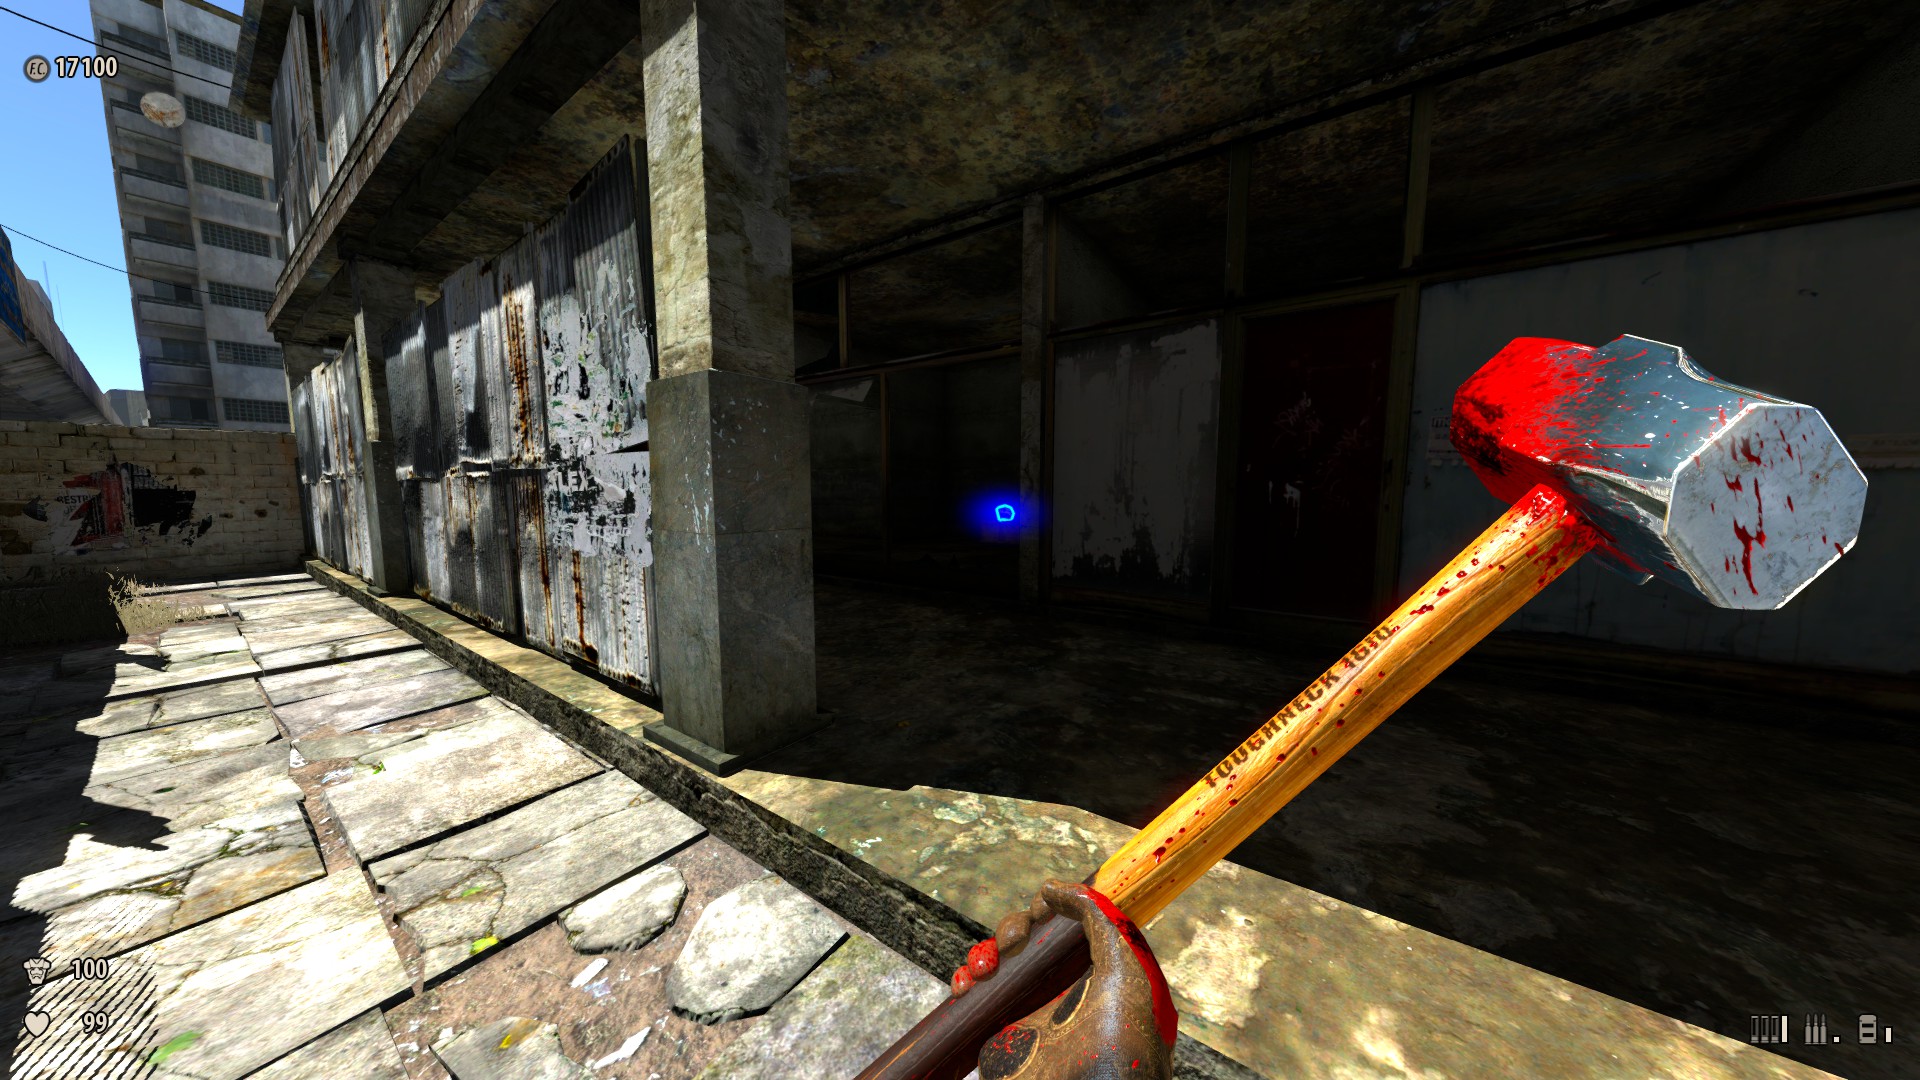
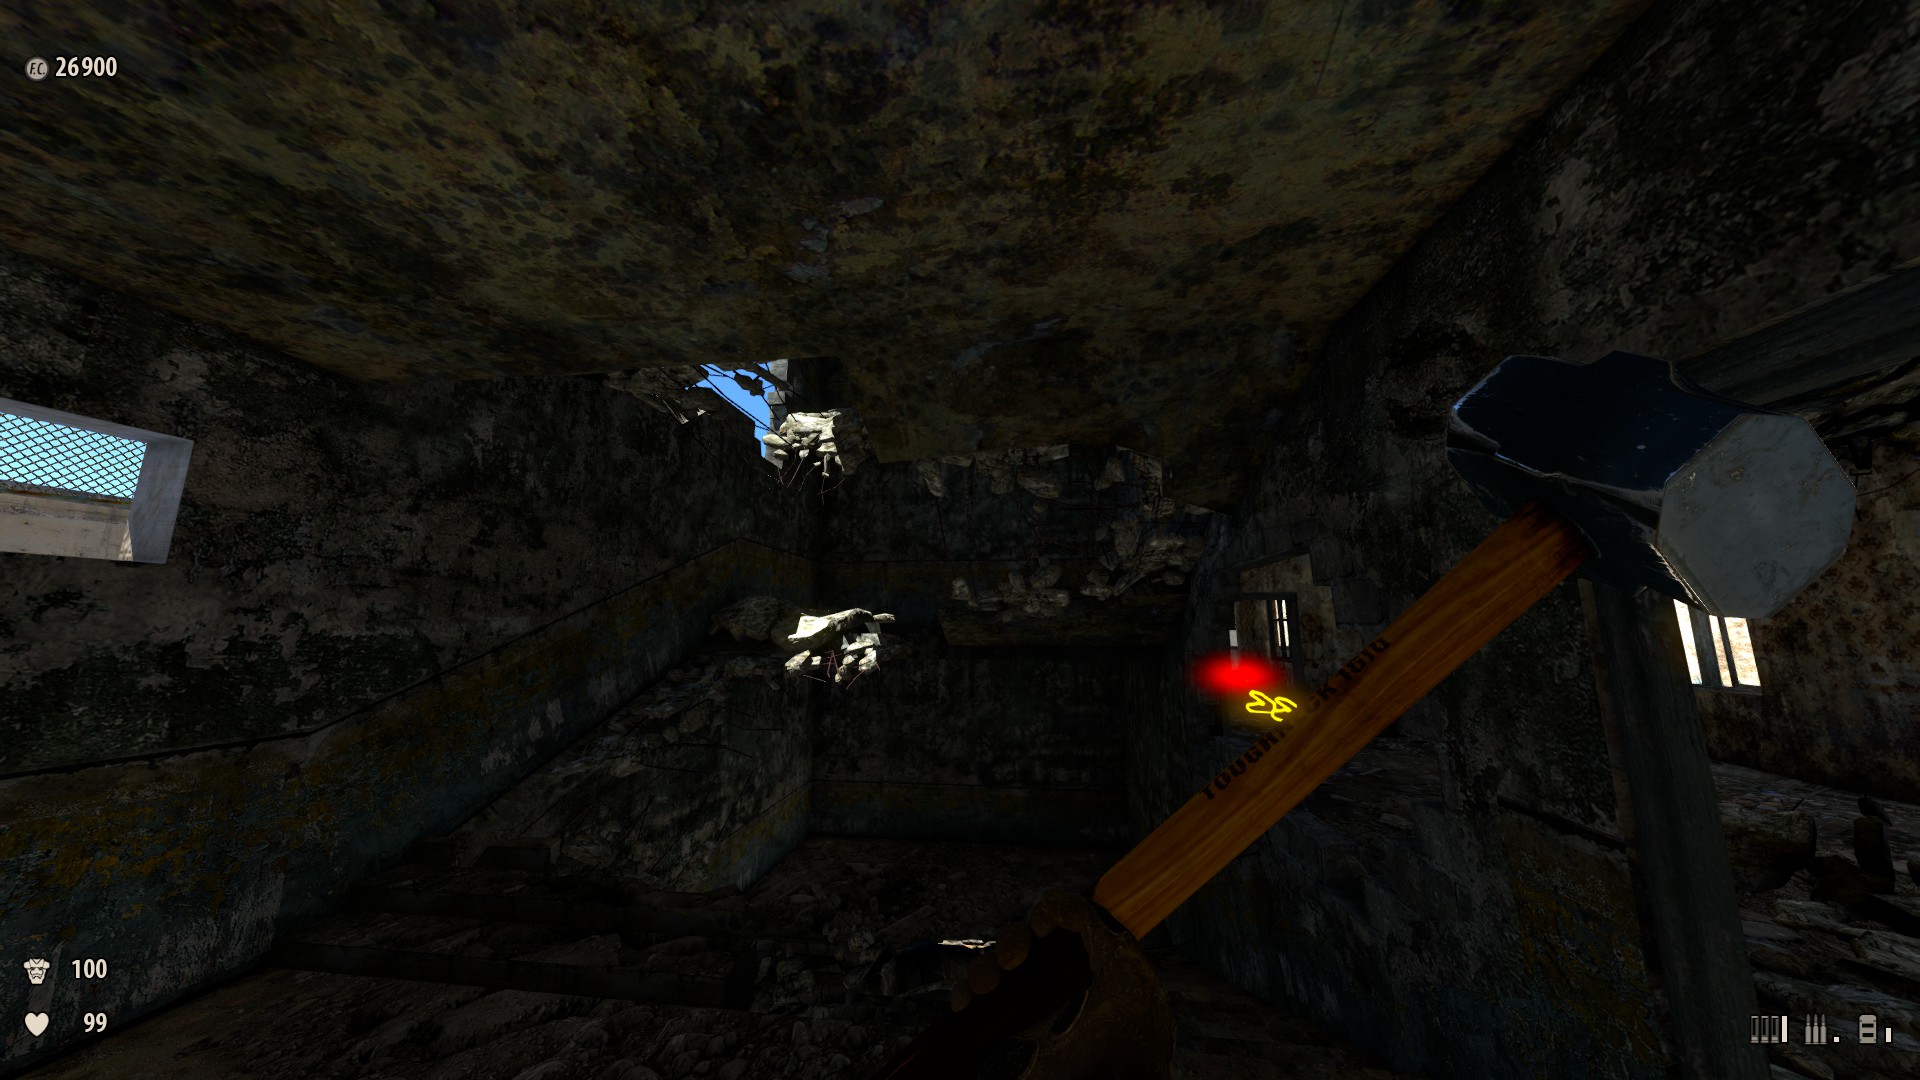
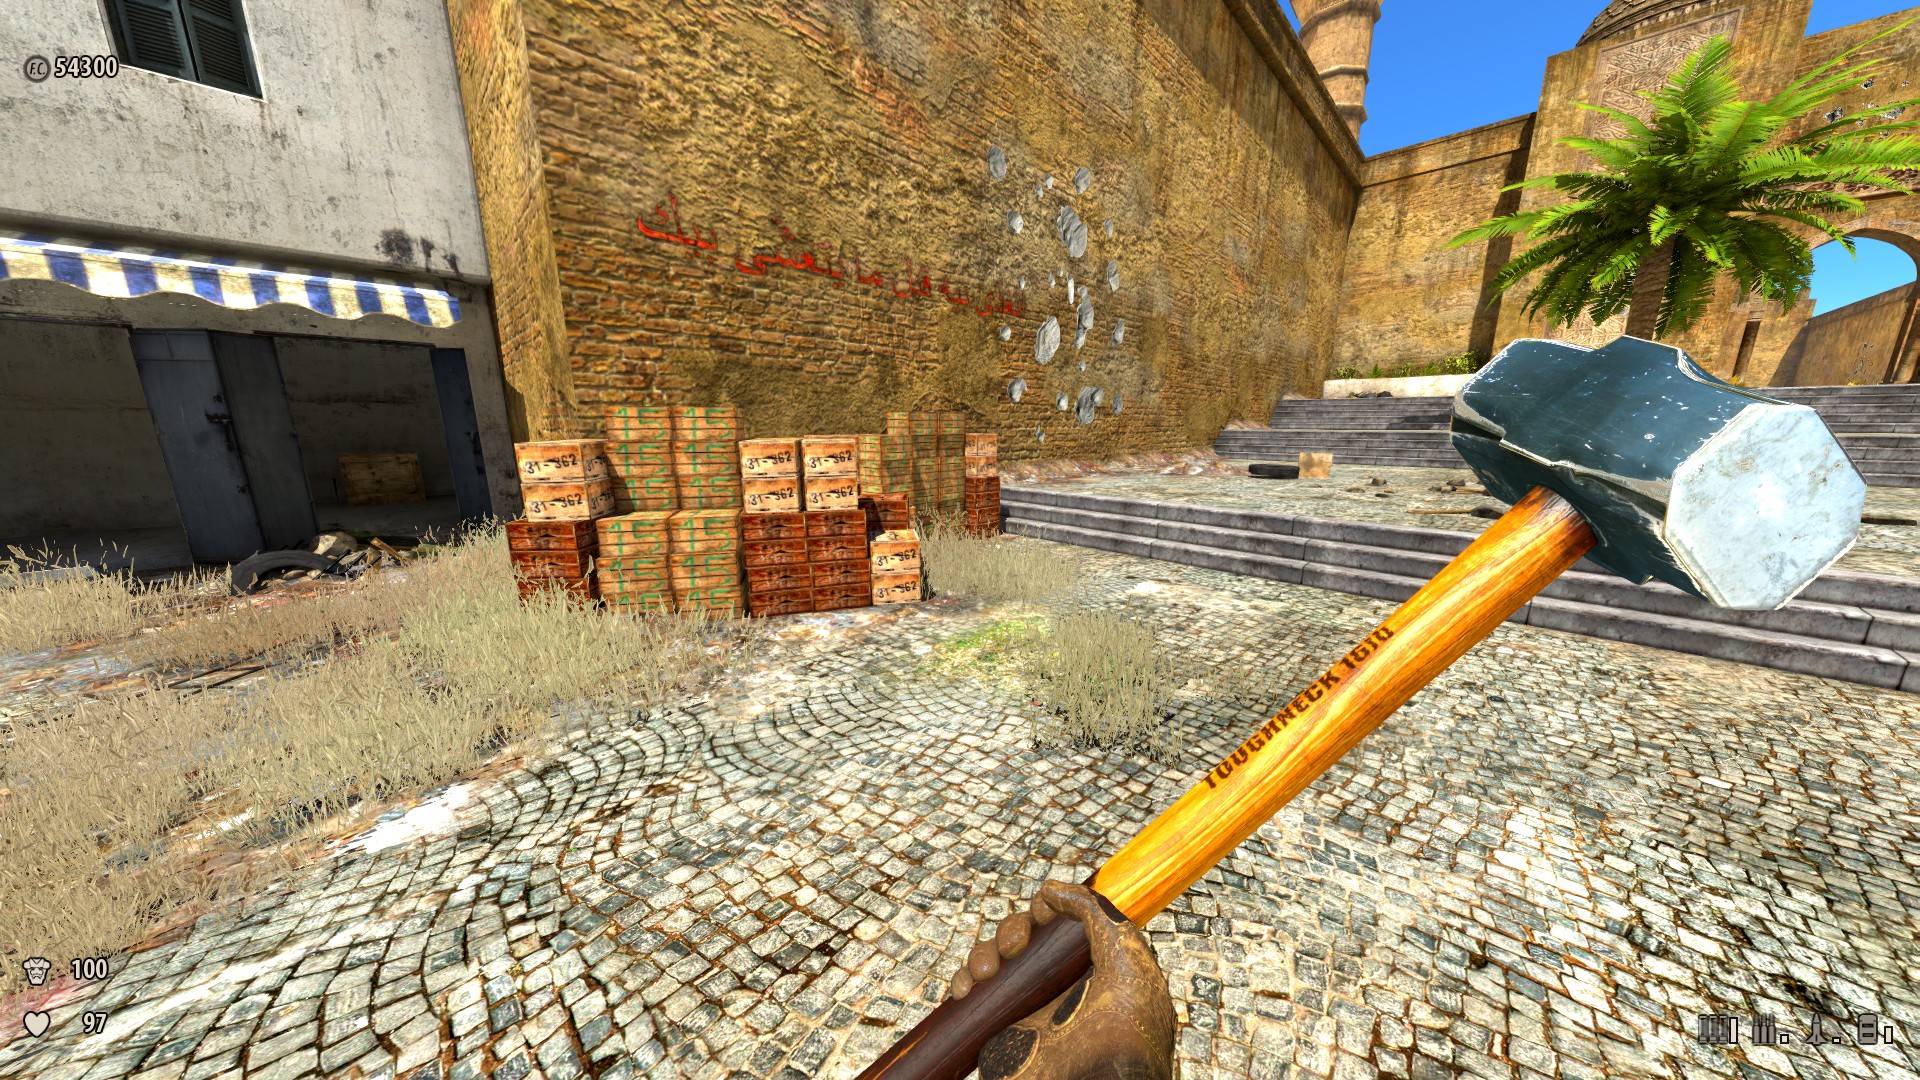
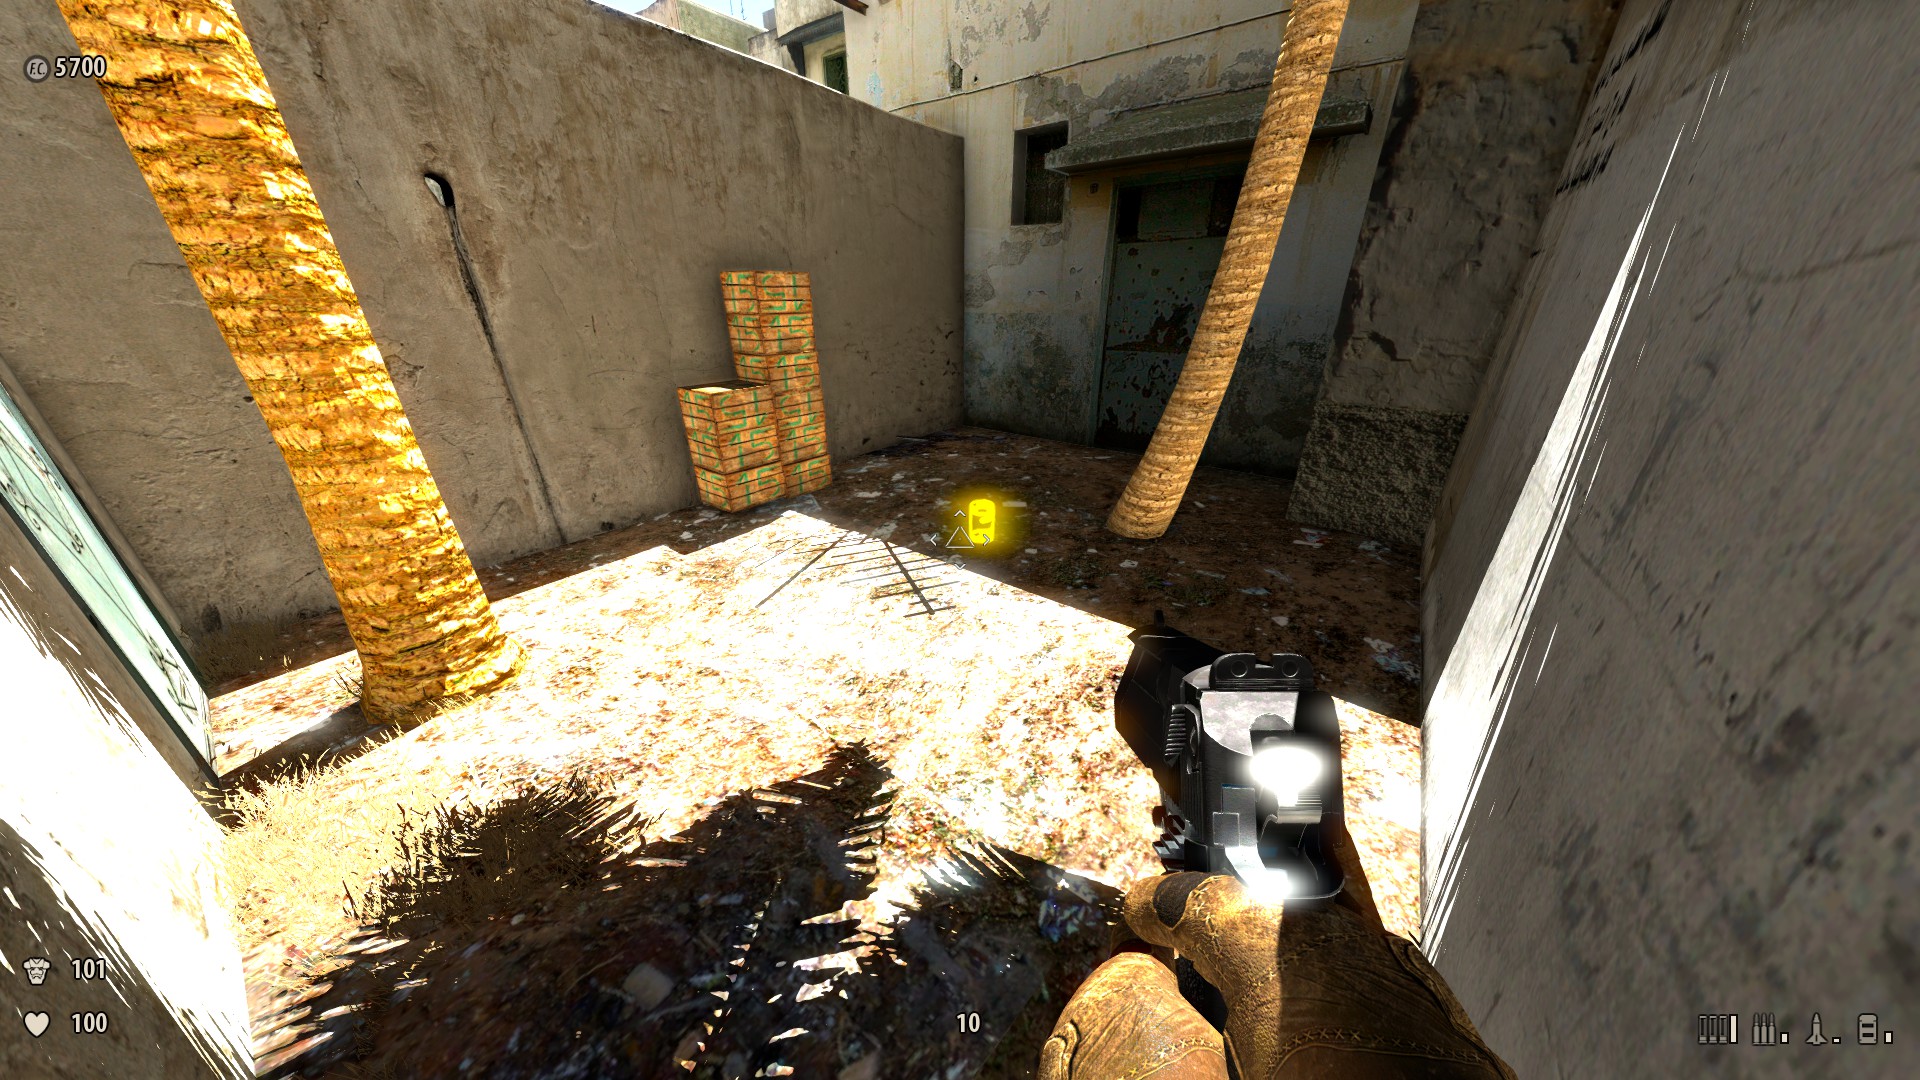
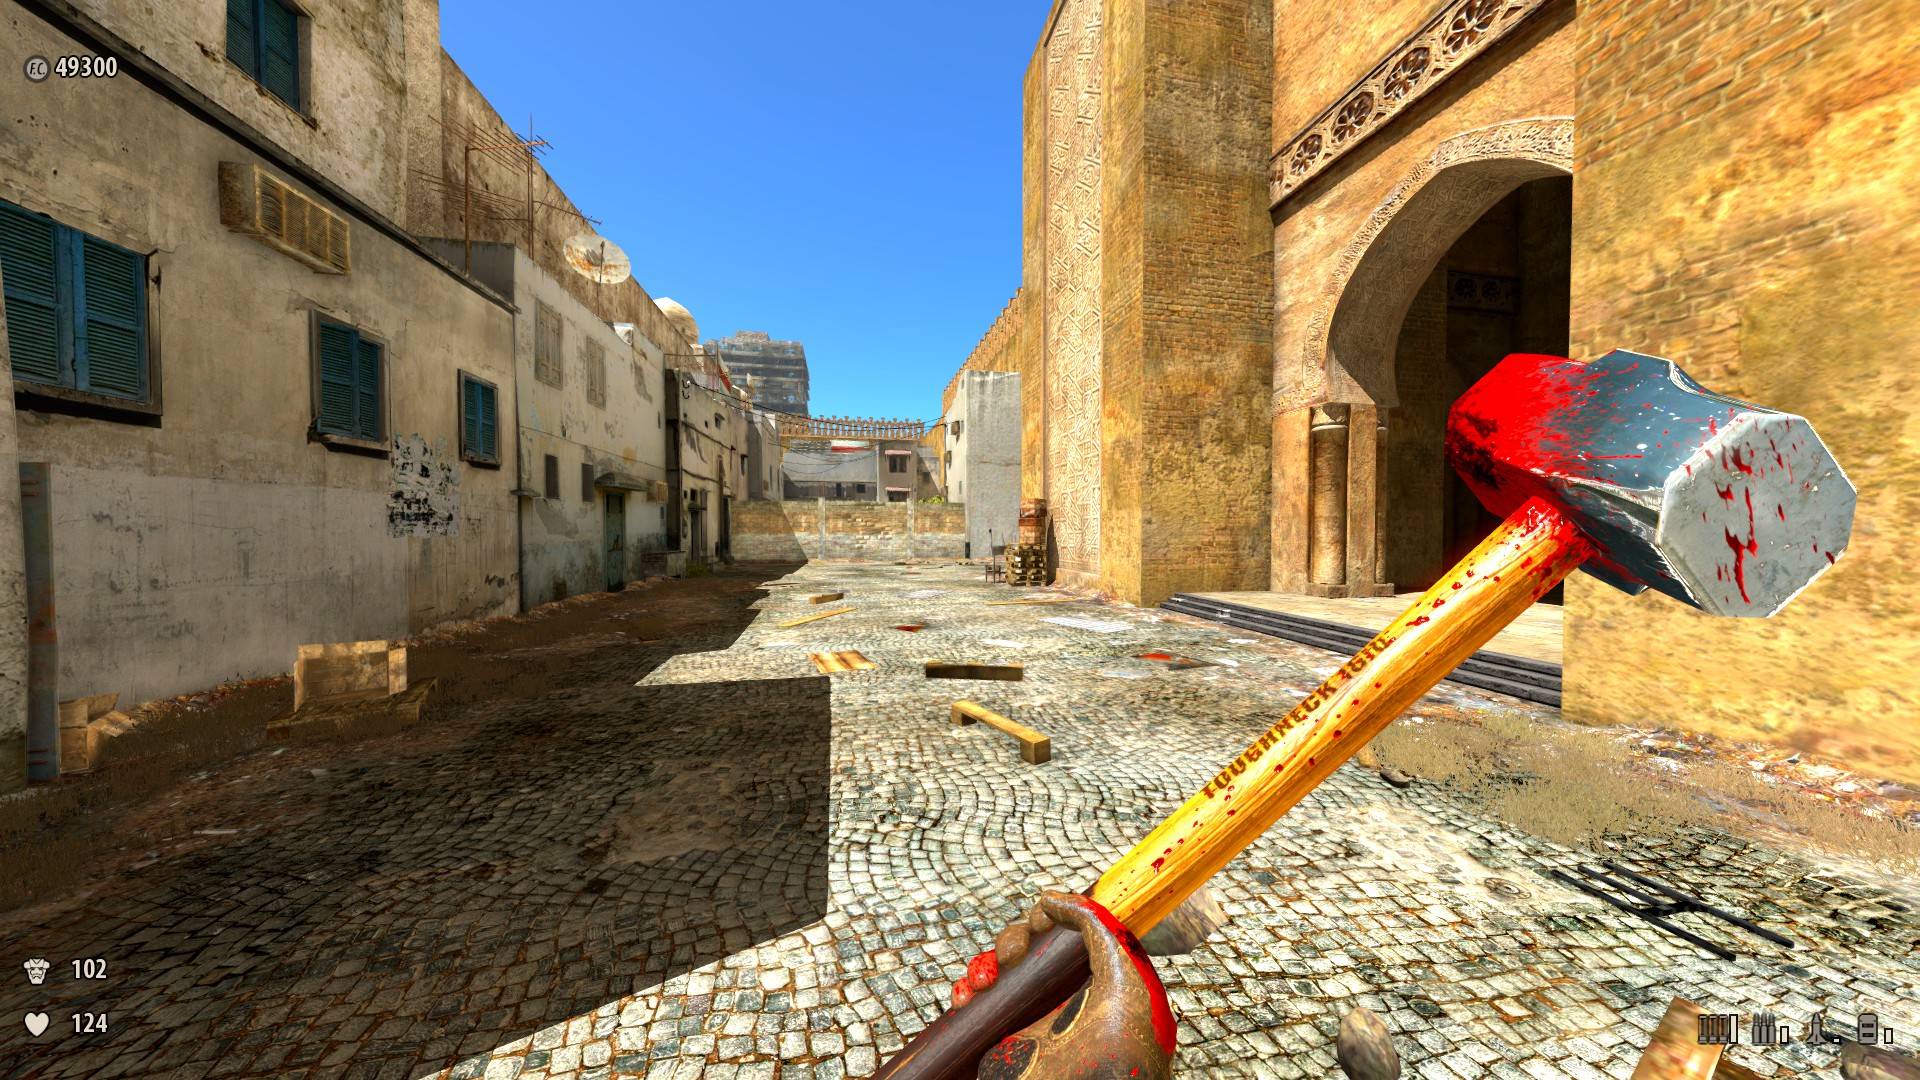
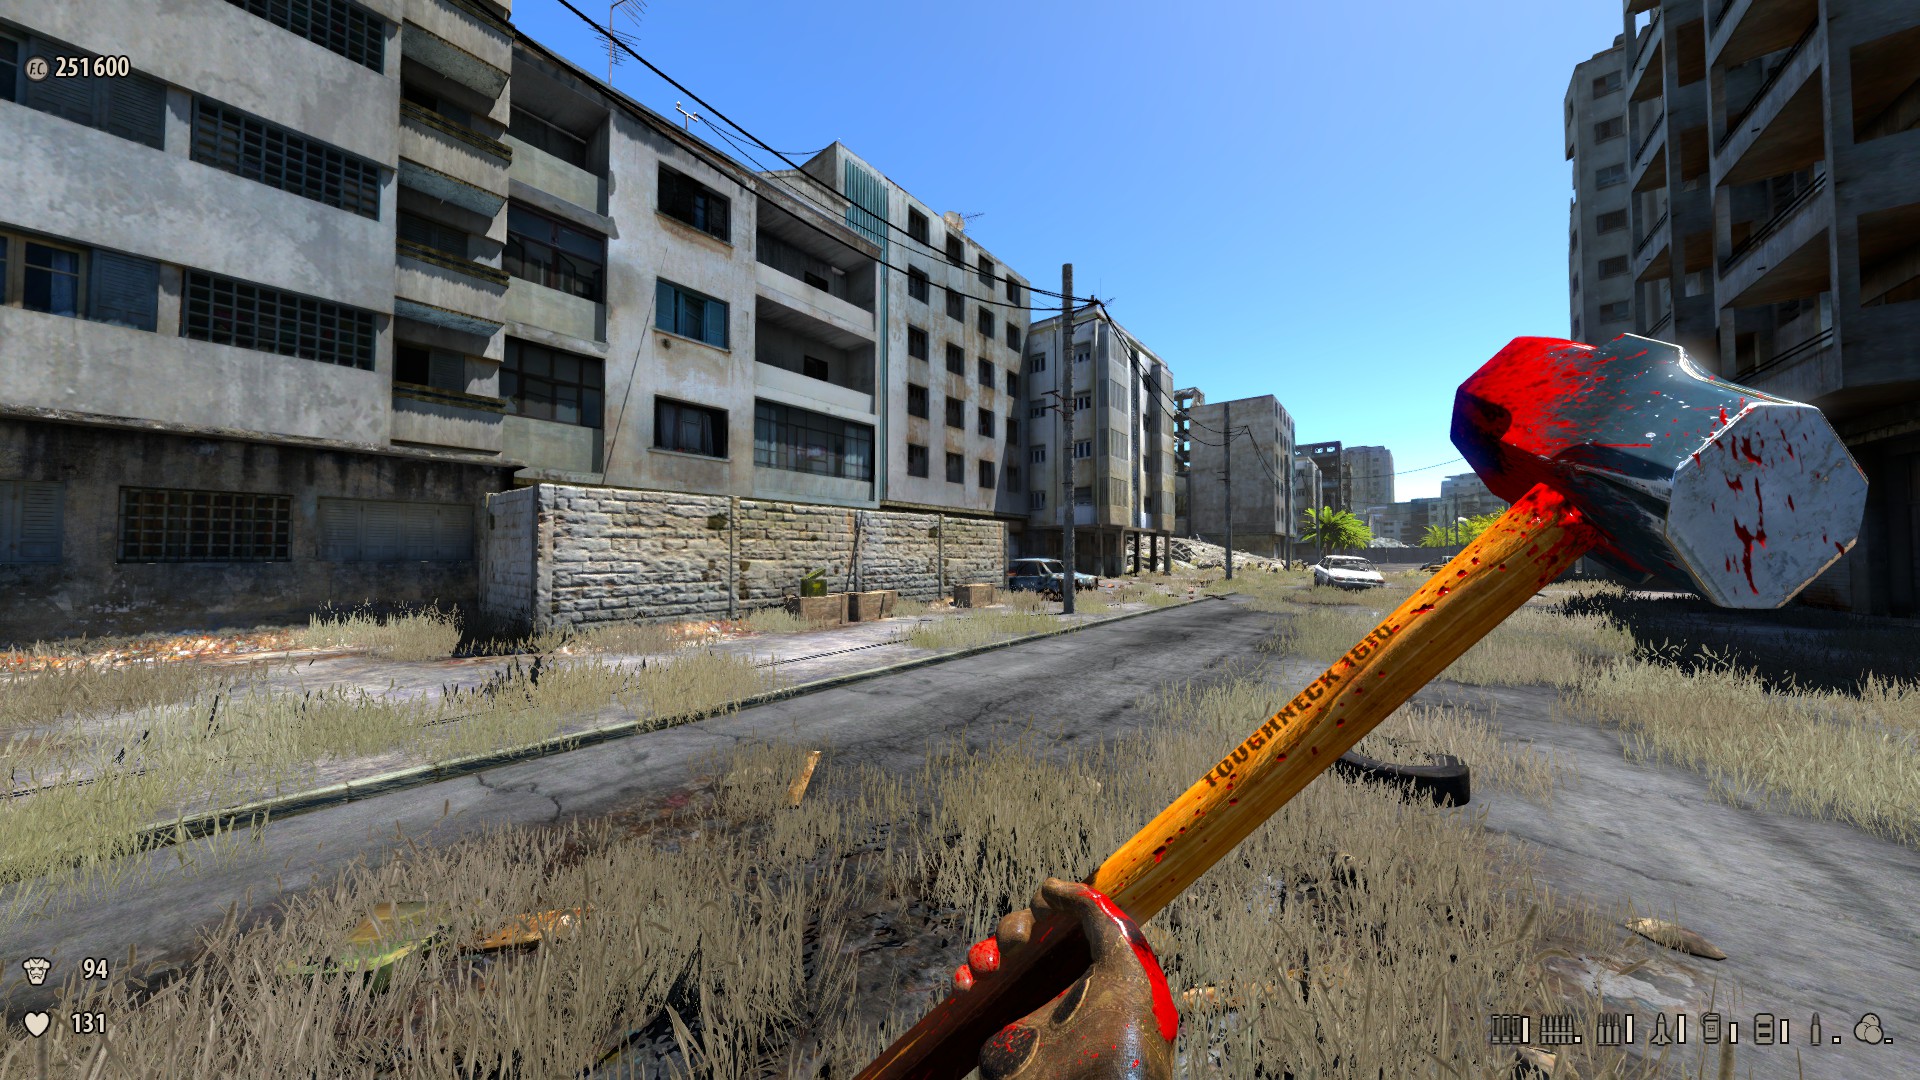
2) On meridian of the starting building — Jump beyond to the roof with an antenna that is beside the door downward; the sledgehammer is a "Parkour secret." There is no reliable way downwards, simply try jumping for a window ledge to break your fall. Reward: Sledgehammer.


-
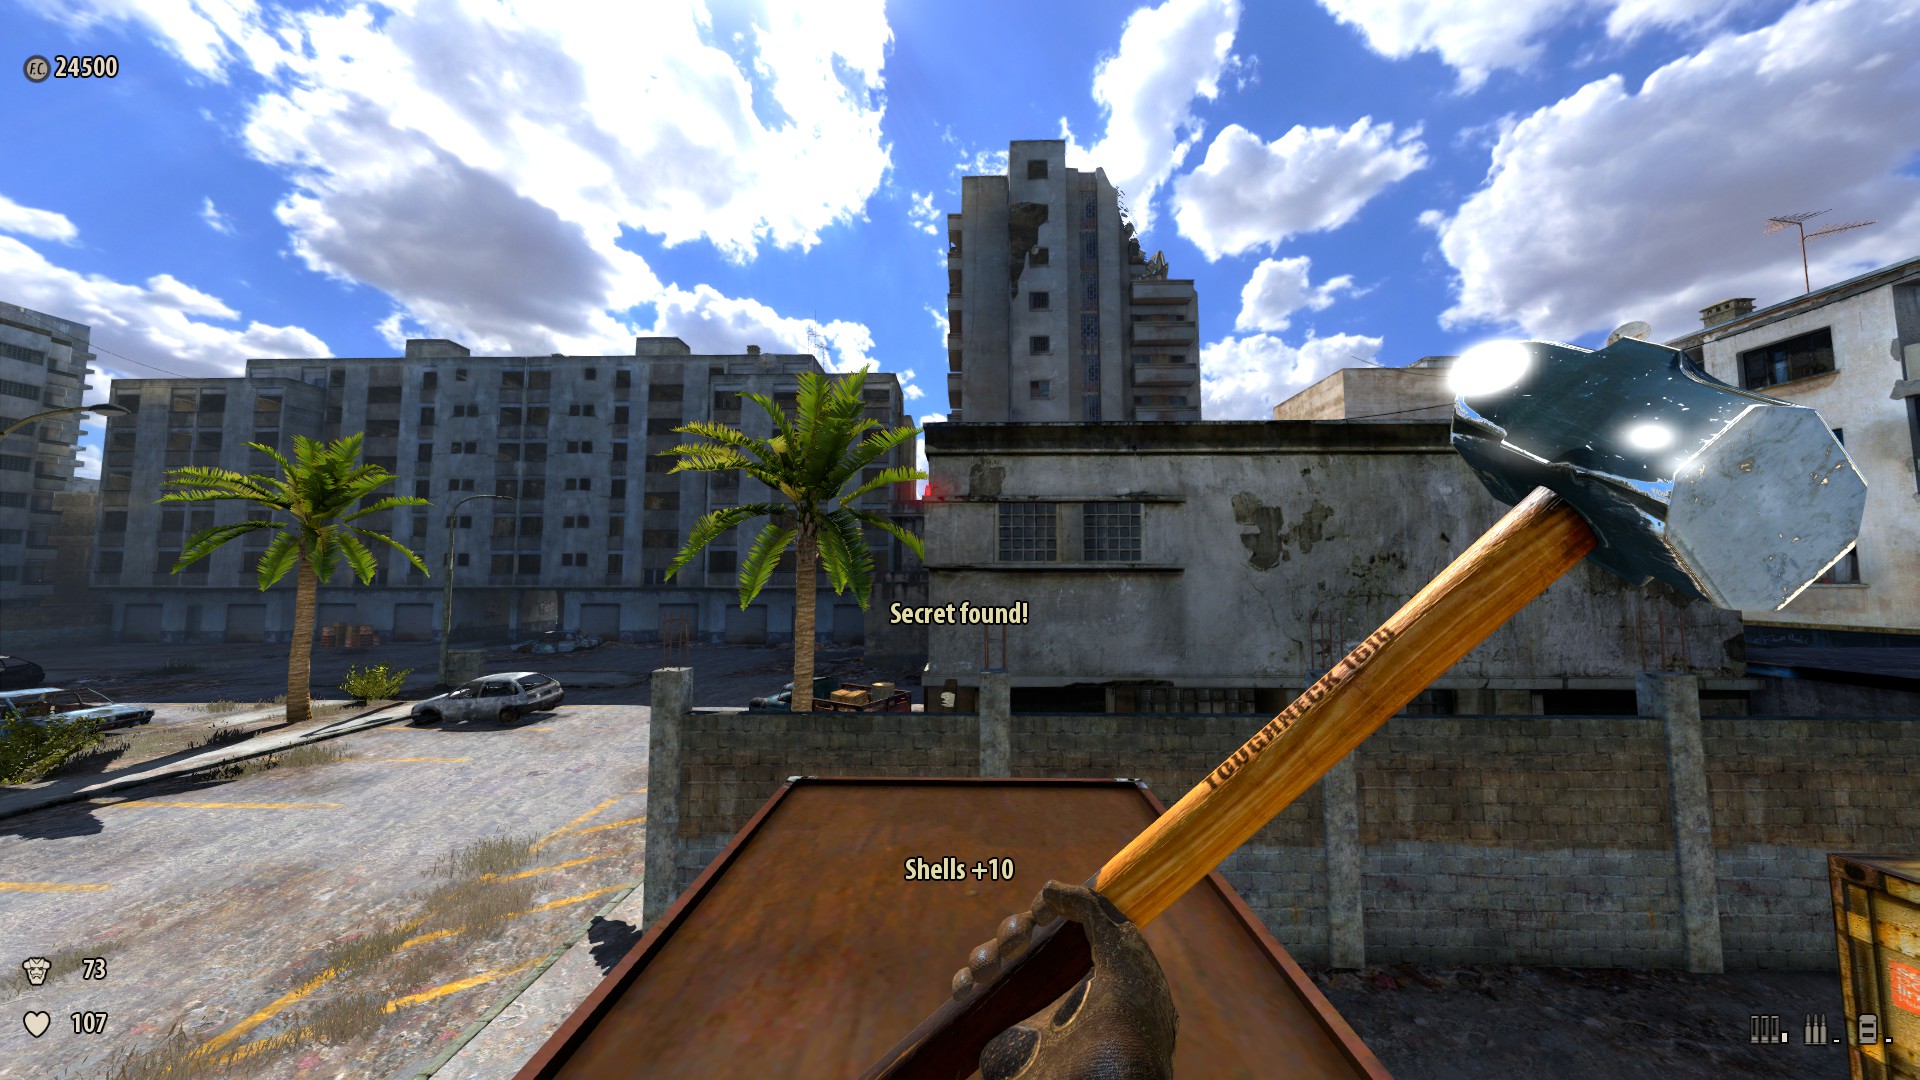
3) From the roof where y'all've picked up the sledgehammer in the previous clandestine, spring downwards to the lower roof and face the building yous originally started the game on. You will see some caged balconies that have a minor ledge you're able to jump to. Bound across to land on the second from the meridian, then face the edifice you lot've just jumped from — you will see balconies too. Spring towards the left side of the middle (second from the top) balcony to grab a pickup (information technology might non be visible from the balcony you lot're standing on). Reward: Shells +10.

-
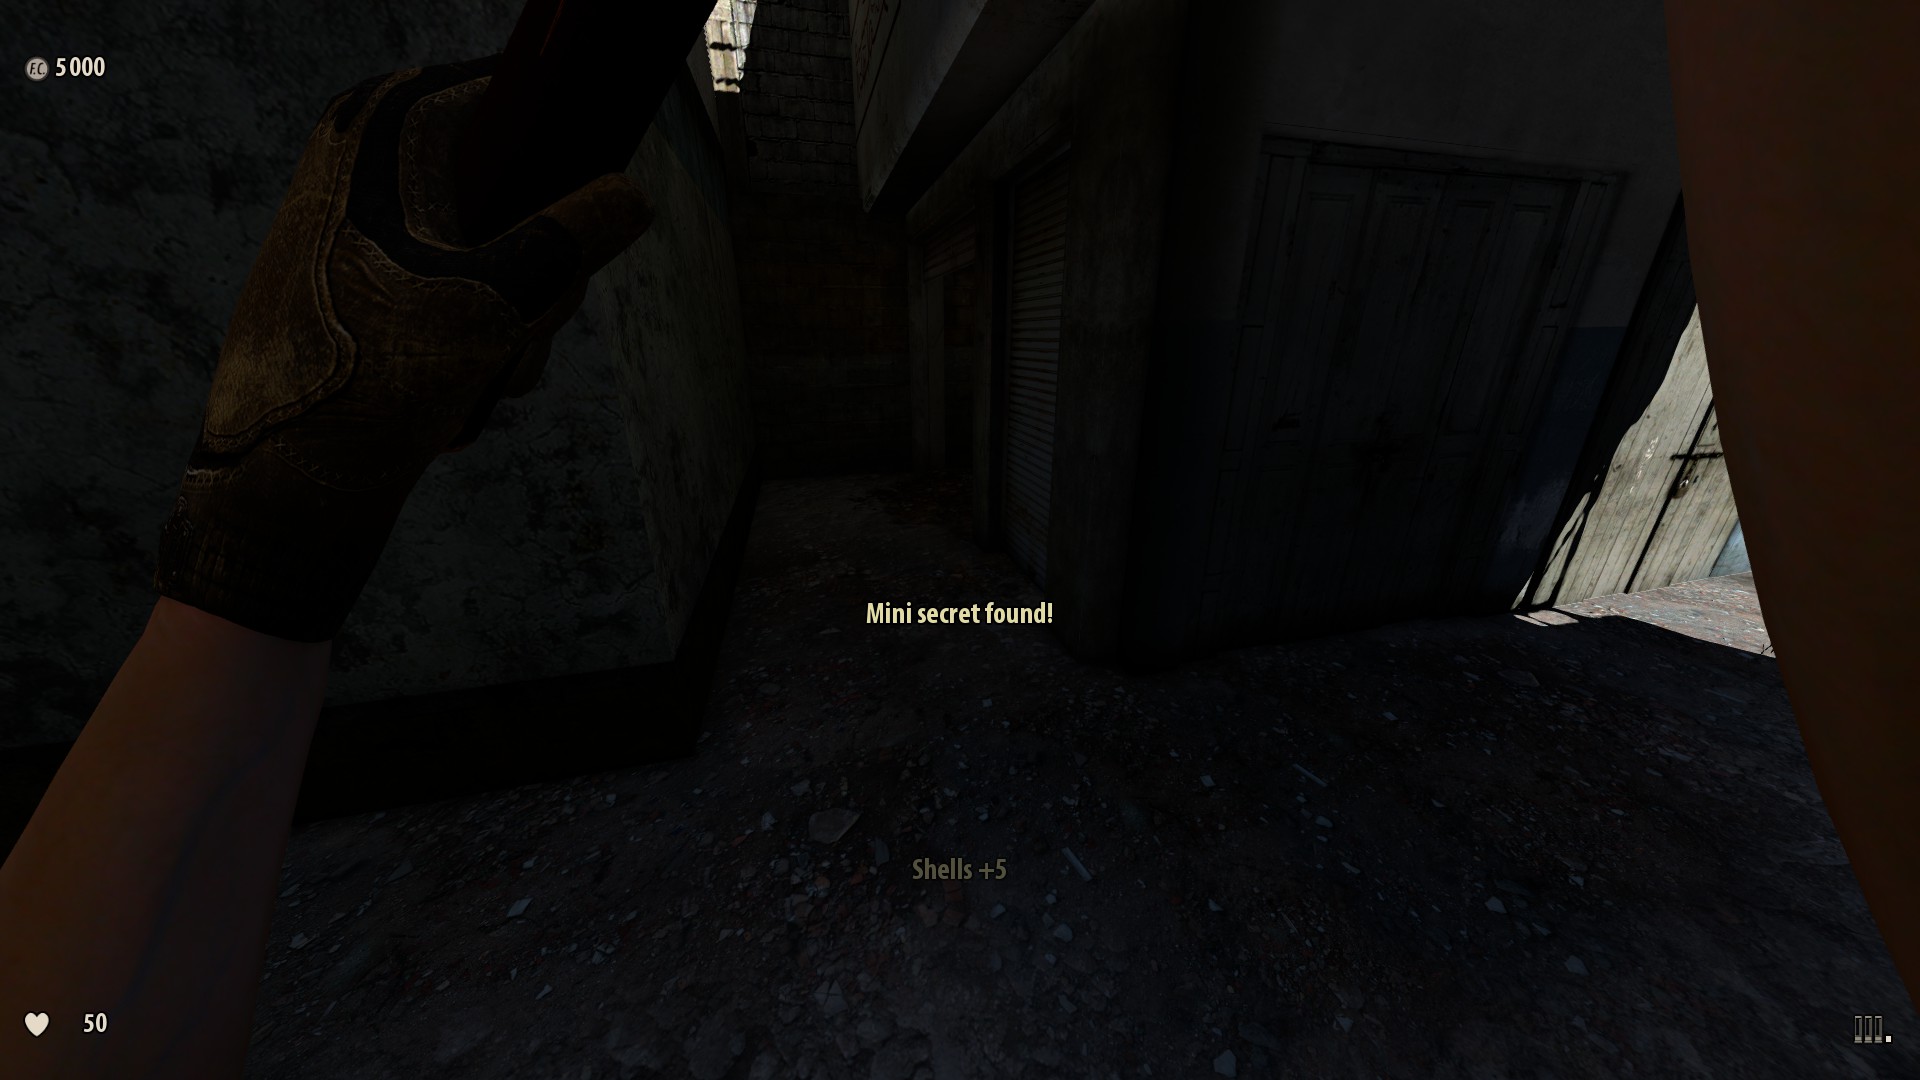
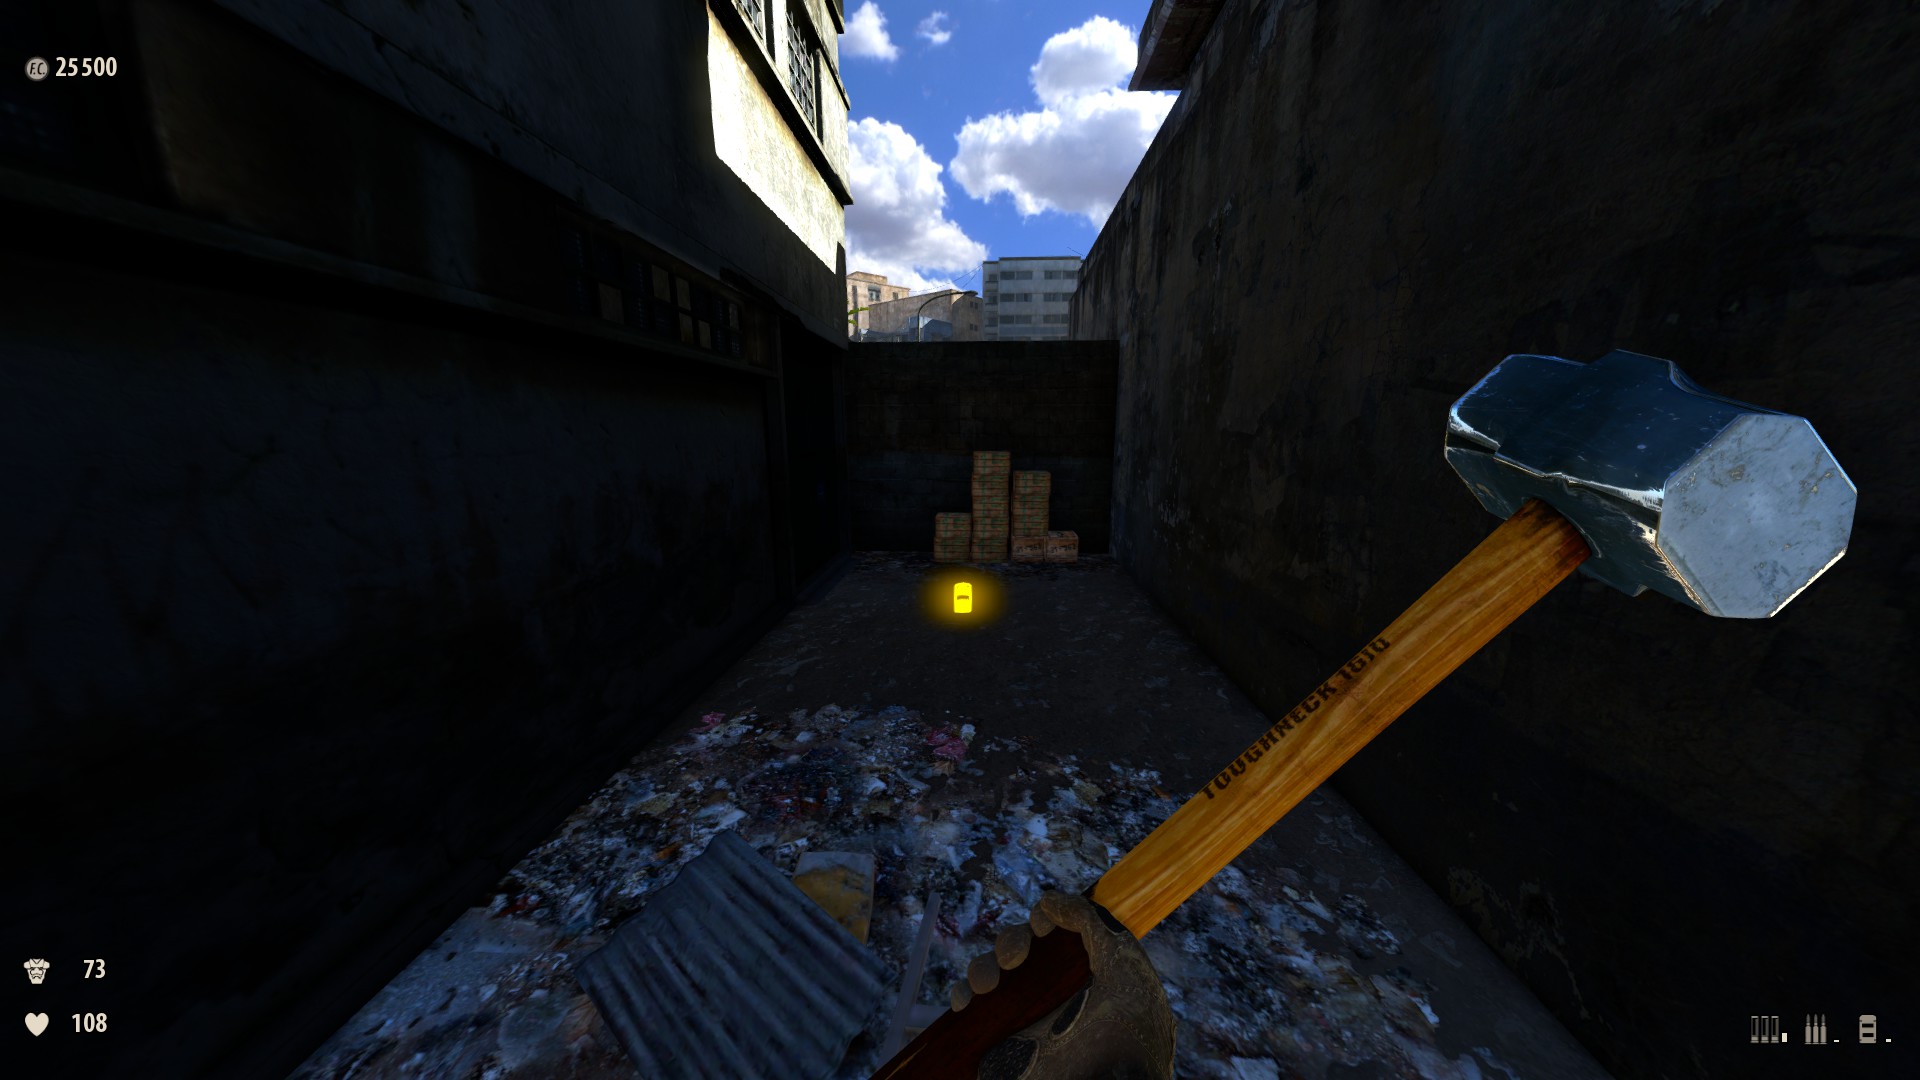
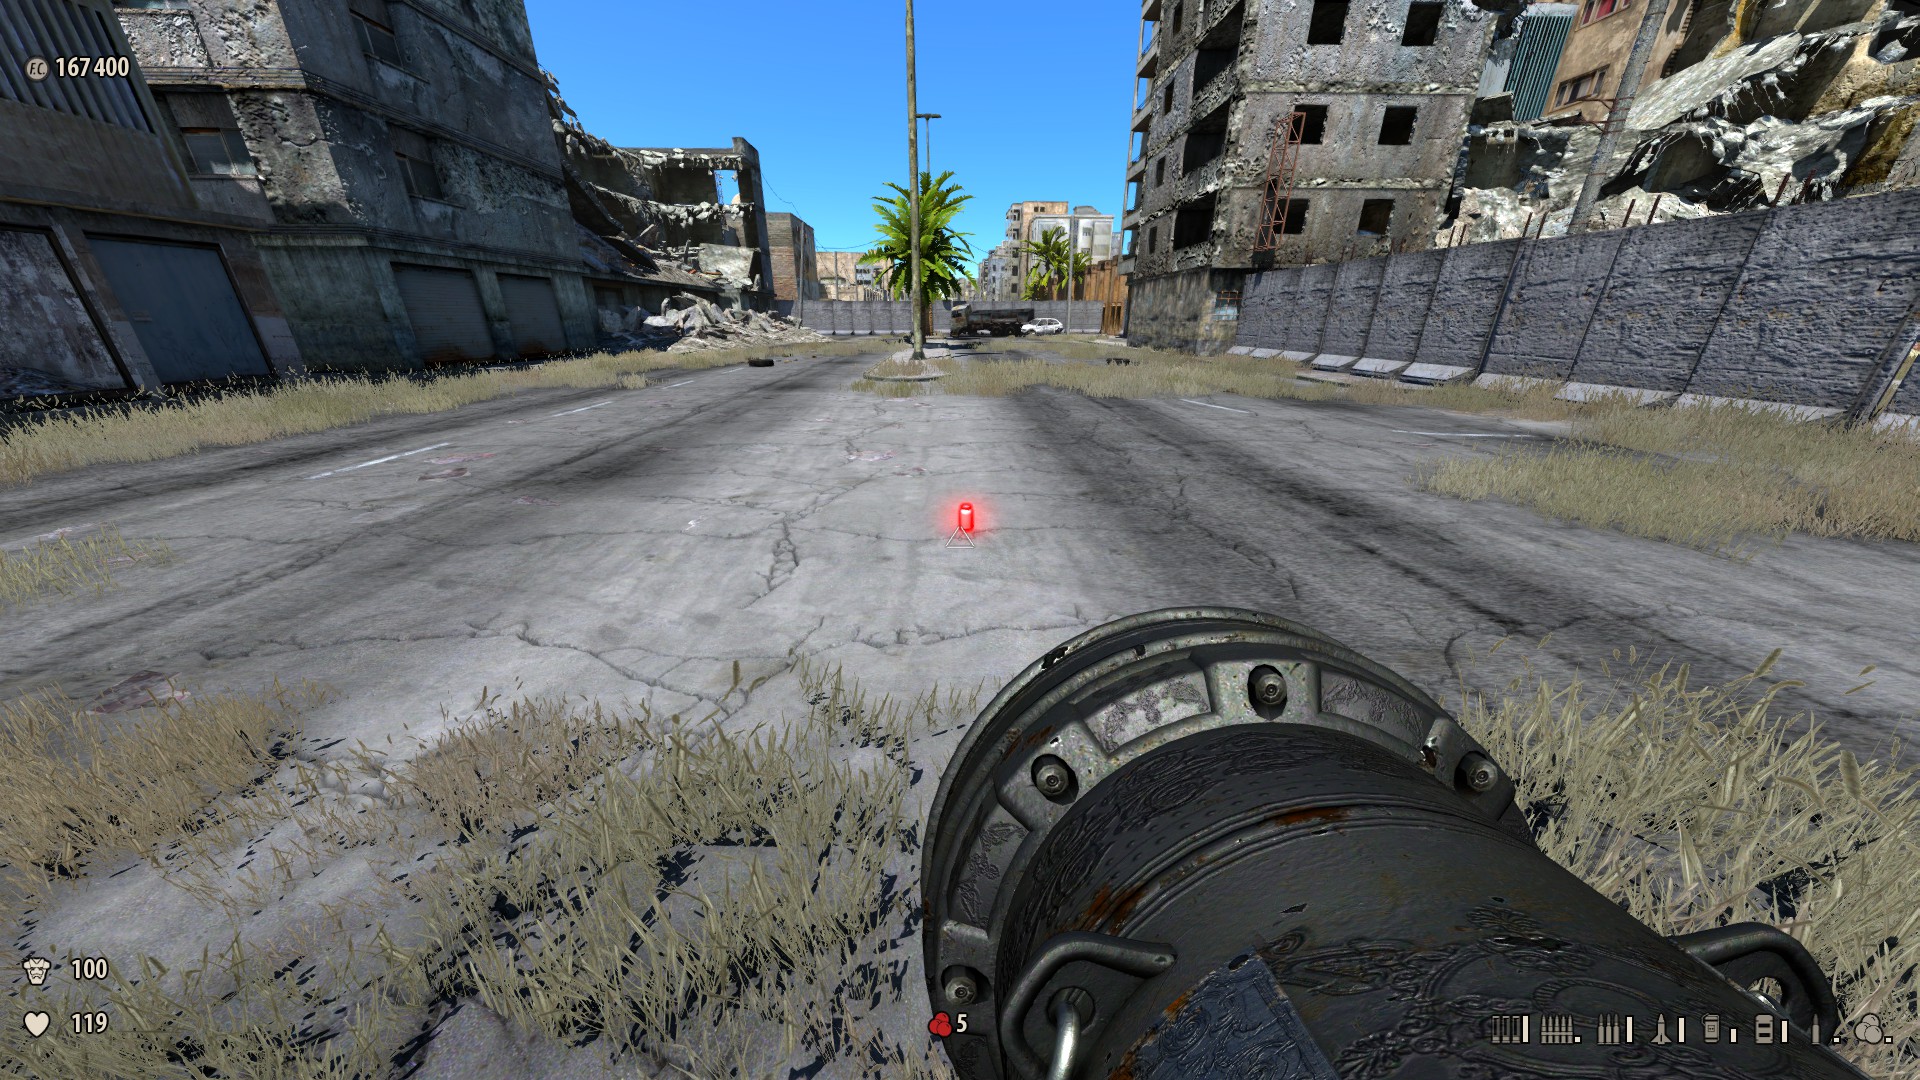
iv) On street level beside the starting building — A pack of shells is in an aisle; pick information technology upwards to get the secret. A Beheaded Rocketeer is correct beside it. Advantage: Shells +five.
-
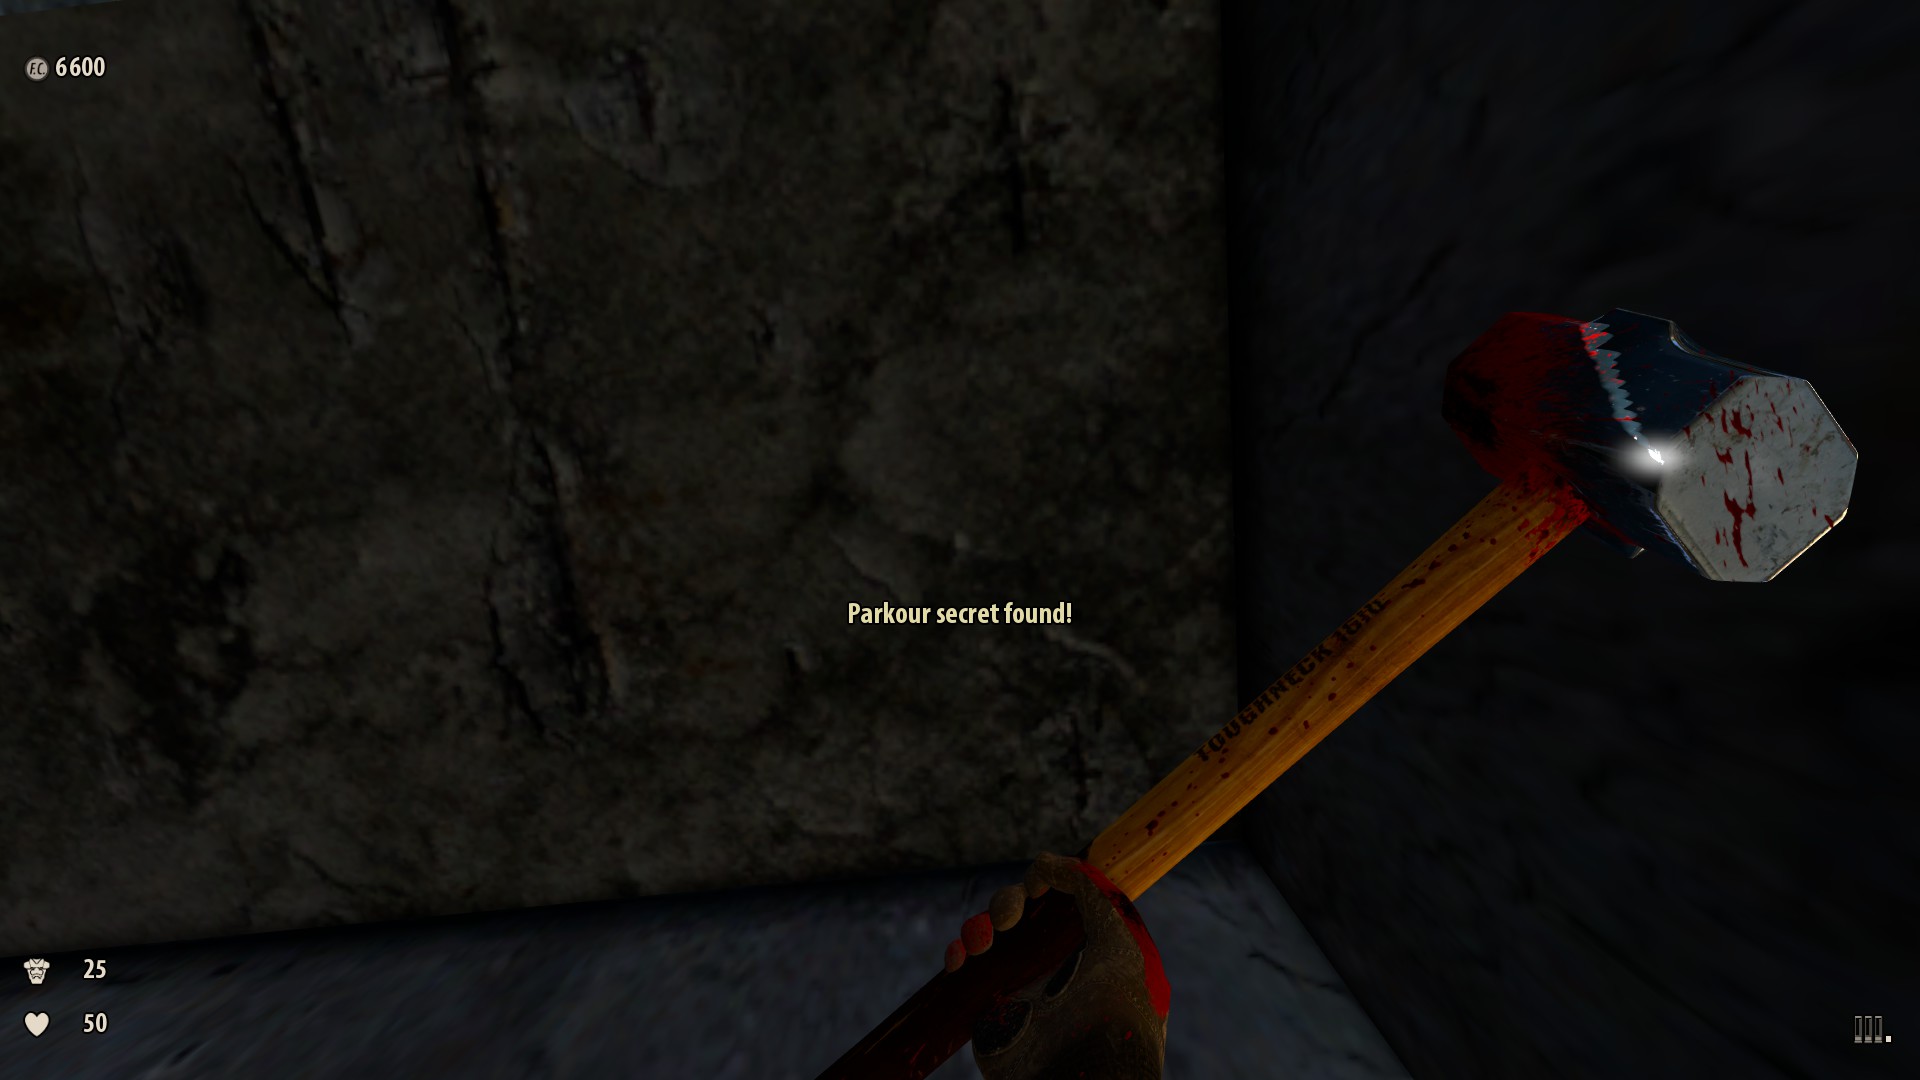
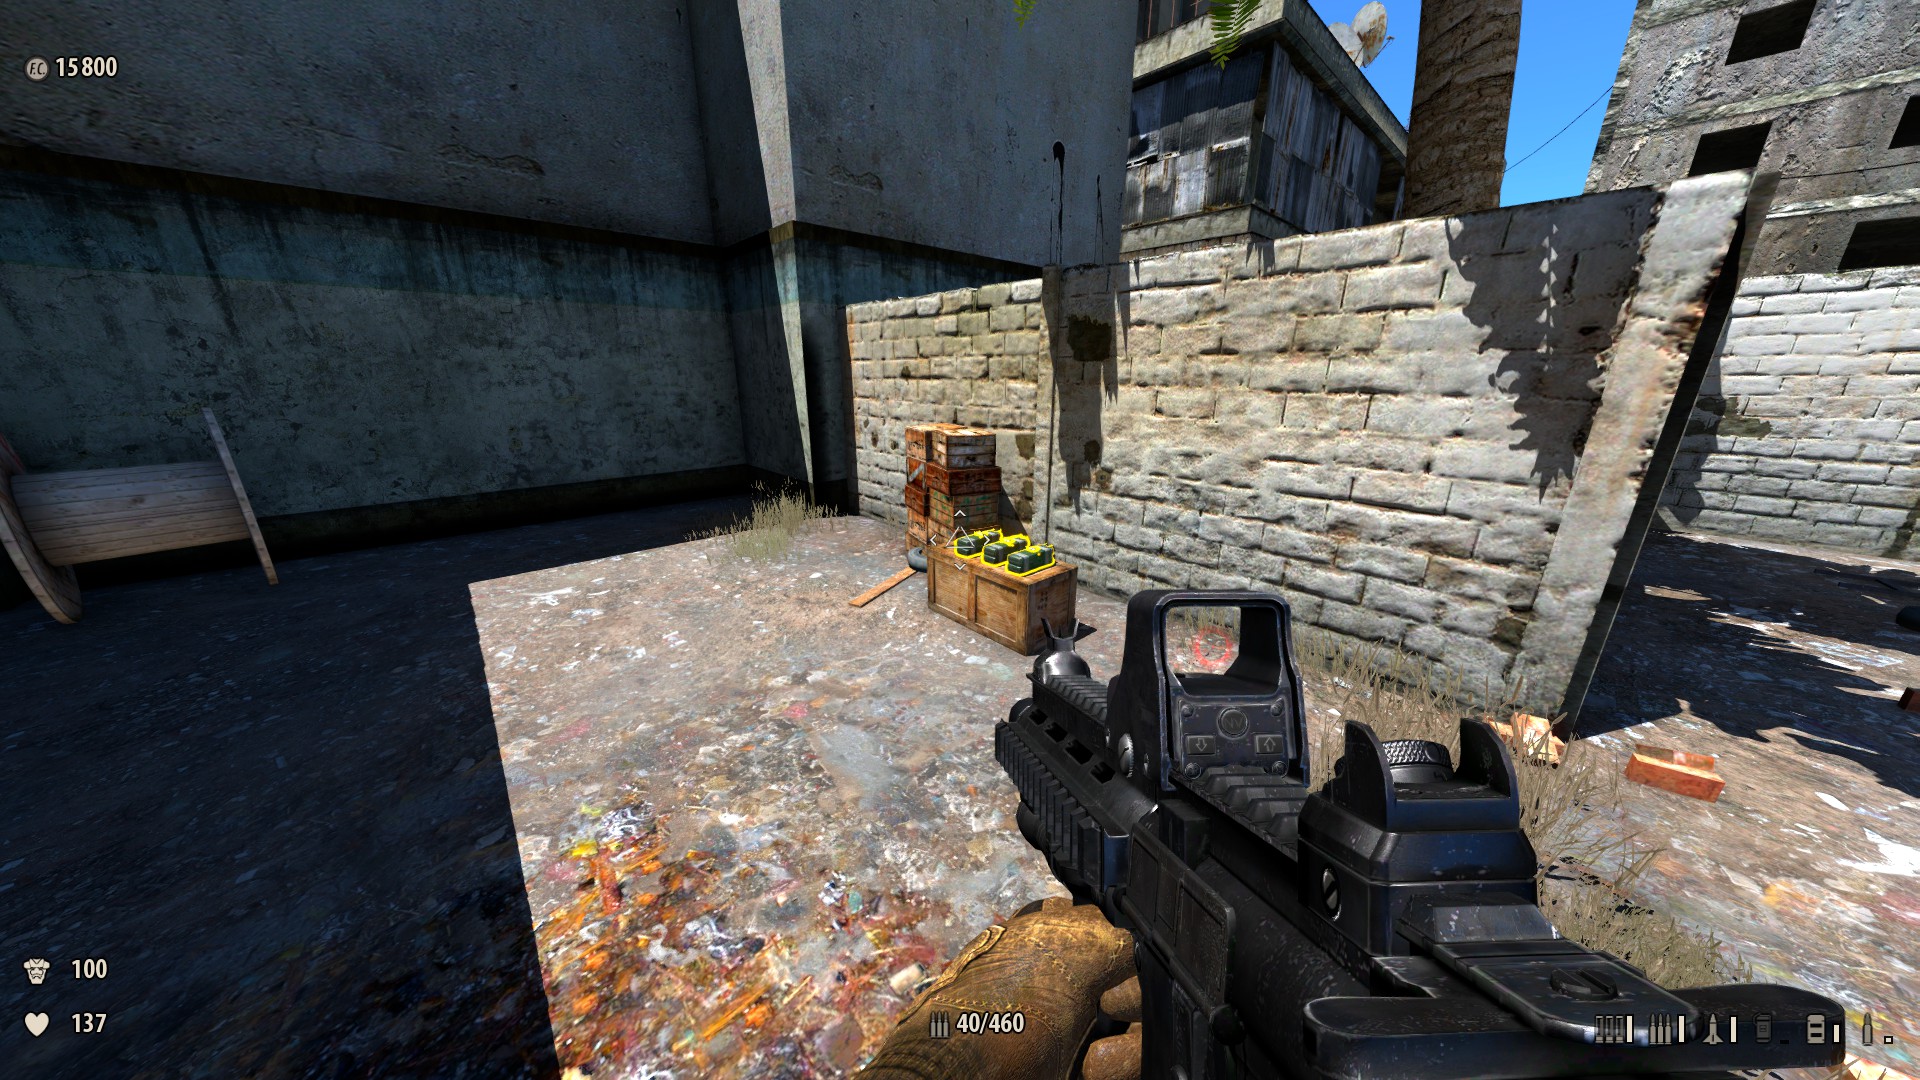
5) Just after you kill the first Female person Gnaar on ground level — To the left you lot can see a glowing blueish armour on the third floor of a ruined building. Jump on the boxes, then the garbage bin, then the kiosk. Printing up confronting the building directly nether the armor and jump straight up to pick information technology up; this is a "Parkour secret." Reward: Armor +25.
-
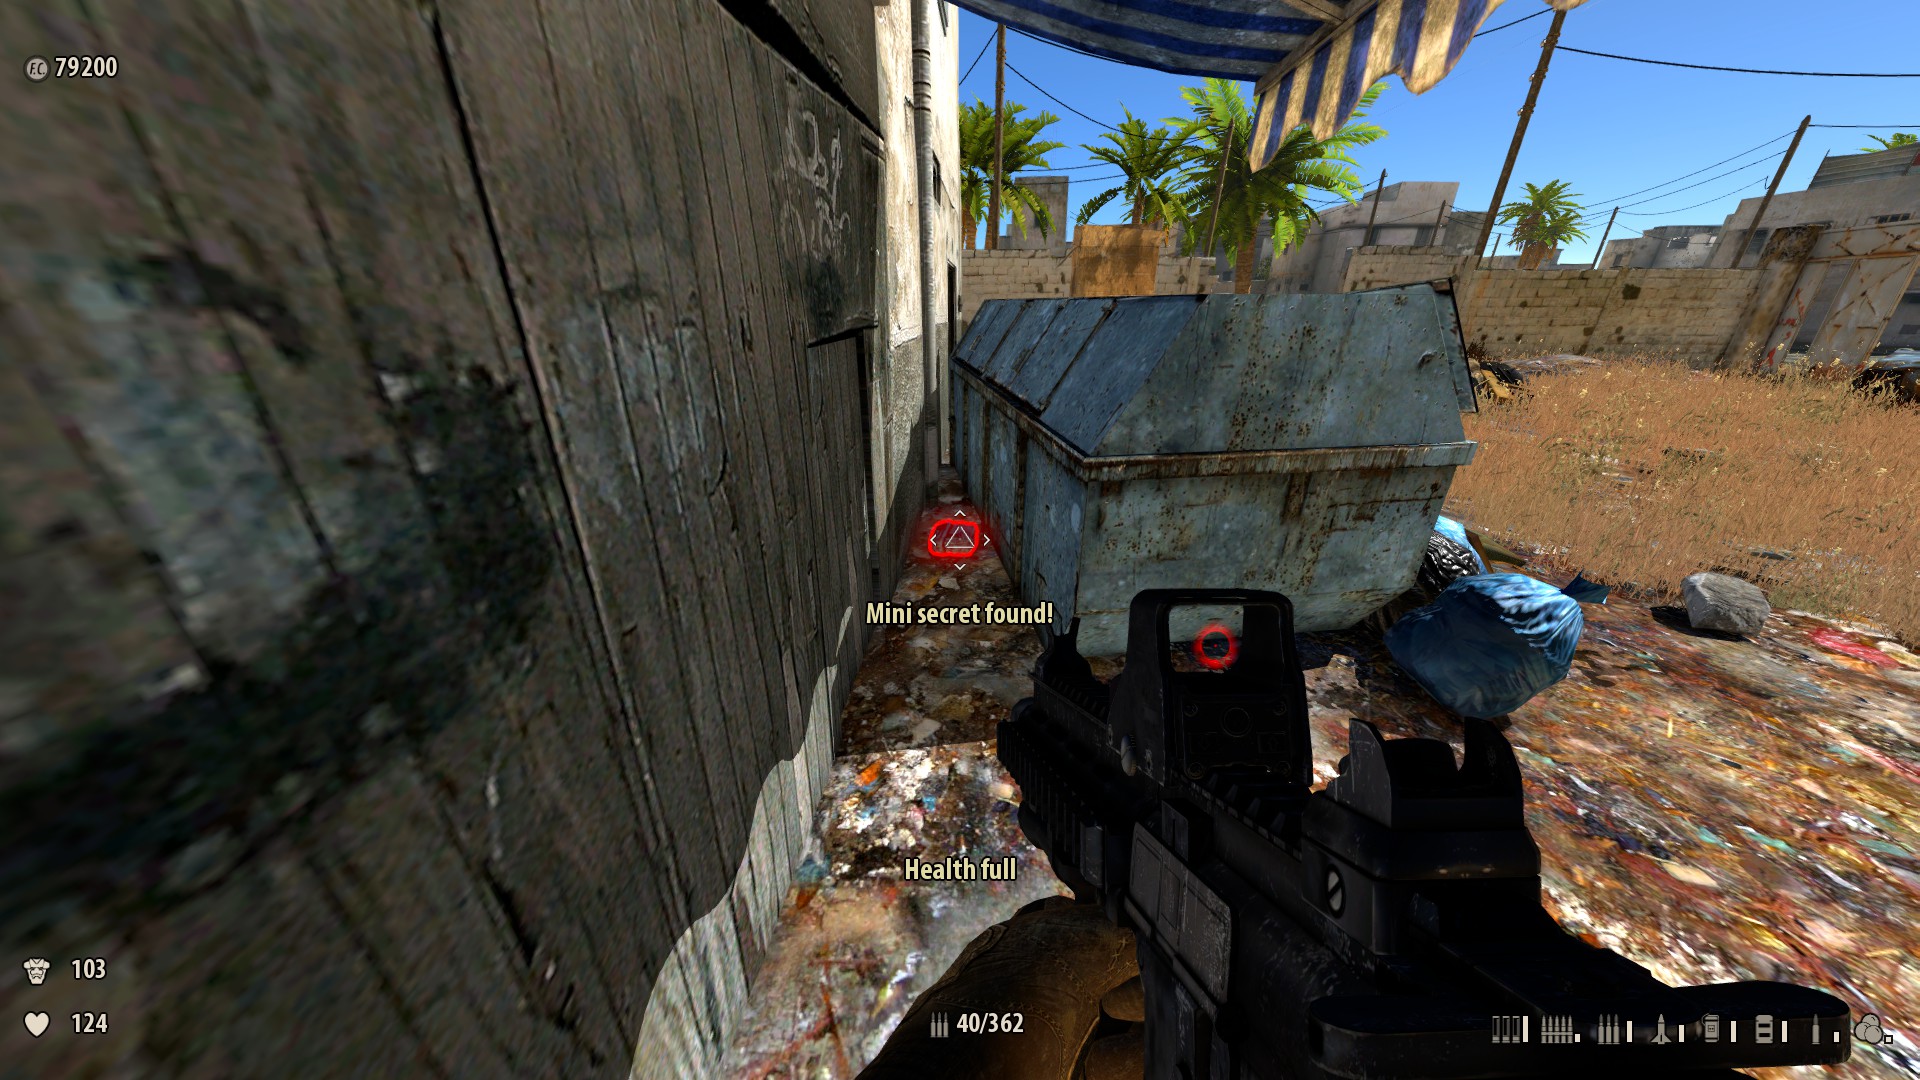
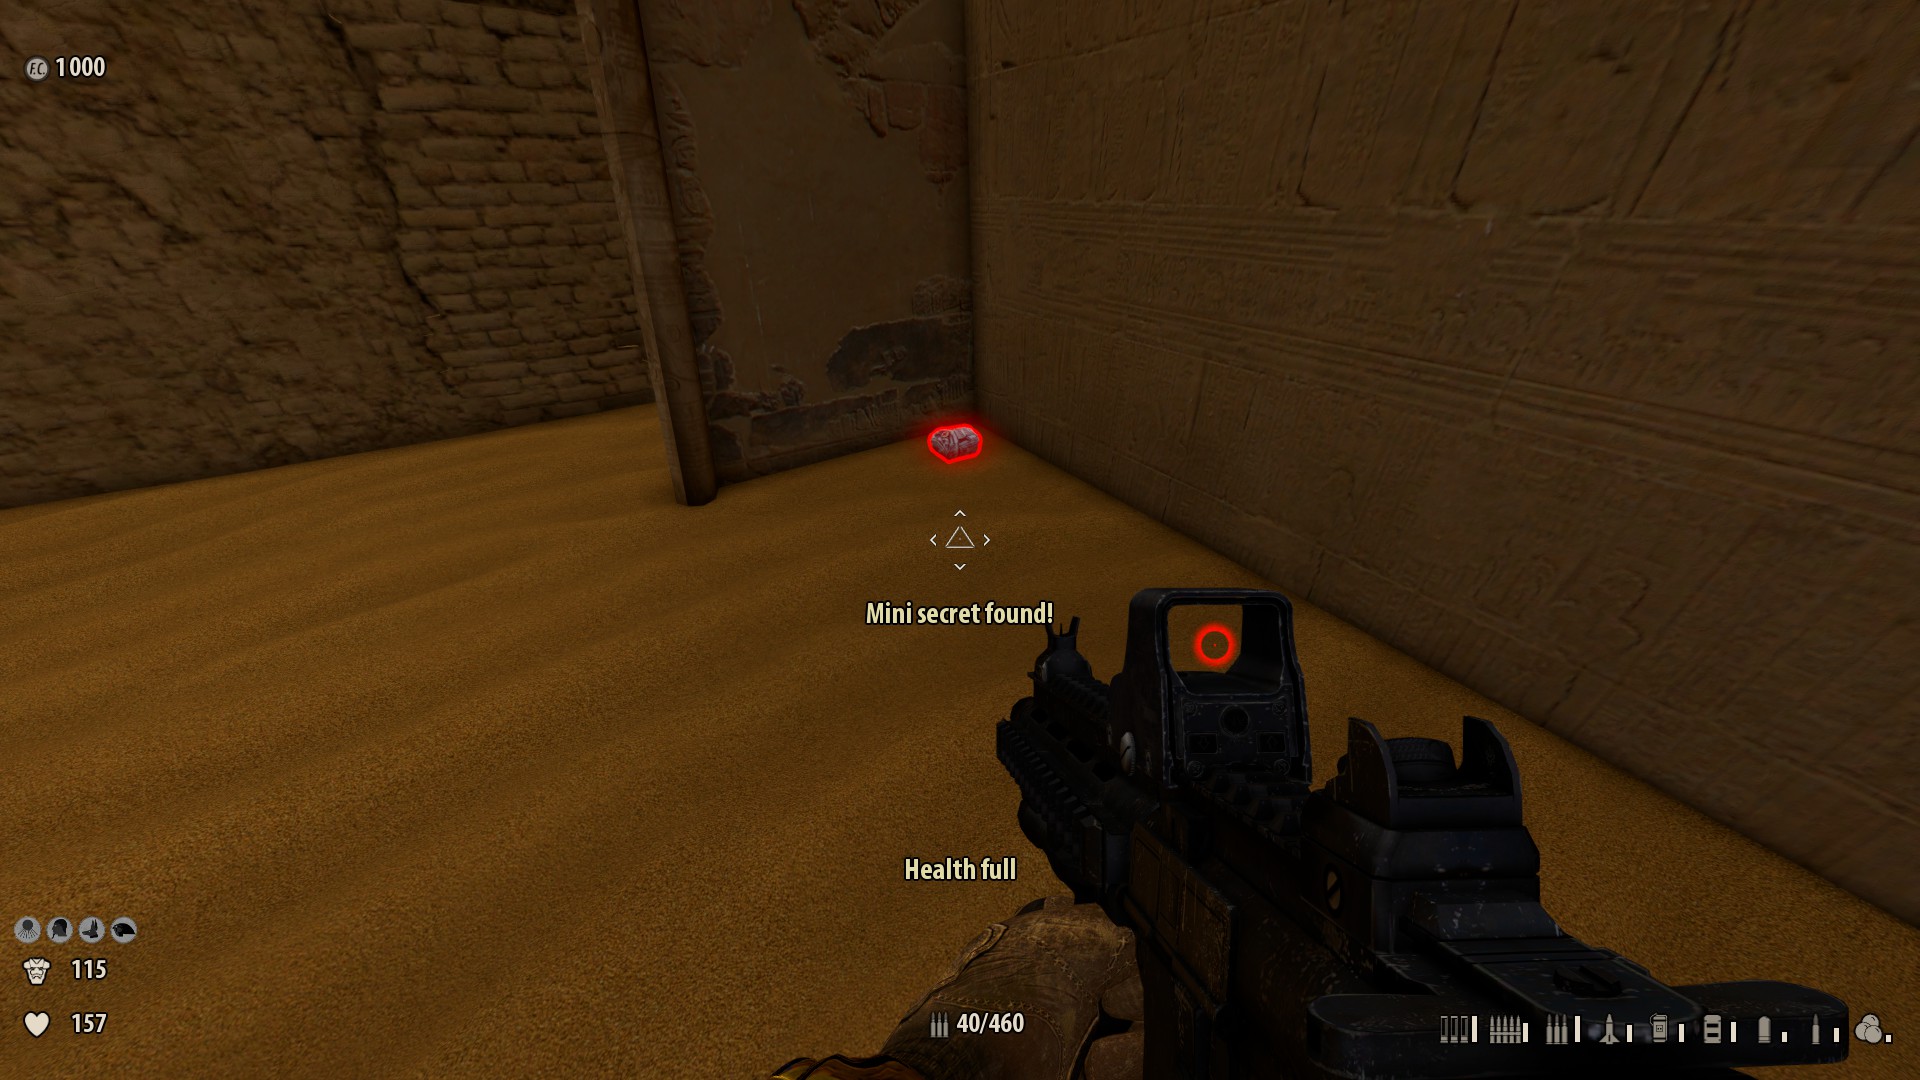
6) After the route where you lot fight a agglomeration of Female Gnaar — You walk through a ruined wall. Expect to the right beside a garage. Backside a corrugated wall is a health pickup with a "Mini hush-hush institute!" bulletin. Reward: Health +1.
-
7) When you get the call from Jones — You head through a building that has stairs to the right. Become up 2 floors (jumping over the ruined stairs) and walk out to the balcony. Option upward the shoes. Reward: Serious Sam Classic outfit.

-
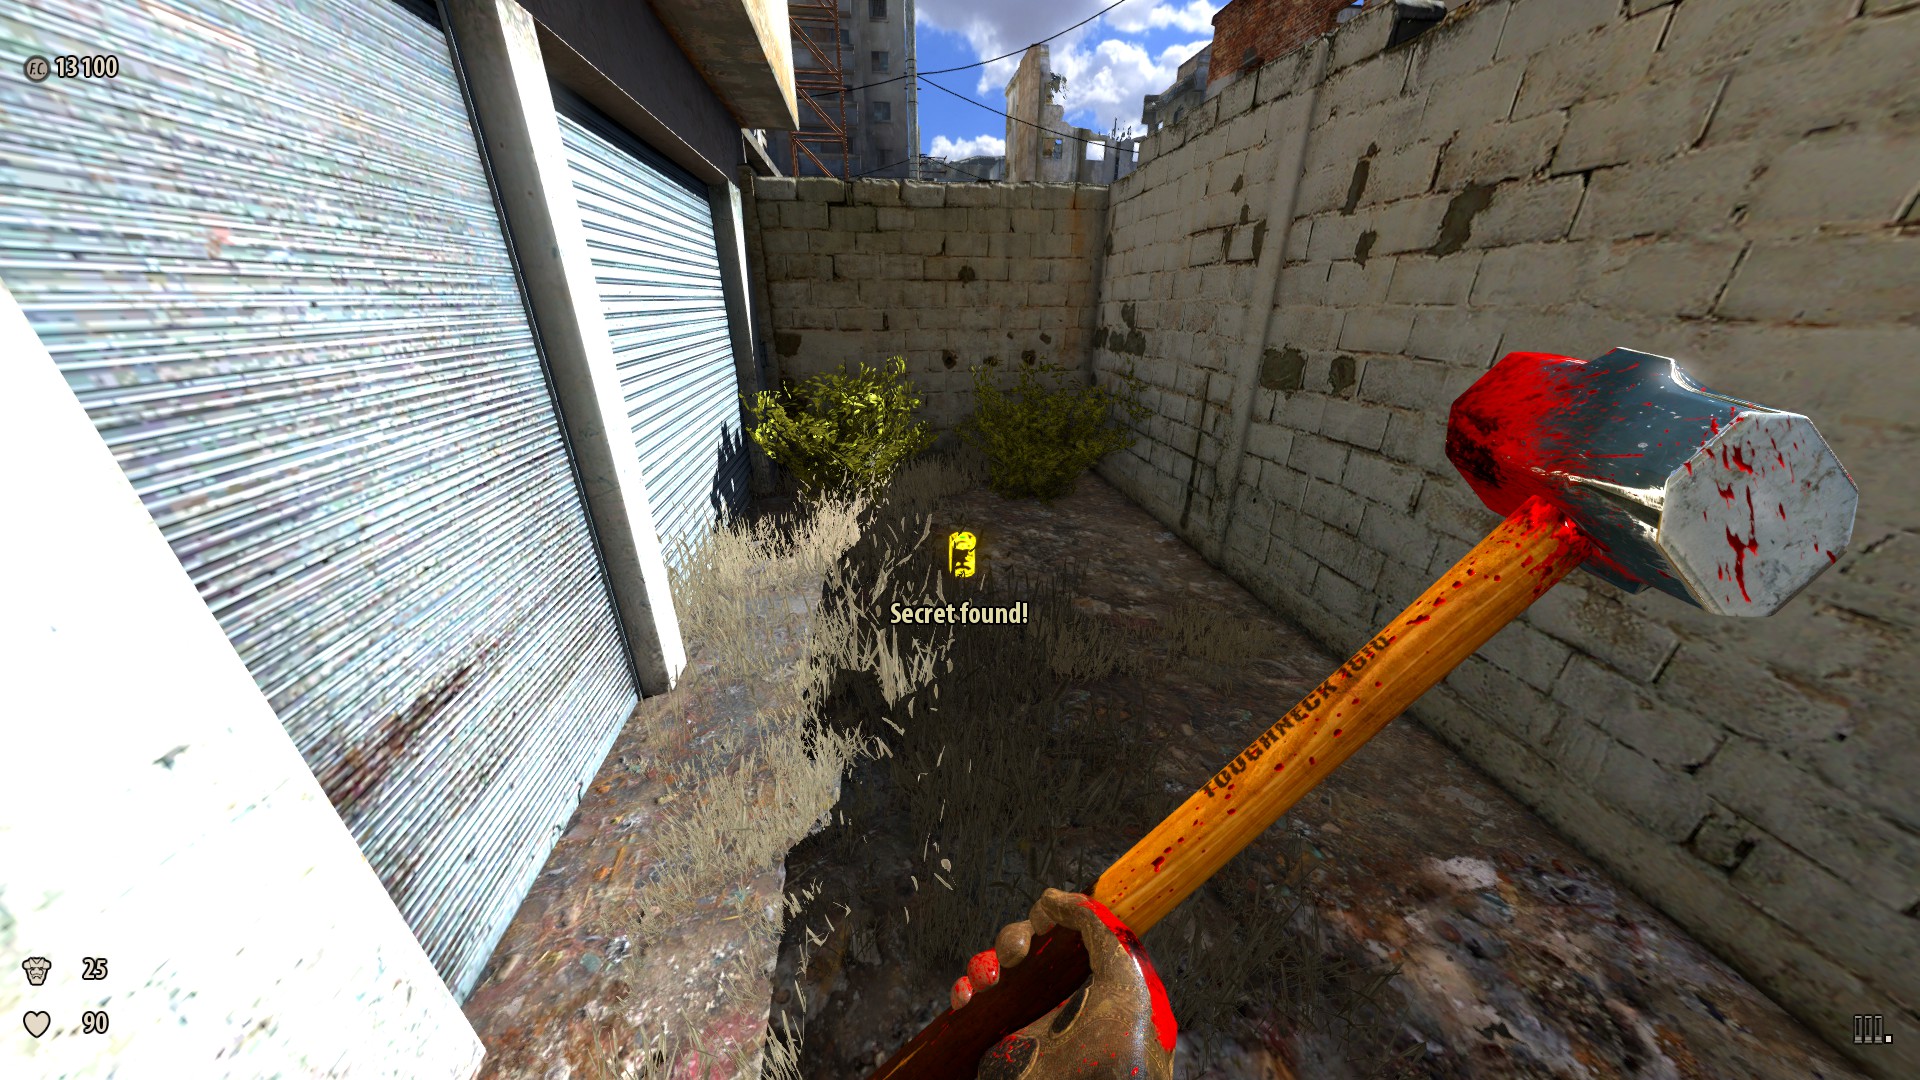
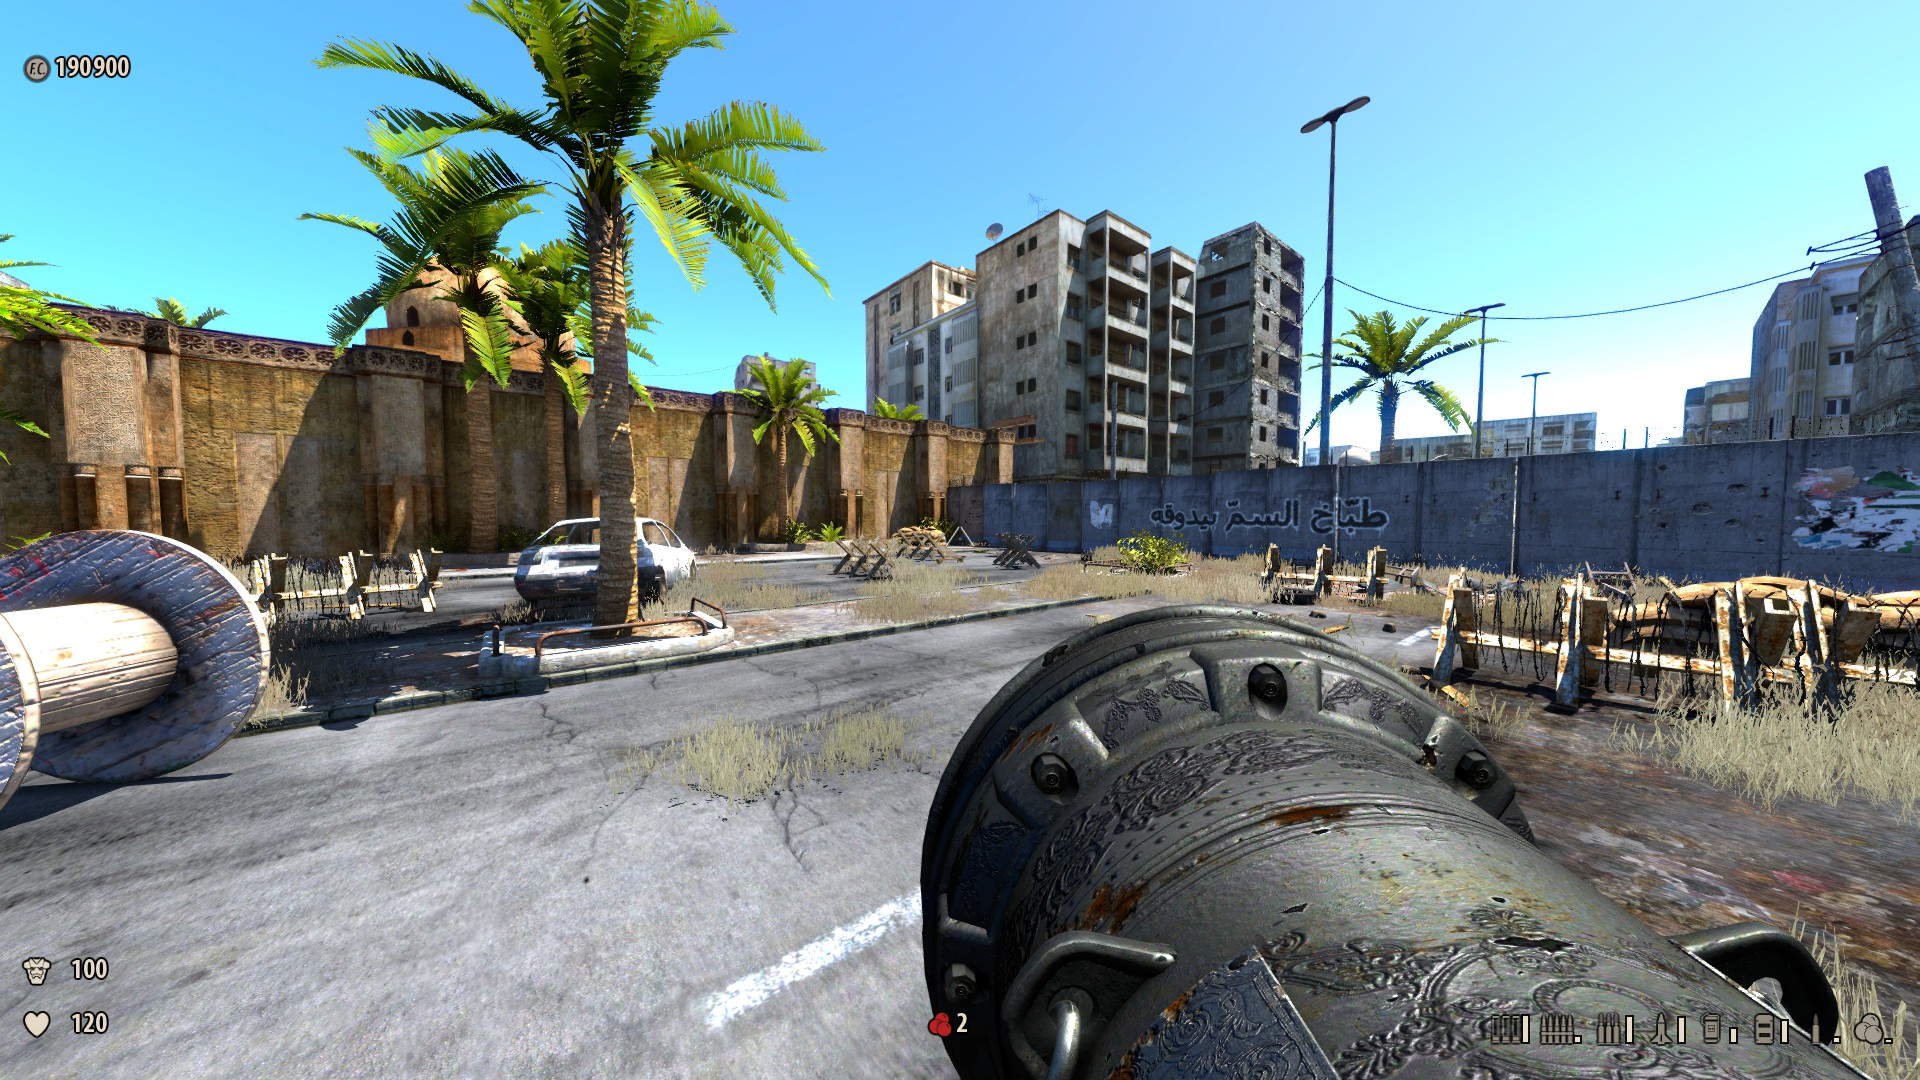
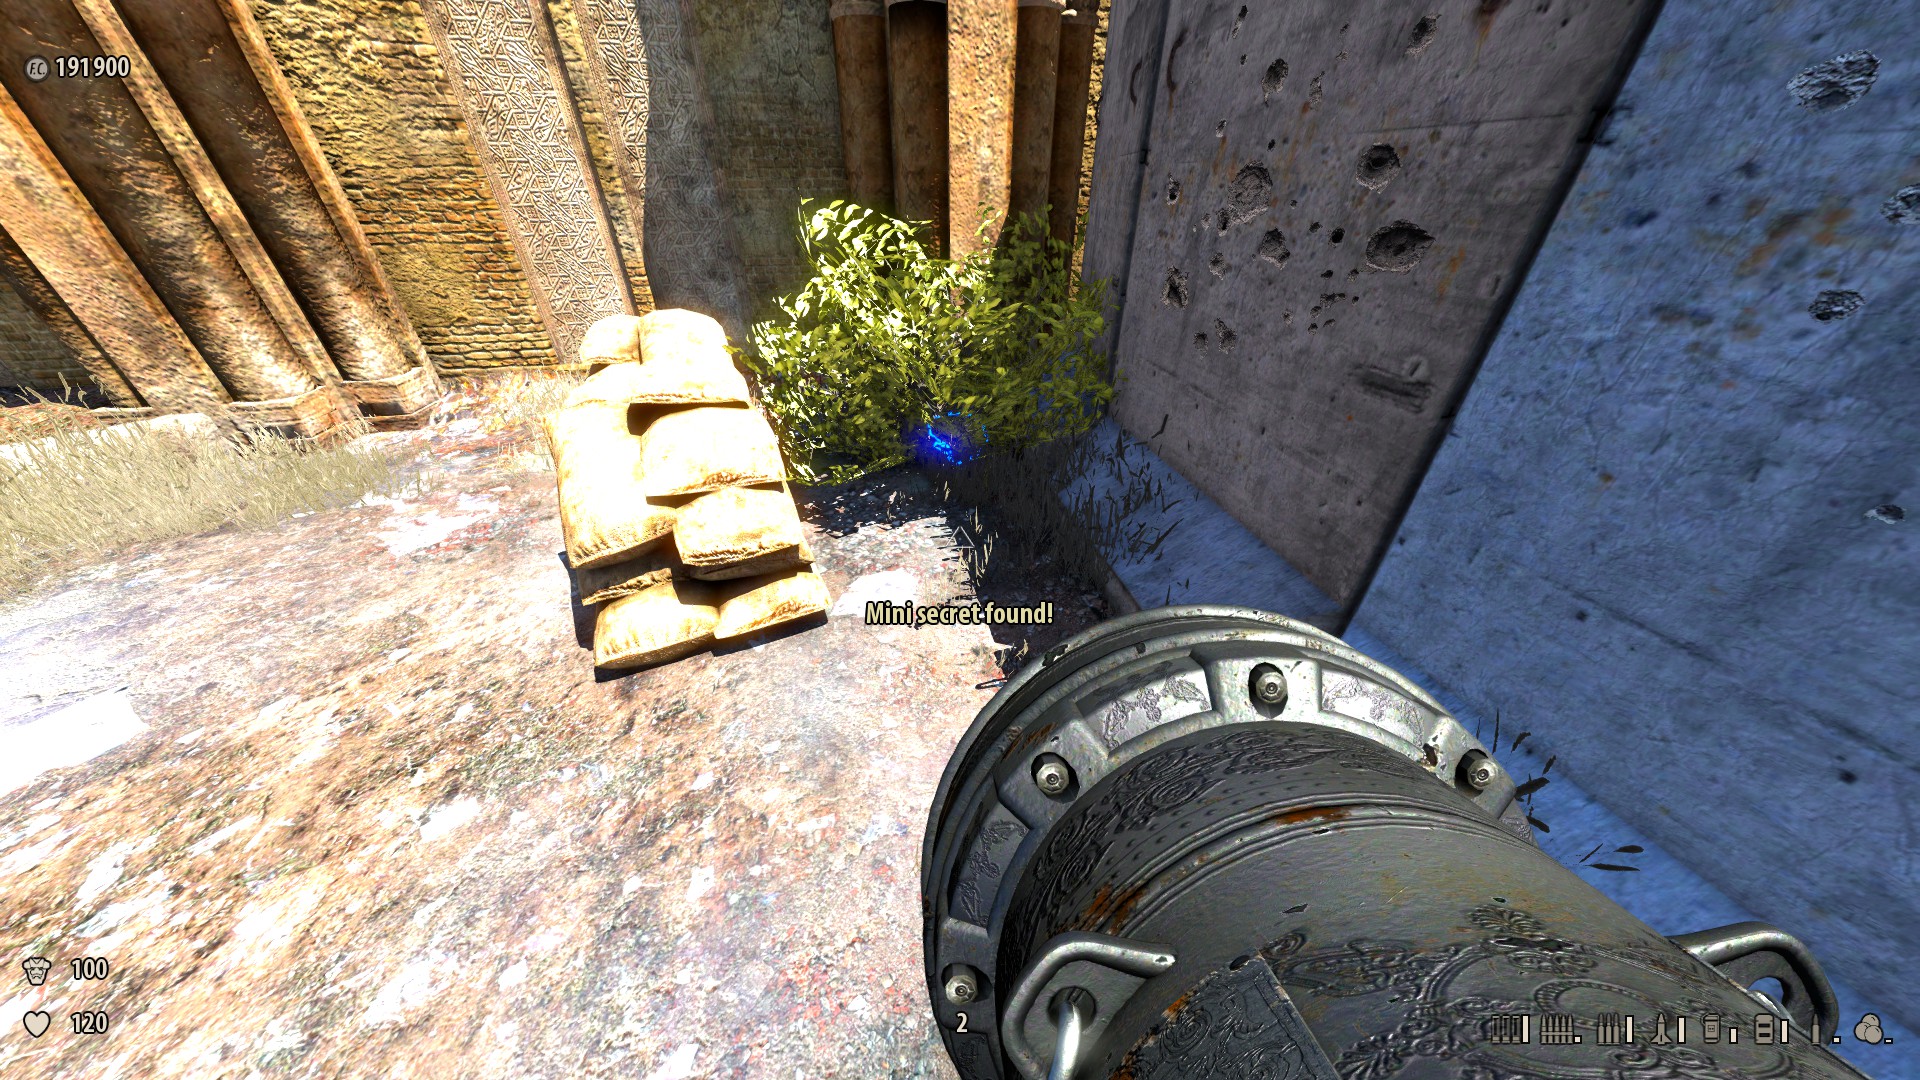
8) On the kickoff principal route containing a Beheaded Rocketeer — Behind the passenger vehicle finish is a stone wall coming out from a building. Walk effectually it to the left and you volition see a gap in the wall concealed by a bush. Go through the gap to pick up an electricity pack. Reward: Electricity +50.
-
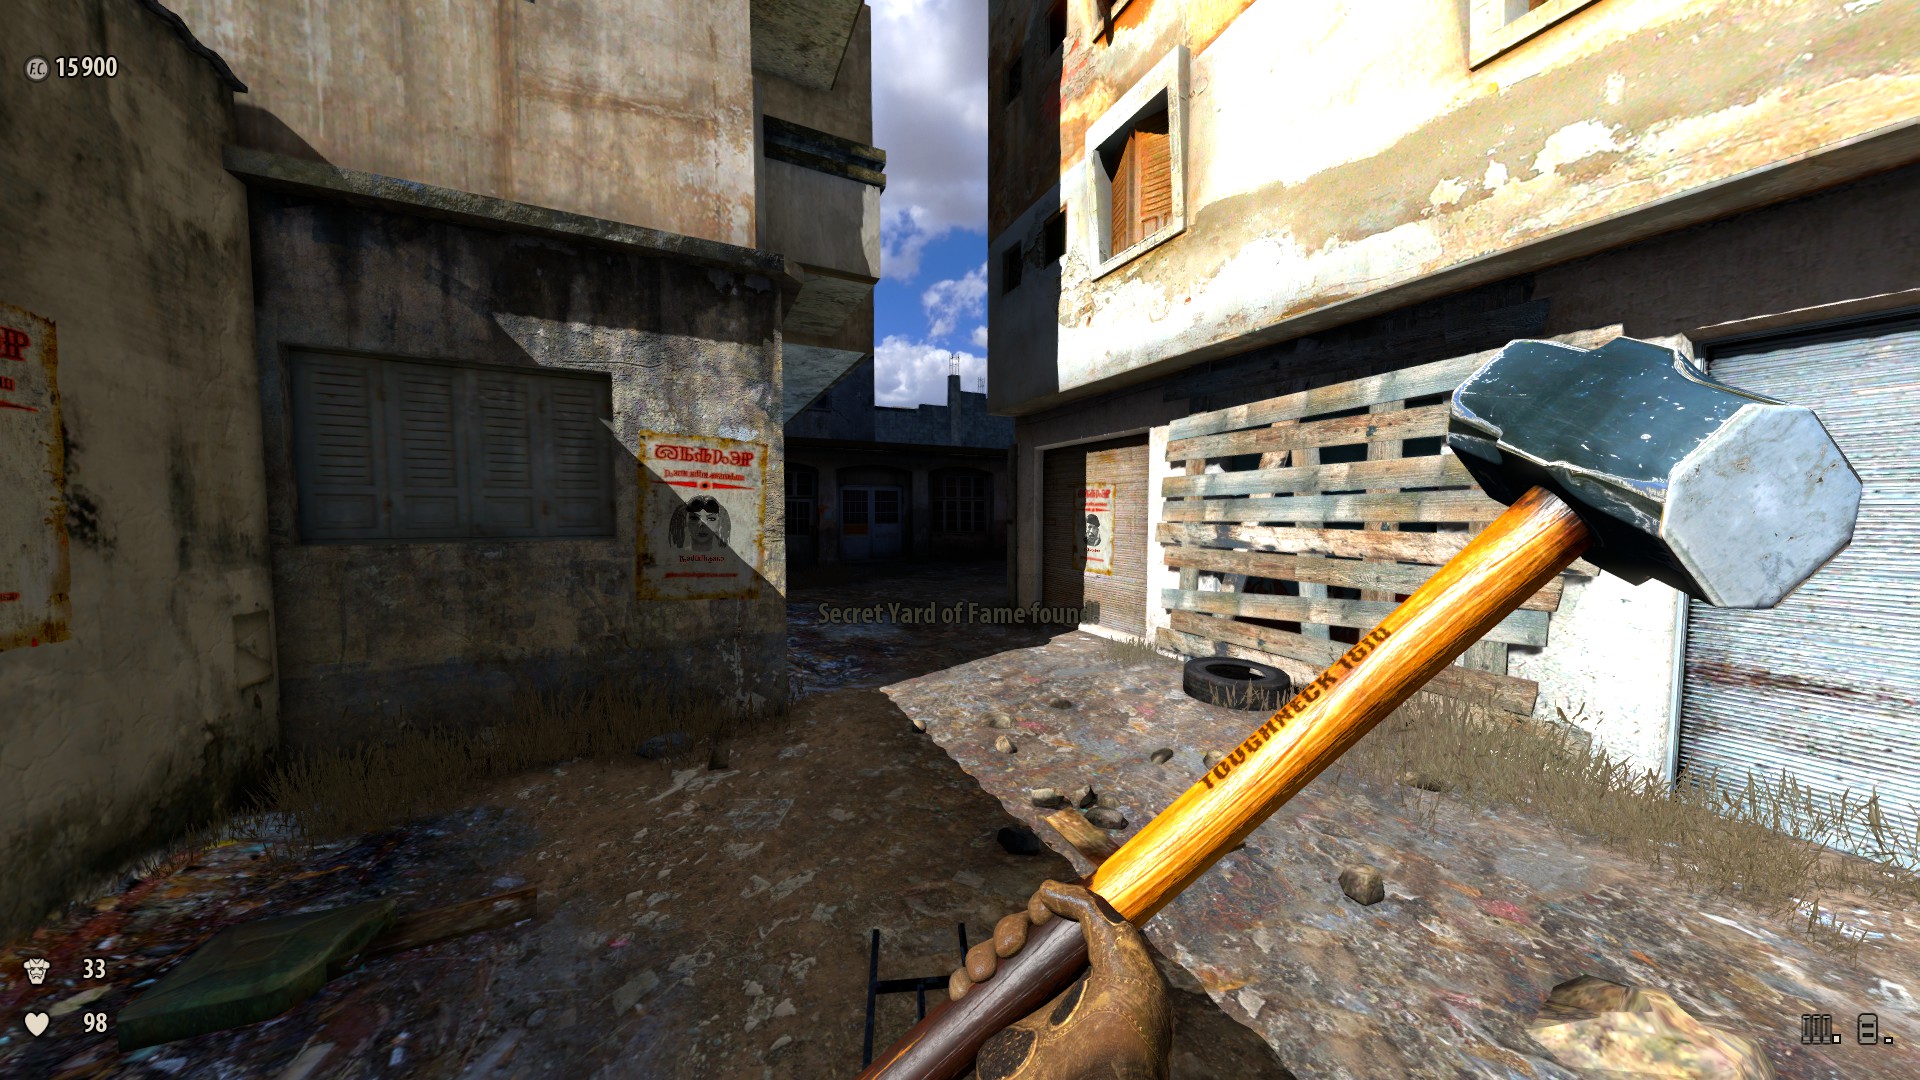
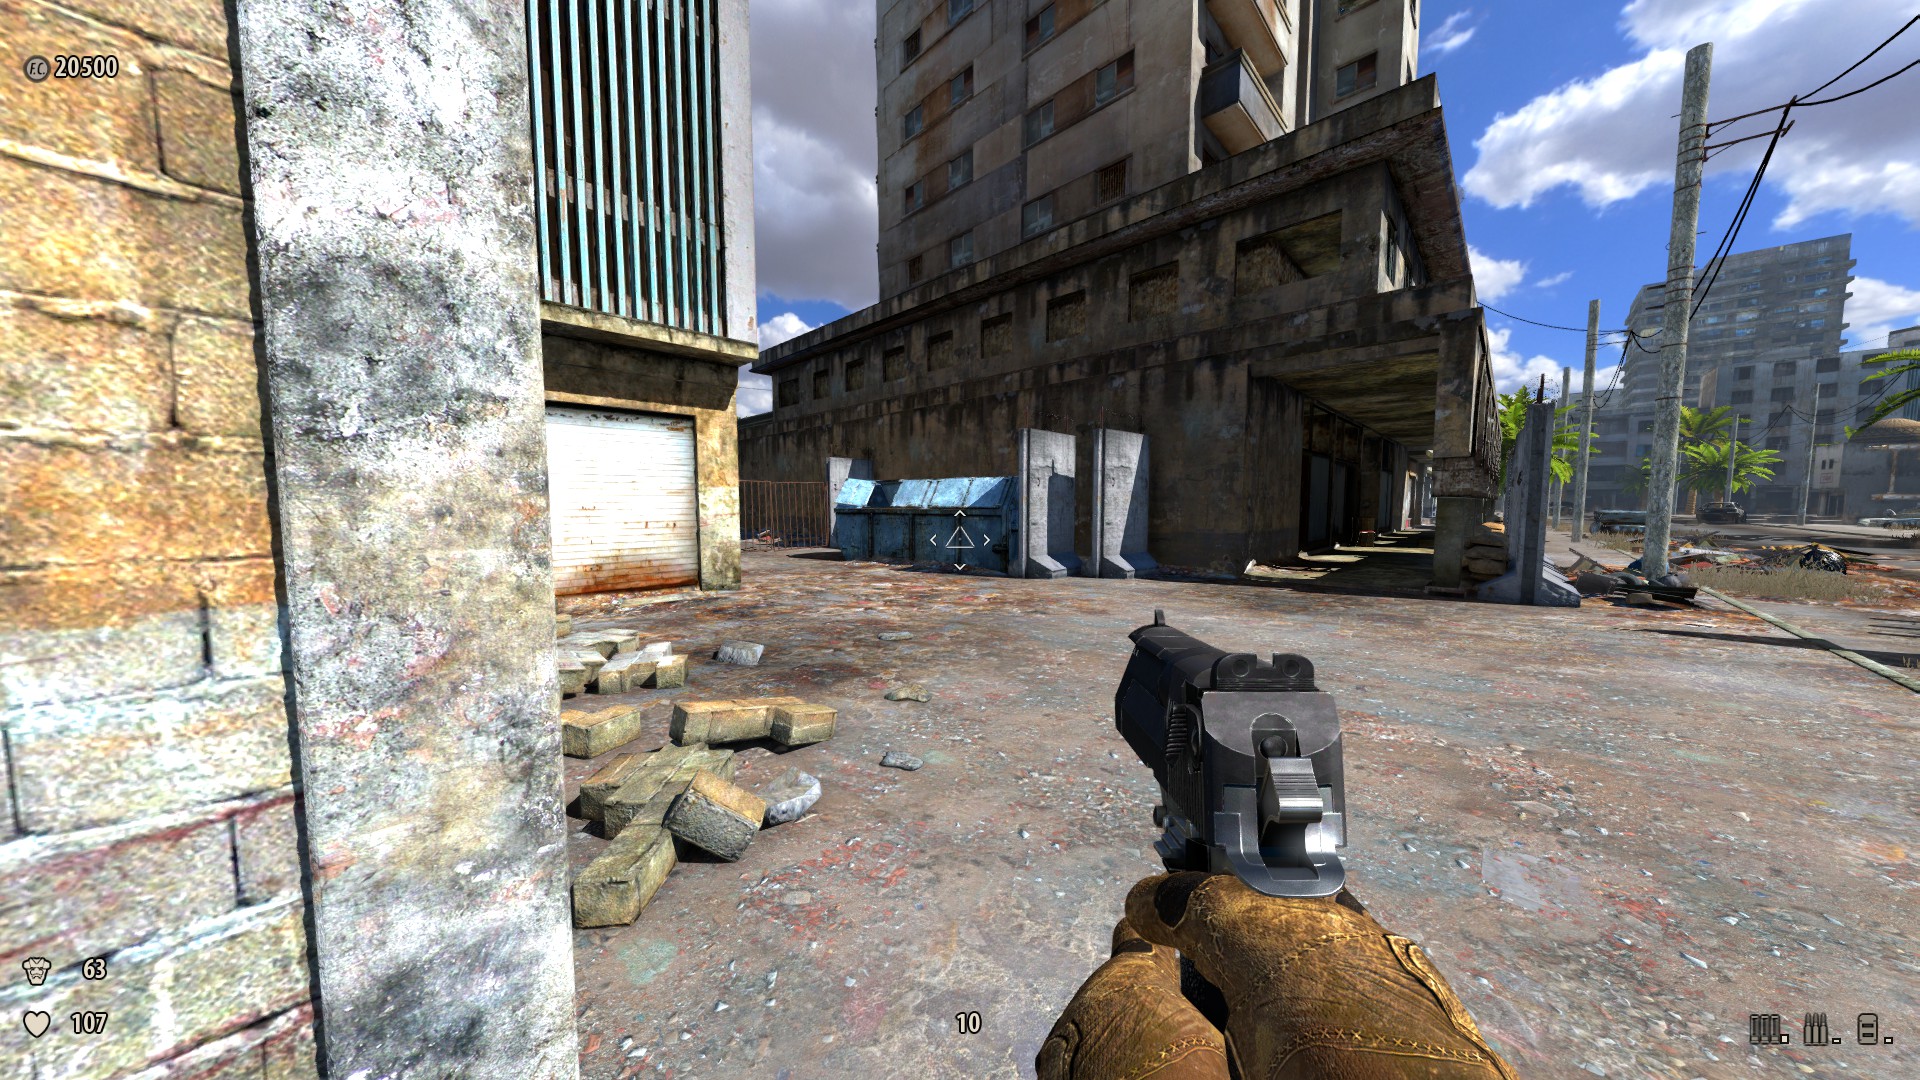
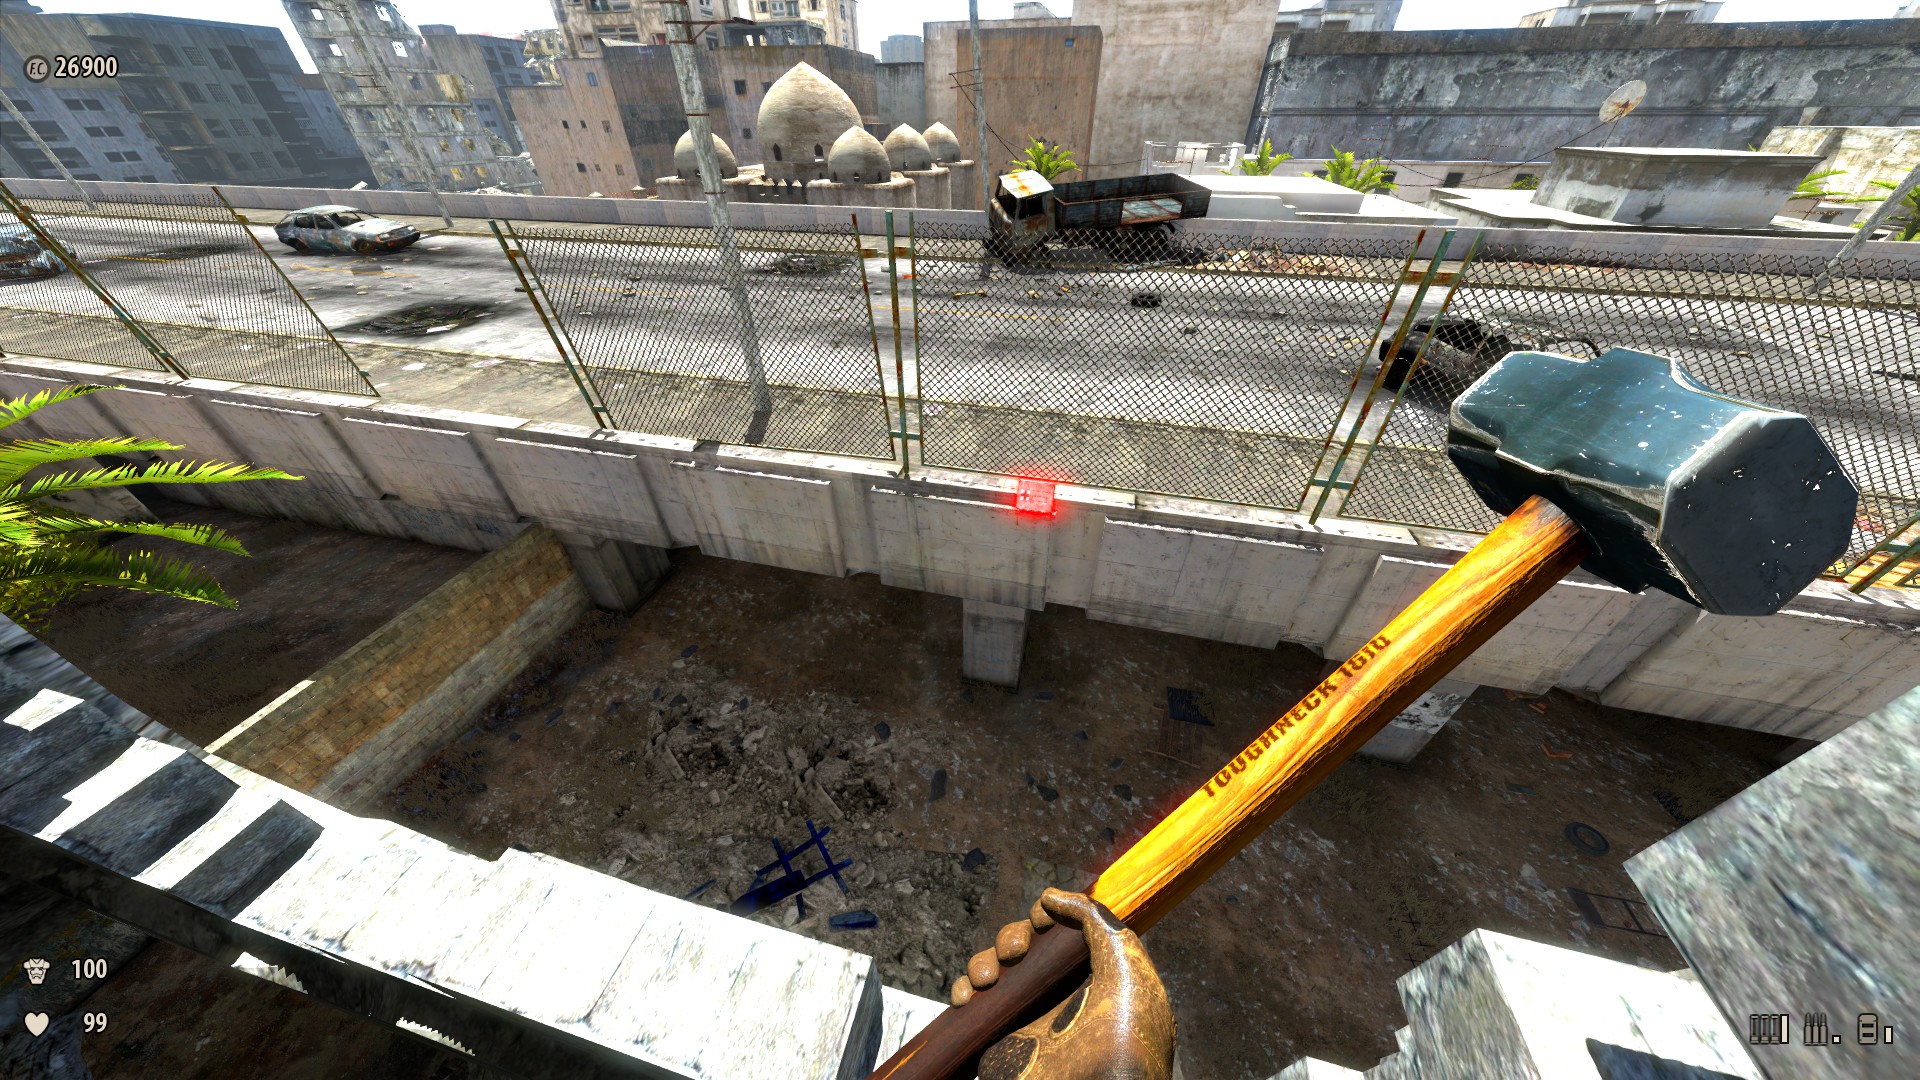
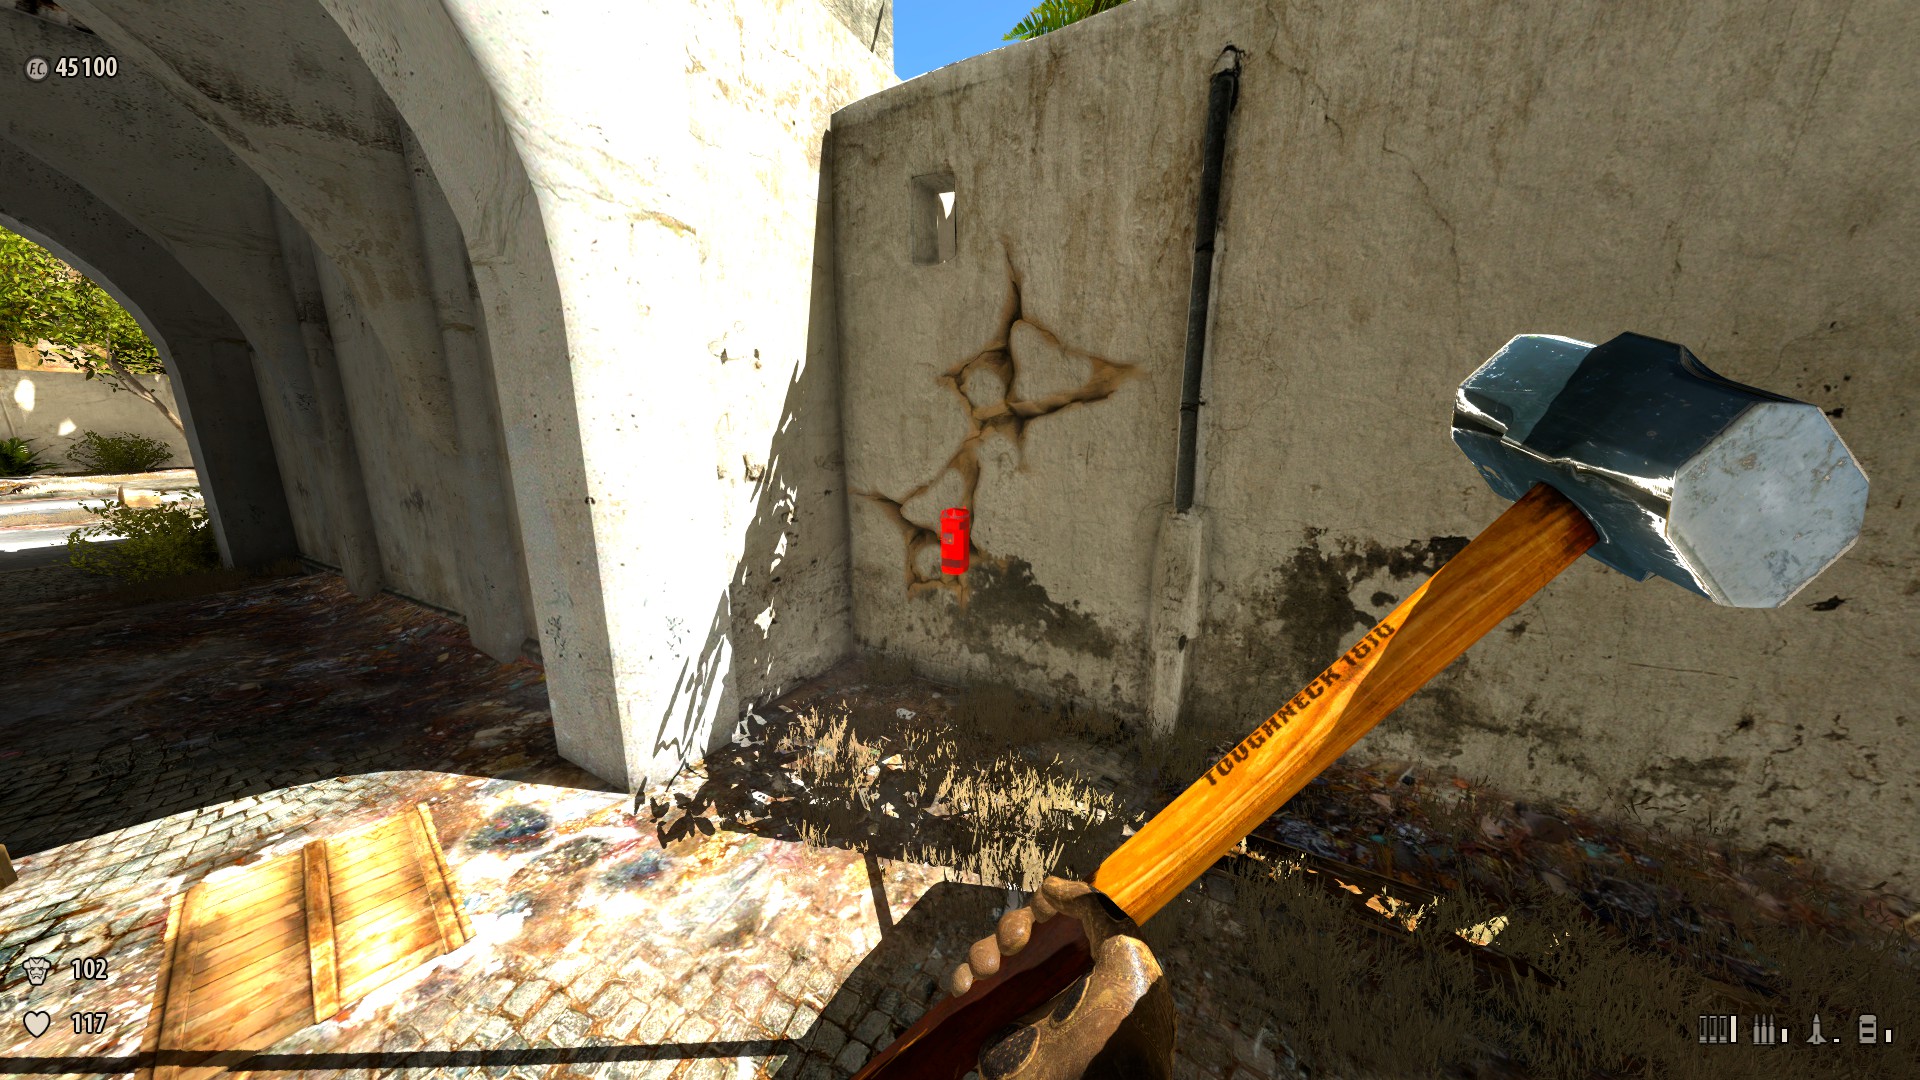
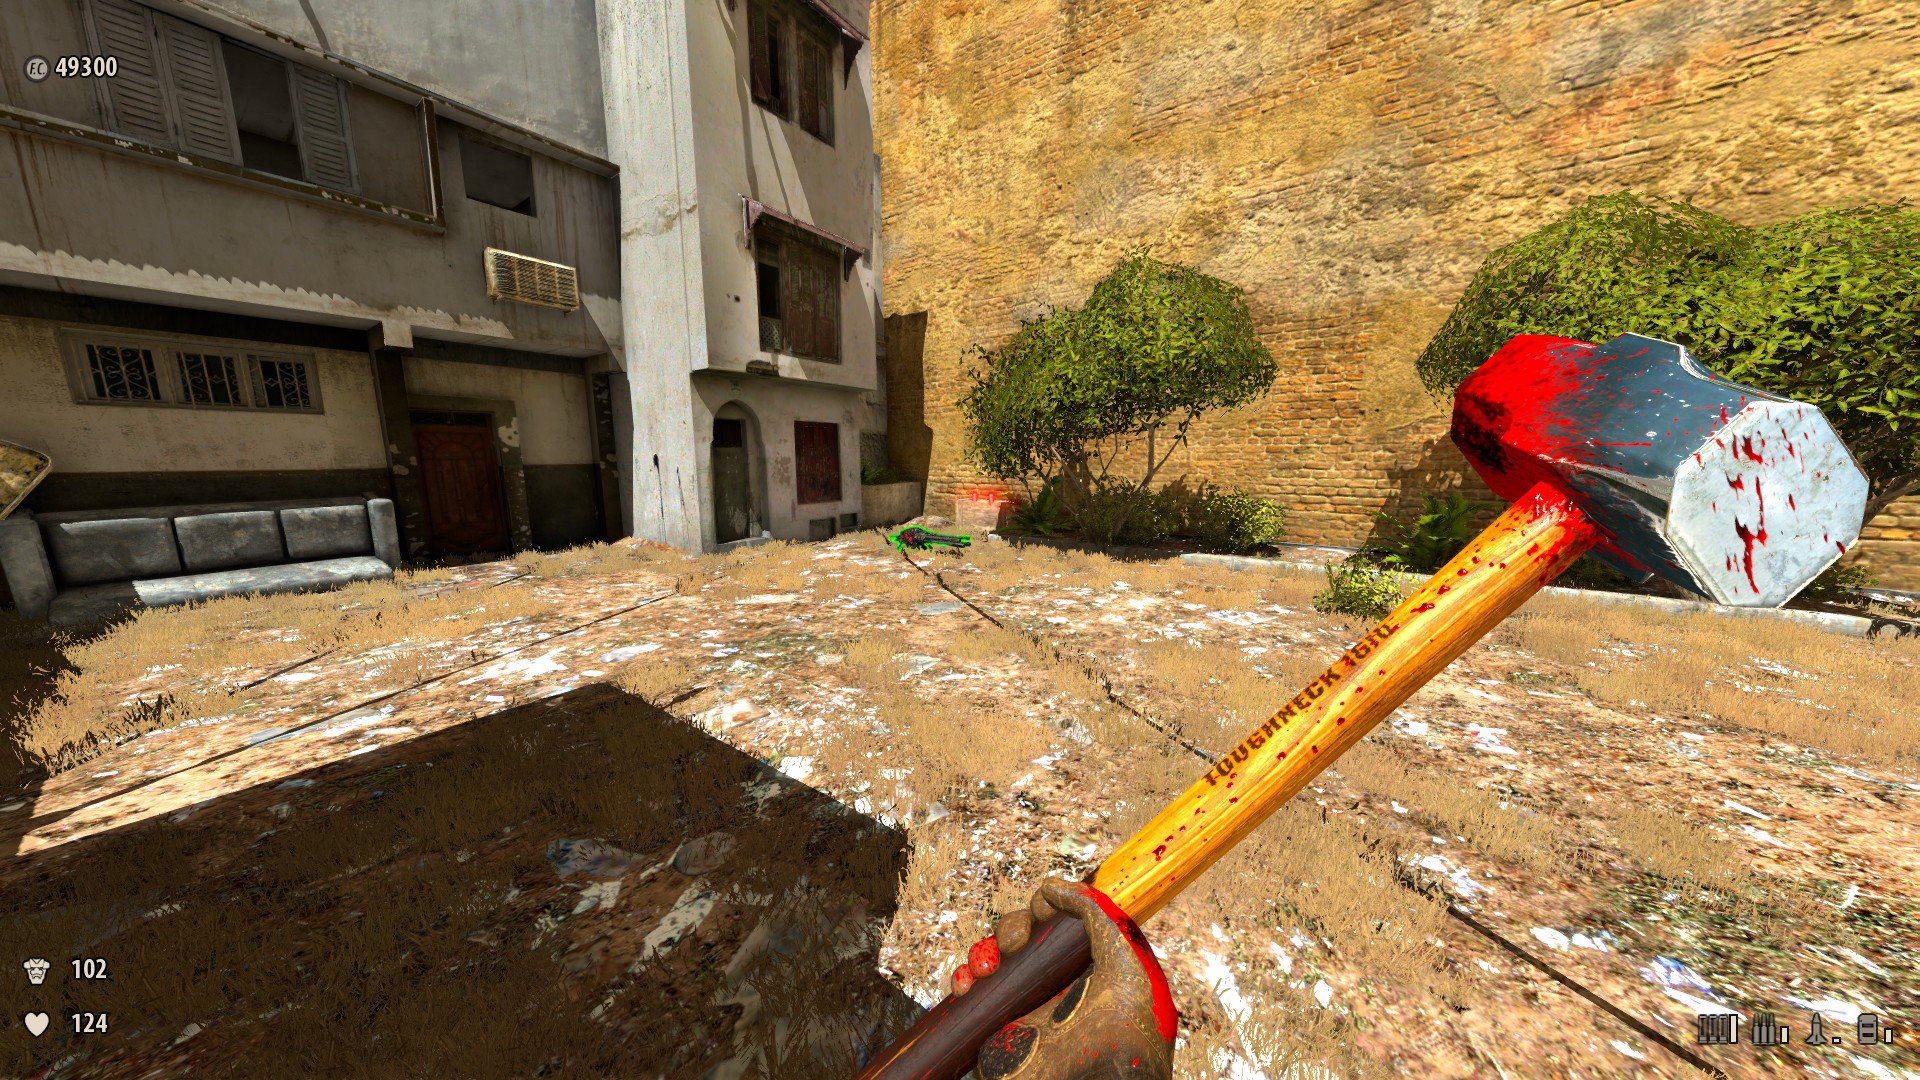
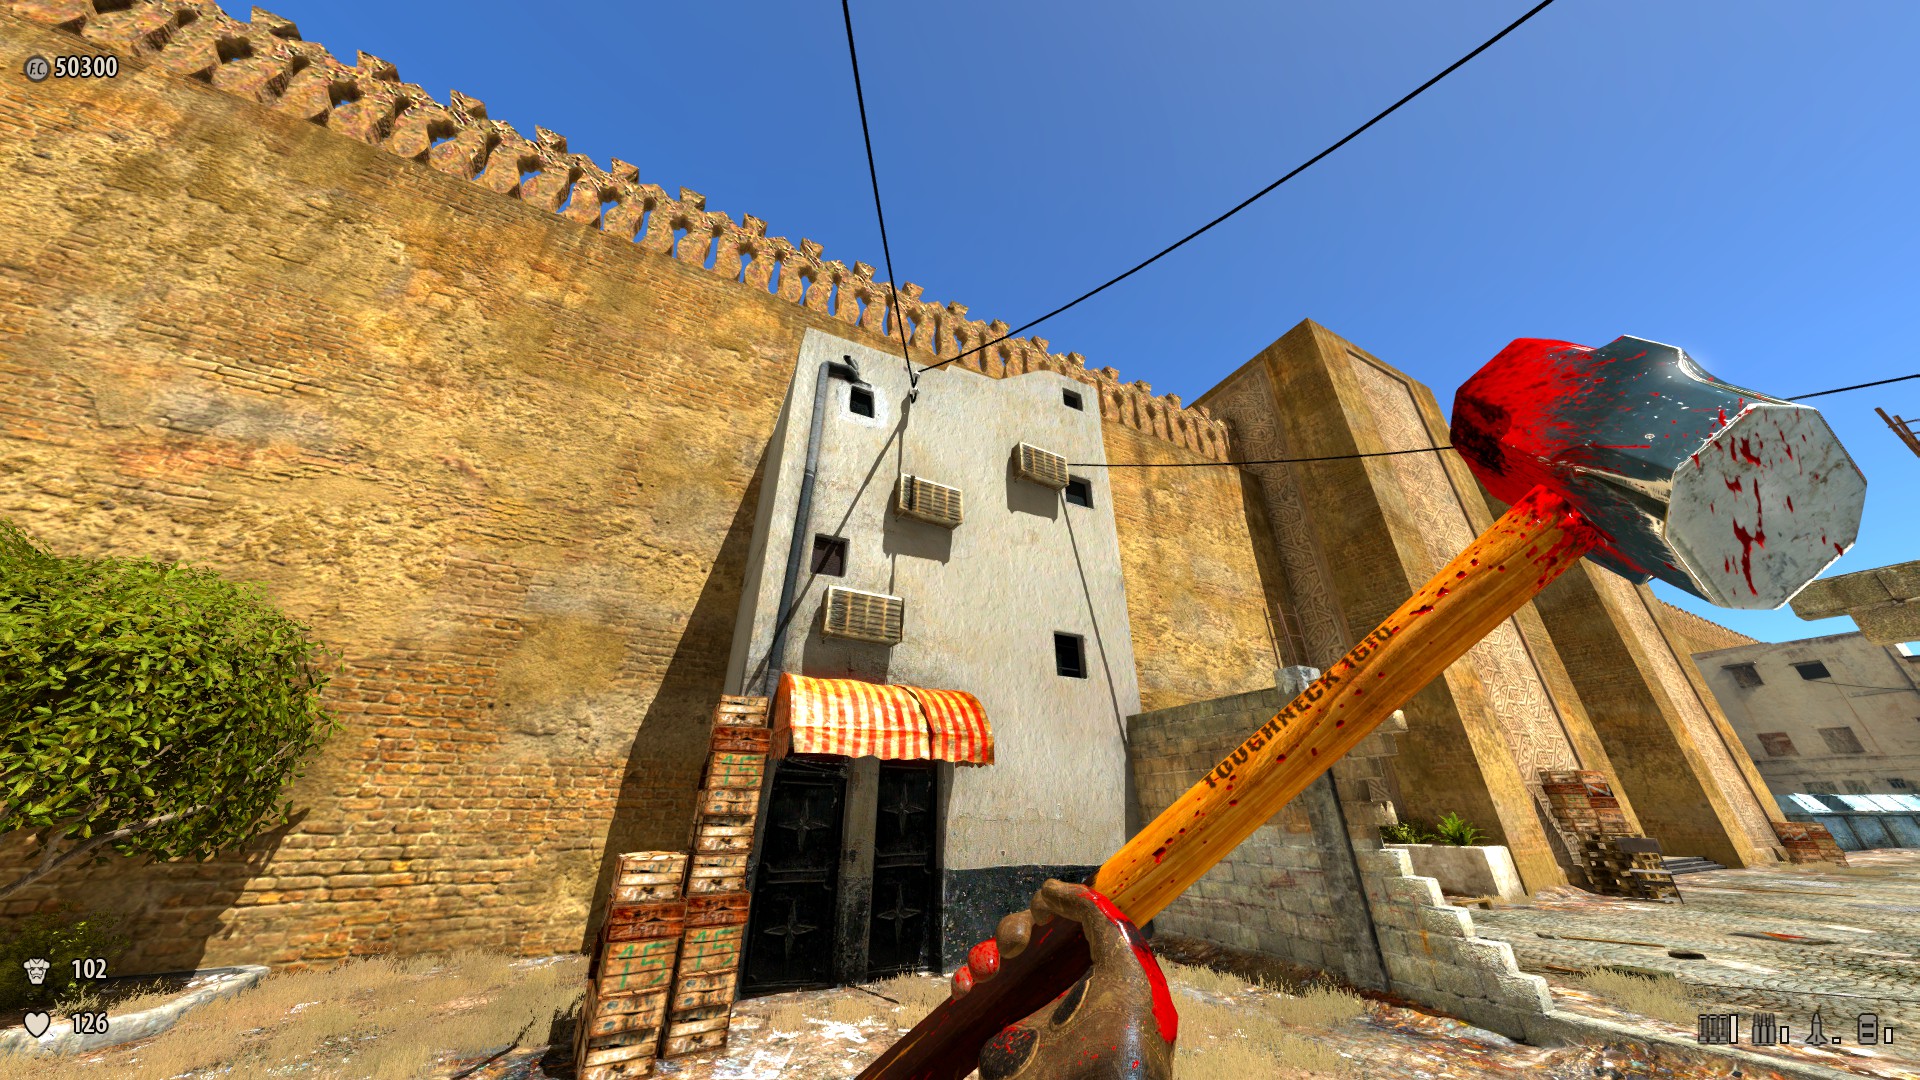
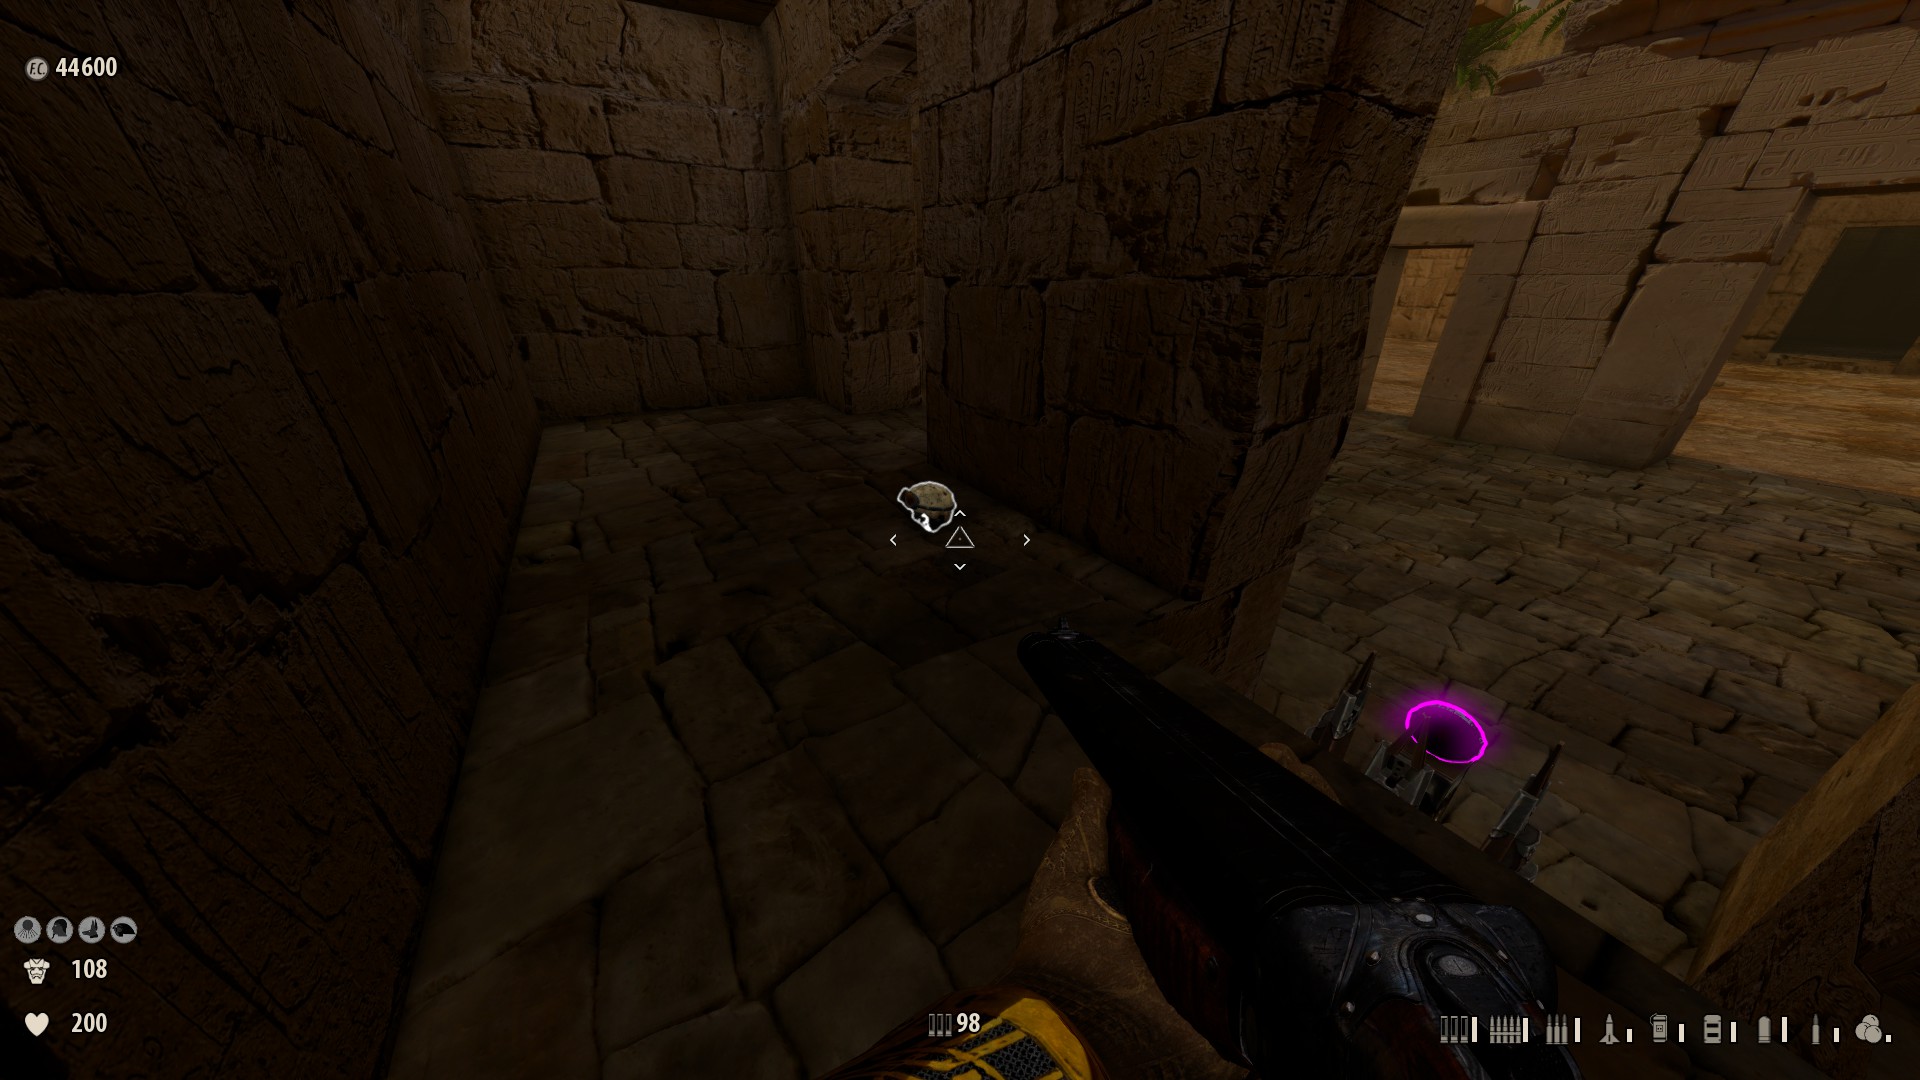
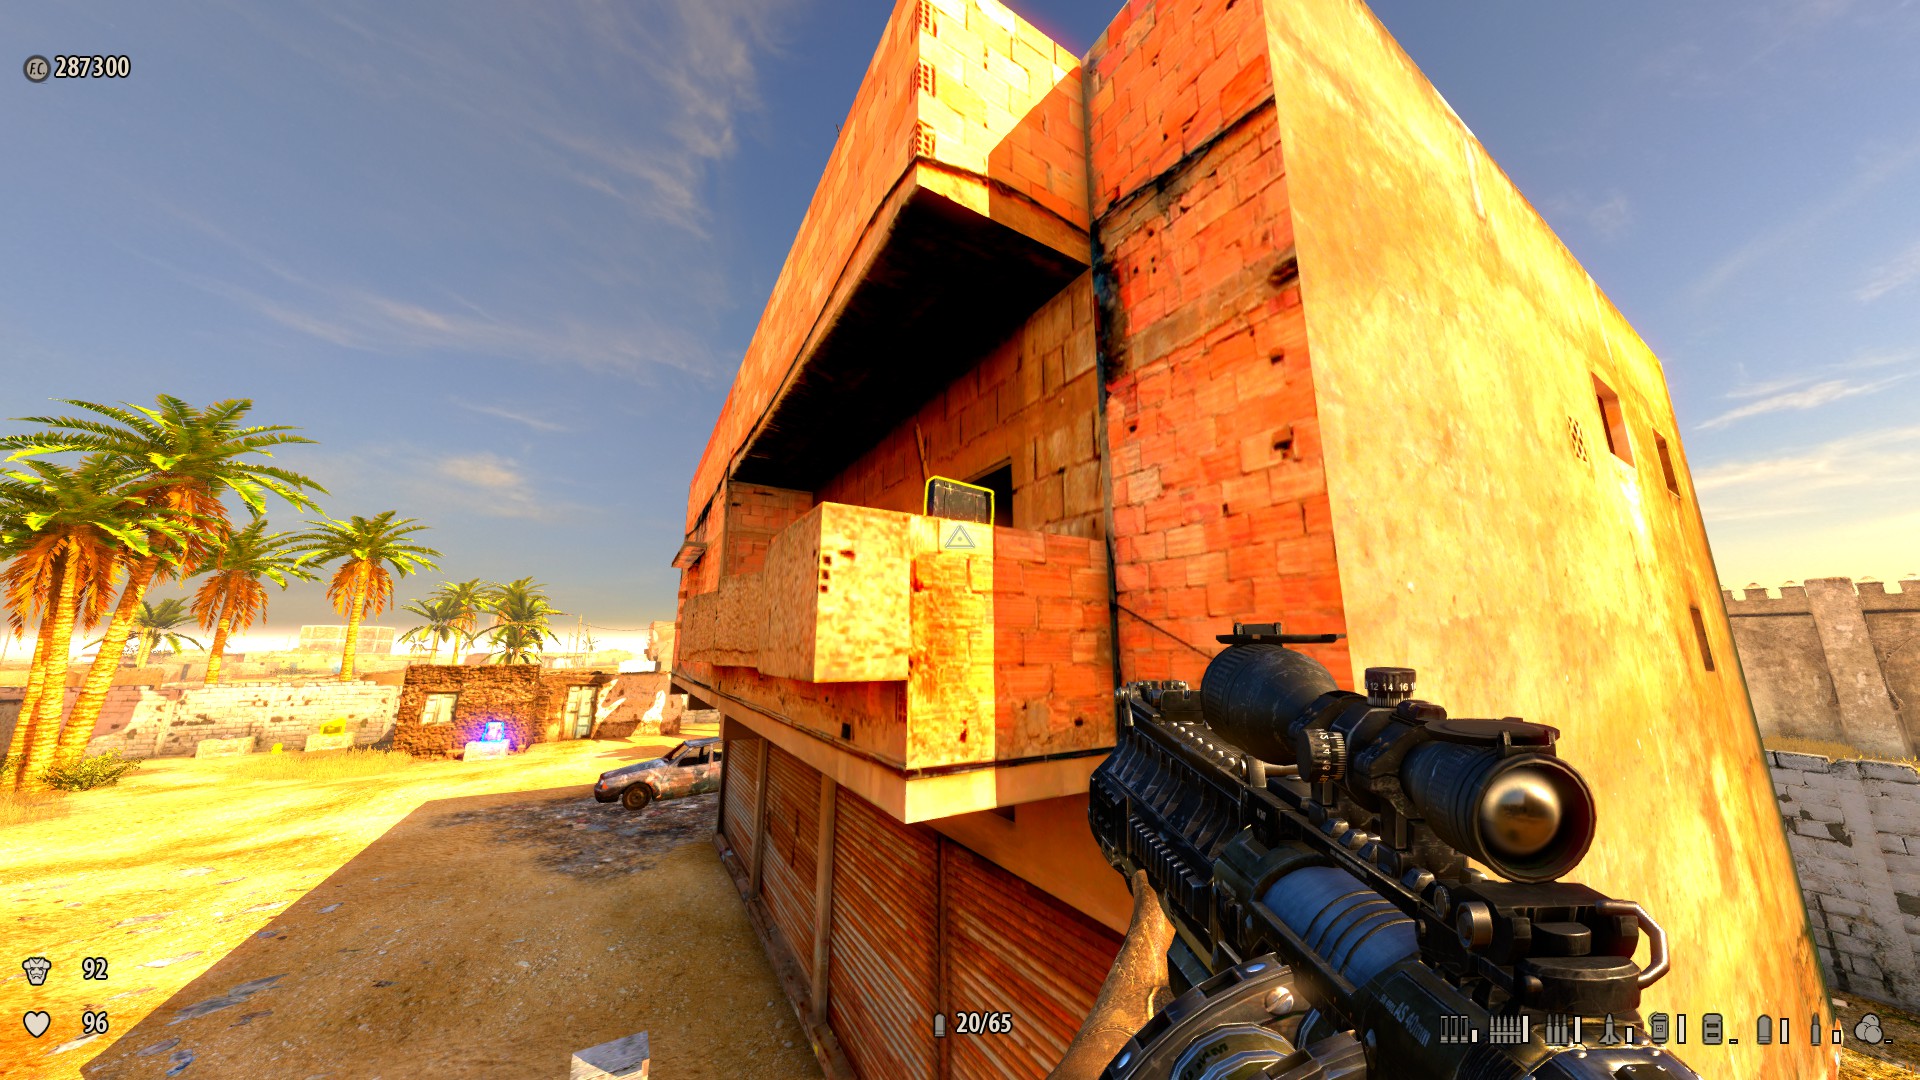
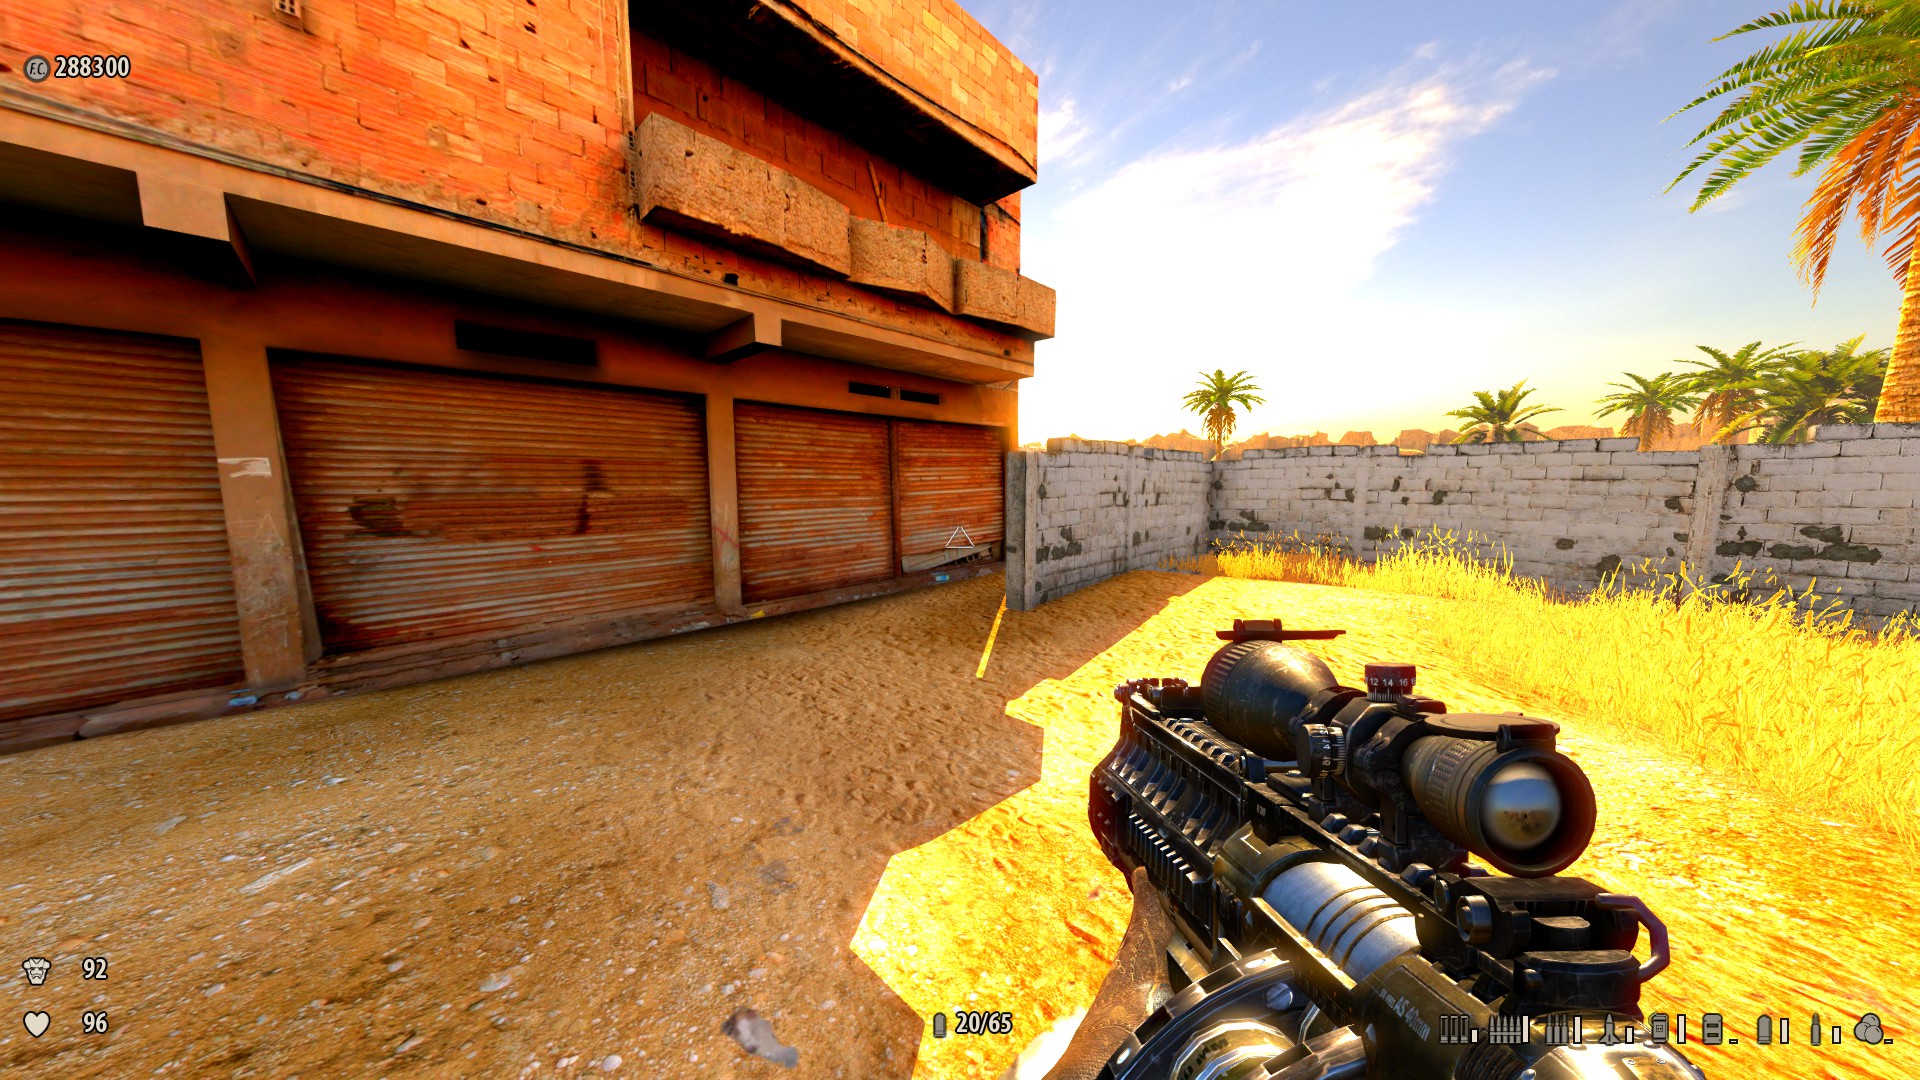
9) When a warship blows up a edifice — After the fight, head through a broken department of wall and into an area with garages. Wait to the left backside a bin to see a wall with uneven bricks. Break the wall with the sledgehammer and head on through to observe many posters with special text and the bulletin "Secret Yard of Fame Found!" Reward: Easter egg.
-
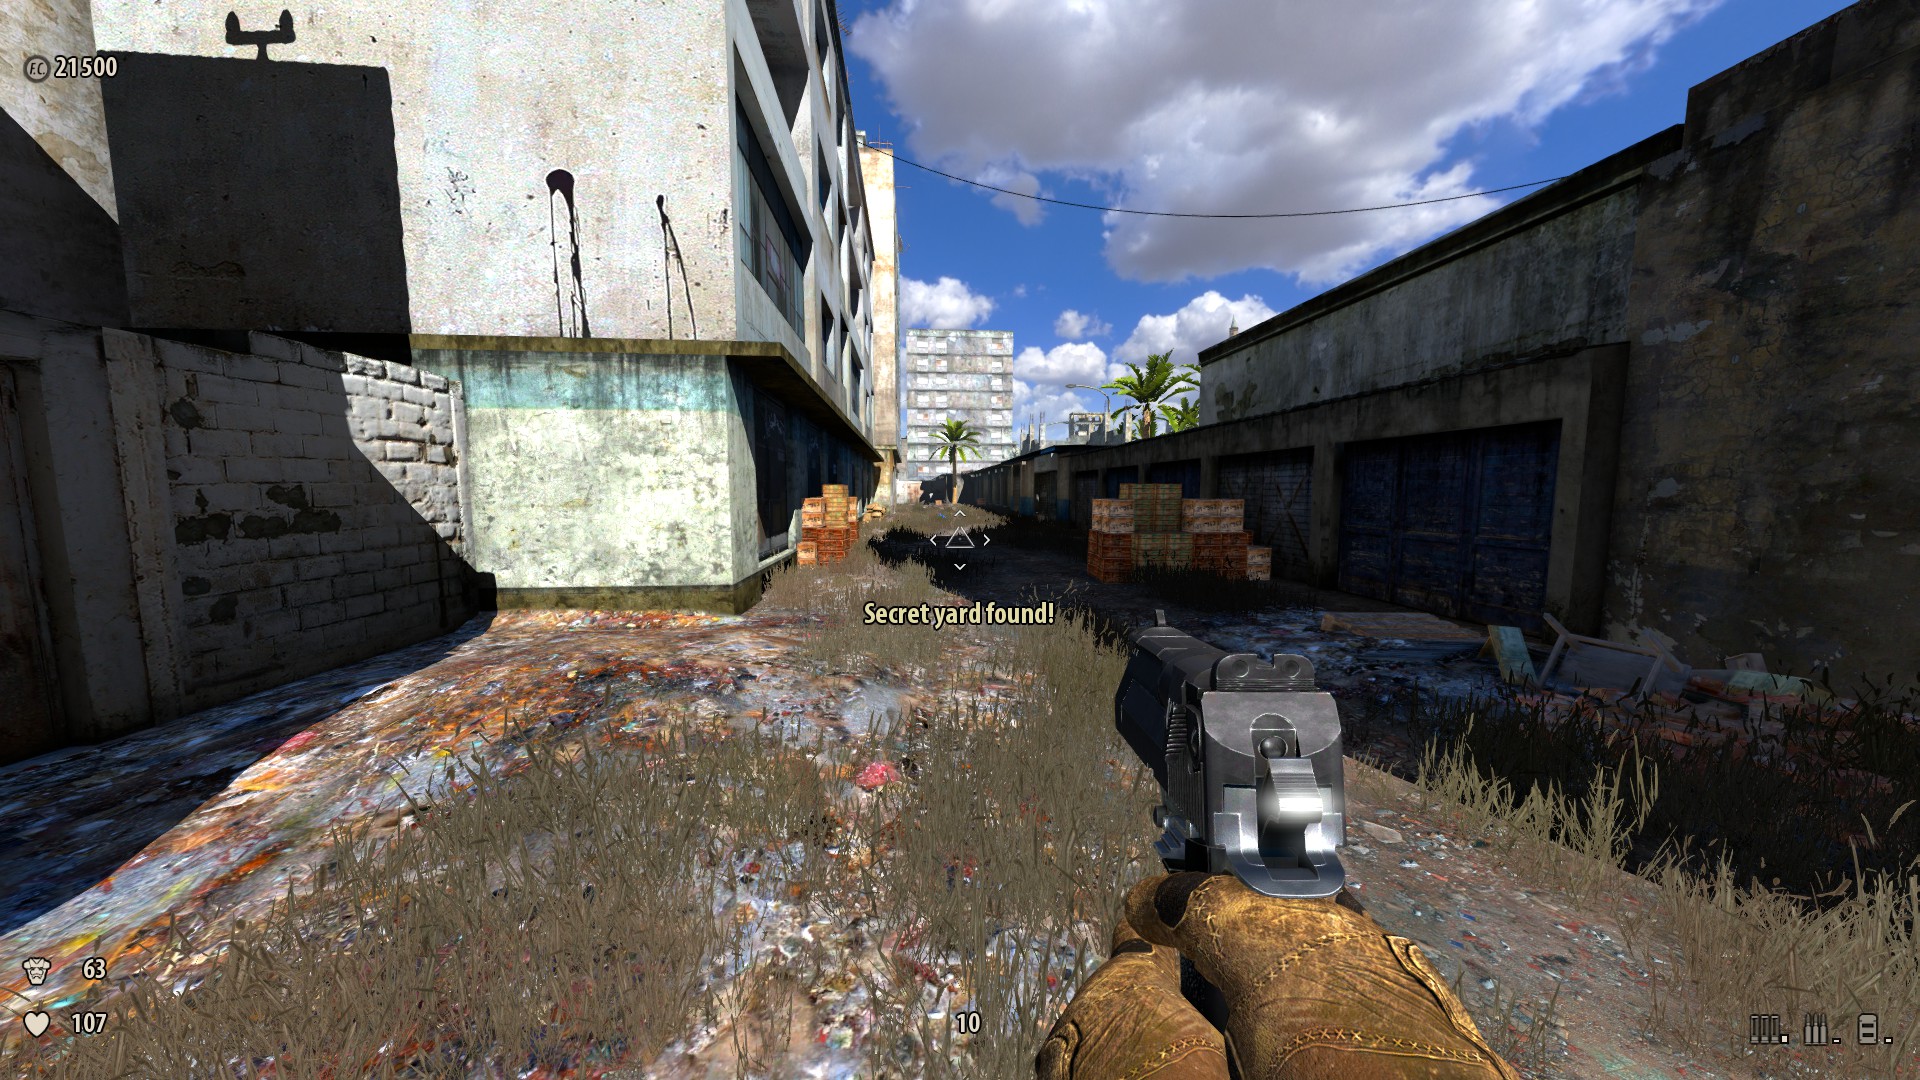
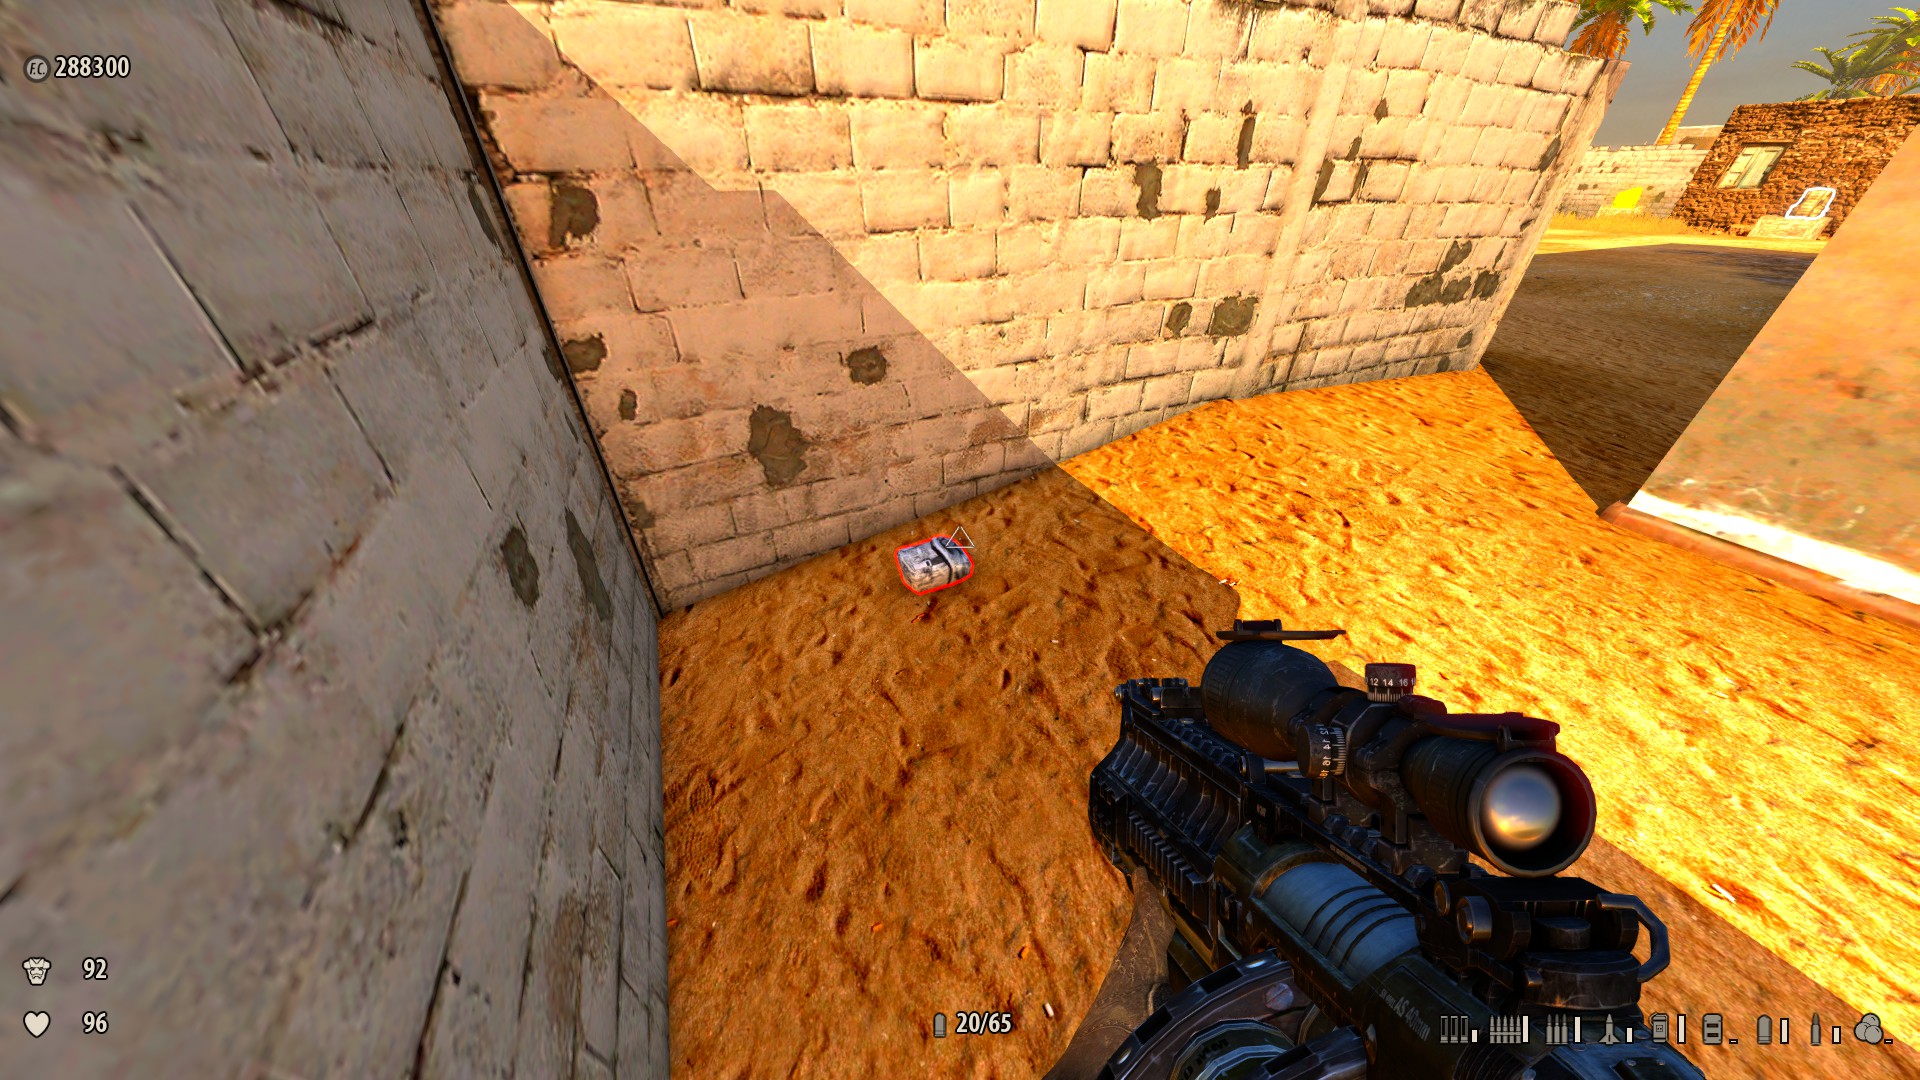
10) Just after you lot pick up the pistol — Look left and jump on some boxes and over the wall, get the message "Secret graffiti yard found!" Read the graffiti. Rewards: Easter egg, Assault burglarize bullets +30.

-
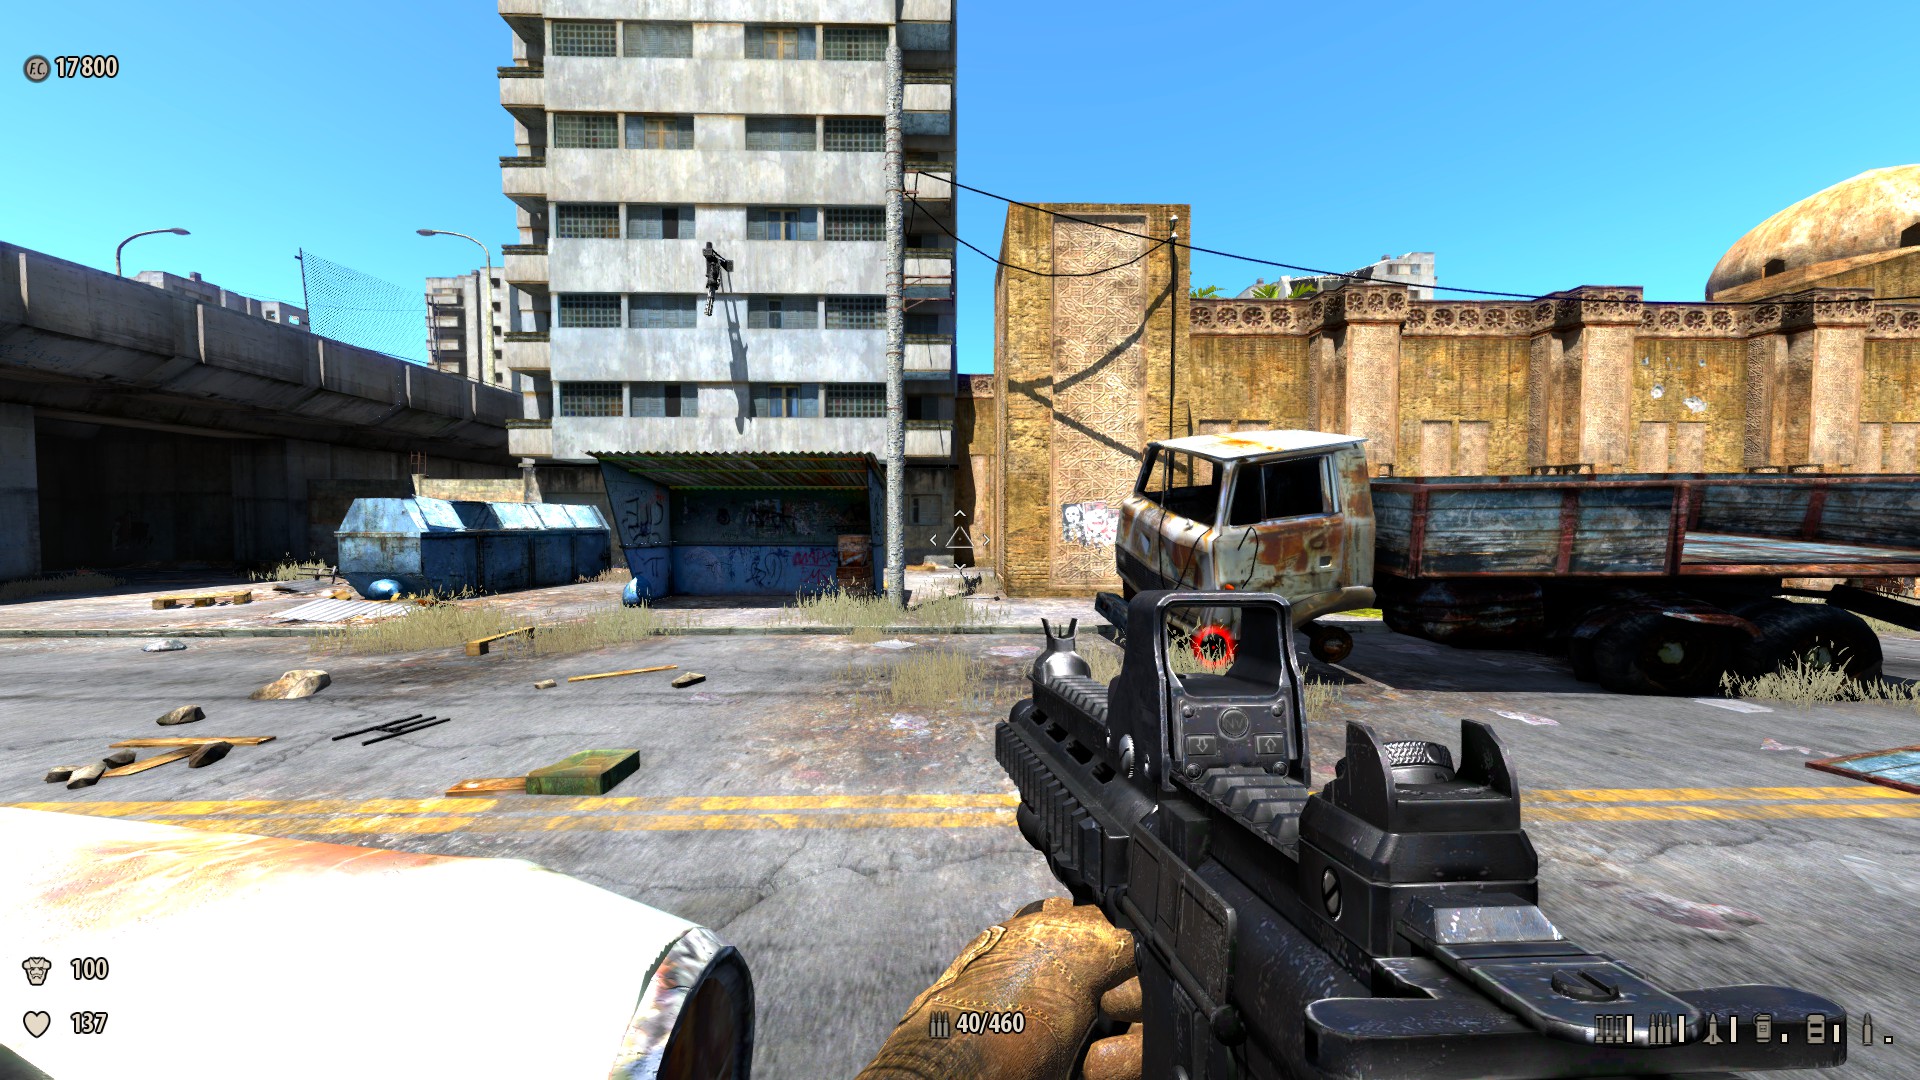
11) Information technology is possible to get secrets 11, 12, 13, and fourteen (in that order) if you don't accidentally fall off the wall or roof (if you do fall, you'll have to circumvolve back around and enter the secret thousand hither in Secret xi). In the street earlier the parking lot — On the left manus side yous can come across a decrepit truck through a gate. Jump on the barrel behind the garbage bin, the bin, then over; "Secret g found!" message pops upward. Pick upwards the helmet, which will spawn some Kleer Skeletons. Reward: Armor +10.
-
12) In the alley beside the parking lot (in area 8), head dorsum toward the gate you jumped over to enter the surreptitious yard and spring on some boxes on the left, and then up on top the garage, heading left towards the parking lot. Note that you will pass Hugger-mugger 14 before reaching Secret 12, but save that until later if you want to save a little fleck of time. From here you will be able to encounter Secrets 12 (Shells on the portable) and xiii (one wellness on a edifice ledge). Run over the shipping container and jump over to the portable in the parking lot, and choice up the shells. Reward: Shells +x.
-
13) When you're standing on the portable from Secret 12, await toward the building — y'all volition encounter a health pickup on a ledge. Yous tin can bound on to the wall from here or backtrack and run forth the wall from the building. Either way, follow the wall until it meets the building so spring up to pick upwards the health (stay on the wall if possible to go faster admission to Secret fourteen). Reward: Health +1.
-
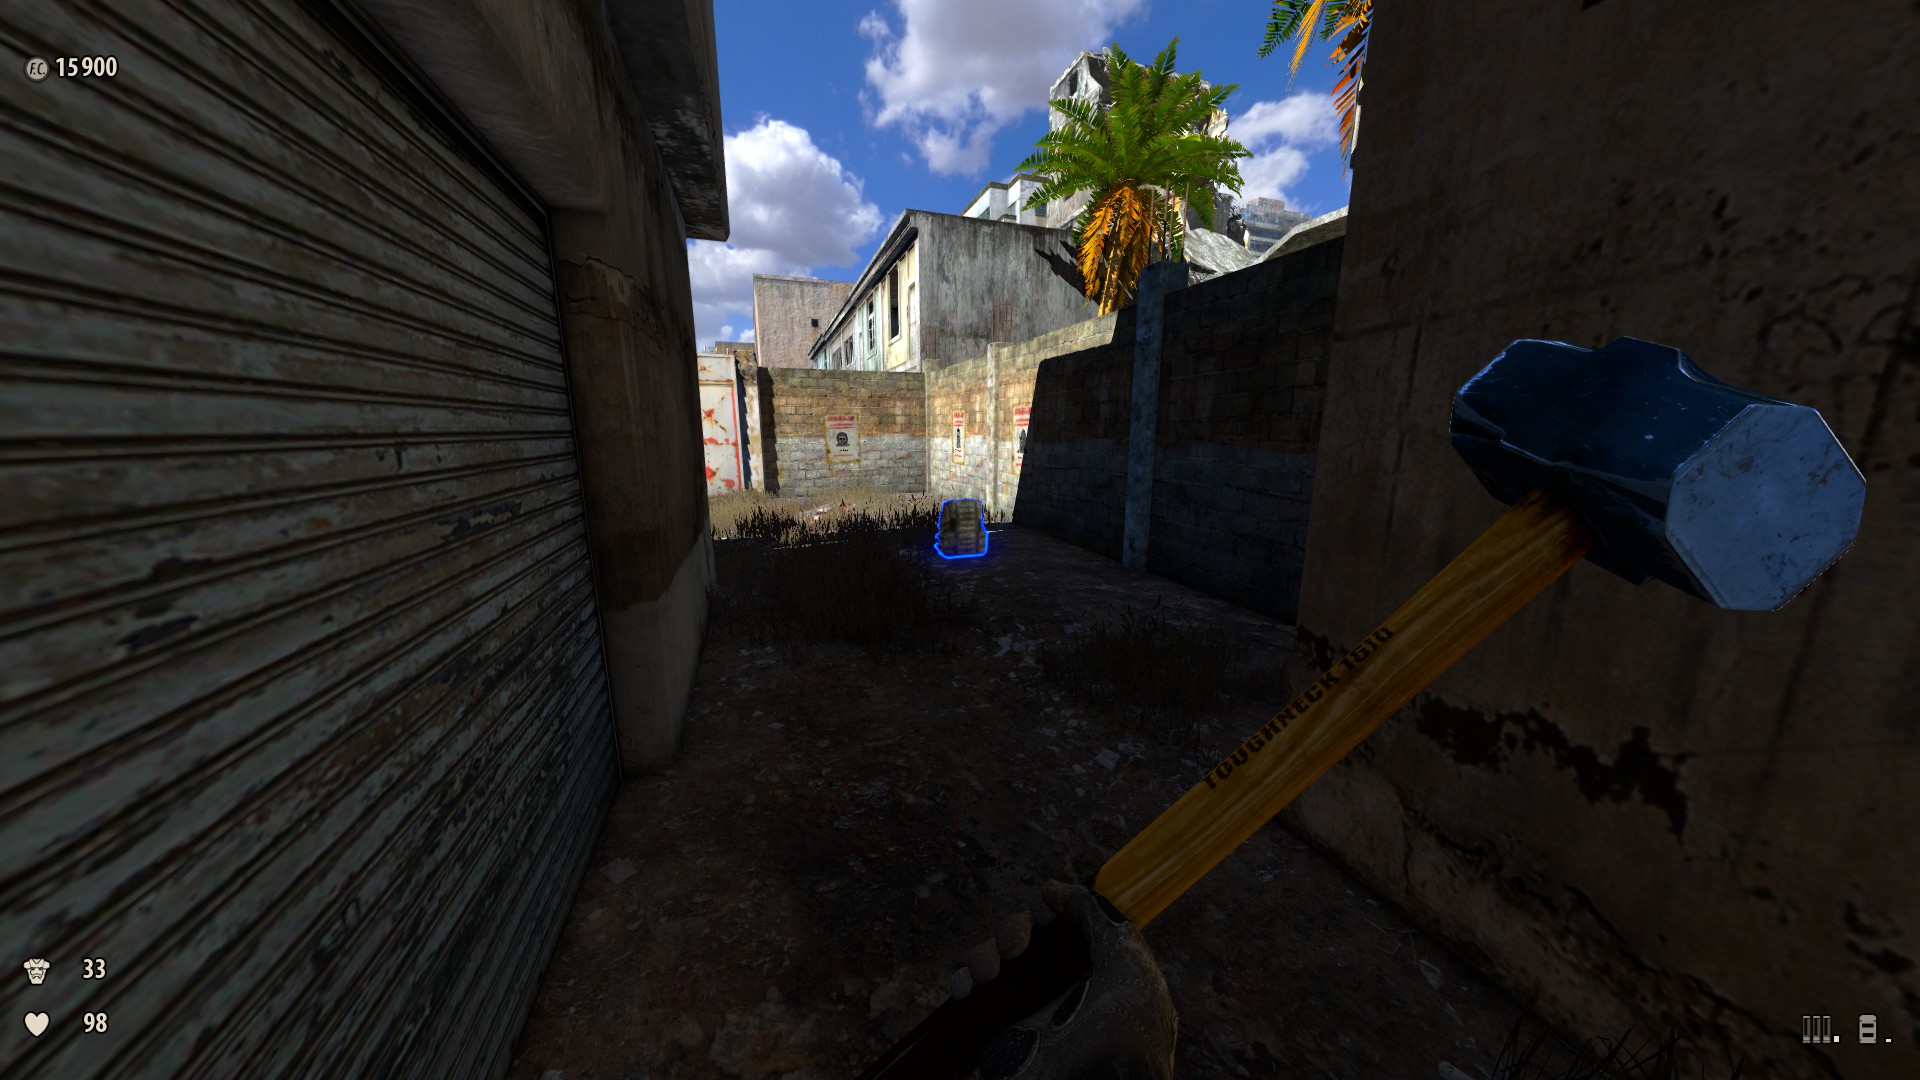
14) Backtrack on the border of the wall towards the where you came from, then head left, back towards the gate you jumped over to enter the Secret Thousand. On the left volition exist a nighttime aisle with some cells. Hop downwards and get the cells. Reward: Electricity +l.
-
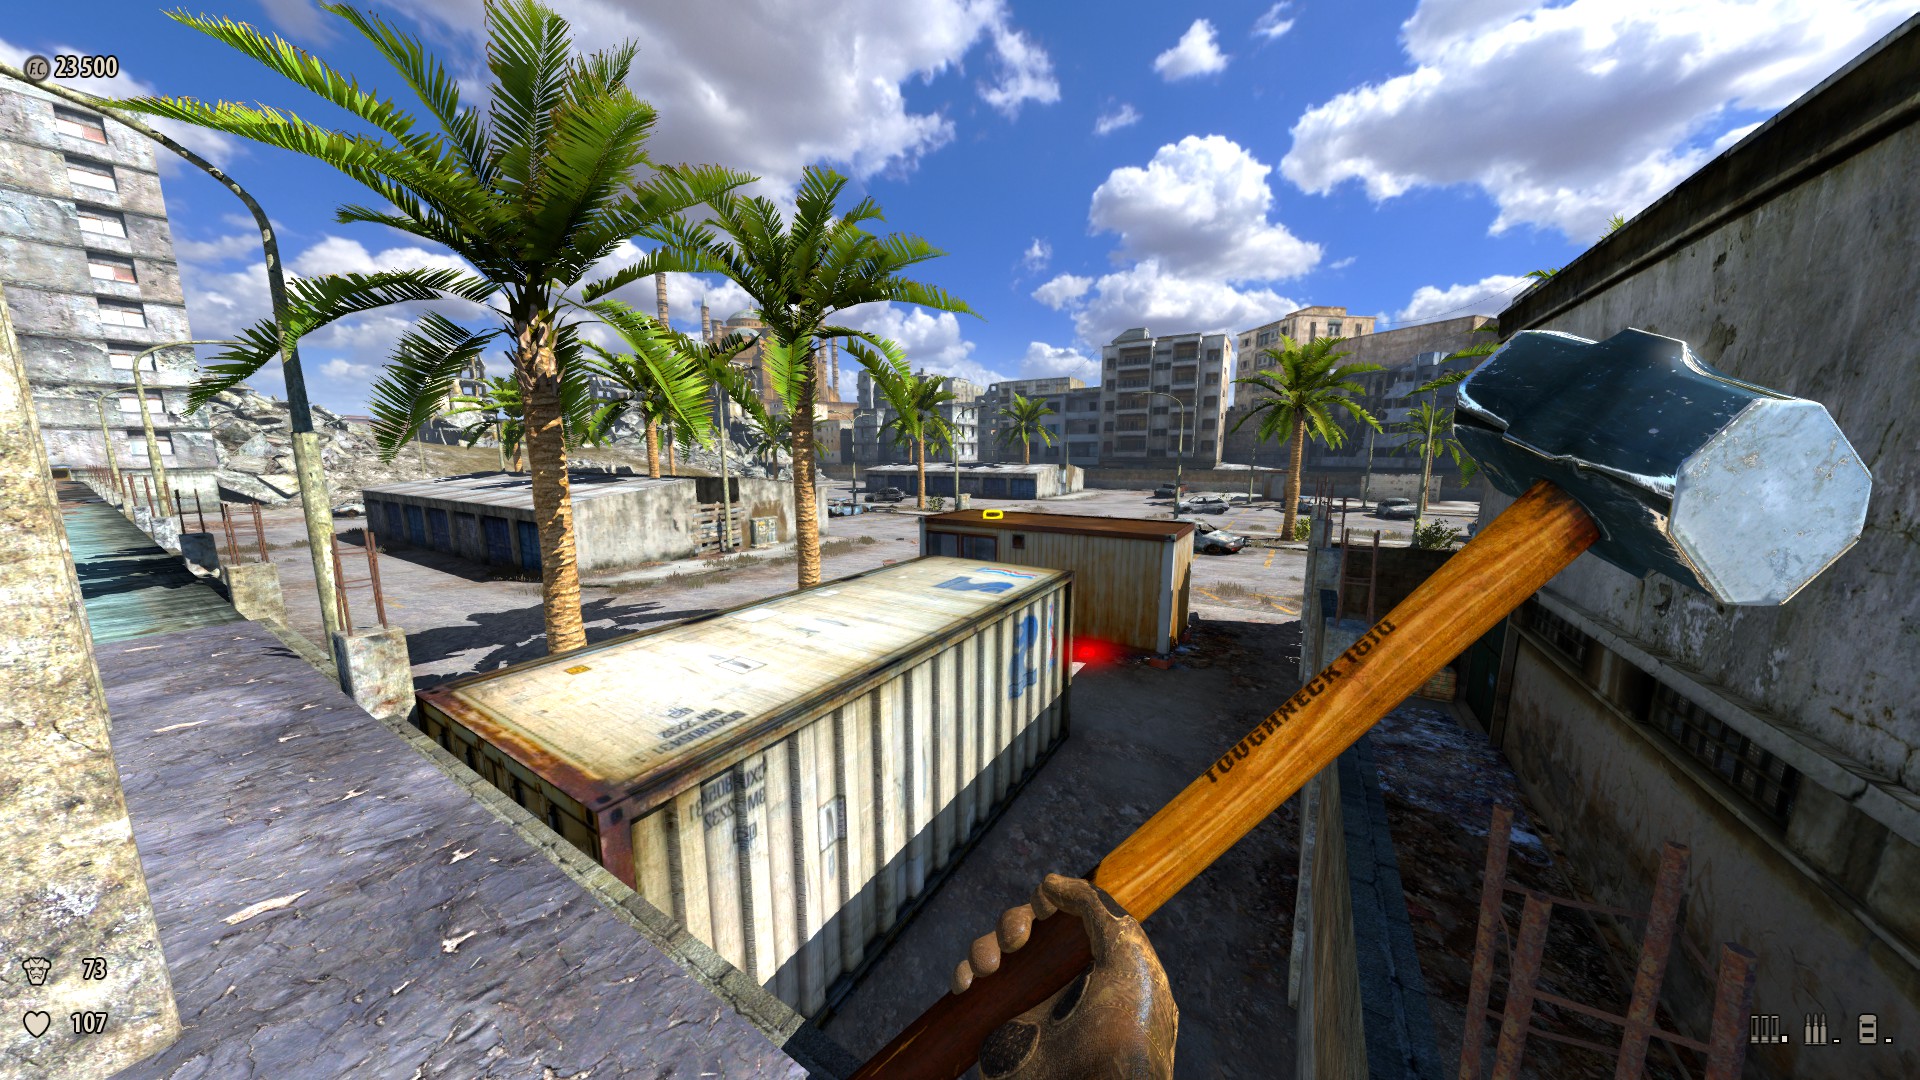
xv) In the parking lot — Jump on a motorcar sticking out of the garages on the left, and so hop down to betwixt the garages. There is a clip down there. Climb out using the barrel. Reward: Assault rifle bullets +30.
-
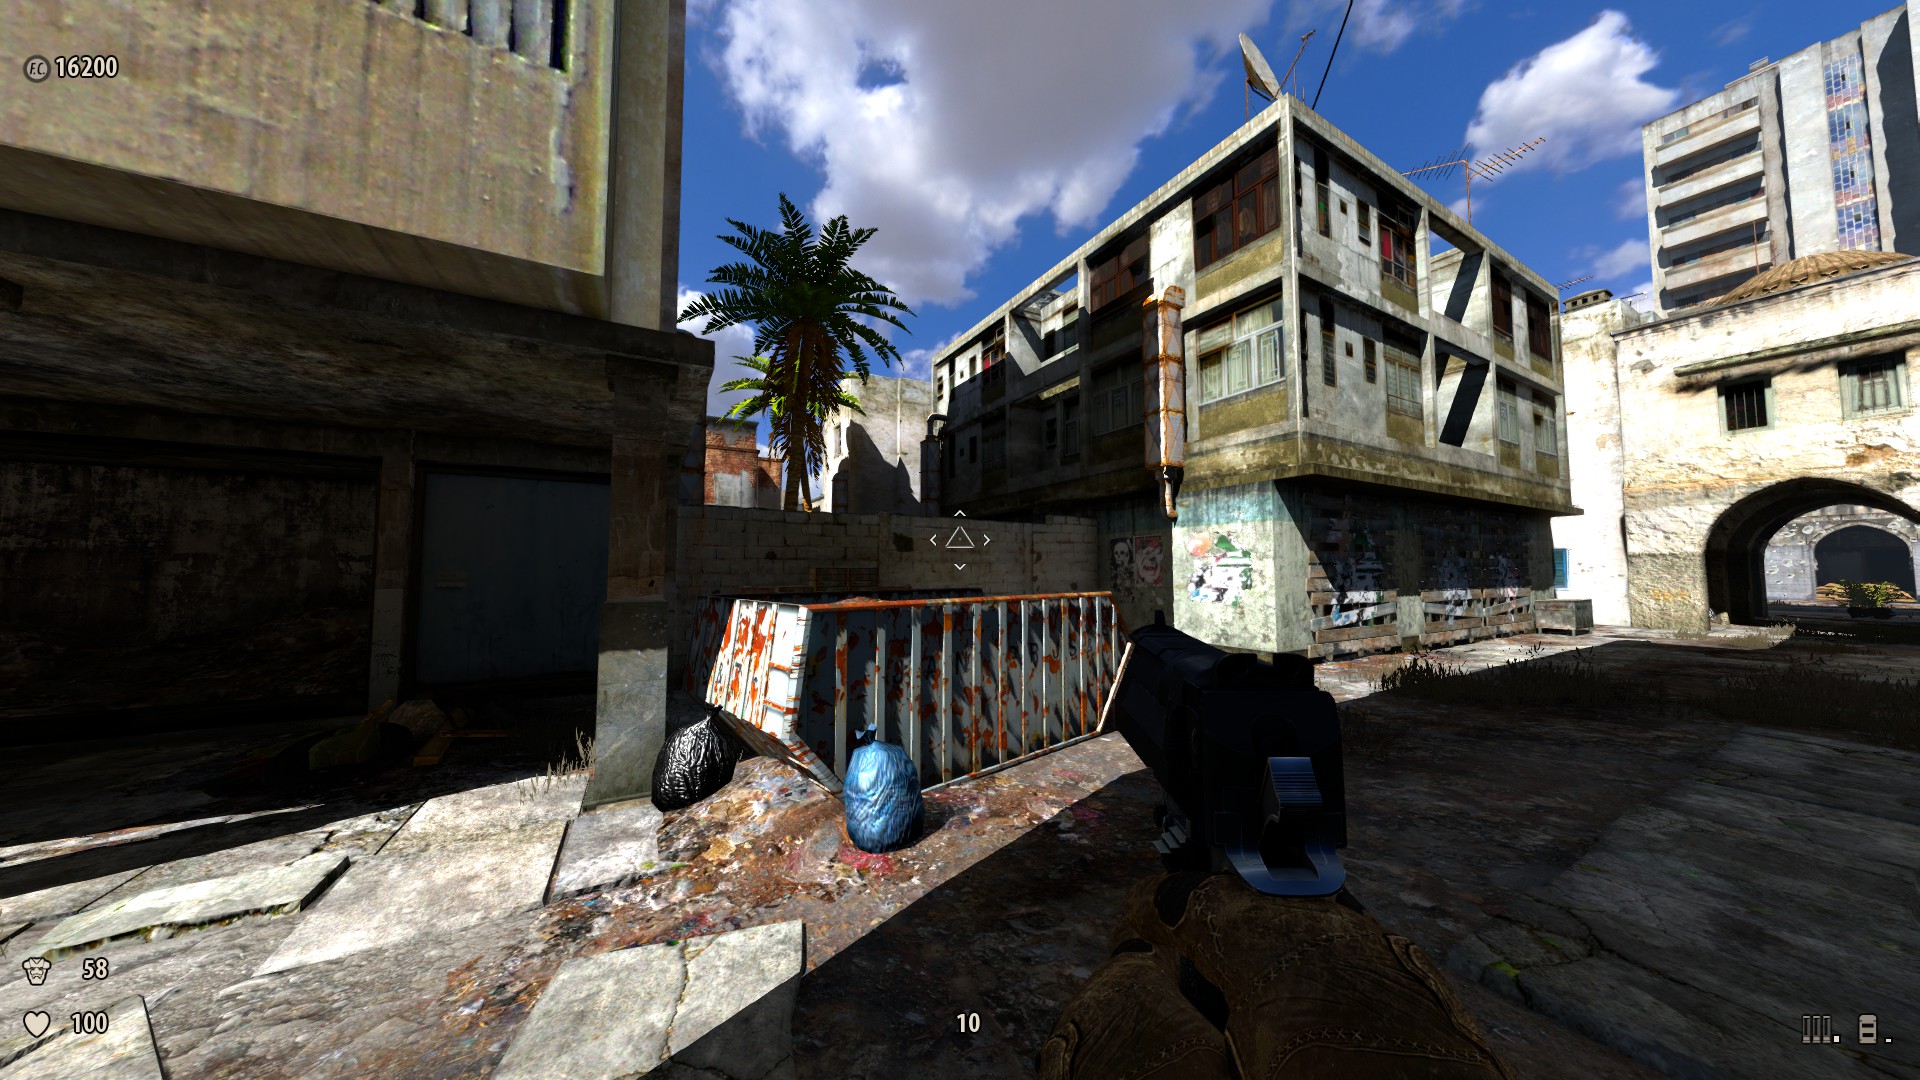
16) In the plaza before the museum — where the helicopter crashed — there are several garages on the far left. Ane of them contains a helmet. Reward: Armor +10.

-
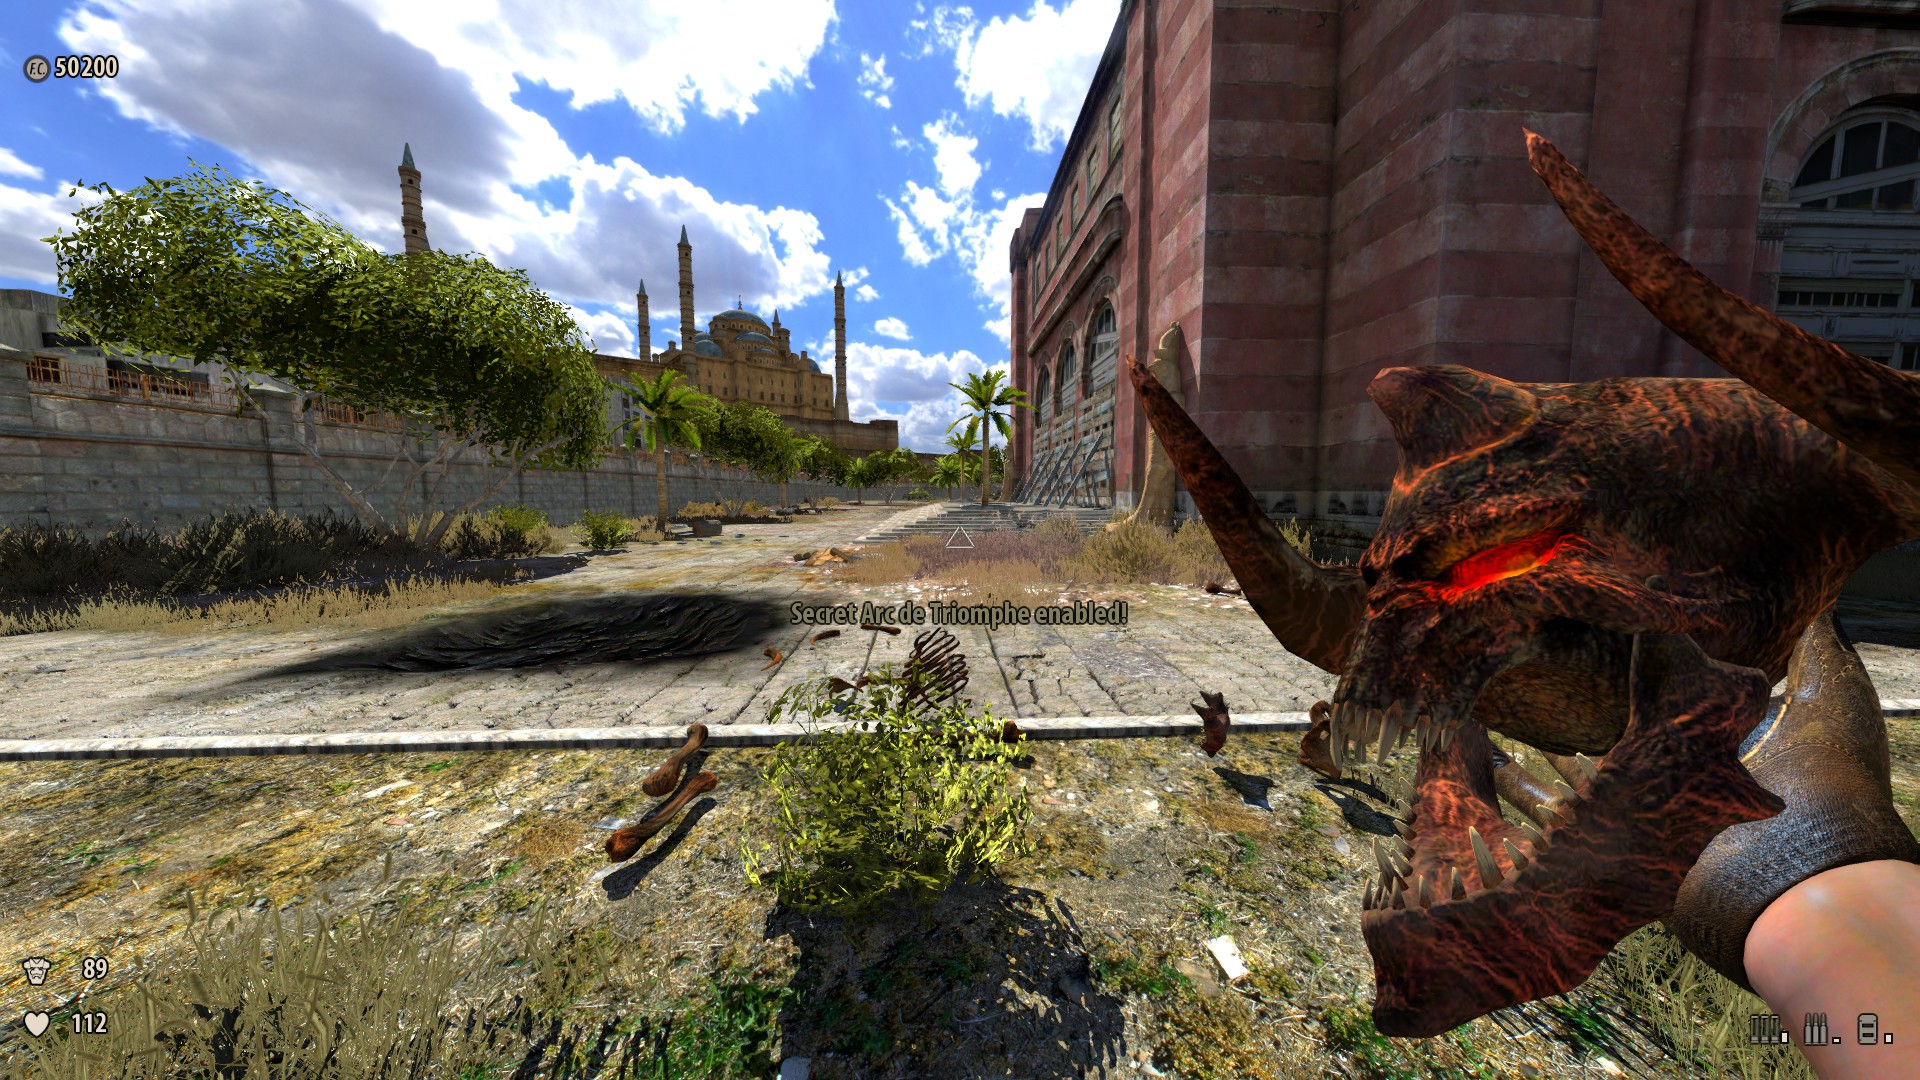
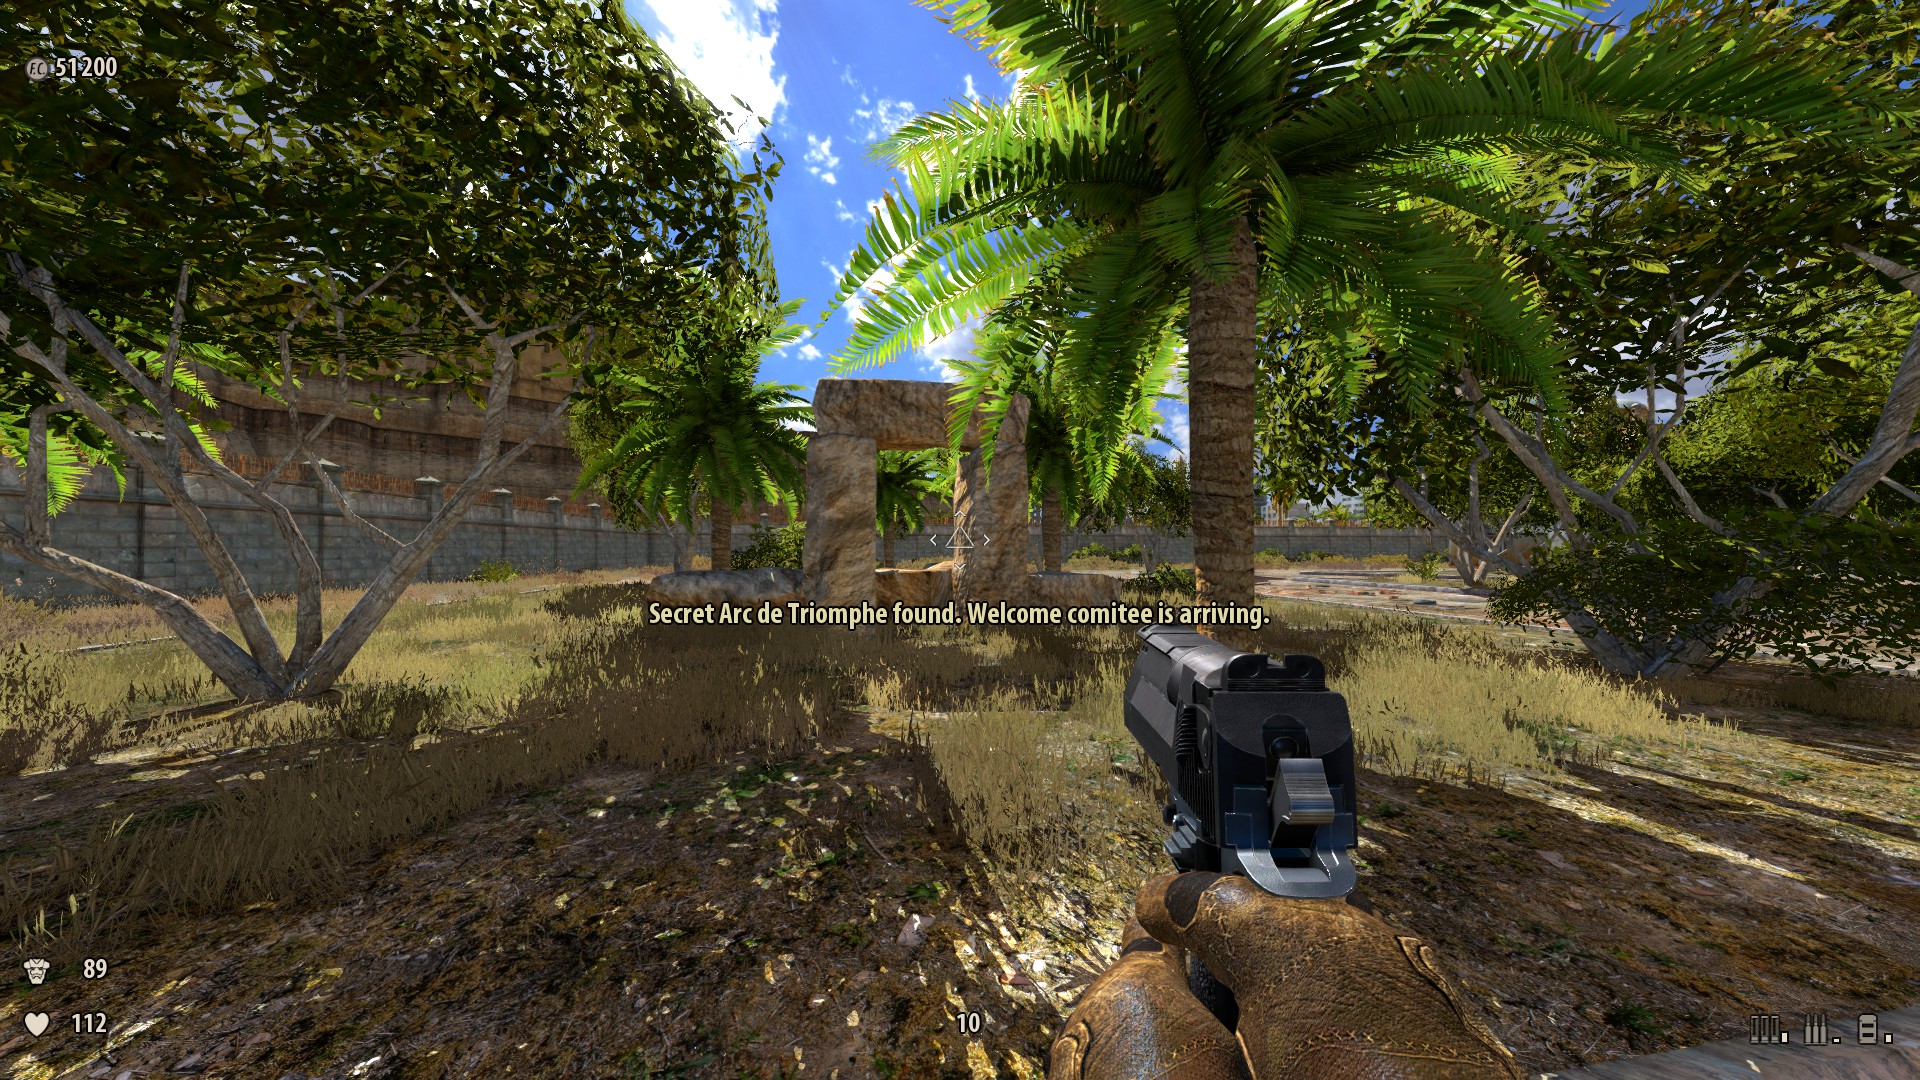
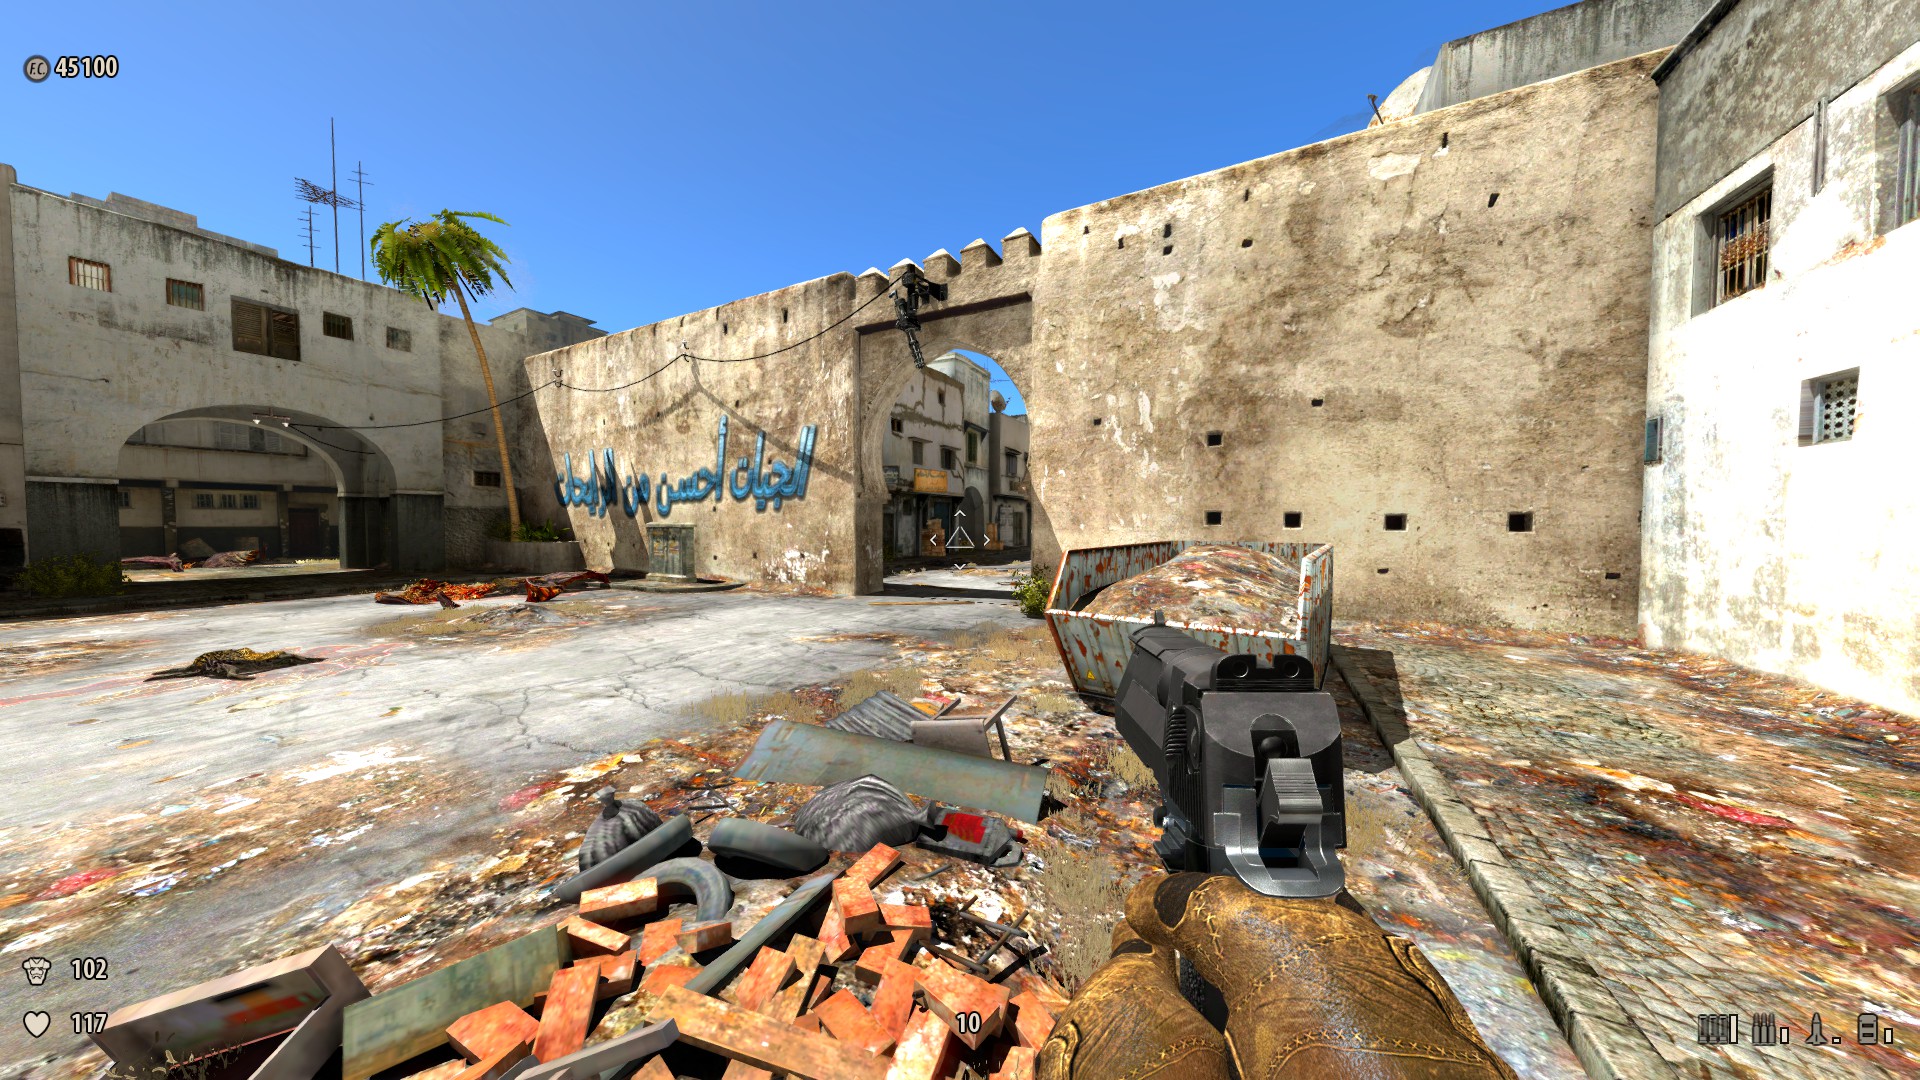
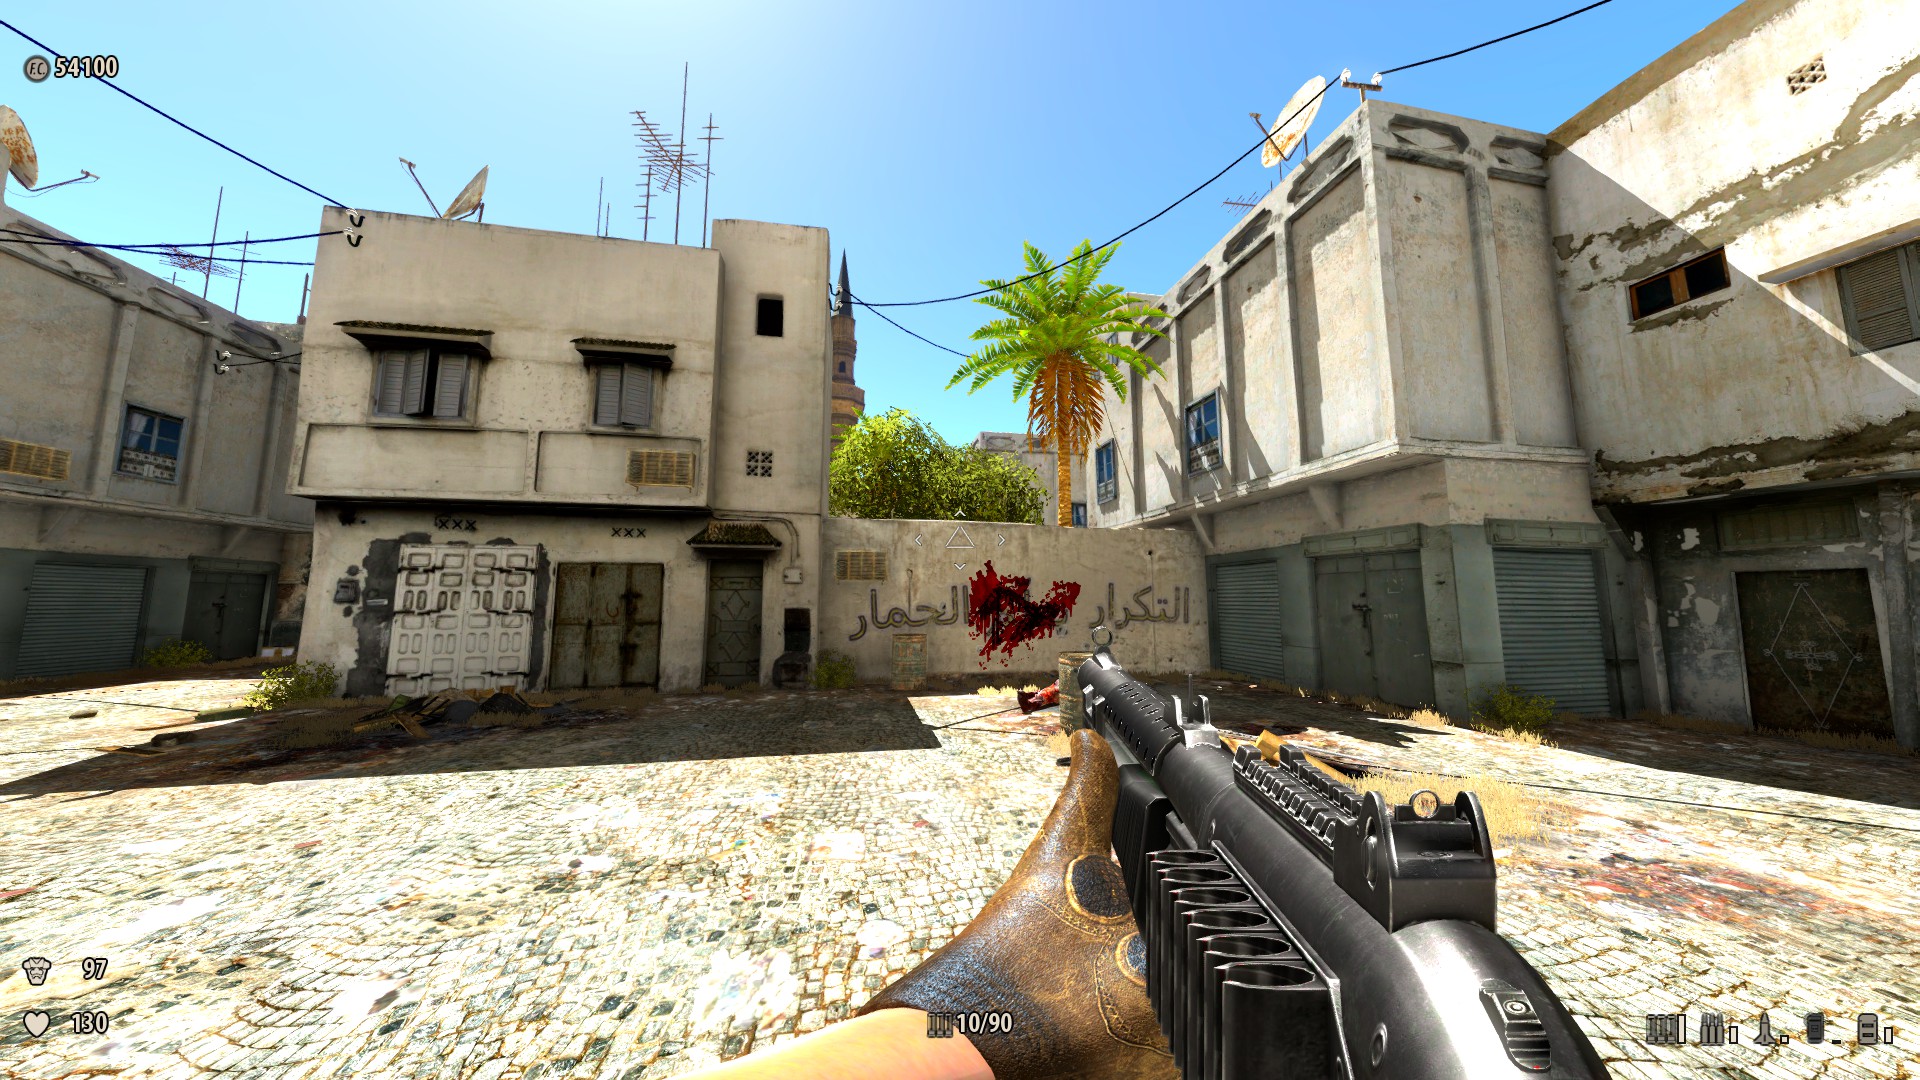
17) After the last battle against the Kleer Skeletons — A message saying "Secret Arc de Triomphe enabled!" Head back to the ruined archway and walk through it. "Secret Arc de Triomphe enabled. Welcoming commission is arriving." shows up, and Beheaded Kamikaze spawn in.
2. Into the Spider'due south Nest (9 Secrets)
3. Broken Wings (16 Secrets)
1) The sniper's perch (Identified with many sandbags and Cloned Soldiers on it) nearby the starting expanse — Spring onto the nearby dumpster closest to the with sandbags, and then jump on the nearby utility box propped against the wall, and make some other hop onto the top of the wall from the utility box. From there, jump over, or go effectually the sandbags to pick upwardly the hidden ammunition. Reward: Shells +10.

-
2) In the yard after the sniper perch — there's a dumpster on the right. Leap on it and over the wall and selection upward an armor helmet. Reward: Armor +10.

-
three) Before the overpass — The ruined building on the right can be climbed into. On the correct hand side is some wellness. Reward: Health +11.
-
4) Just after the overpass — on the left are a bunch of shells. If you lot turn around — concealed by a cavalcade supporting the overpass — you will notation a pill bottle that counts as a hole-and-corner and spawns a Kleer Skeleton. Reward: Health +1.

-
5) Just afterward the overpass — On the road to the correct there is a edifice on the correct that is blocked off with planks. Pause them with your sledgehammer and collect the pickup. Reward: Electricity +50.

-
6) Earlier the popup Cloned Soldiers — After the first overpass and before passing under it a second time, in the building on the correct is some armor. Reward: Armor +10.
-
7) Under the overpass — Continuing on past secret 4 and beyond a ruined motorcar is an armor shard that counts as a mini cloak-and-dagger and spawns a Kleer Skeleton. Reward: Armor +1.

-
8) Beside the overpass — Only after passing under the overpass a 2nd time, turn right and in a footling alley is a weapon. Reward: 12 Gauge Pump Action Shotgun.


-
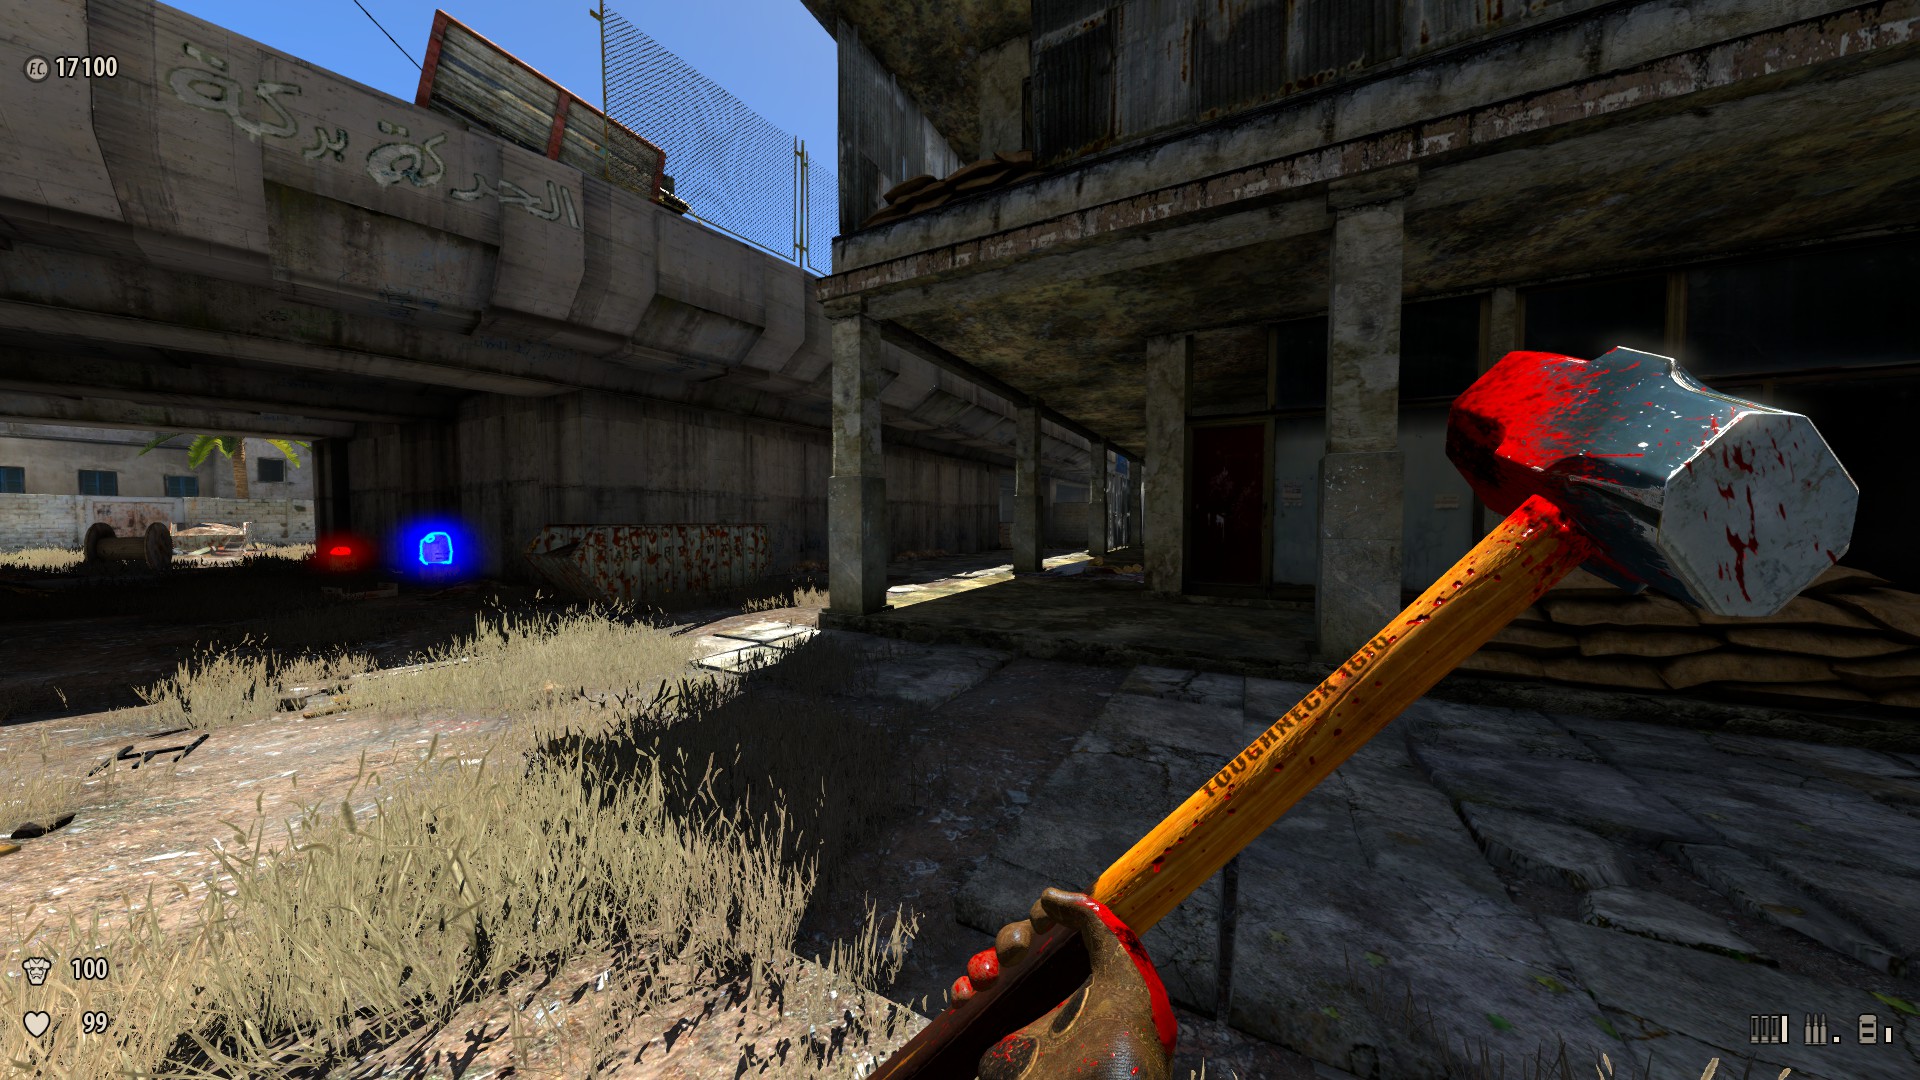
ix) Beside the overpass — Just after passing under the overpass a second time, leap on the garbage bin and over the wall. One time y'all attain the barrels on the other side the message "Hugger-mugger flanking performed!" shows upwards. This takes you effectually a small fight. Reward: Alternating route.


-
10) Abreast the overpass — A building beside the overpass is blocked off with planks. Break them with the sledgehammer and collect the pickups. Reward: Armor +25, Shells +10.
-
xi) Don't accept a party without me — When Sam makes this comment, climb up the stairs until there's a pause in the wall back towards the overpass. A wellness pack is hanging off it; jump across. Reward: Wellness +50.
-
12) Near the archway — Before the archway behind a barricade is ammo that counts as a mini hole-and-corner. Reward: Rockets +5.
-
13) In the courtyard with three broken columns — There is a stack of boxes. Leap on them and so over the wall to collect the weapon. Reward: M29 Infantry Assault Rifle.
-
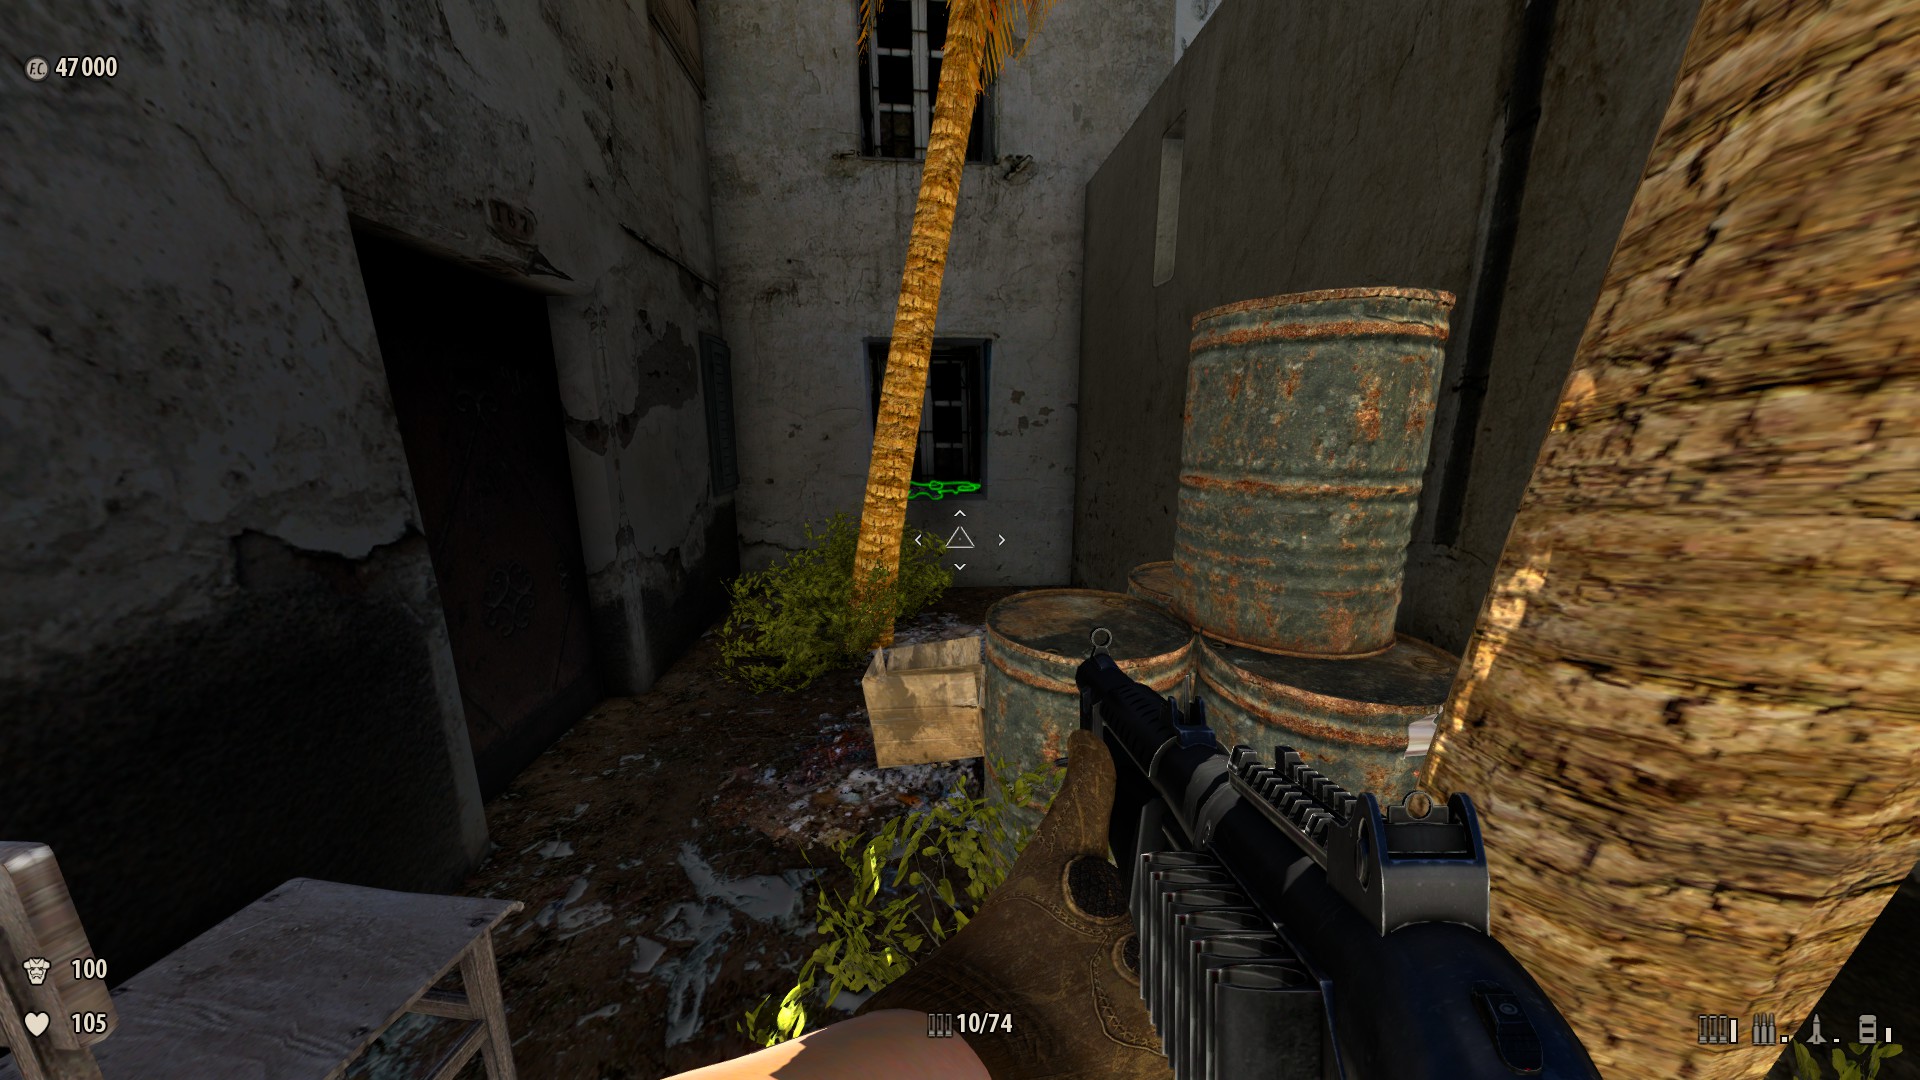
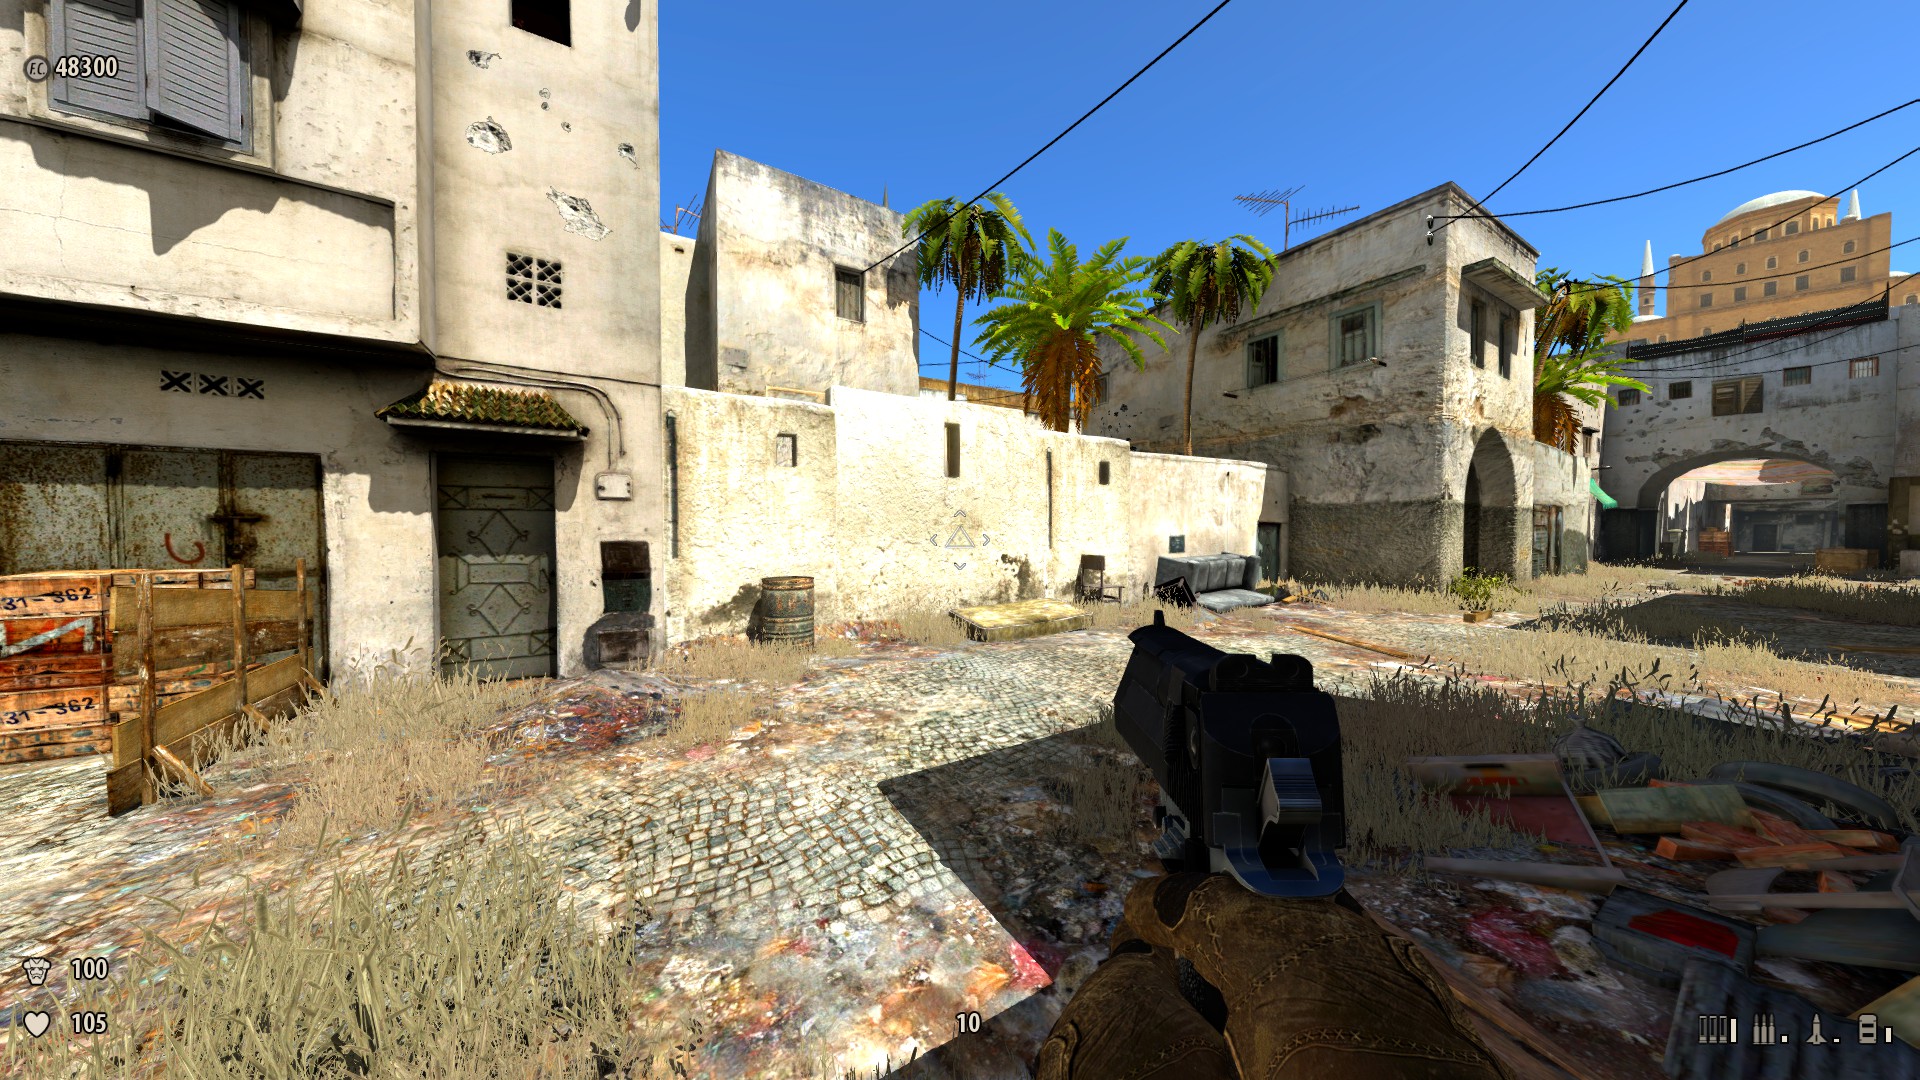
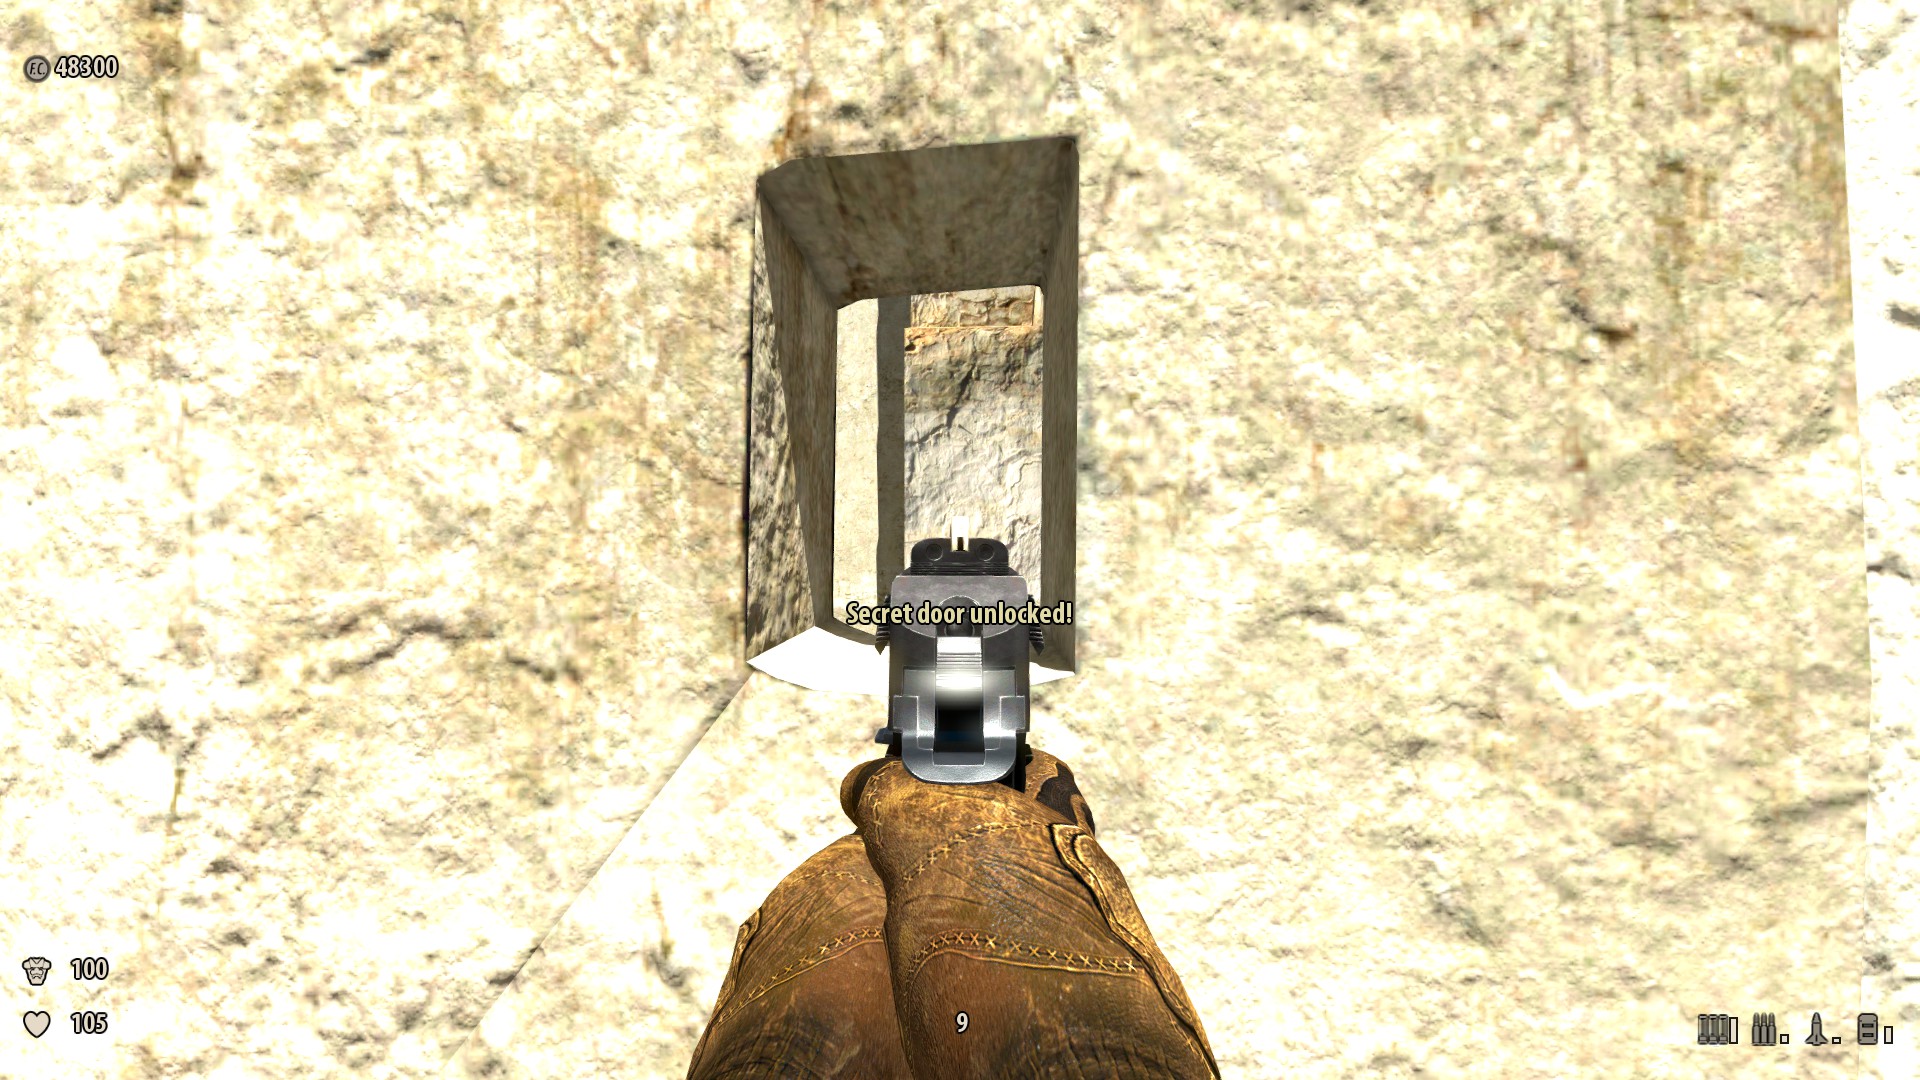
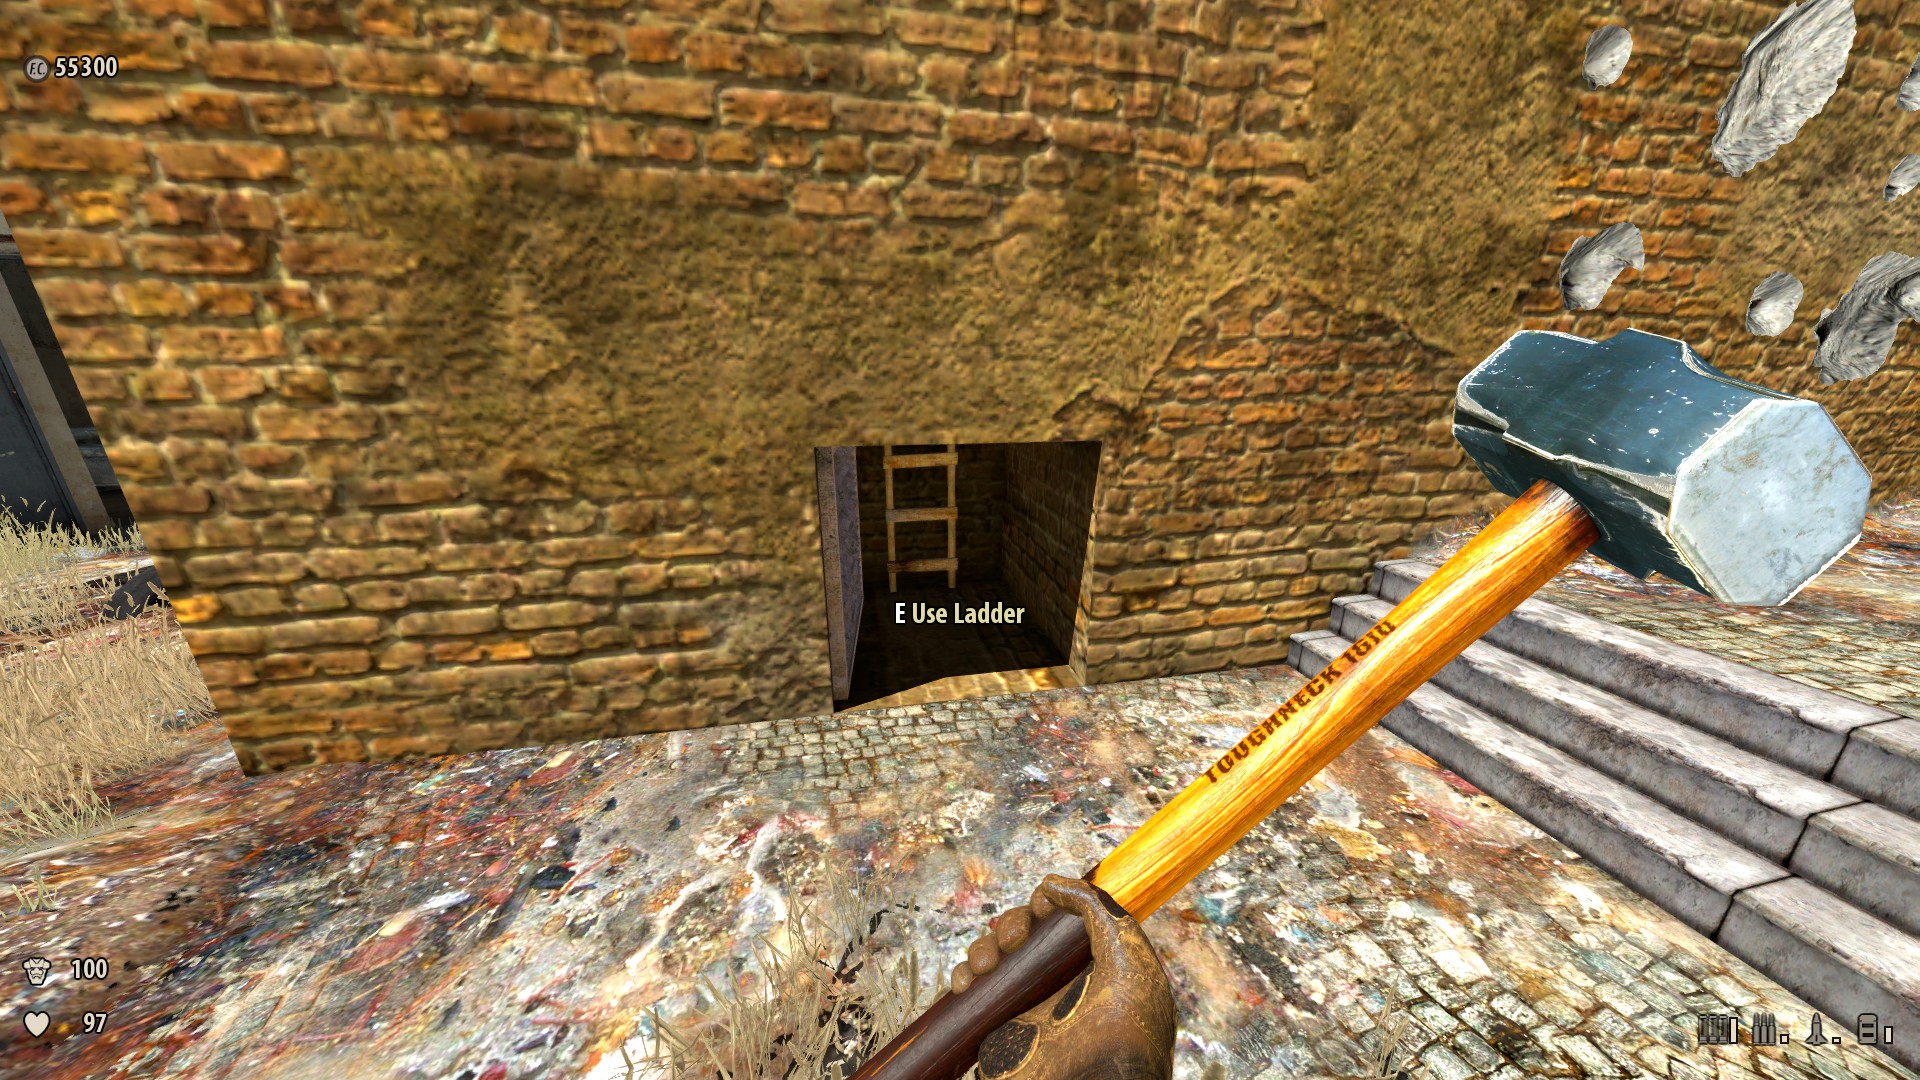
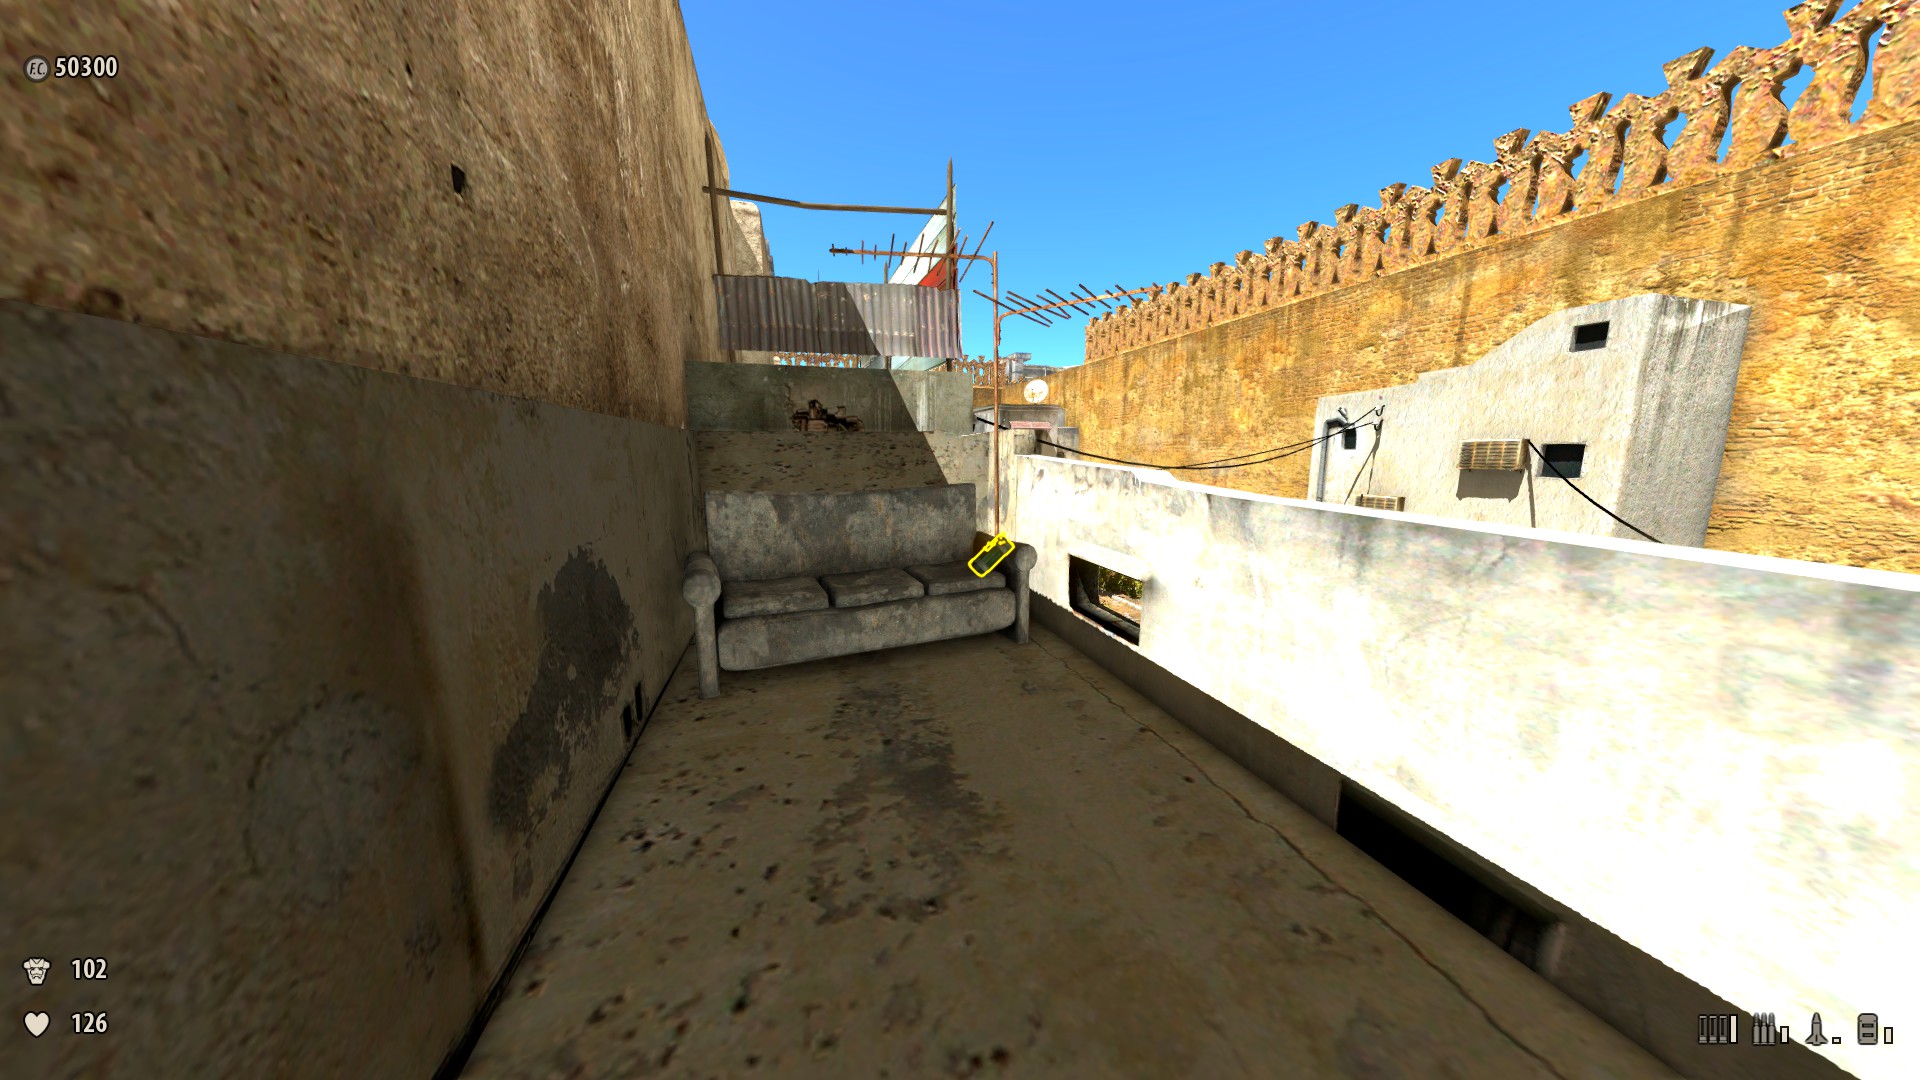
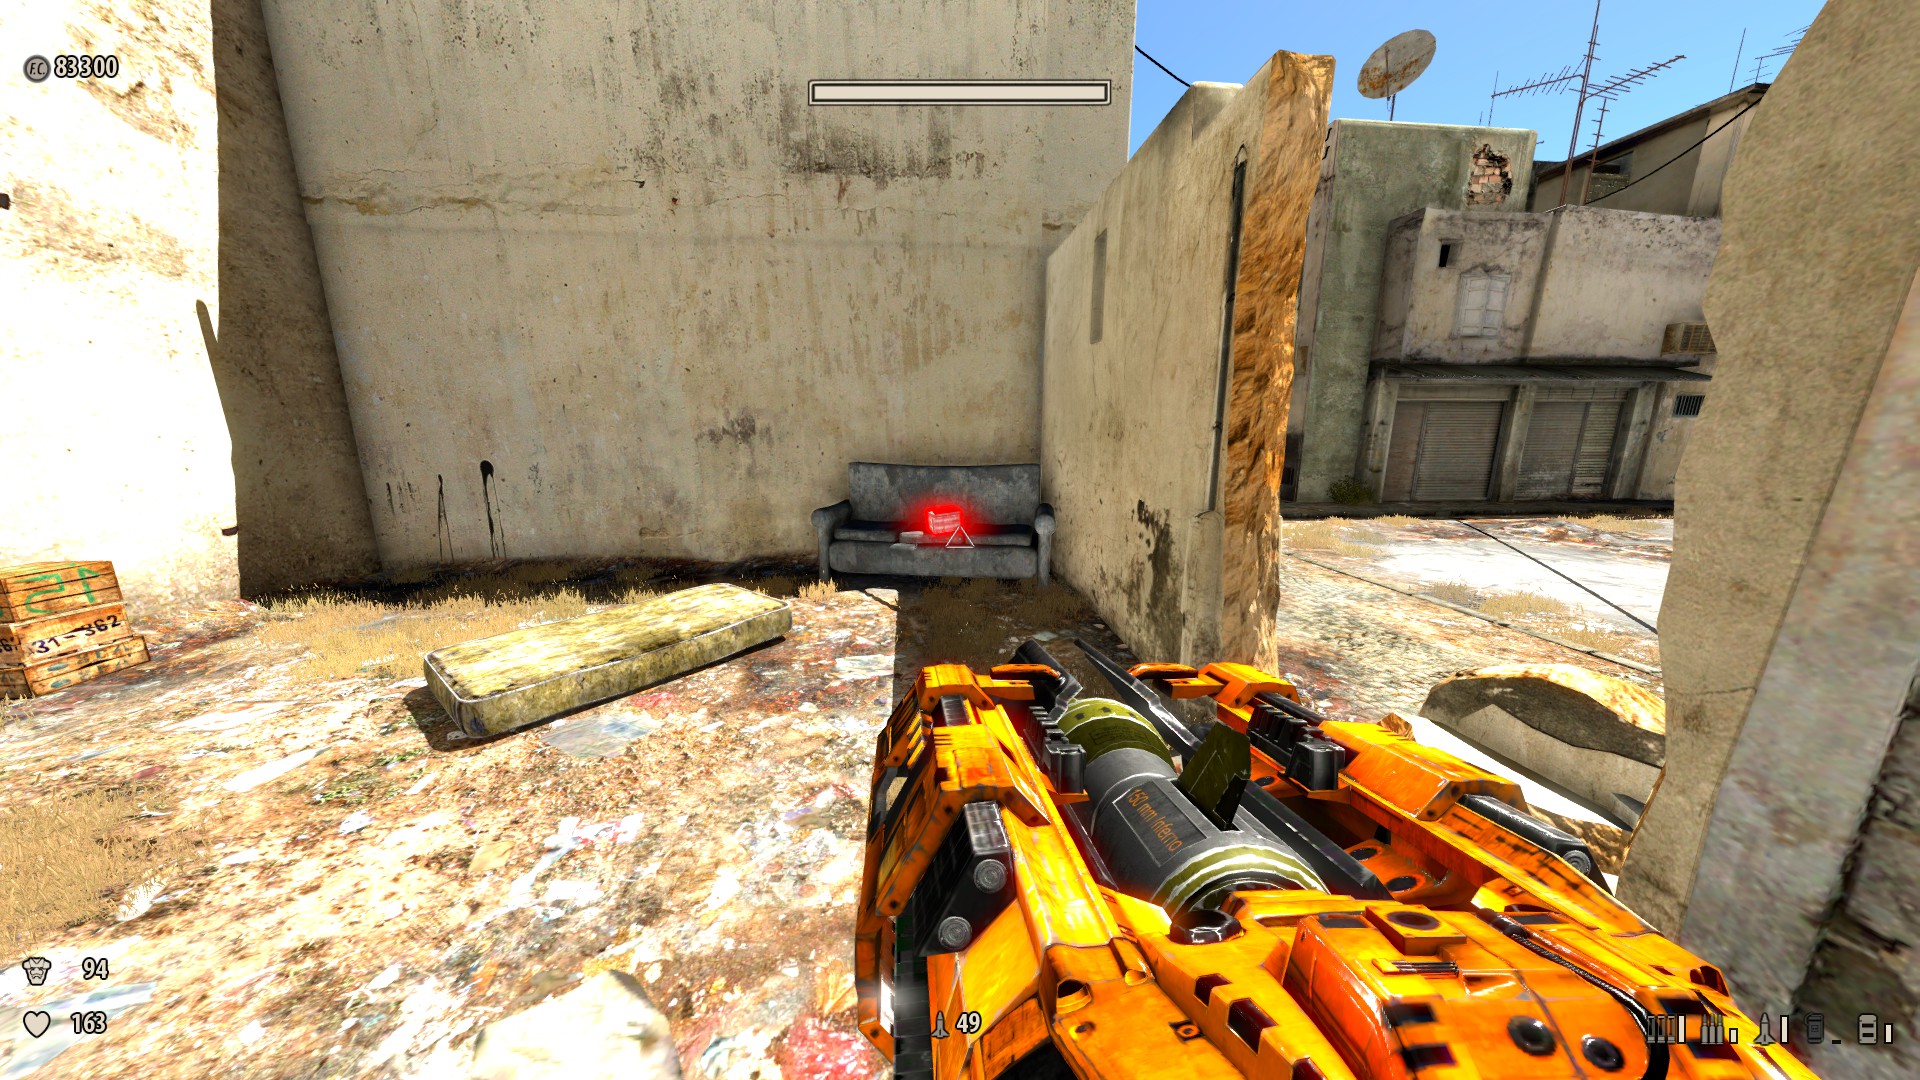
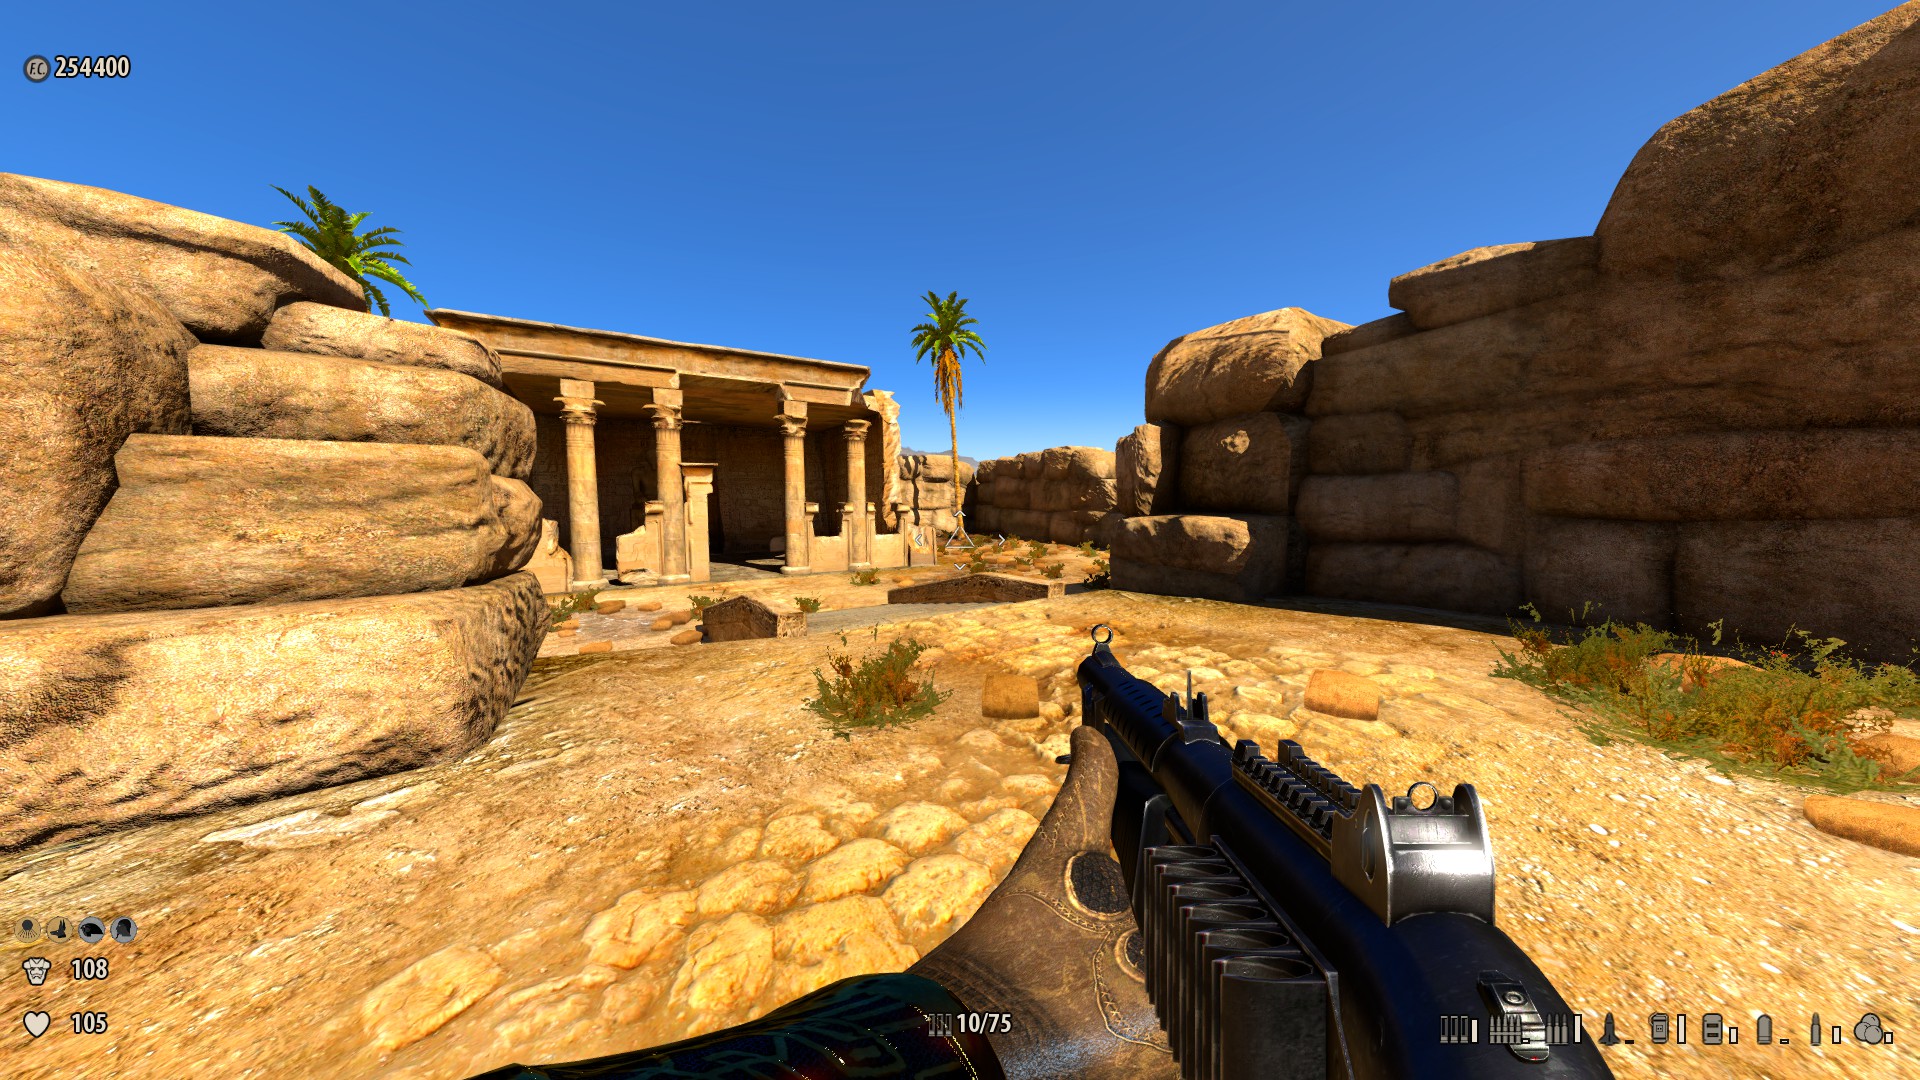
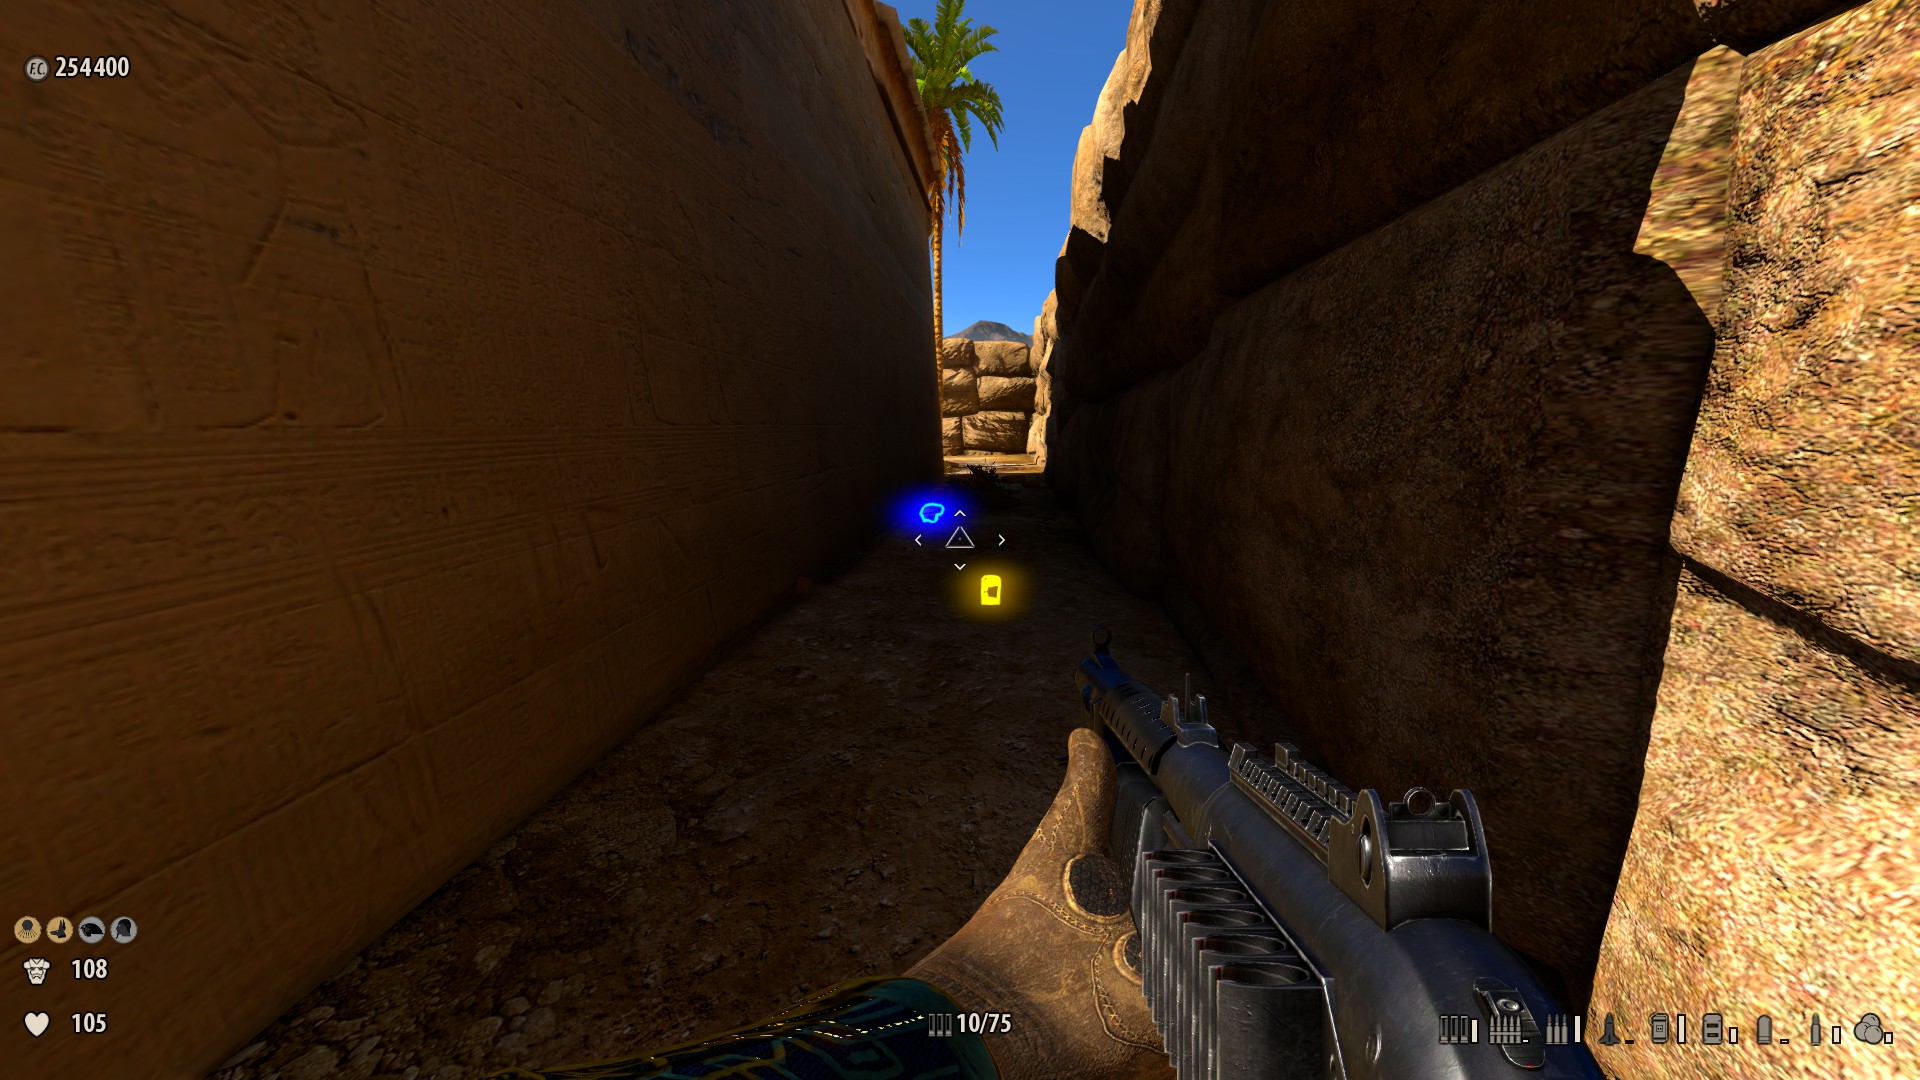
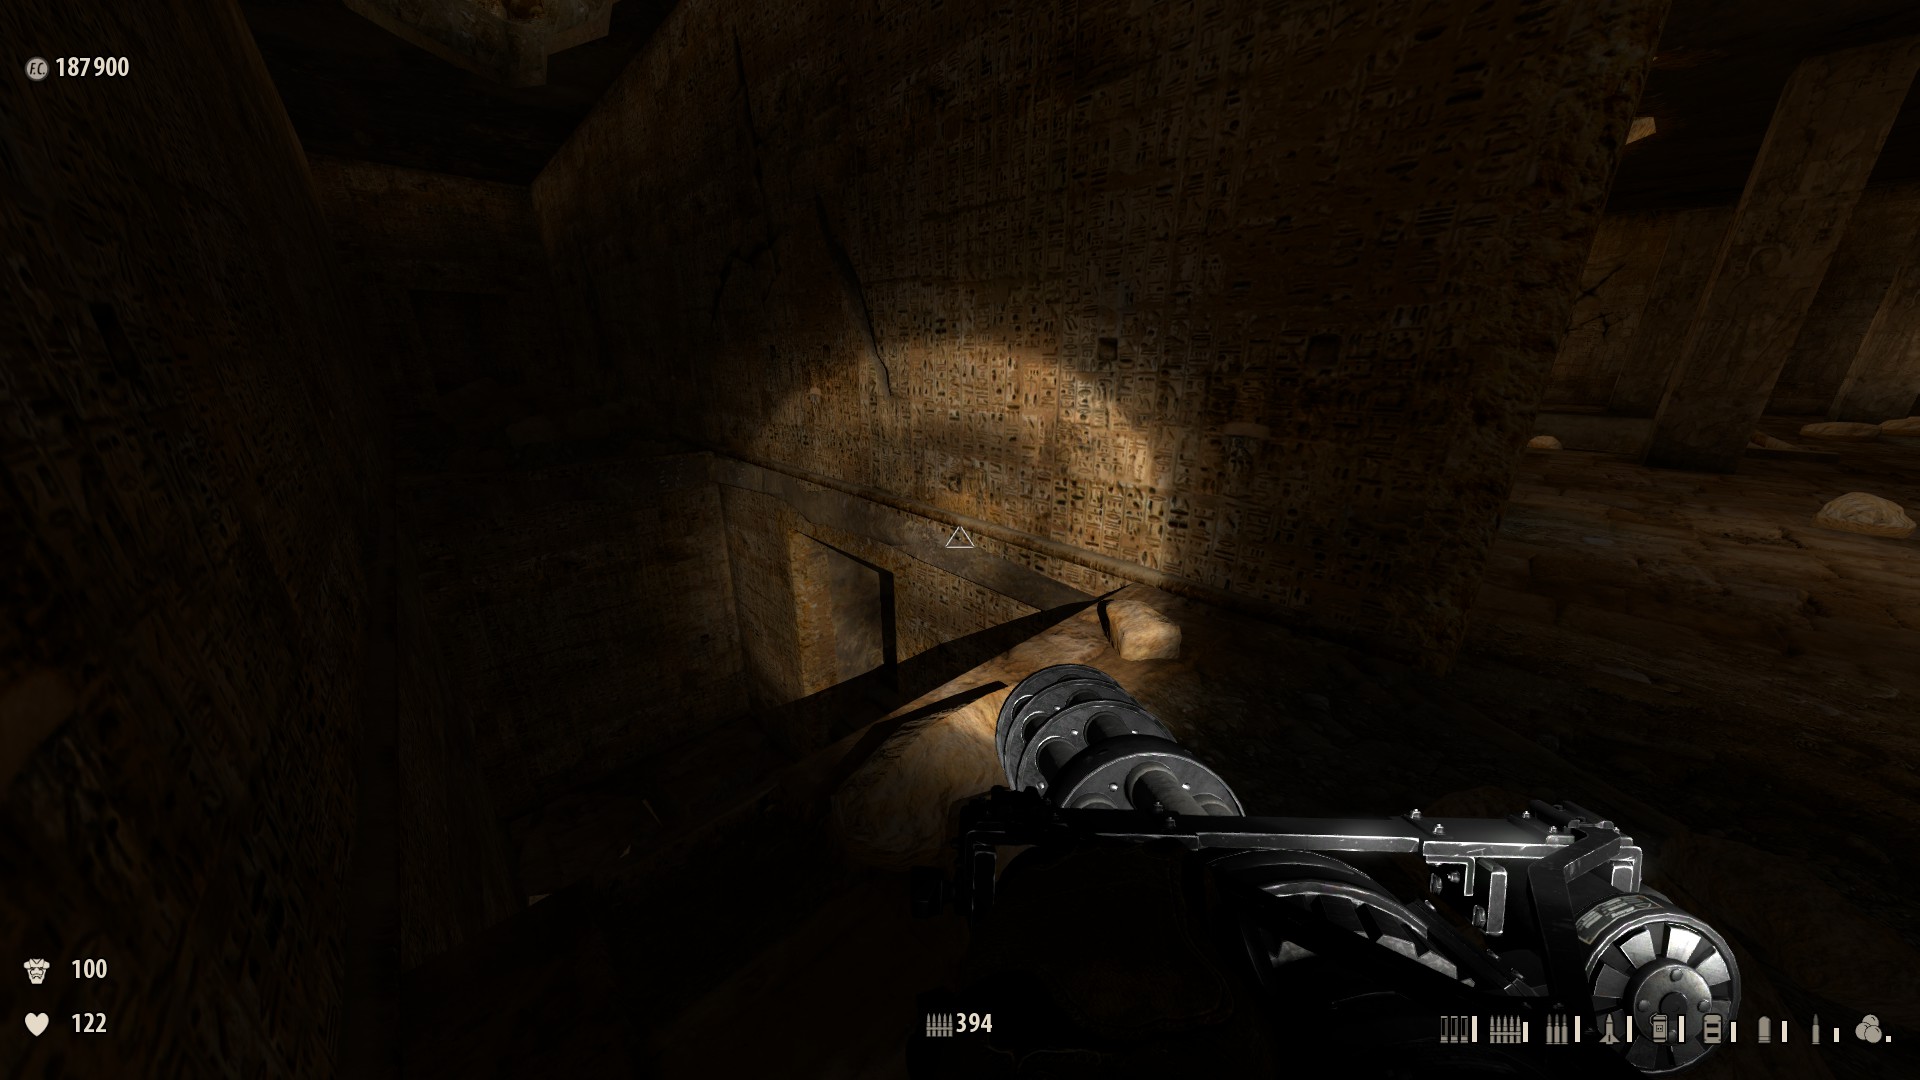
xiv) Before the mosque — Forth an alley just a fleck earlier the mosque is a white wall with turned-over gray couch under a dark metal sign embedded in the wall. On the leftmost portion of the aforementioned wall past a 2 chair, and mattress will be a drum (the cylindrical container), leap on it, and look directly through the small hole in the wall. There will be a small electrical box directly in sight; shoot it and it will say "Surreptitious door unlocked" significant a speedrun secret was unlocked. Head to the nearby mosque entrance. Forth the left side of the mosque wall prior to the stairs will exist a large group of boxes. Break them to expose a ladder ("Hugger-mugger speedrun institute") which leads to the finish of the outer mosque area. Reward: Shortcut.
-
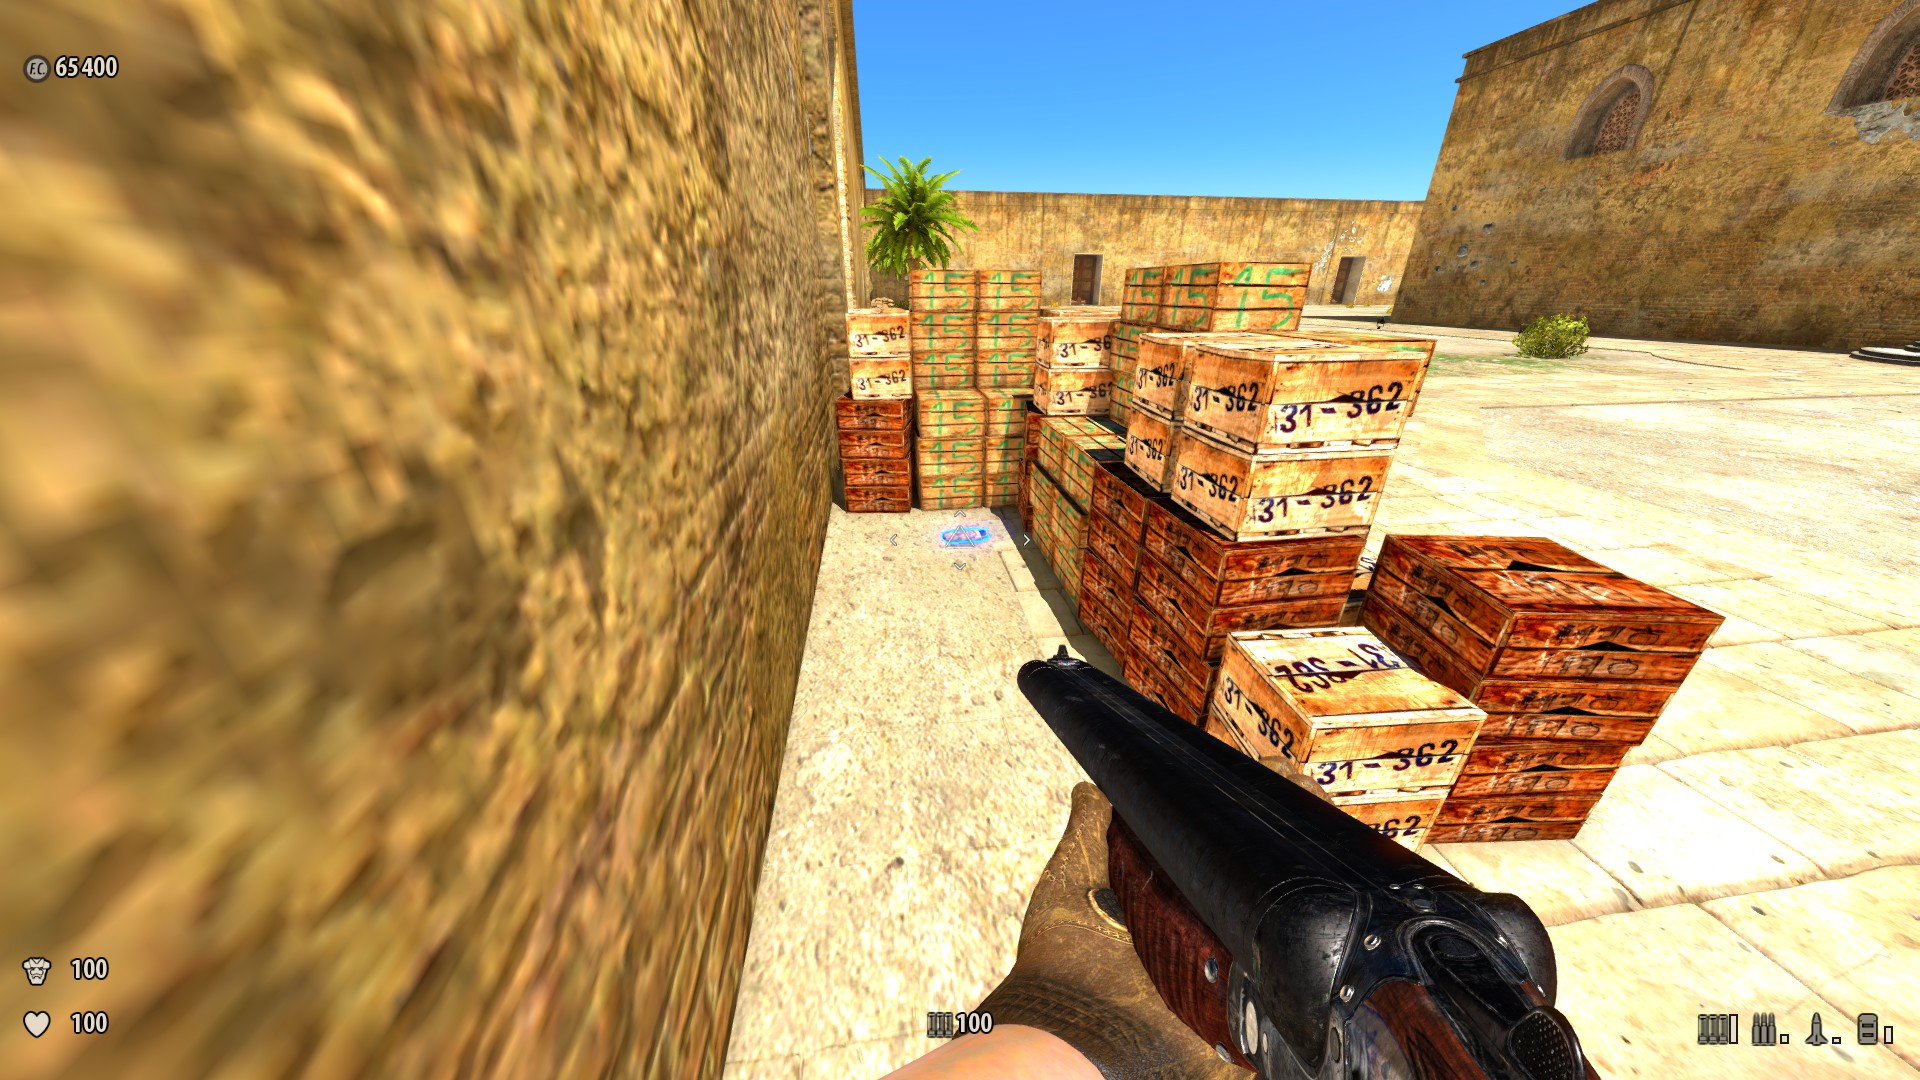
15) The outer mosque — Around the second corner of the outer halls of the mosque is a stack of crates. Subconscious amongst them is an armor shard. Reward: Armor +1.

-
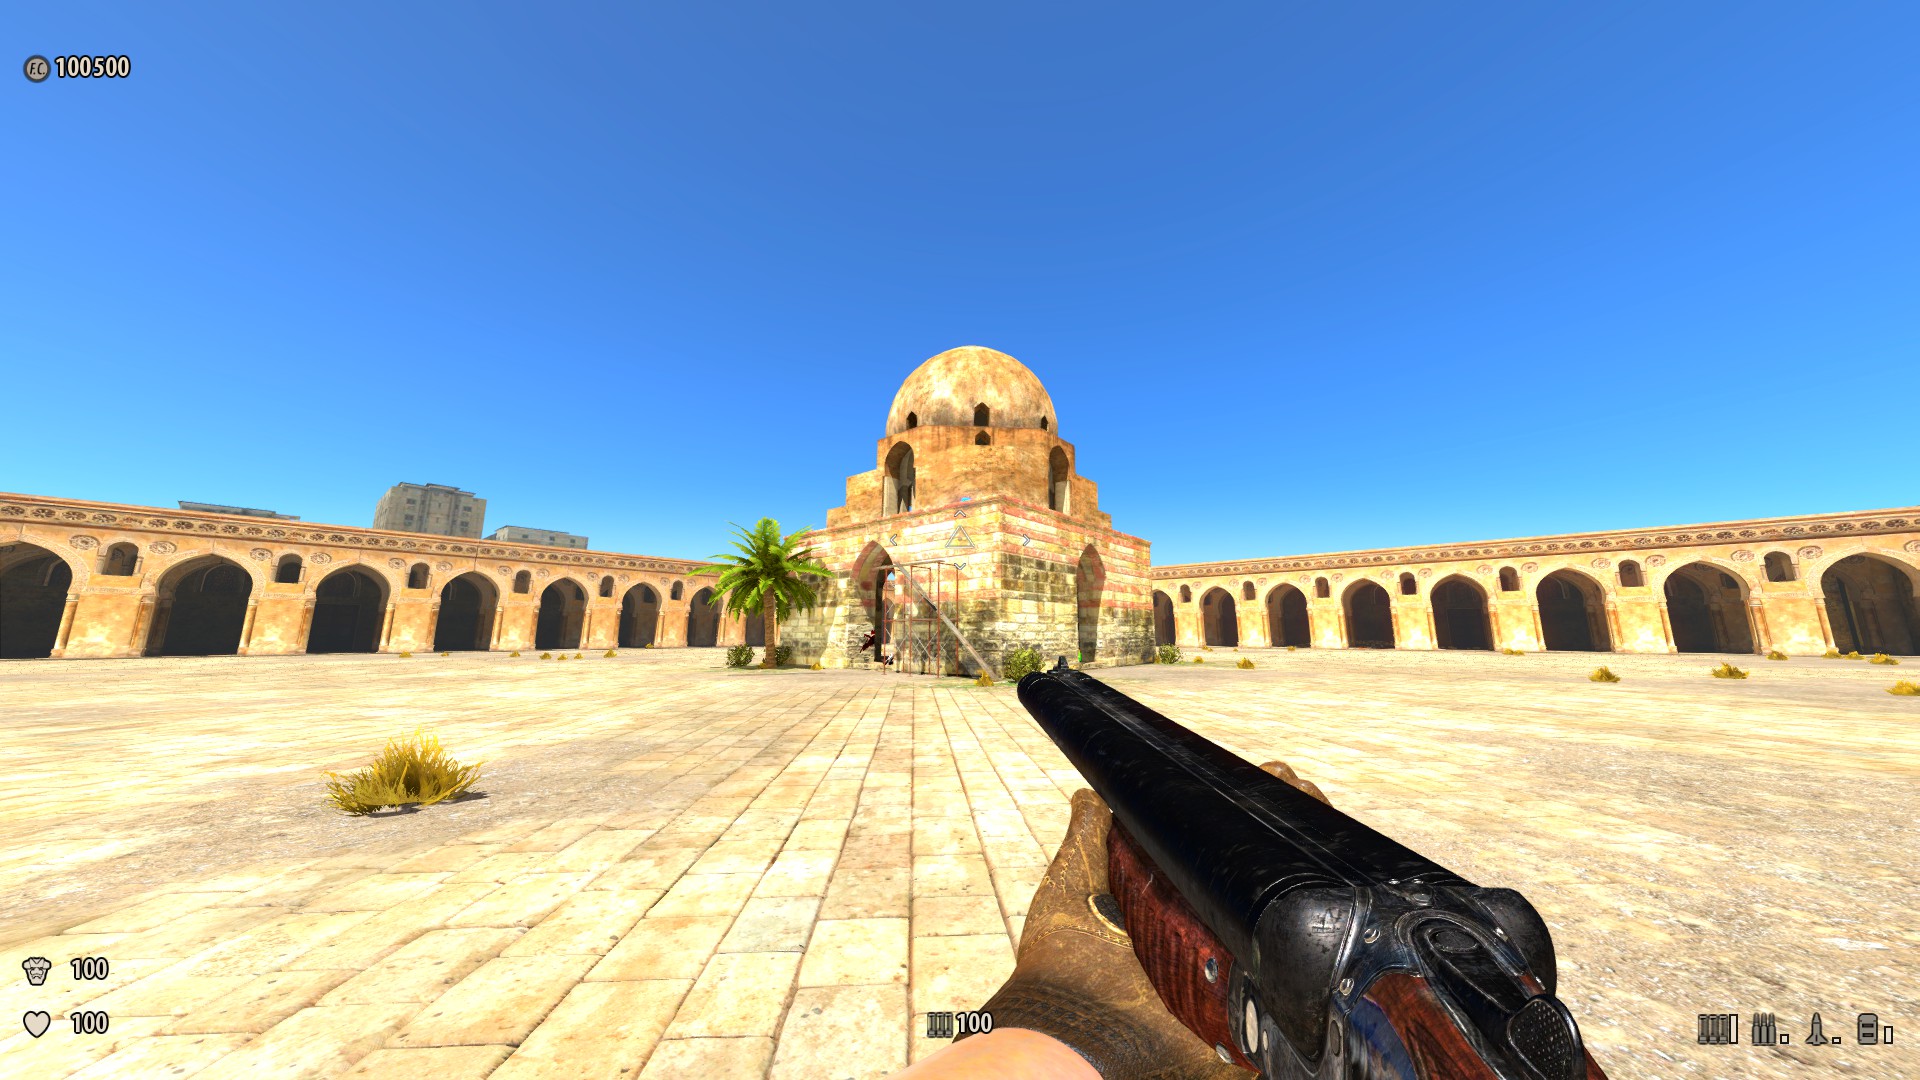
sixteen) The inner mosque — There's scaffolding on the building in the middle. Clamber under it and then to the top, and so jump up to grab the helmet. Reward: Armor +x.
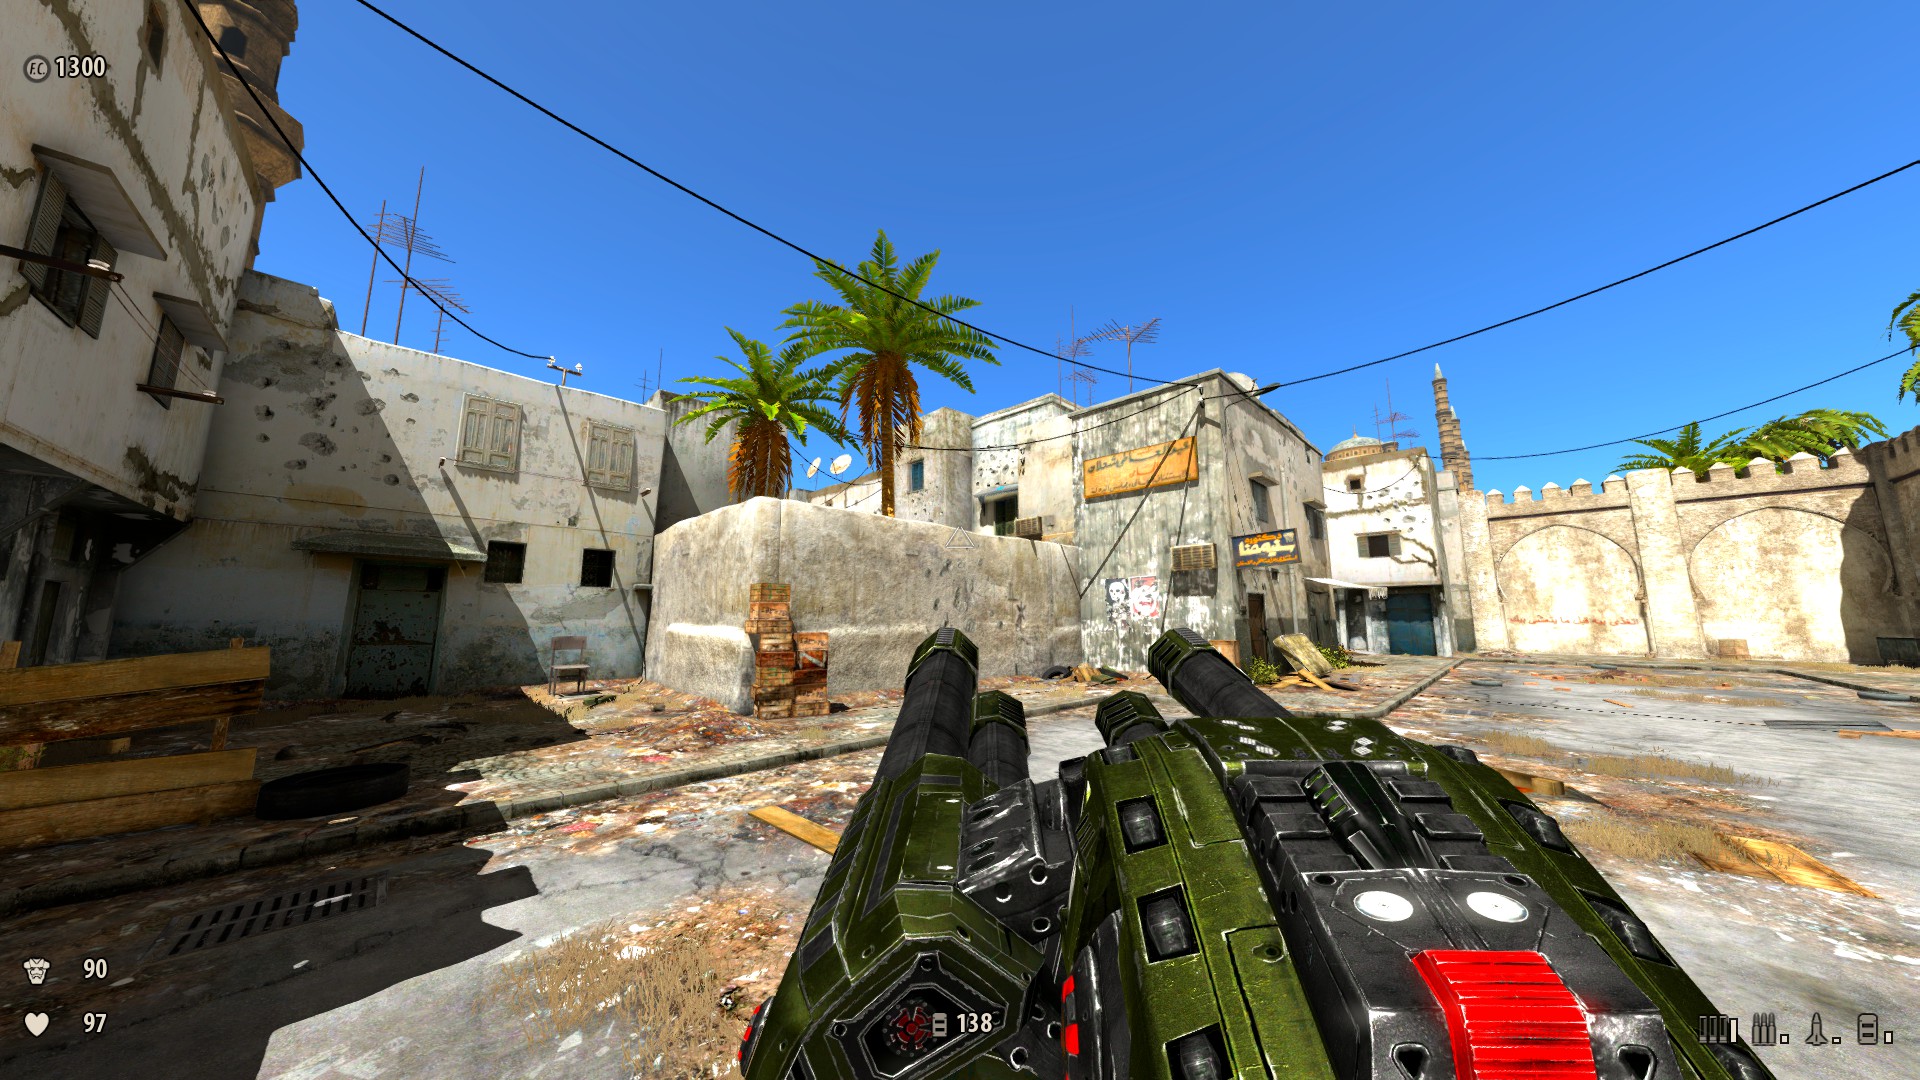
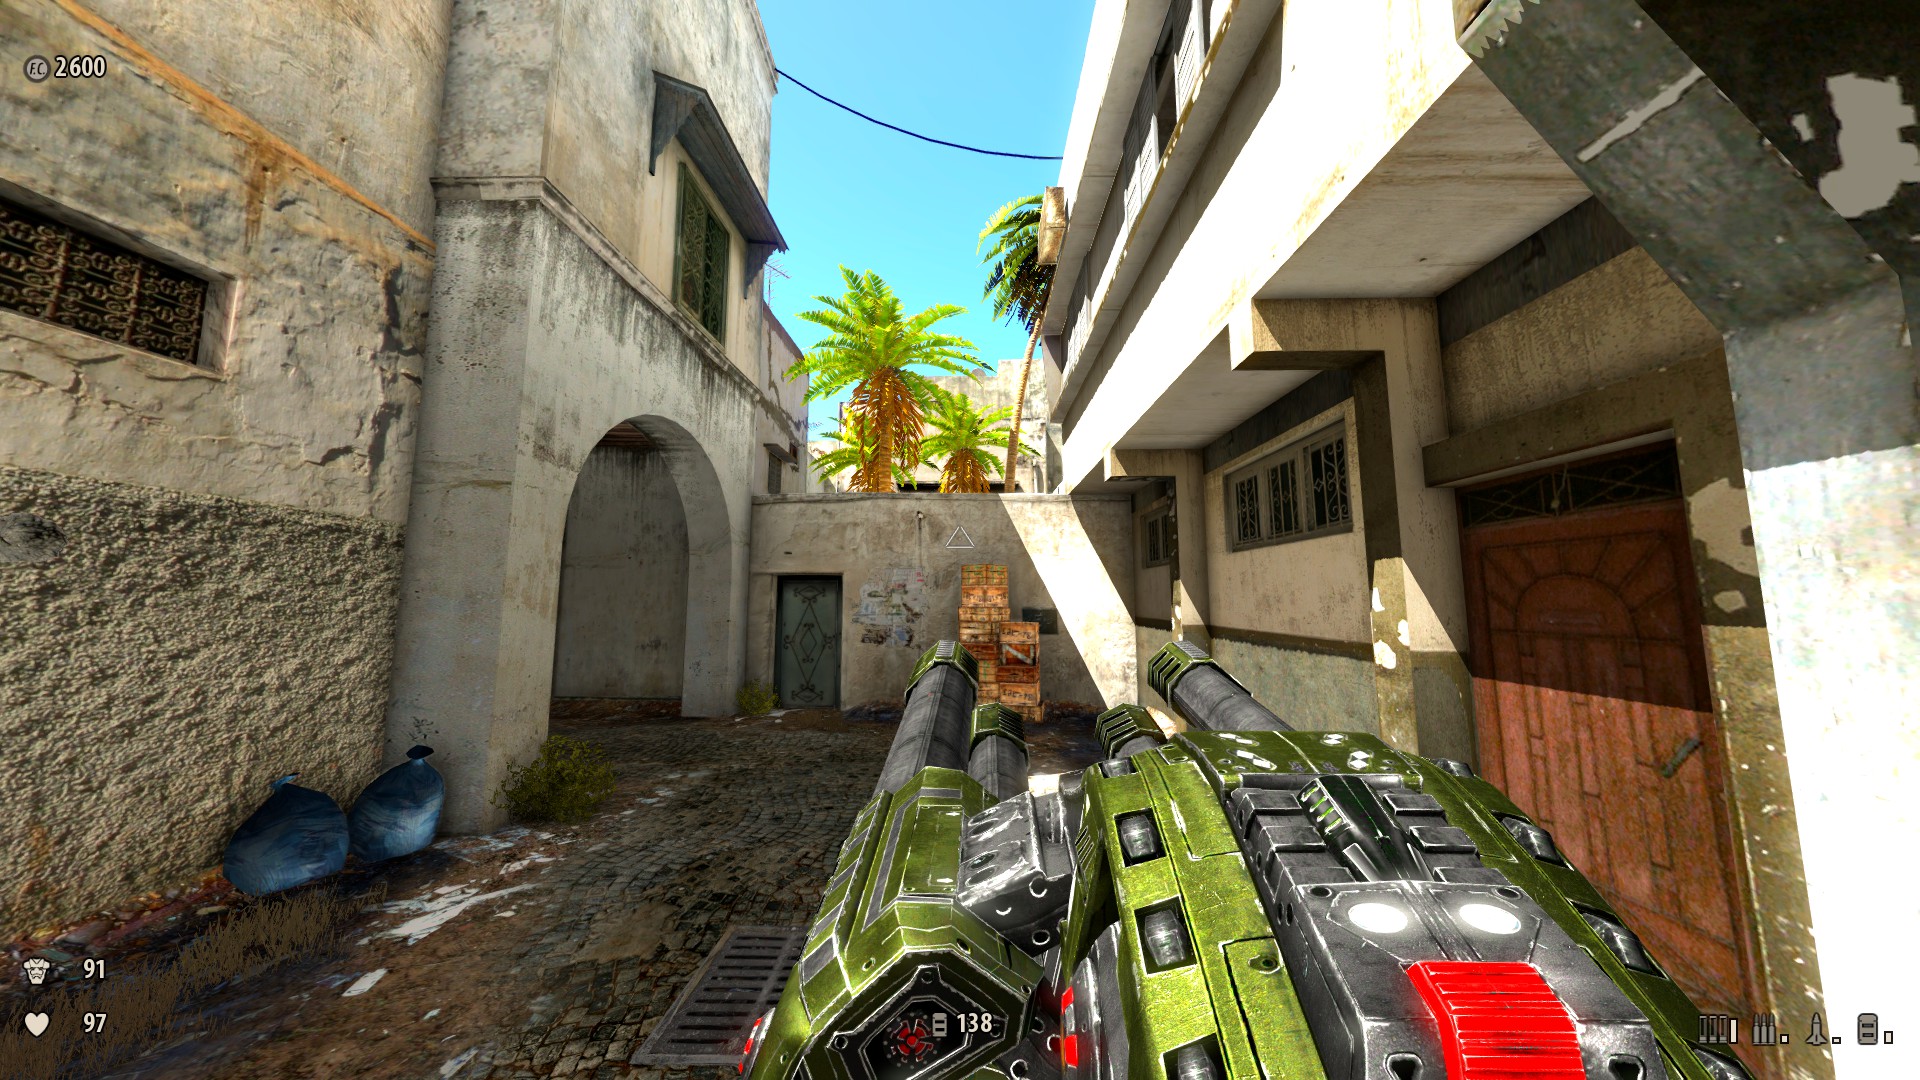
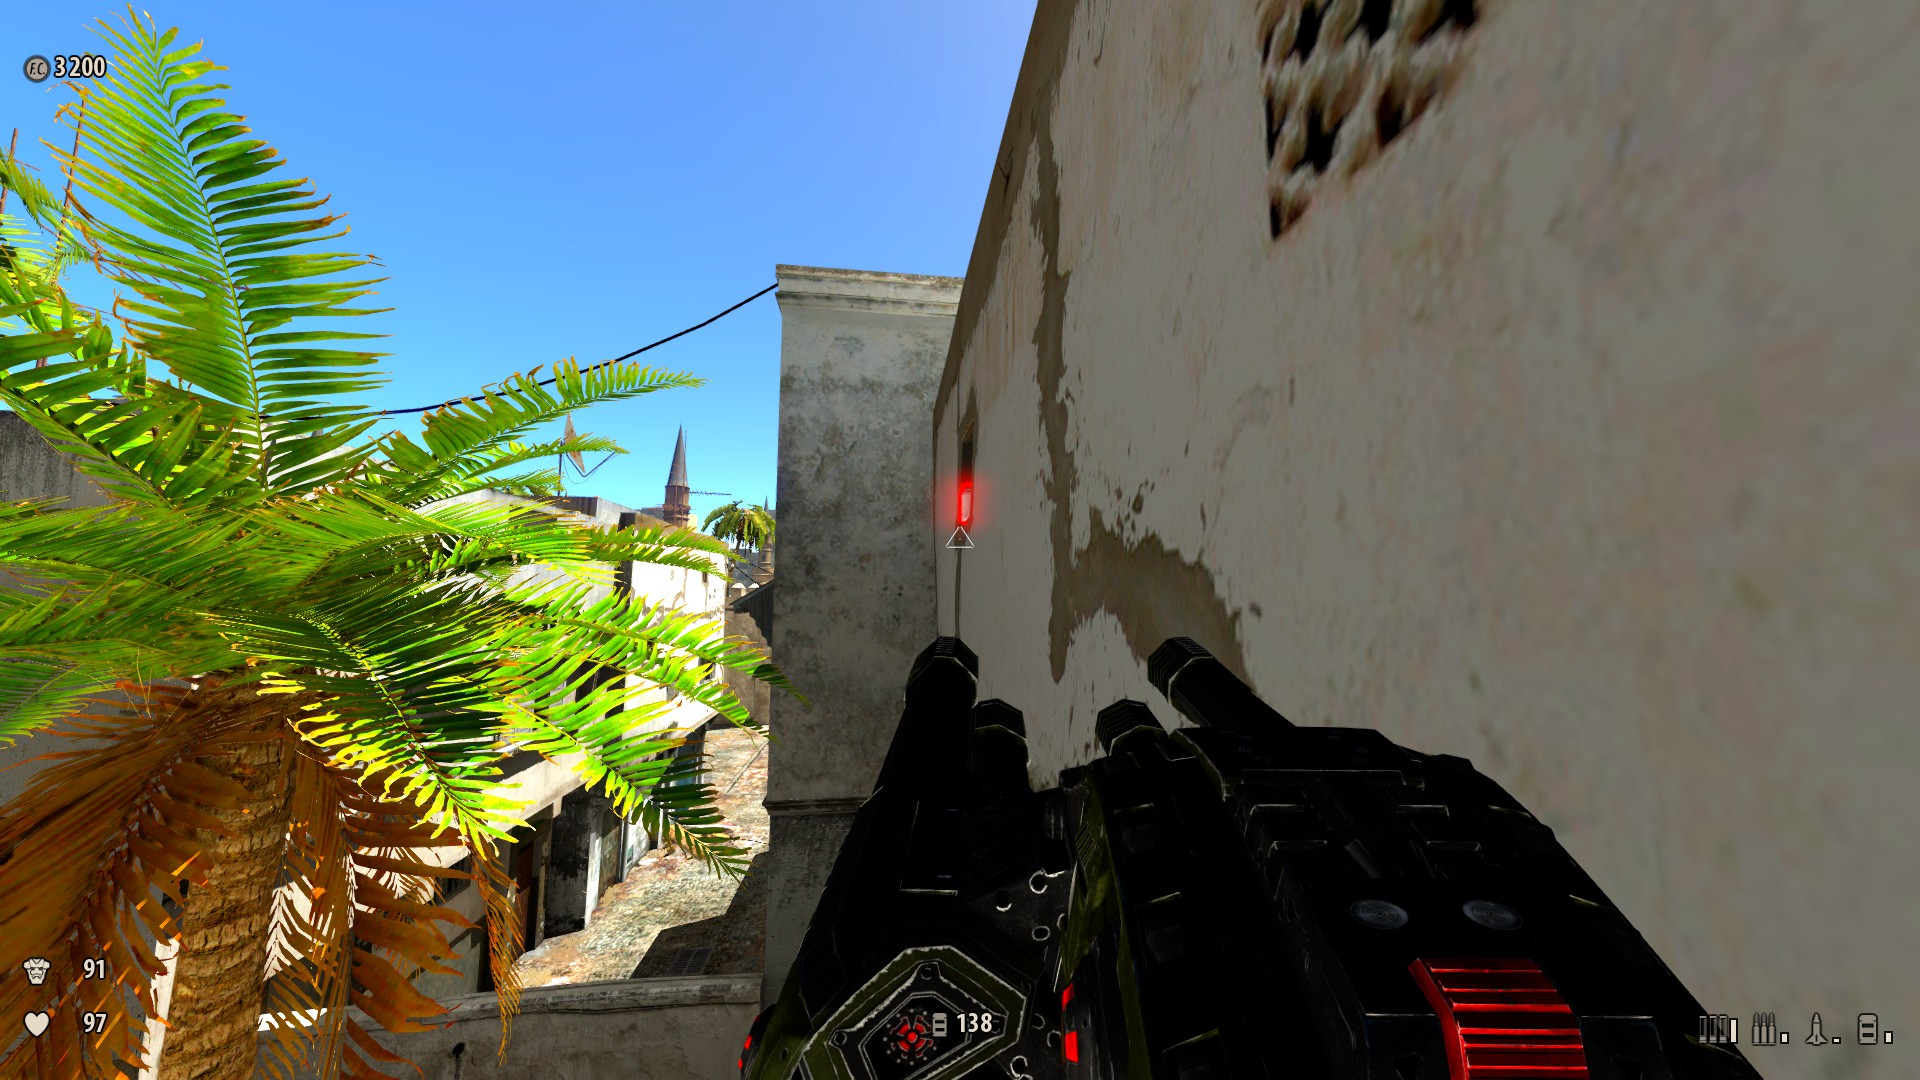
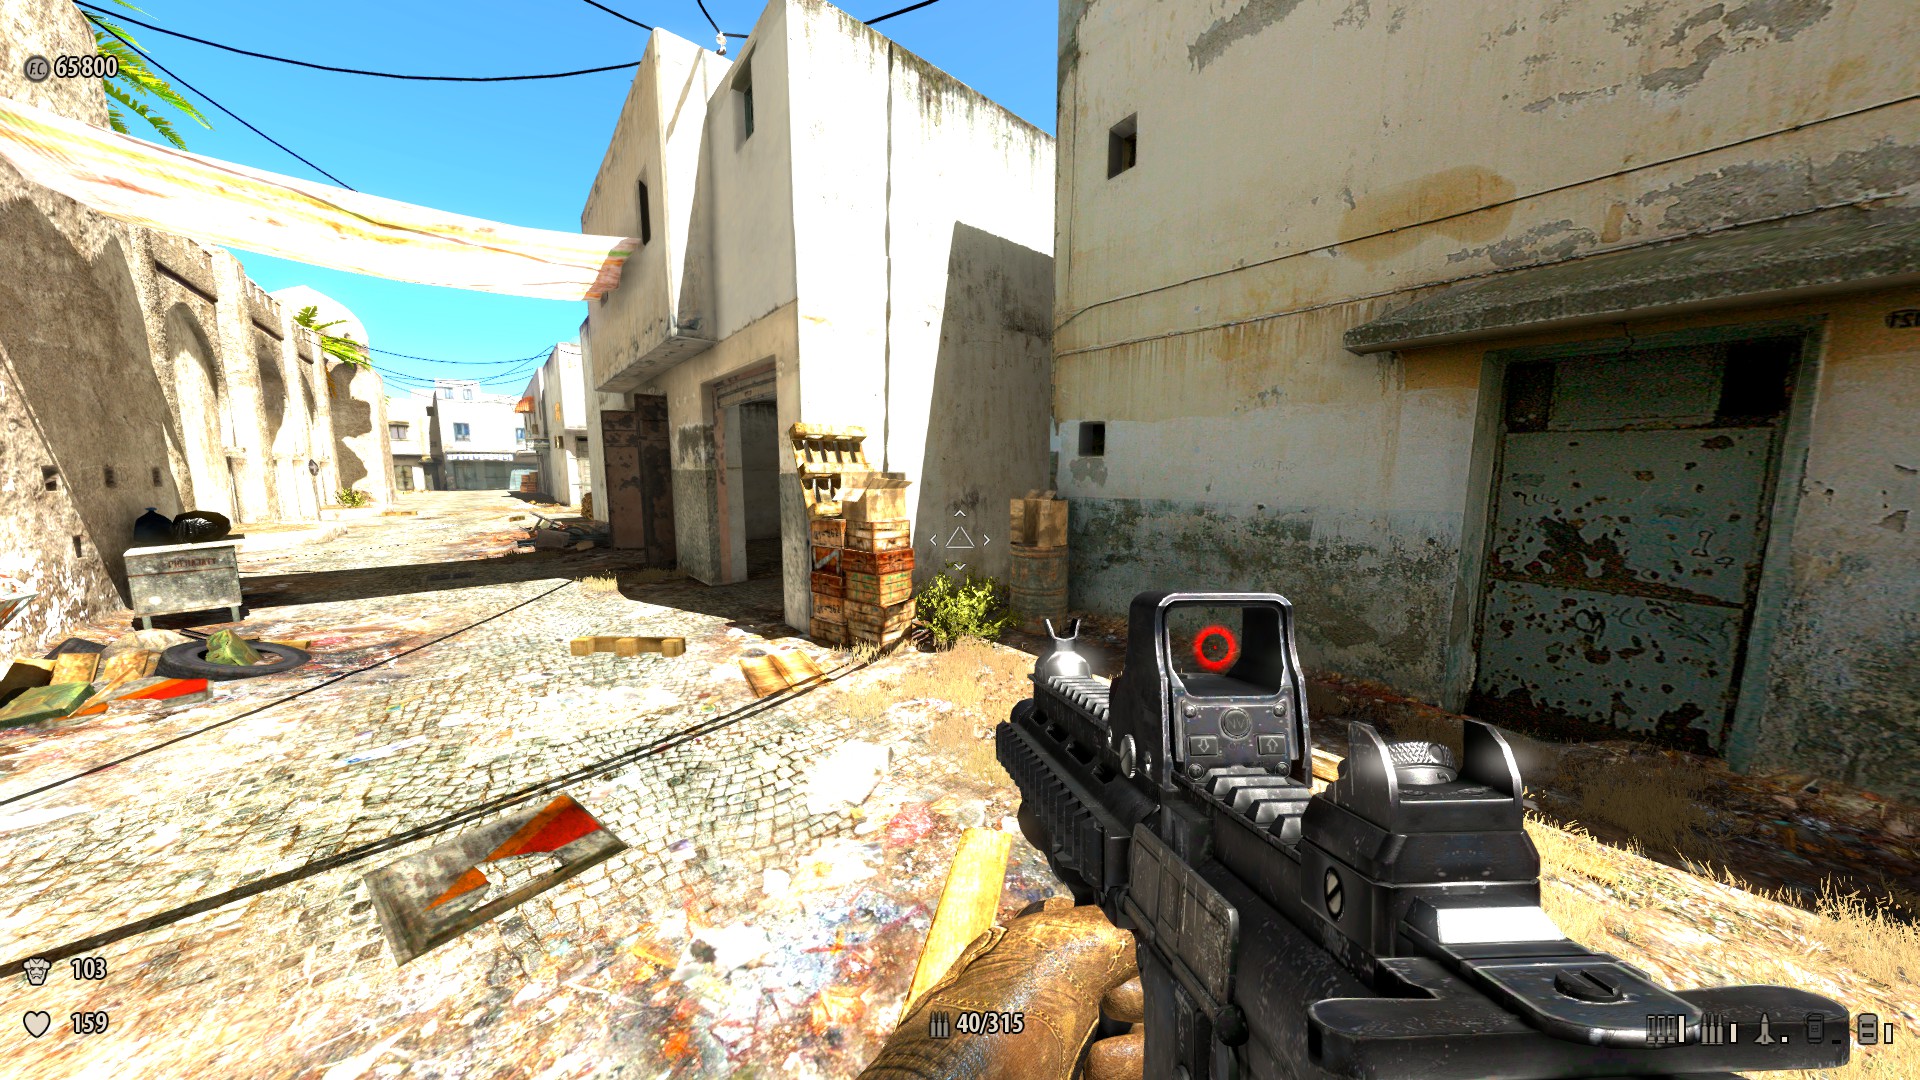
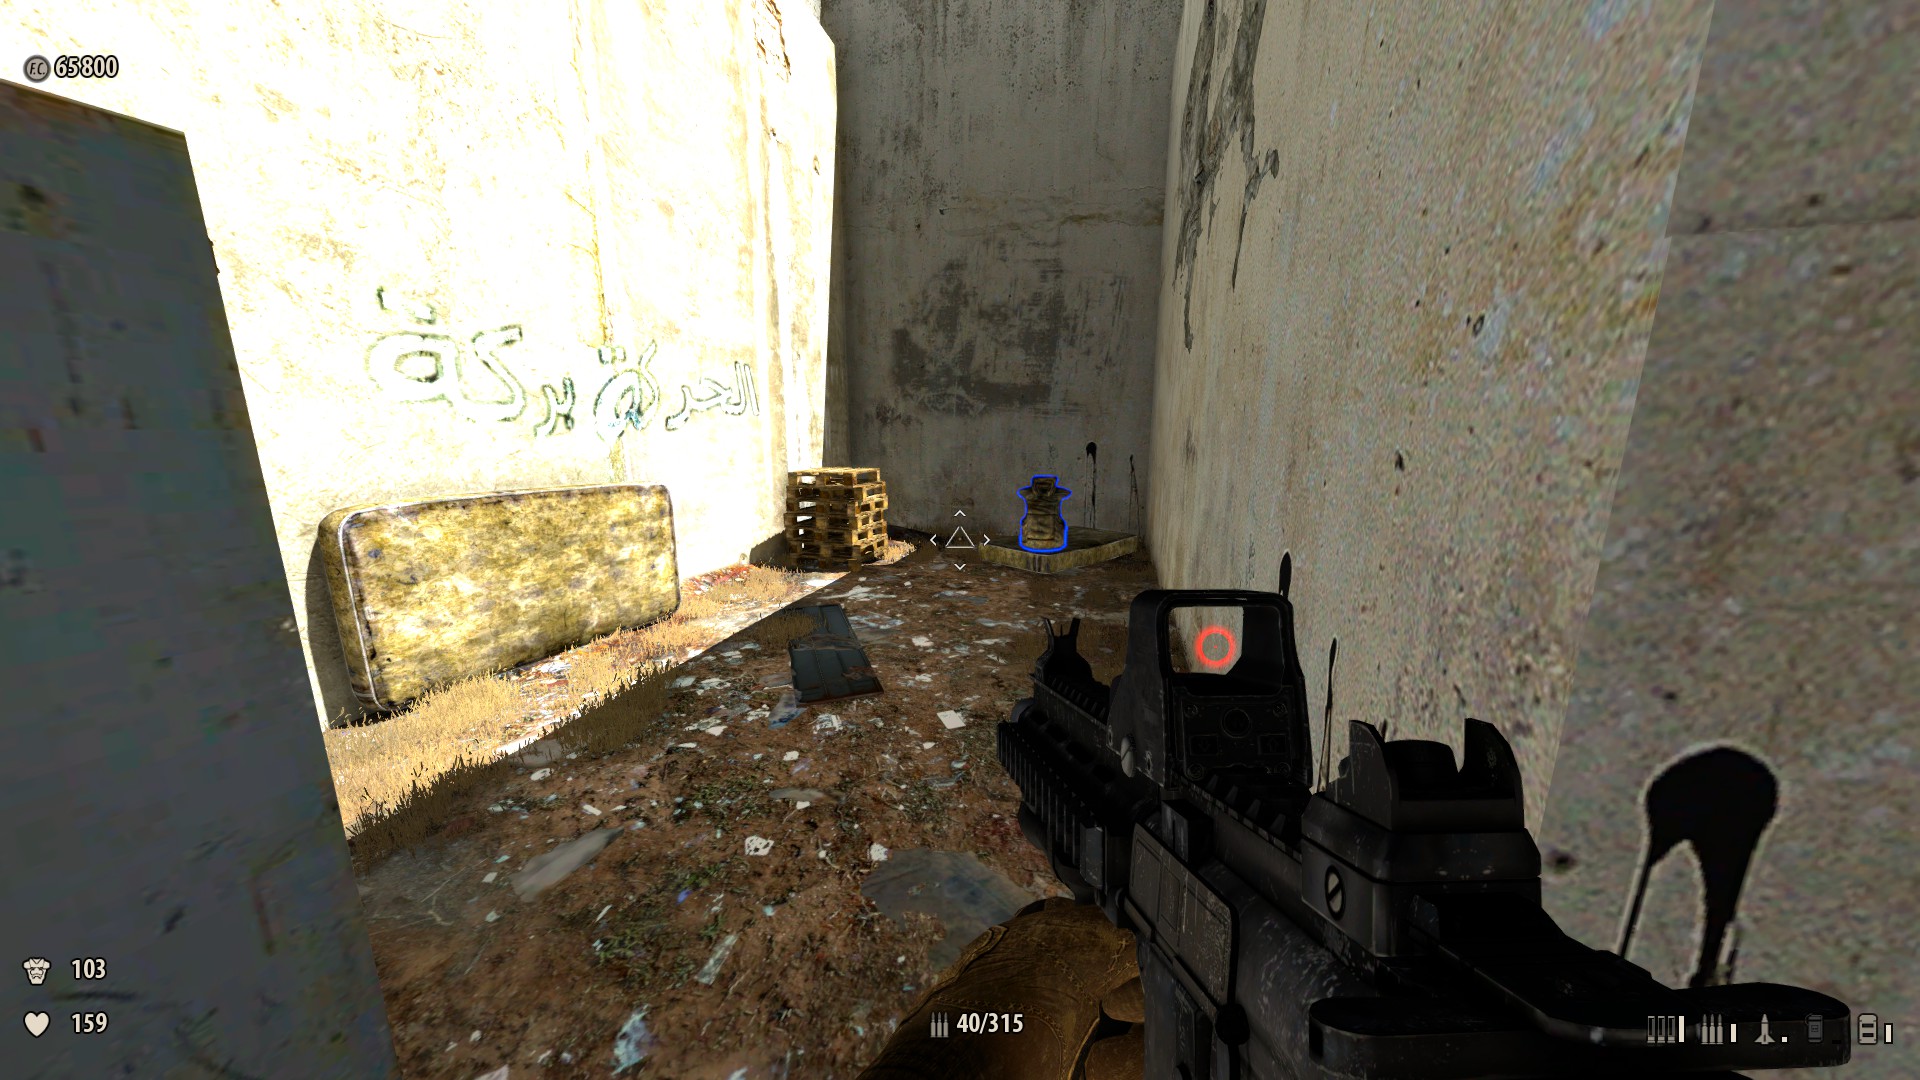
4. No Identify to Hide (nine Secrets)
1) At the outset — Get on the boxes on the left and bound on the wall. Look to the right to the archway and y'all'll meet an armor shard on an awning. Leap on the air conditioner and so over to go it. Advantage: Armor +ane. Message: "Parkour hole-and-corner plant!"

-
ii) At the start — Just before the first archway is a wall with some boxes on it. Get up on the wall and wait left; yous'll see a pill bottle on an overhang. You lot need to leap on the wall on the correct, then leap on the overhangs around to the left to get it. Reward: Health +1. Message: "Parkour hole-and-corner constitute!"
-
iii) In the first courtyard — In that location are boxes against a wall to the left. Jump upwards and over to collect the ammo. Reward: Electricity +50.
-
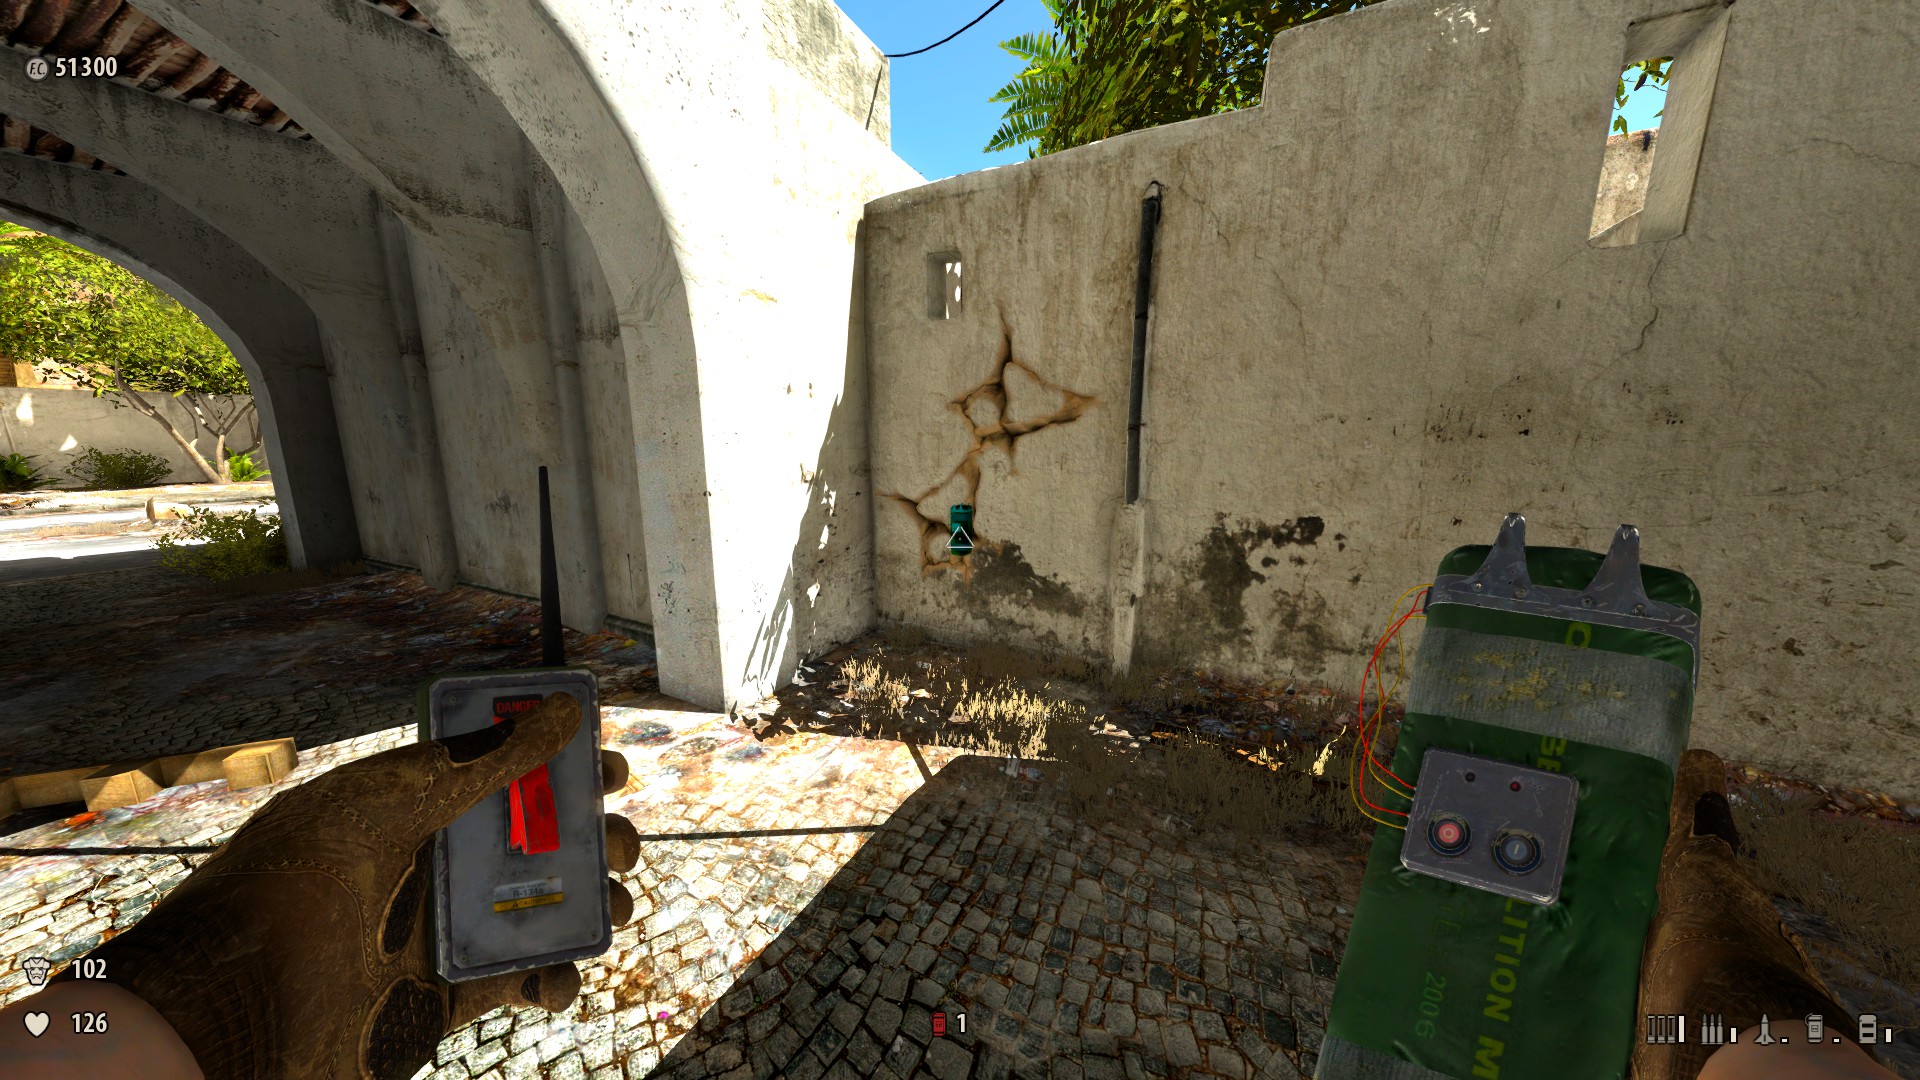
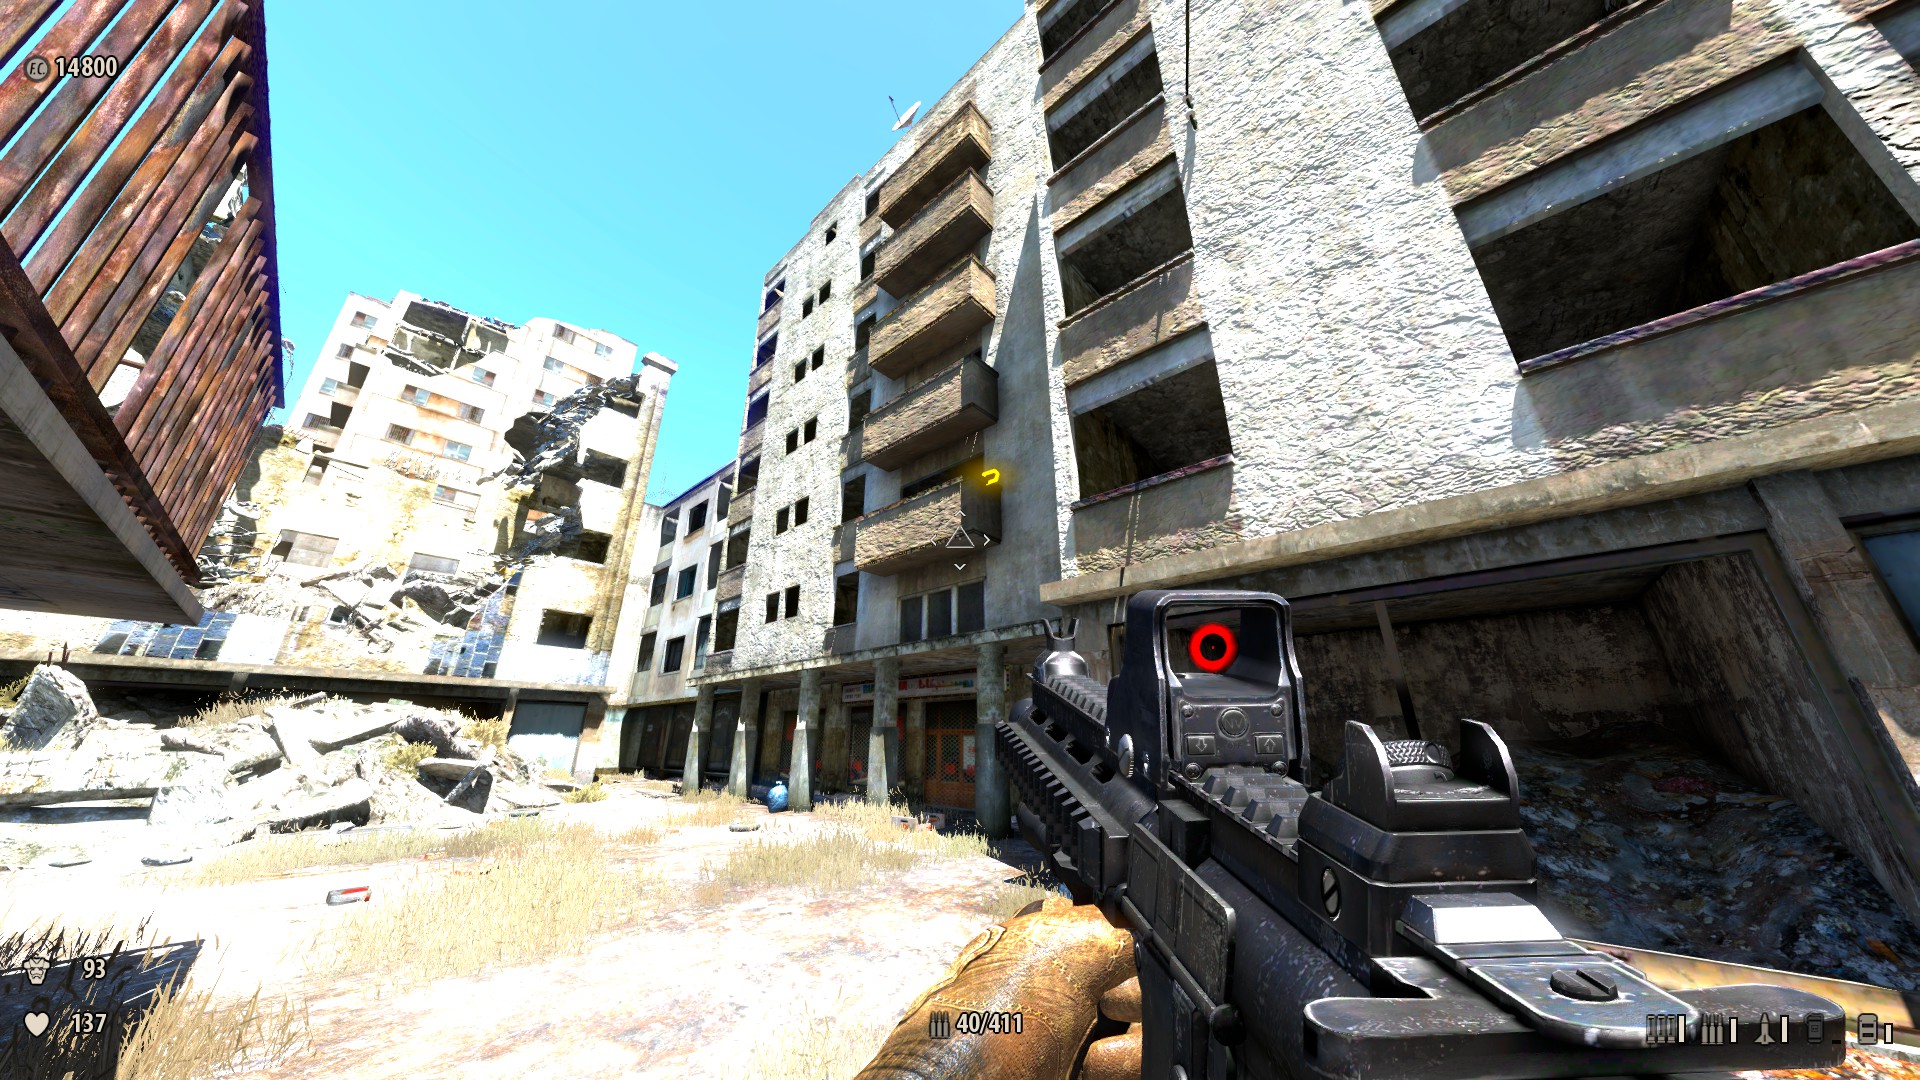
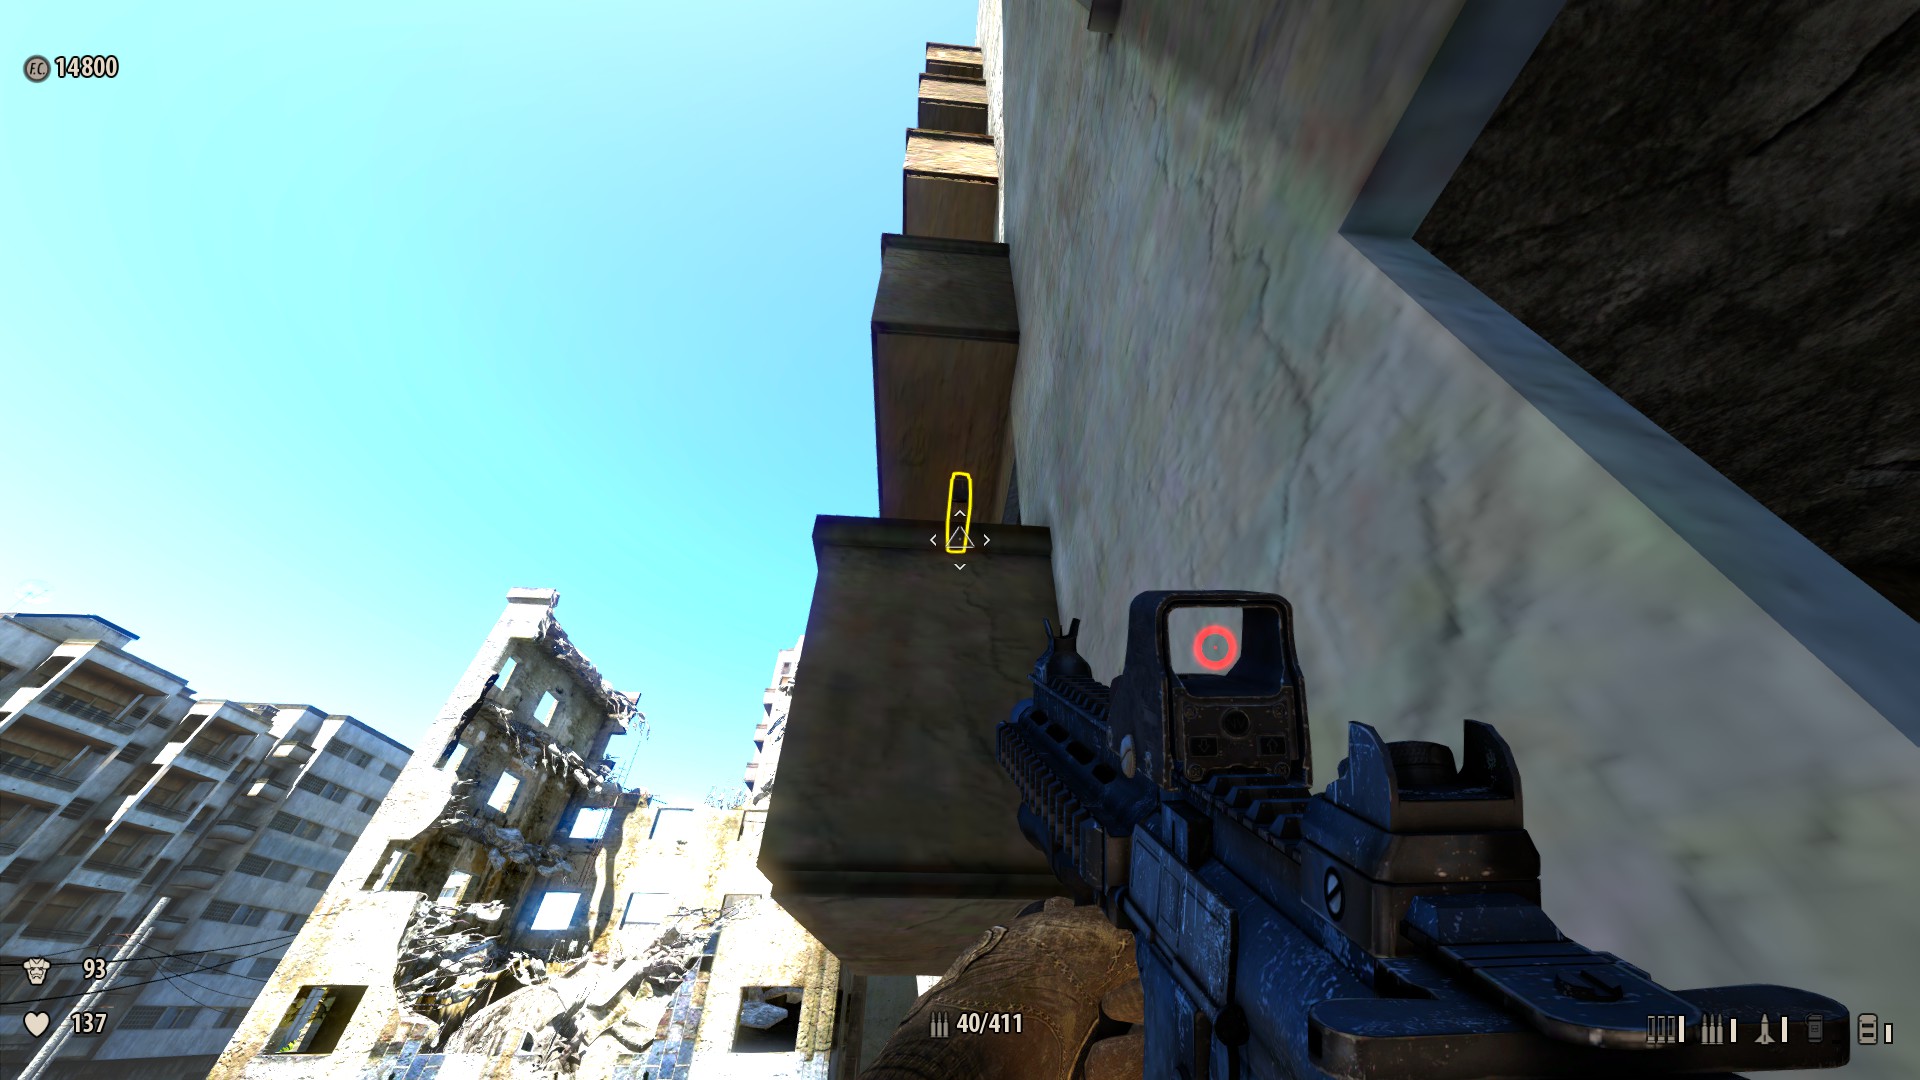
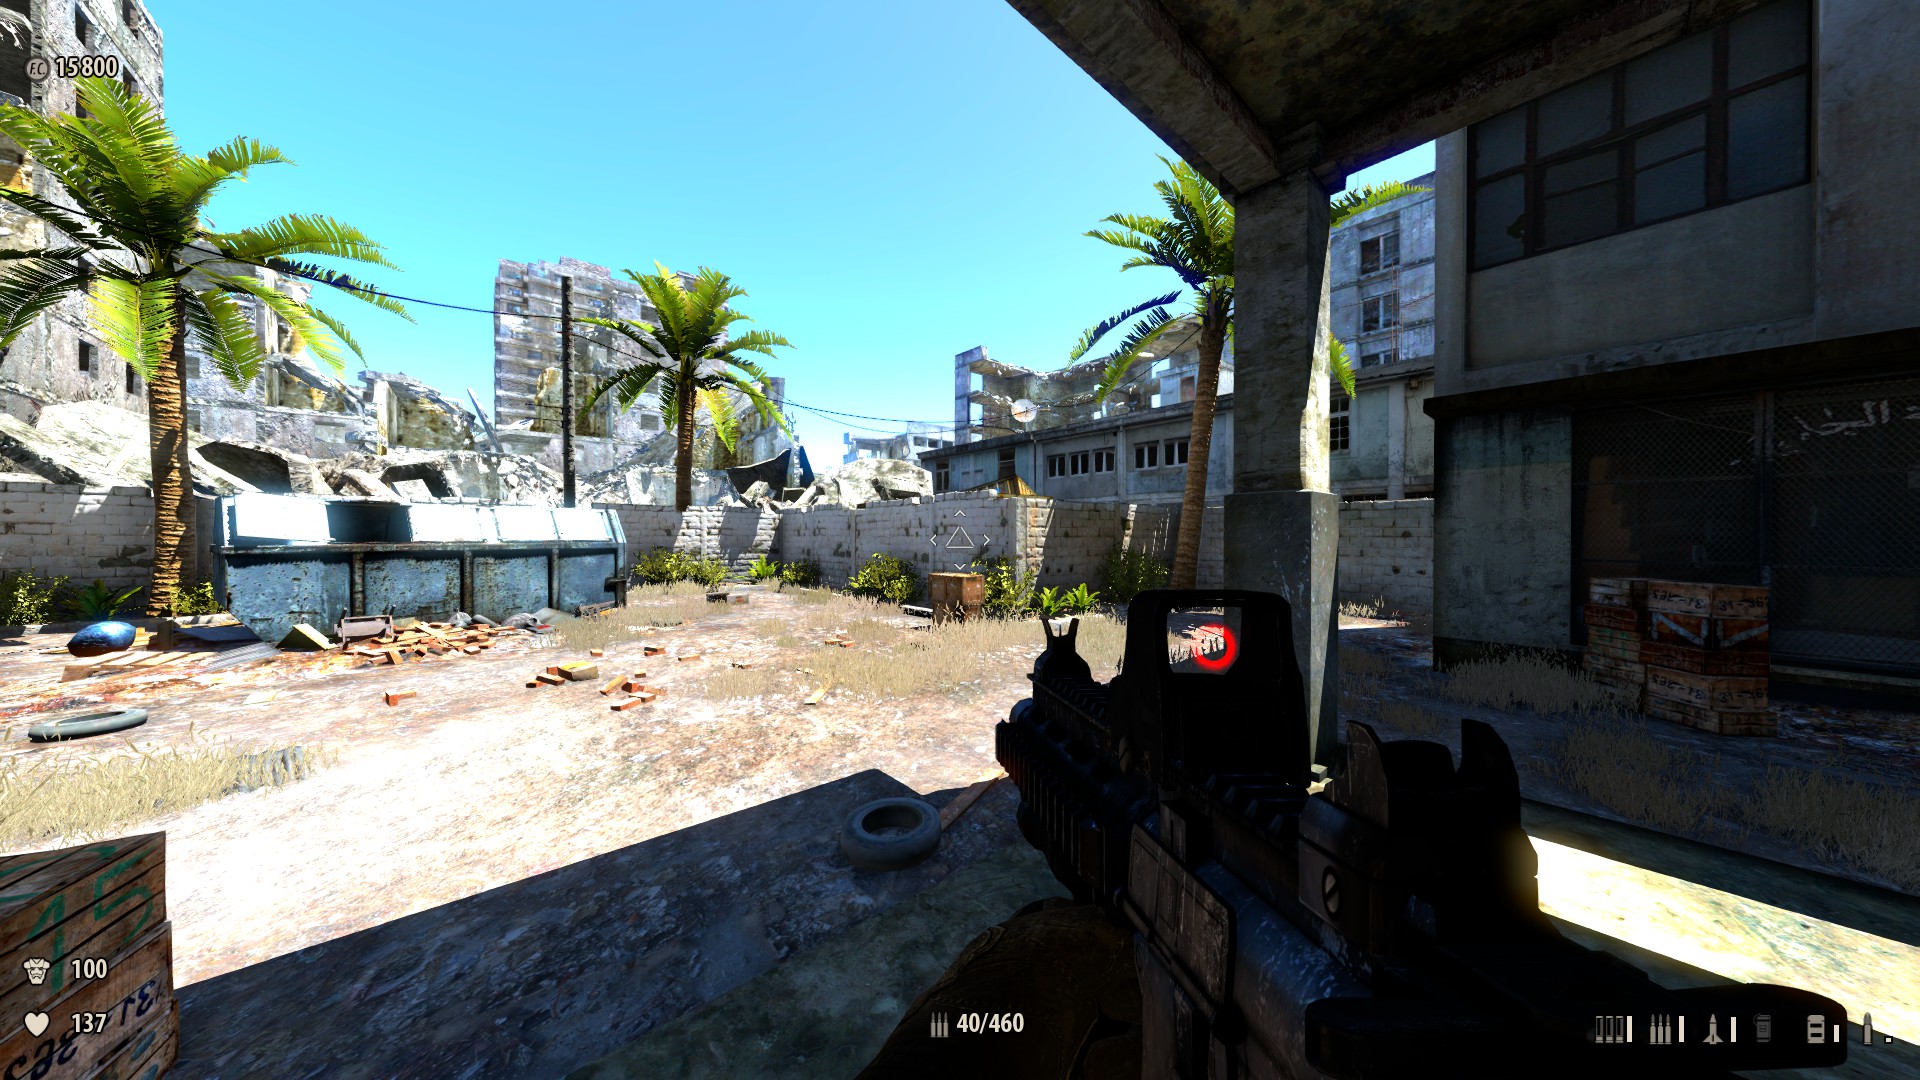
4) Just past the courtyard turret — There'southward a turret over an archway protecting a courtyard. Once past it, follow the wall left and you will notice a pile of garbage bags. Clear them away with the sledgehammer and behind it is a identify to put C4. Once yous have C4 (from secret half-dozen), return and blow the wall. Backside it is a weapon. There's an culling style to get the secret: In front end of the wall are some boxes near the building next to the wall, bound on them, and then on the ledge on the building side by side to the boxes, then sprint bound behind the wall, selection up the weapon and accident the wall upwards. Advantage: Rocket launcher.

-
5) Just before the crashed helicopter — Left of the mosque entrance, there's a wall with loose bricks that can be broken with the sledgehammer; backside it is a weapon. Advantage: XL2 Lasergun, Health +2.
-
6) Upwardly the white building — In the same expanse as Secret 5 with the XL2 Lasergun, you will see a tall group of boxes confronting a wall with iii air conditioner units. Climb on meridian of the boxes so jump onto the outset air conditioner. The 2d jump is slightly catchy, while however standing on the starting time air conditioner, put a slight altitude between you and second air conditioner and leap for it (if you autumn off just keep trying). Finally, bound onto the terminal air conditioner unit and you'll notice a black wire which extends from the air conditioner to the edifice reverse of the air conditioner. Carefully walk on the black wire to the edifice, in one case beyond plough right. There will exist a blue couch with the explosive required for undercover iv. Reward: C4 Explosive +1
-
7) After the mosque — To the left of the mosque is a wall with graffiti on it. Spring on the barrel, then the air conditioner, and then over the wall to collect the pickup and spawn some Kleer Skeletons. Reward: Electricity +50.
-
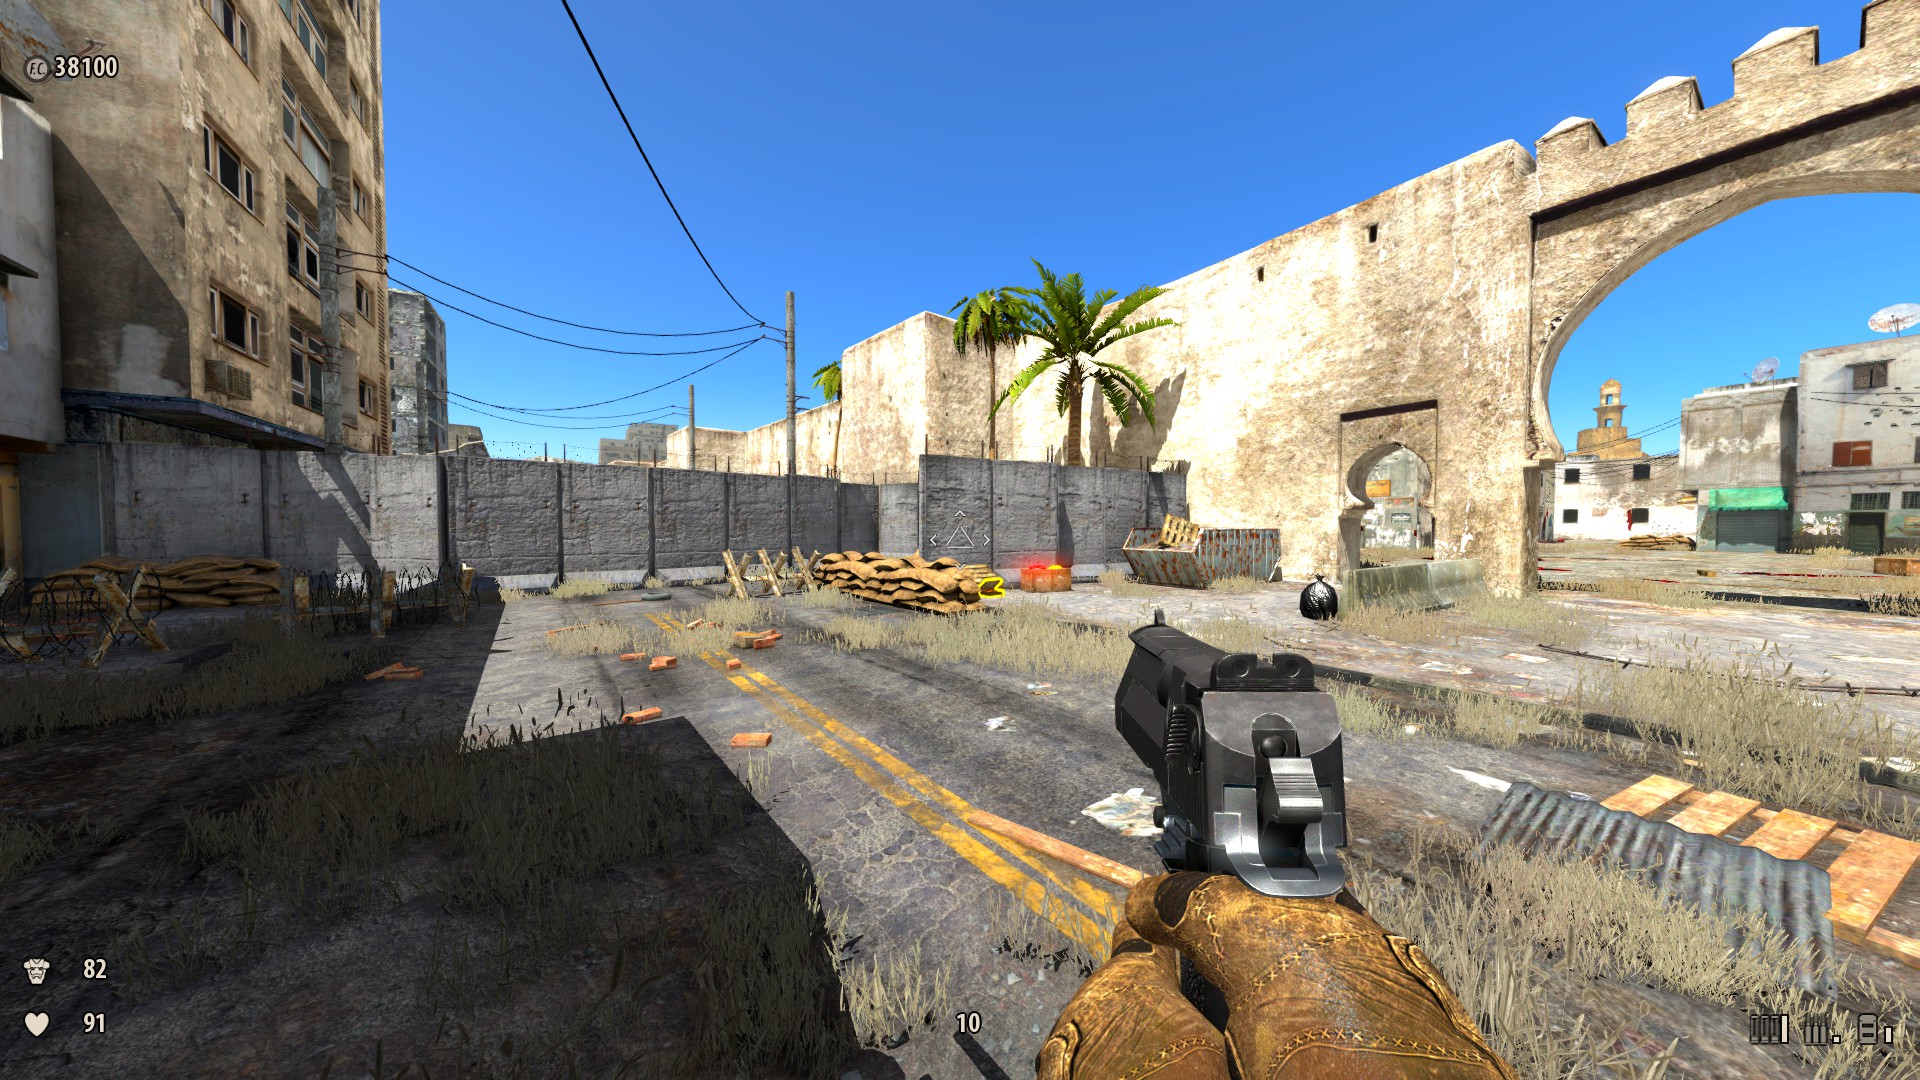
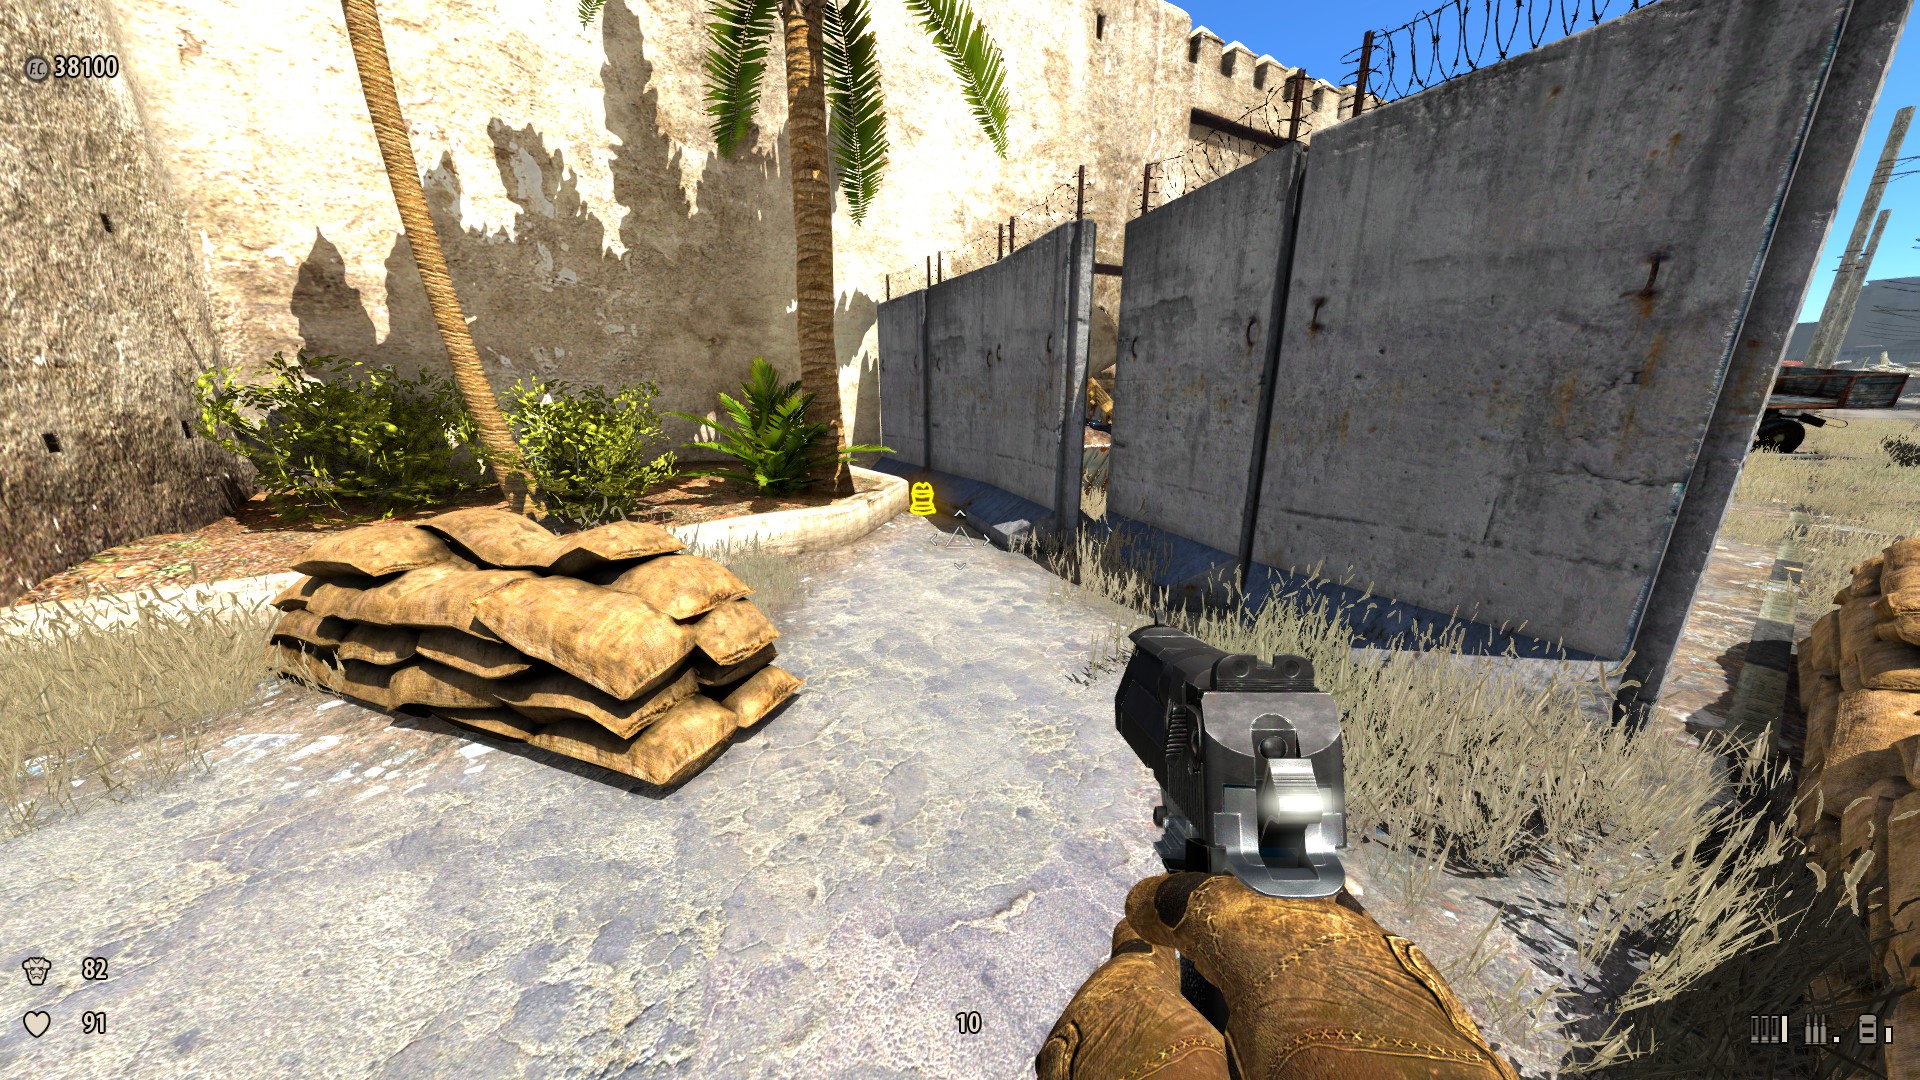
8) Beside the gate — There's a gate with a minaret atop it guarded by Cloned Soldiers. Take a left at the gate, then wait for a narrow gap between the walls behind some crates, and collect the helmet/belong armor. Reward: Armor +50.
-
9) About the end — Abreast the rocket launcher on the correct is a cracked wall. Blow it upwardly with a rocket and collect the pickup. Reward: Health +50.
5. Under the Fe Cloud (13 Secrets)
1) At the pedestrian bridge — On the right side of the bridge is a edifice with a pickup on a 3rd flooring balustrade. To get in that location jump onto the ledge of the ruined building just across the bridge, hop over to the target building, crawl nether, then jump at the pickup. Reward: Sniper Bullets +3.
-
2) Near the pedestrian bridge — Just after the bridge, accept a right into an alleyway. Hop on a box and over the wall to collect some ammo. Reward: C4 Explosive +iii.
-
three) Before the overpass — In a corner after the mosque is a garbage bag. Destroy information technology and accept the pickup. Reward: Electricity +50.
-
four) After the overpass — Once off the overpass, head back along it. There's a garage with a car in information technology; look behind information technology for a pickup. Advantage: Minigun Bullets +100

-
5) Afterwards the overpass, on superlative of a building — At the garage with a machine in it, climb the boxes and then onto the building. Walk back in the direction of the overpass and around the corner. Hop on the air conditioner on your side, and then take a sprinting jump to the air conditioner on the white building and climb onto the roof. Accept the weapon. Reward: Cannon.
-
vi) Later on the overpass — Further back along the overpass there's a stack of barrels in forepart of a barb-wire topped wall. Jump over and pickup the weapon, spawning a Kleer Skeleton. The boxes are indestructible so you can always get out. This also allows you to render to earlier the overpass. (Alternate path: When withal on the overpass, go along left, and sprint jump just past the grated fence up here, into the surface area of the Lasergun below.) Reward: XL2 Lasergun, Wellness +1.

-
vii) Perpendicular to the overpass — Along the road you get off onto later on stepping off the overpass you tin meet a shipping container, and so left of that a portable with ammo on superlative. Climb the wall with graffiti on it, using the crates. Jump along the walls back to the aircraft container so over to the portable, and pickup the ammo. Advantage: Cannonballs +four.
-
8) At the shipping container — One time on peak of the portable (from secret 7), bound dorsum onto the wall farther away from the road after the vents. Drop down behind the wall to become a "Useless clandestine area found!" message. Reward: The satisfaction of having done a skilful job.
-
ix) Later on the underpass — There'southward a big fight along this road which has a mosque at the terminate of information technology on the left. On the right is a ruined edifice. Spring upwardly into the window using the ruined wall to climb upwards, and and then driblet downward and pickup the pill bottle. This spawns the message "Surreptitious nuthouse found!" and at least three Major Bio-Mechanoids. (Alternate path: Go all effectually the mosque to observe ii physical barriers, these tin can be blown up with several rockets.) Reward: Health +1.
-
ten) After the underpass — At the finish of the road afterwards the underpass on the left at the corner of the mosque and the blockade is an armor helmet hidden in bushes. Reward: Armor +10.
-
11) Before the drib downward — Back along that road is a ruined auto earlier a wall. Jump on the car and over the wall, and so take the ammo. Reward: Cannonballs +4.
-
12) On a edifice earlier the drop down — If you wait up on the tertiary floor of a building before undercover eleven you can see a pill canteen. Get back up on the wall, walk around the building, leap upwardly onto your ledge, and then leap across to grab the bottle. Reward: Wellness +i.
-
13) The ruins, far-right section — Along the right-manus wall near the far wall is some debris sticking out (not those ammo "refill" zones). Behind one of the chunks is a wellness pickup. Reward: Wellness +100. Bulletin: "Surreptitious found!"
6. The Silent Riddler (eight Secrets)
one) On a edifice in the get-go village — Climb up the wall on the left on its showtime intermission. Jump across the buildings towards the i with the satellite dish, then keep climbing upward to detect a weapon and become a "King of the Hill hugger-mugger constitute!" message. Advantage: Sniper burglarize.
-
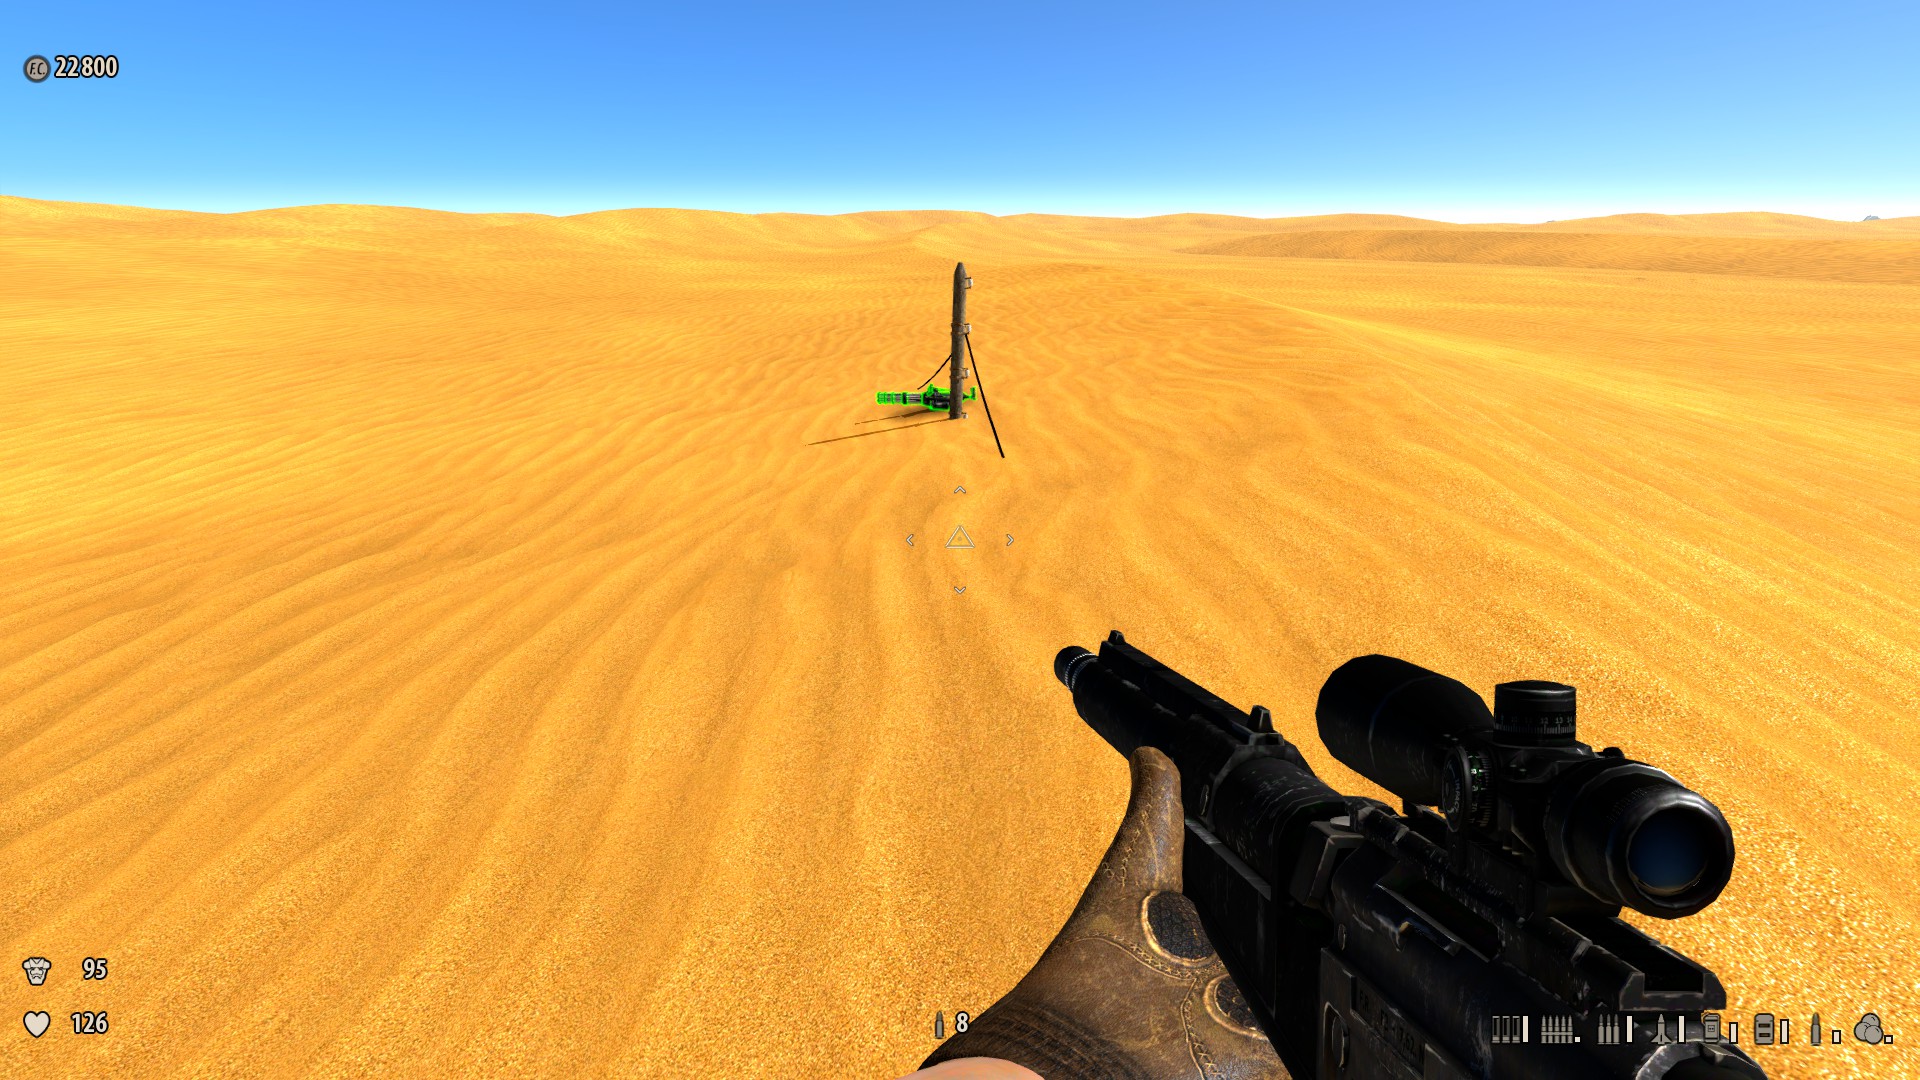
2) Just exterior the first hamlet — A dirt road runs perpendicular to the hamlet. Looking to the correct yous can meet a truck, and if you're at the truck you should meet a black fasten in the desert, which is a utility pole. If the worm hasn't surfaced recently, run out until you lot hear rumbling and and then run back, let information technology come upwards and become back down, then race out to go the weapon at the pole. The worm seems to have a bit longer than usual to start burrowing towards y'all if you make a beeline direct towards the Minigun from the truck. Reward: Minigun.
-
3) On the left side of the second village, behind a building, is an explosive barrel partially buried in the sand. Shooting information technology will reveal a pickup. Advantage: +25 Armor.
-
4) Further into the 2d hamlet in that location is a walled off yard with a couple of unlike means in (iii holes in the wall and an open up gate; in the sixth row of houses, relatively central). In this area is a lite blue dumpster against a building. Between dumpster and the edifice is a almost stuck pickup. Reward: +25 Health.

-
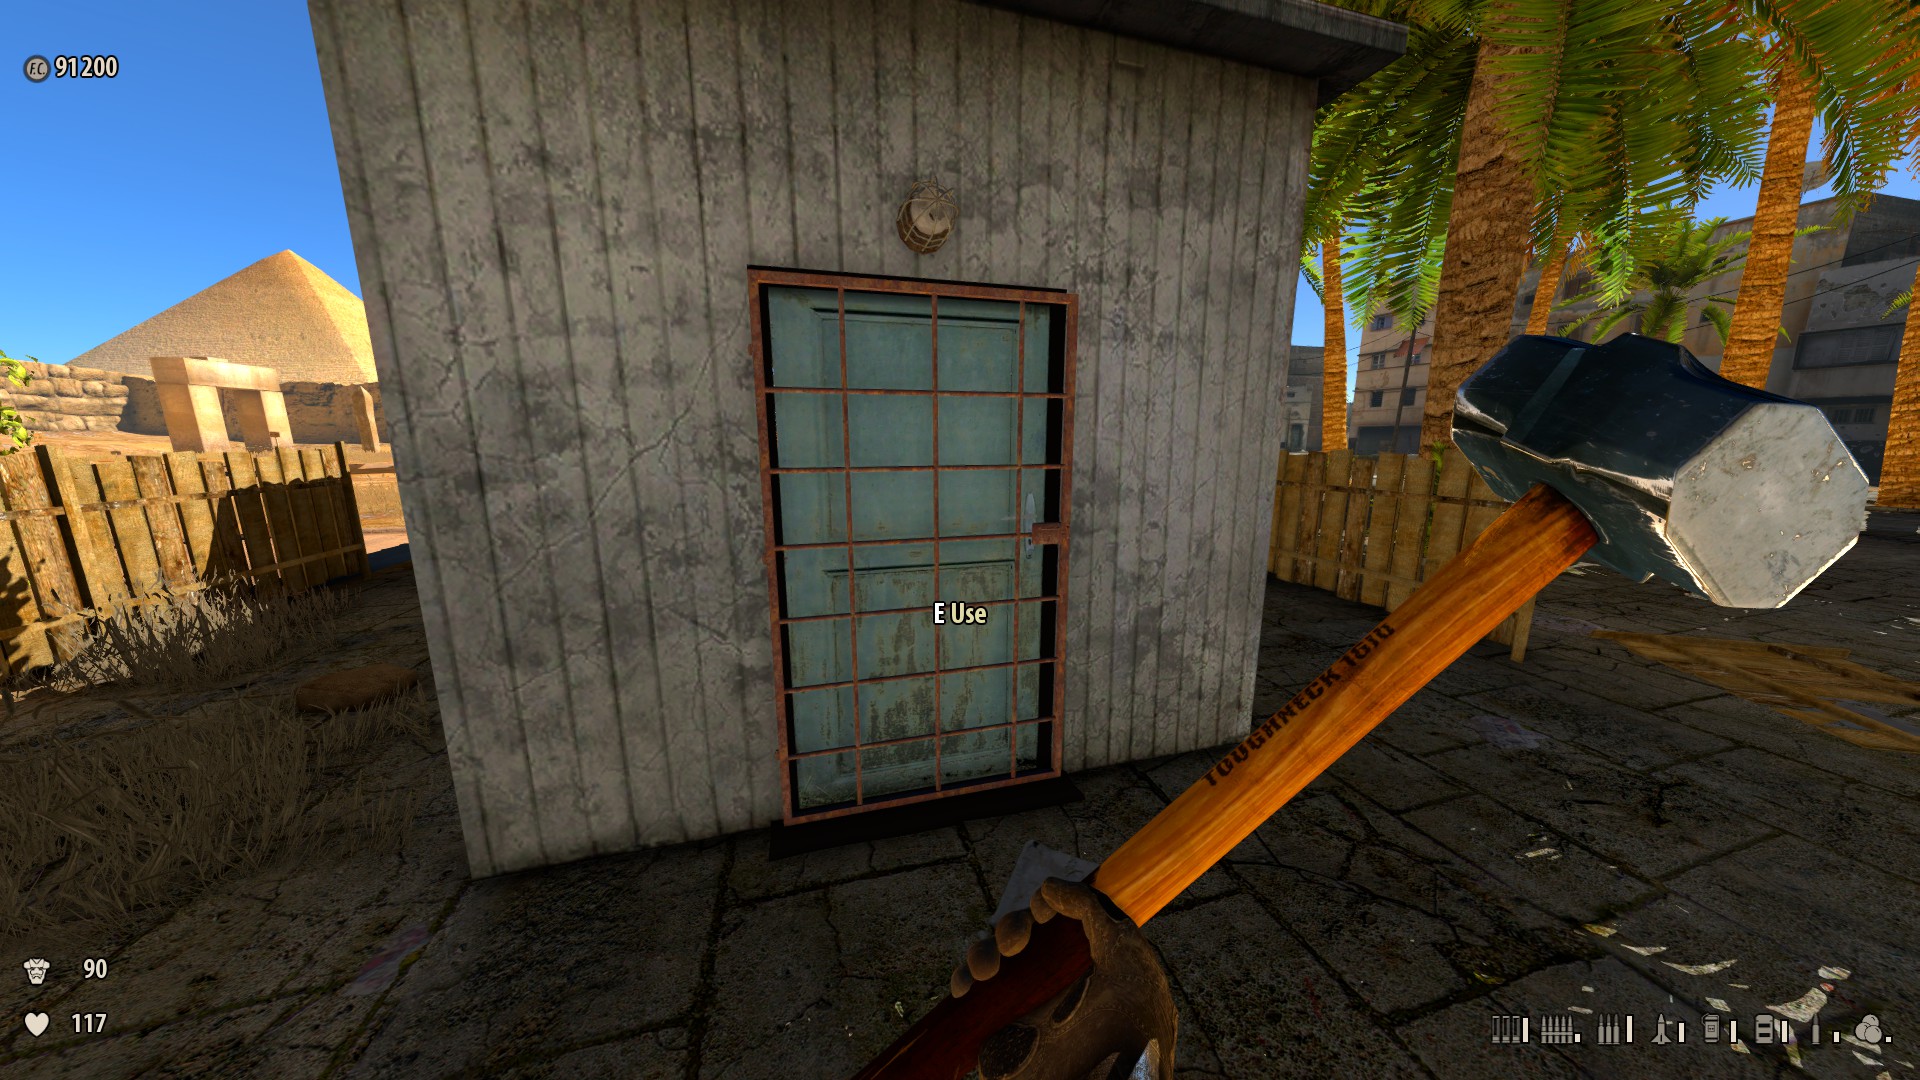
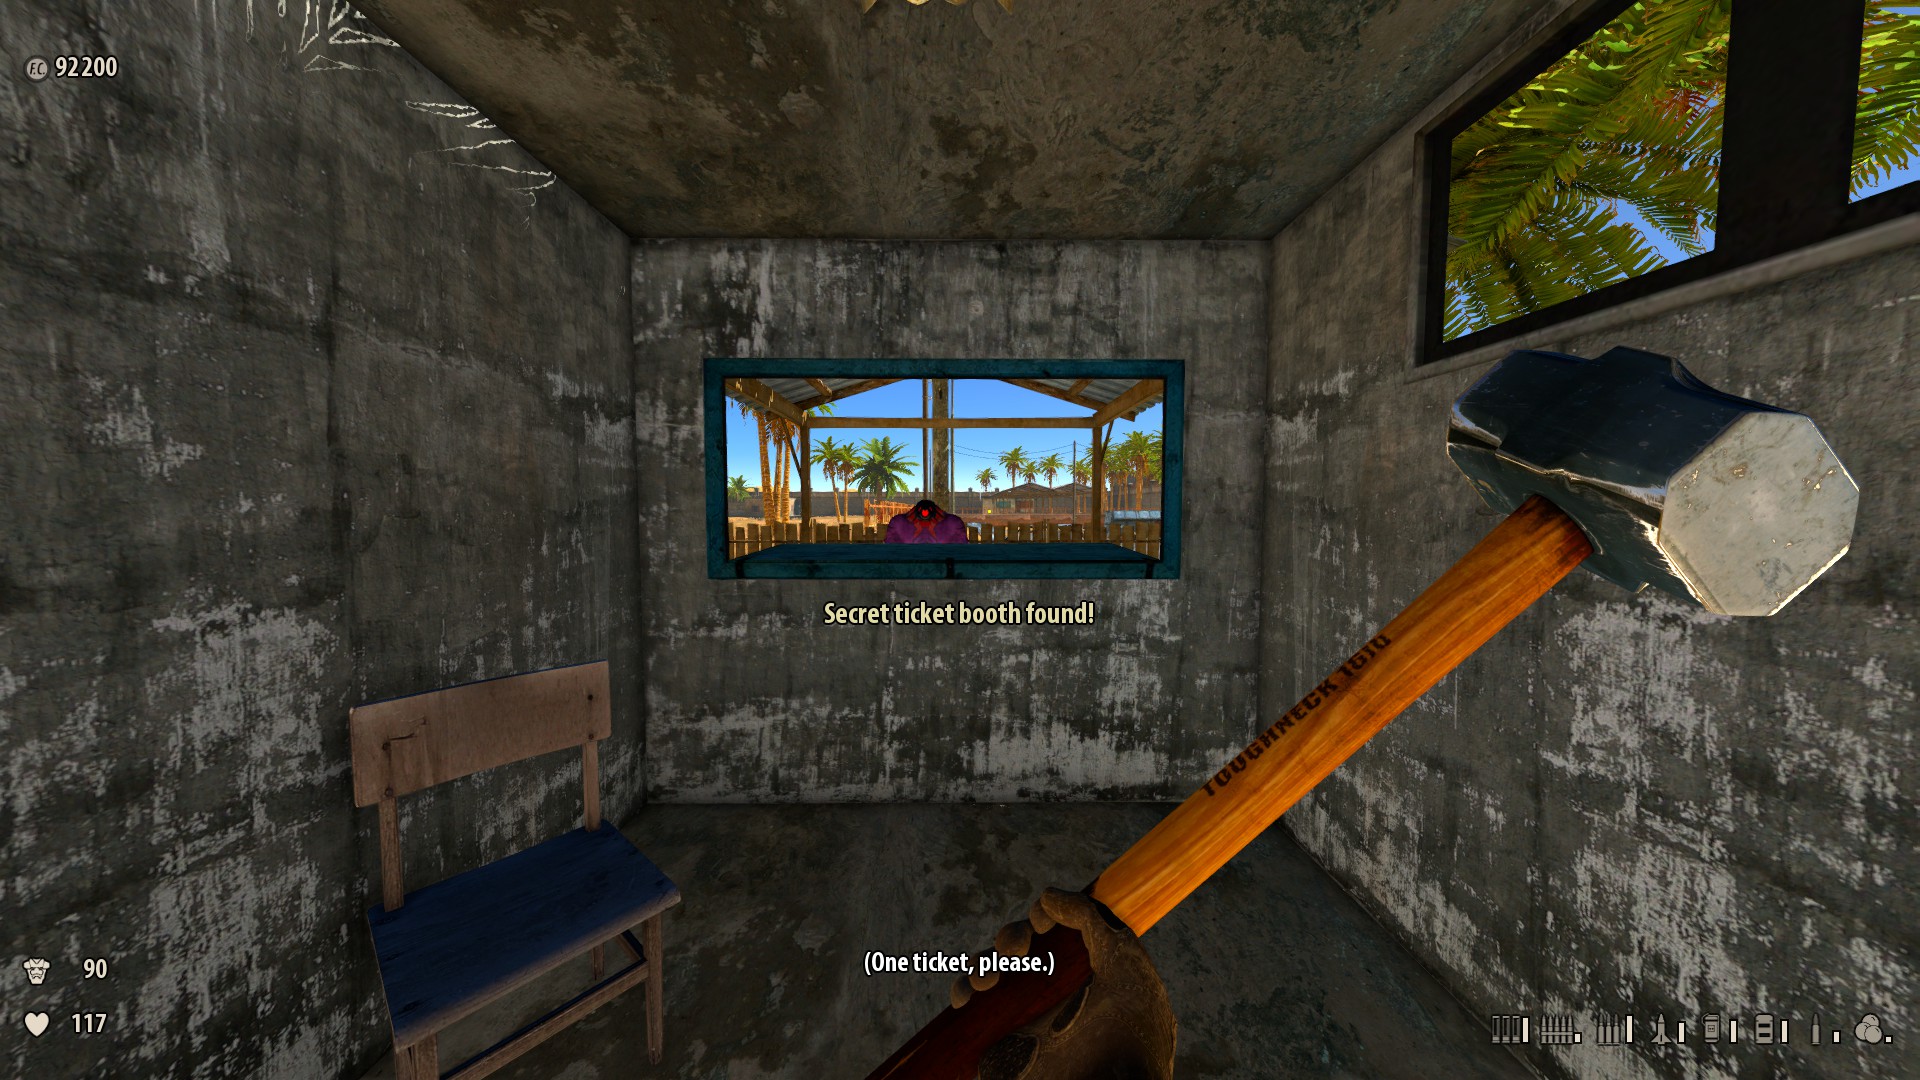
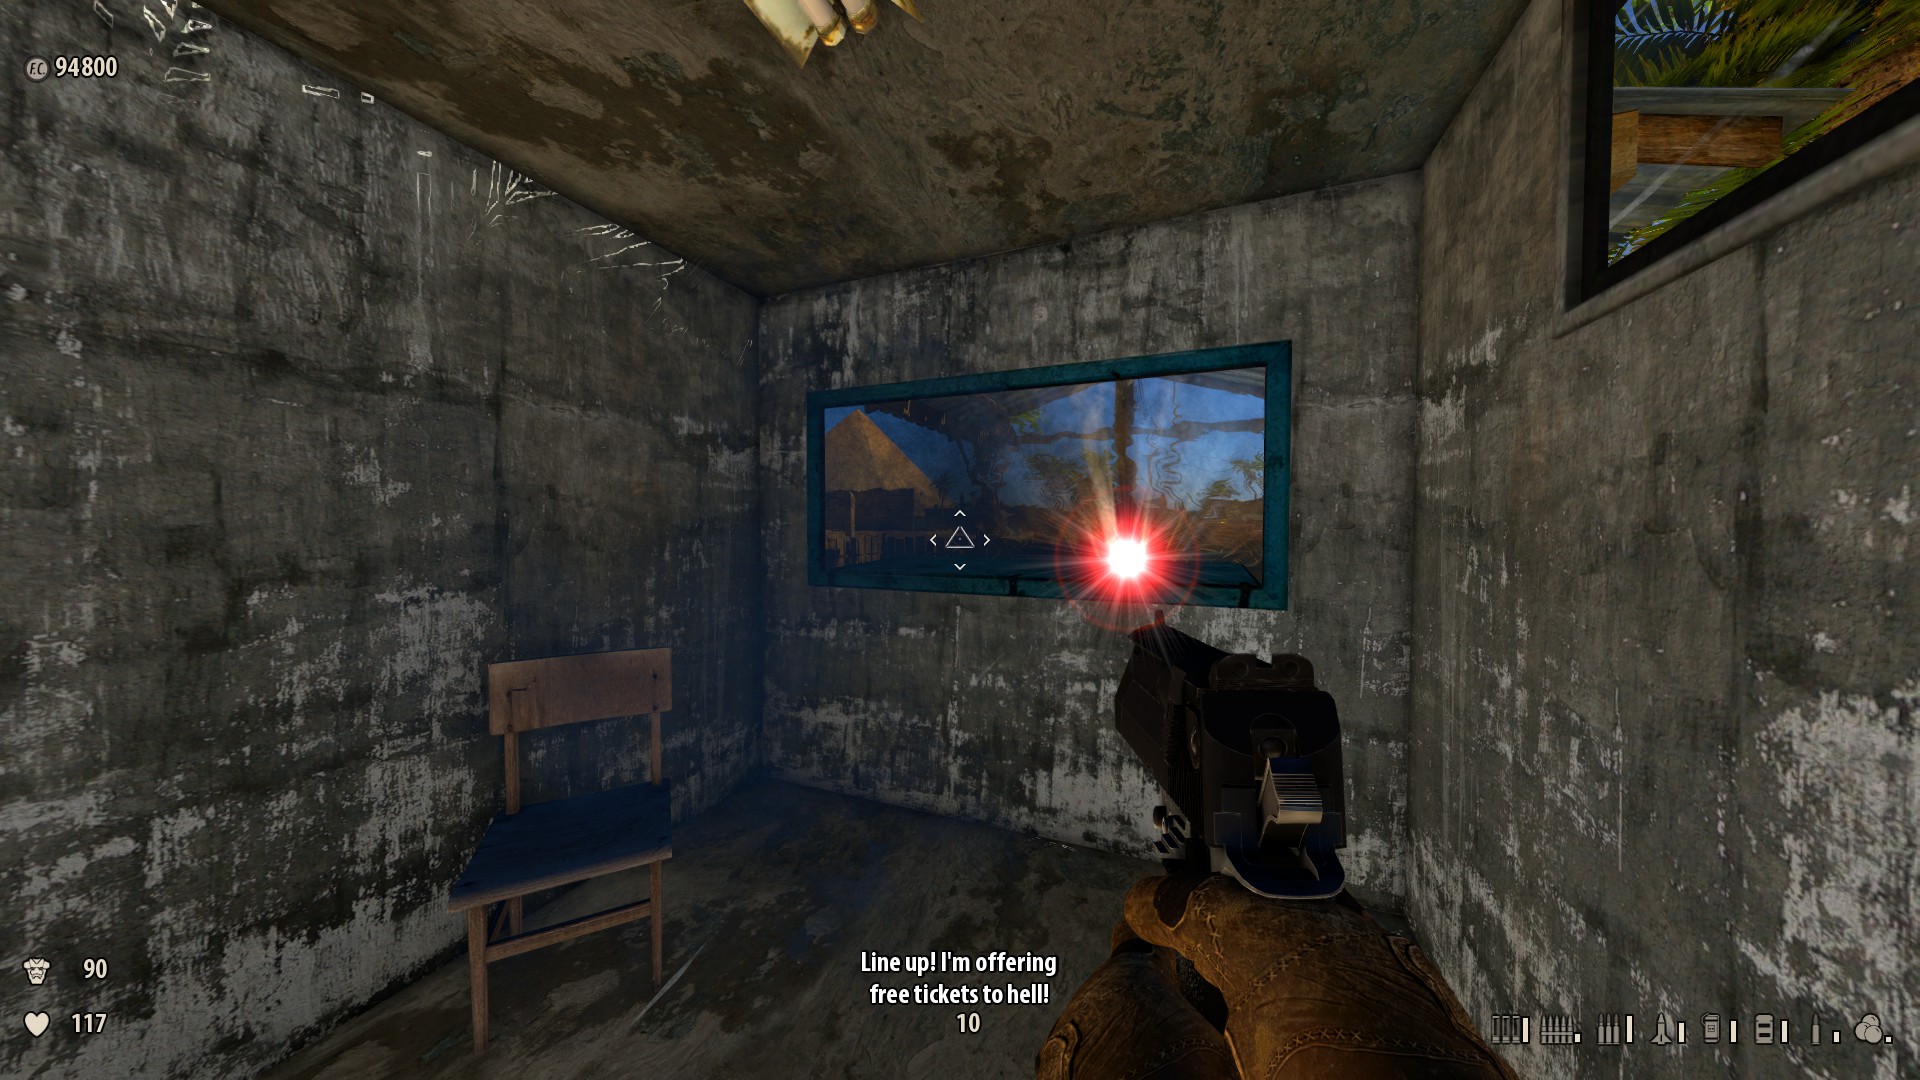
v) At the entrance to the monument — The kiosk at the entrance to the monument has a caged door on it, but can be opened past using information technology. Entering it shows the message "Secret ticket booth found!" and spawns a Rocketeer, who gives you a bag of coin when you approach the counter, but gets angry when you take it. Killing him gets a quip from Sam and spawns more monsters. Reward: Easter egg.
-
6) At the archway to the monument — There's a locked yard to the left of the entrance that's also opened with the keycard. Within the base of the crane is a pickup. Advantage: Health +ten.

-
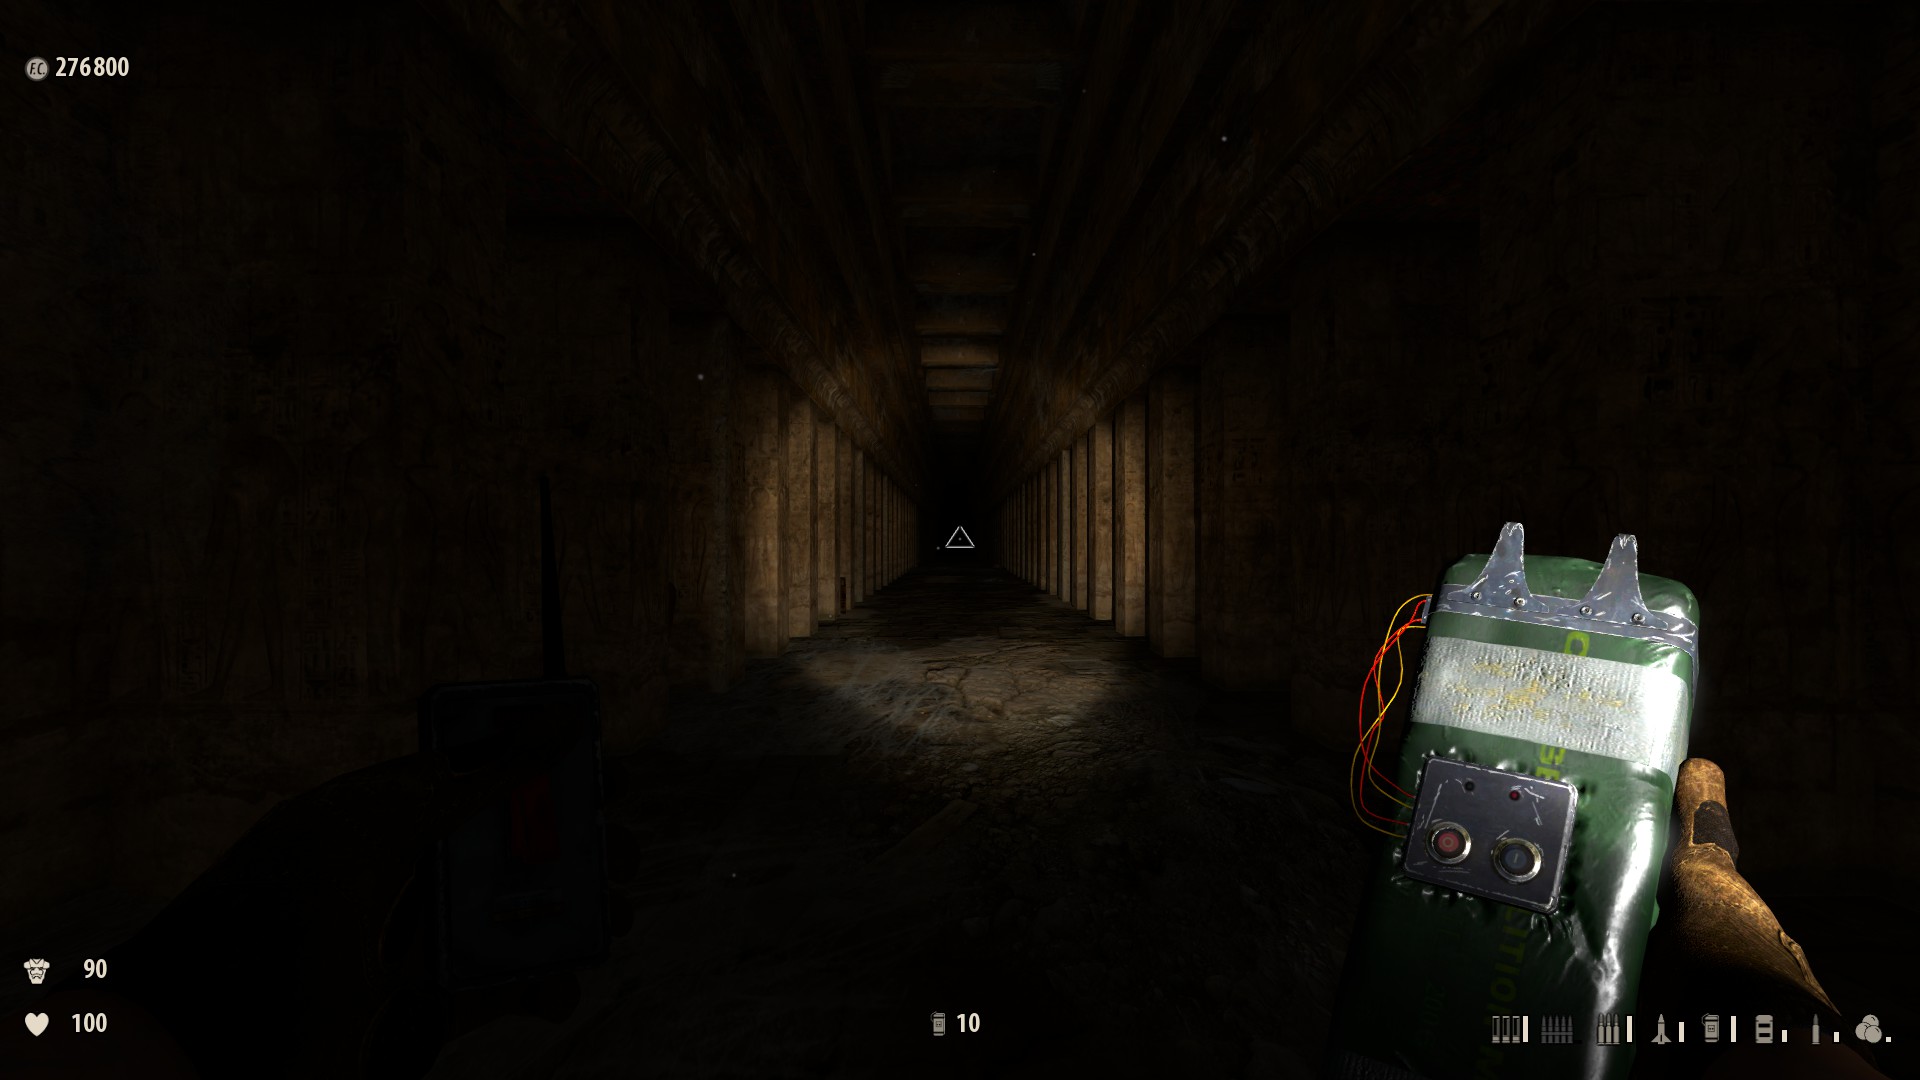
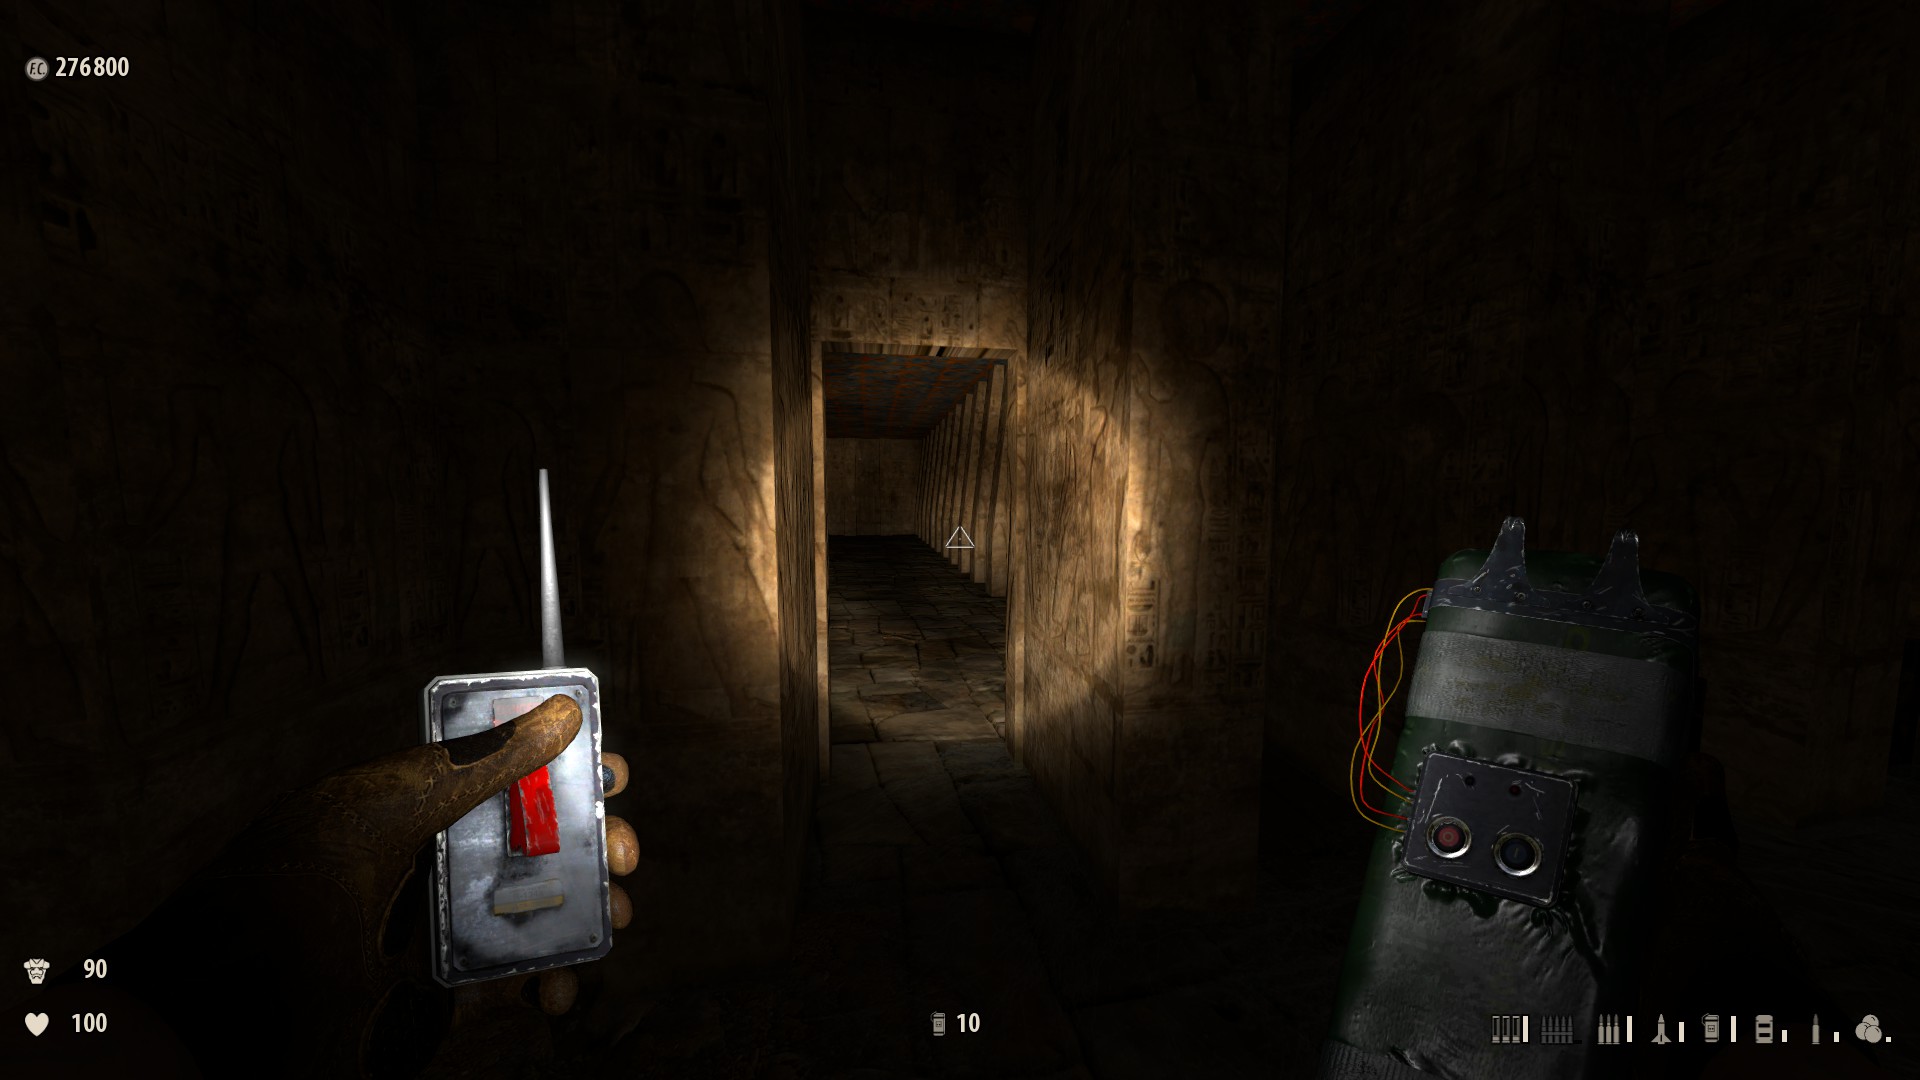
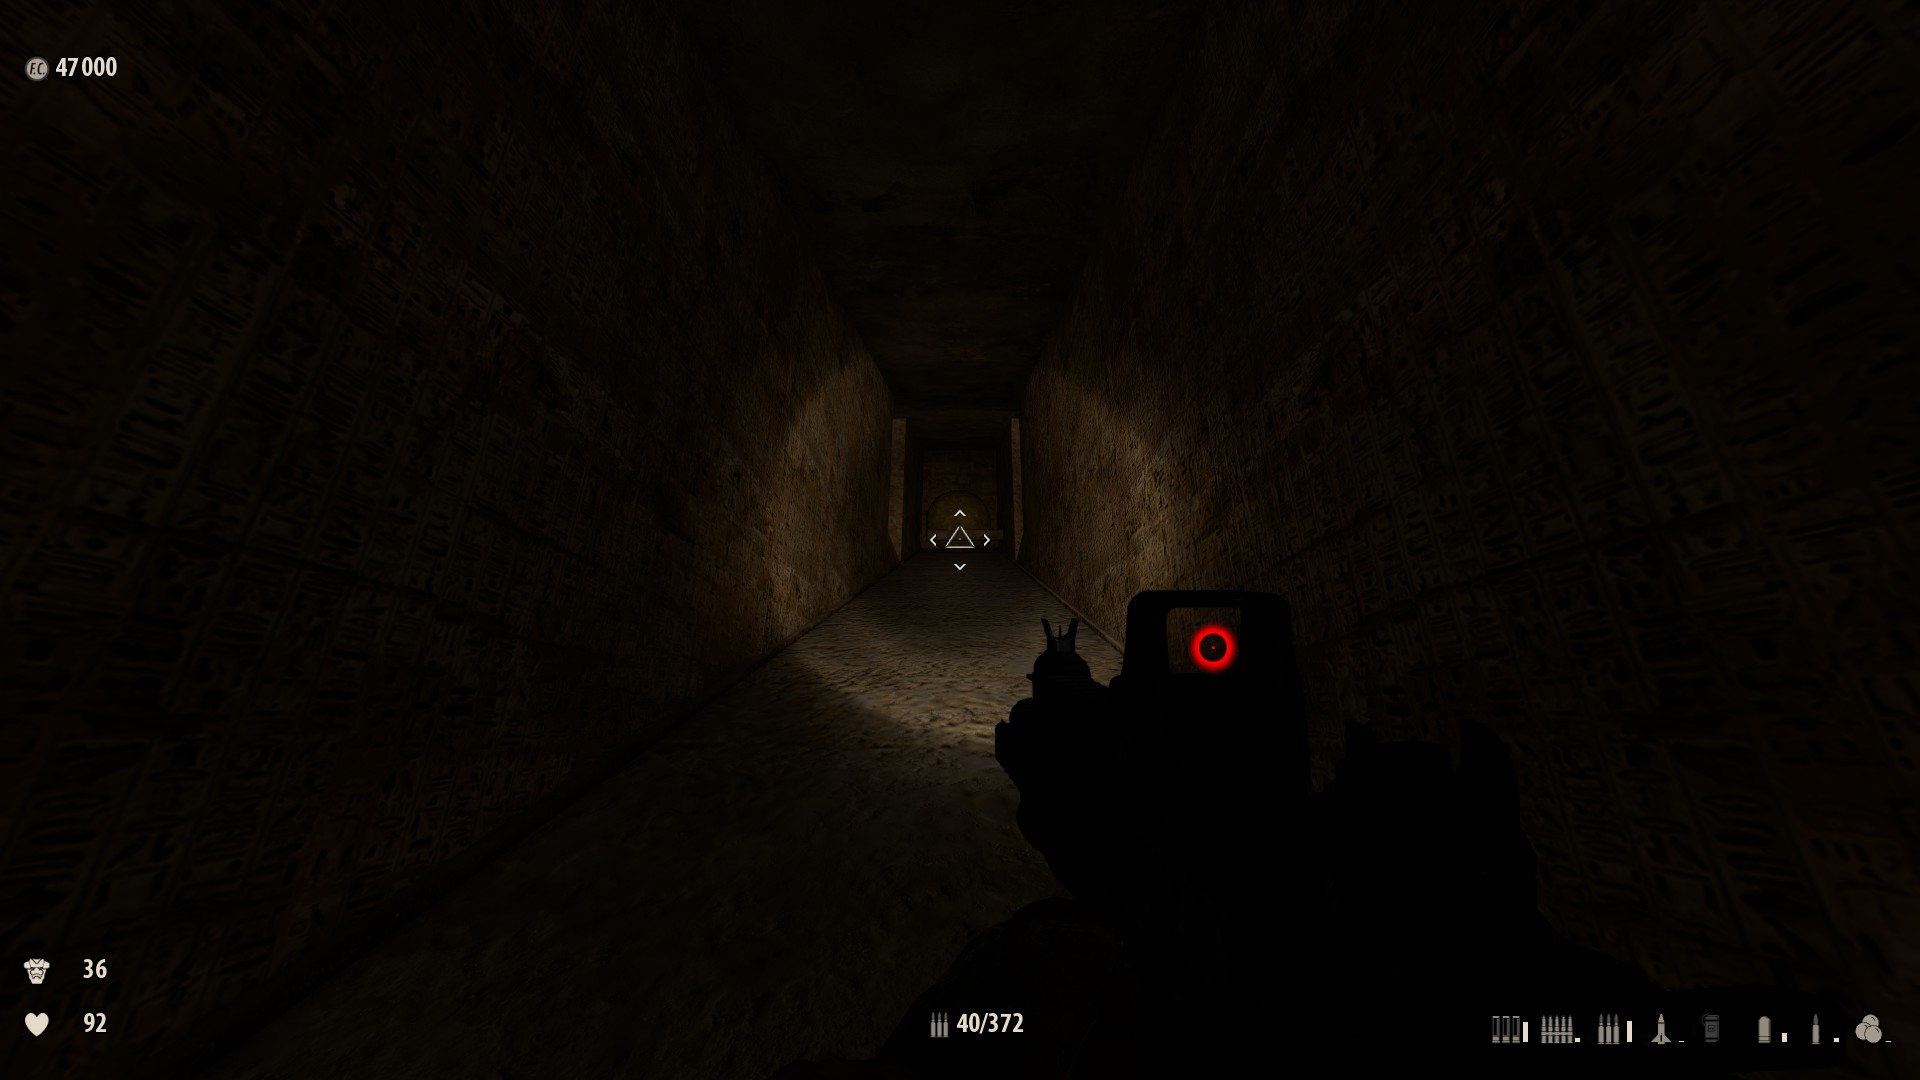
7) In the tunnels after the stairs — There's a long hall with dozens of bullheaded alcoves. In one on the left virtually the cease is some other hallway with a spooky hall and a weapon. Reward: Devastator.
-
eight) In the terminal area — If you become down the stairs to the door to the Sphinx, at that place's a health pack tucked in the corner on the right. Reward: Health +l.
7. Unearthing the Sun (8 Secrets)
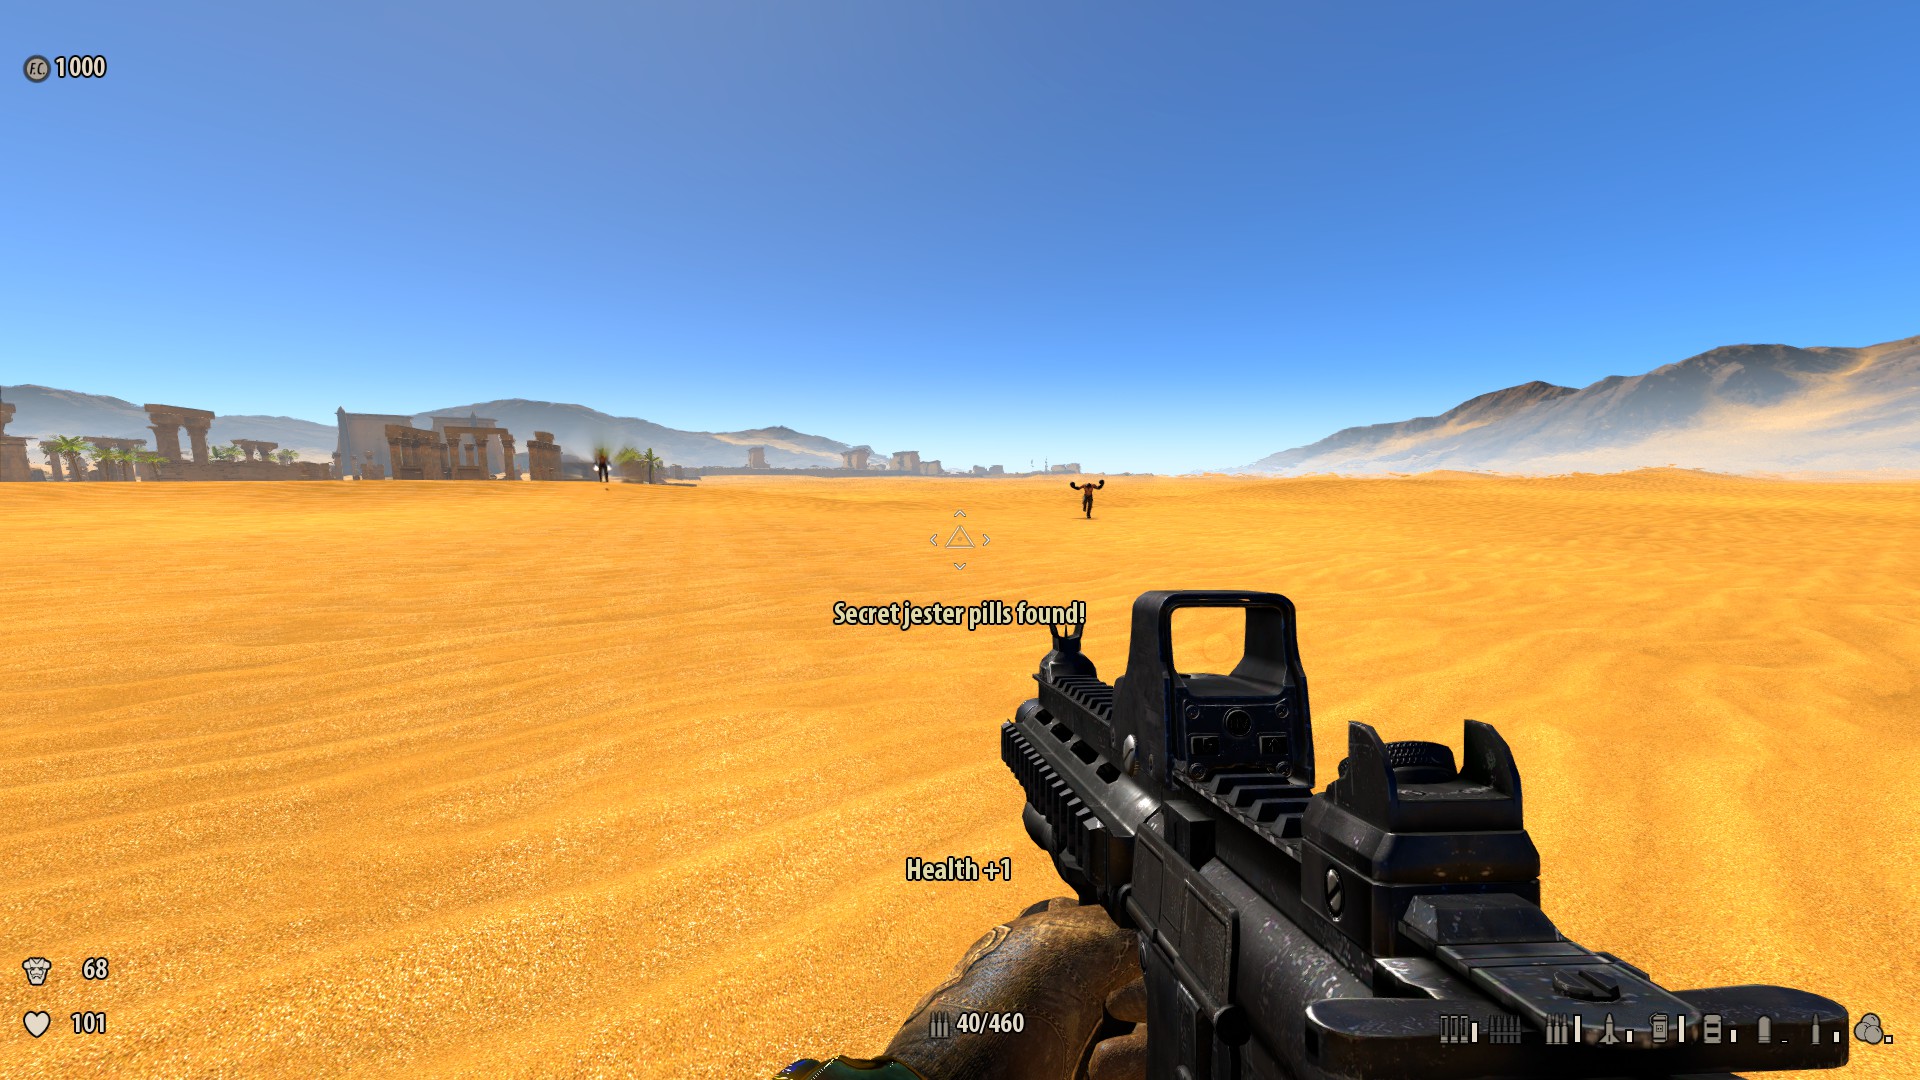
1) Plough around — Immediately at the showtime you can see a pill bottle behind yous. If you run up to it a woman giggles and it dashes off further into the desert. When you pick information technology upwardly the bulletin "Hush-hush jester pills establish!" shows up and Beheaded Kamikaze spawn in. Reward: Health +ane.
-
2) Near the starting point to the left is a broken wall with some pillars in front end of them. At that place is a small-scale nook at the top of the wall where ammo is hidden. Seen from above, the wall is "T" shaped — the ammo is located at the intersection. While the walls extending from the T are destructible to explosives, the area that the ammo is located on is not. This means that if the walls around information technology are completely destroyed, the ammo will stay up there and you lot'll have no fashion to leap up to reach it. For this reason information technology'southward recommended that you either become for the pickup quickly later starting (earlier heavy fighting takes place), or fight abroad from the area where information technology won't go hit by rockets. Reward: 3 Sniper Burglarize Rounds.
-
iii) Effectually the wall — Once you get to the wall, head around it to the left, keeping shut to the wall to avert the worm. Grab the weapon. You lot must head dorsum from here or the worm will become y'all. Advantage: Lasergun.
-
4) In the first edifice — As soon every bit you enter the building prepare in the wall, the first statue on the left has ammo behind it. Blow it upwardly with the Mutilator or a rocket and take the ammo. Reward: Minigun Bullets +100.
-
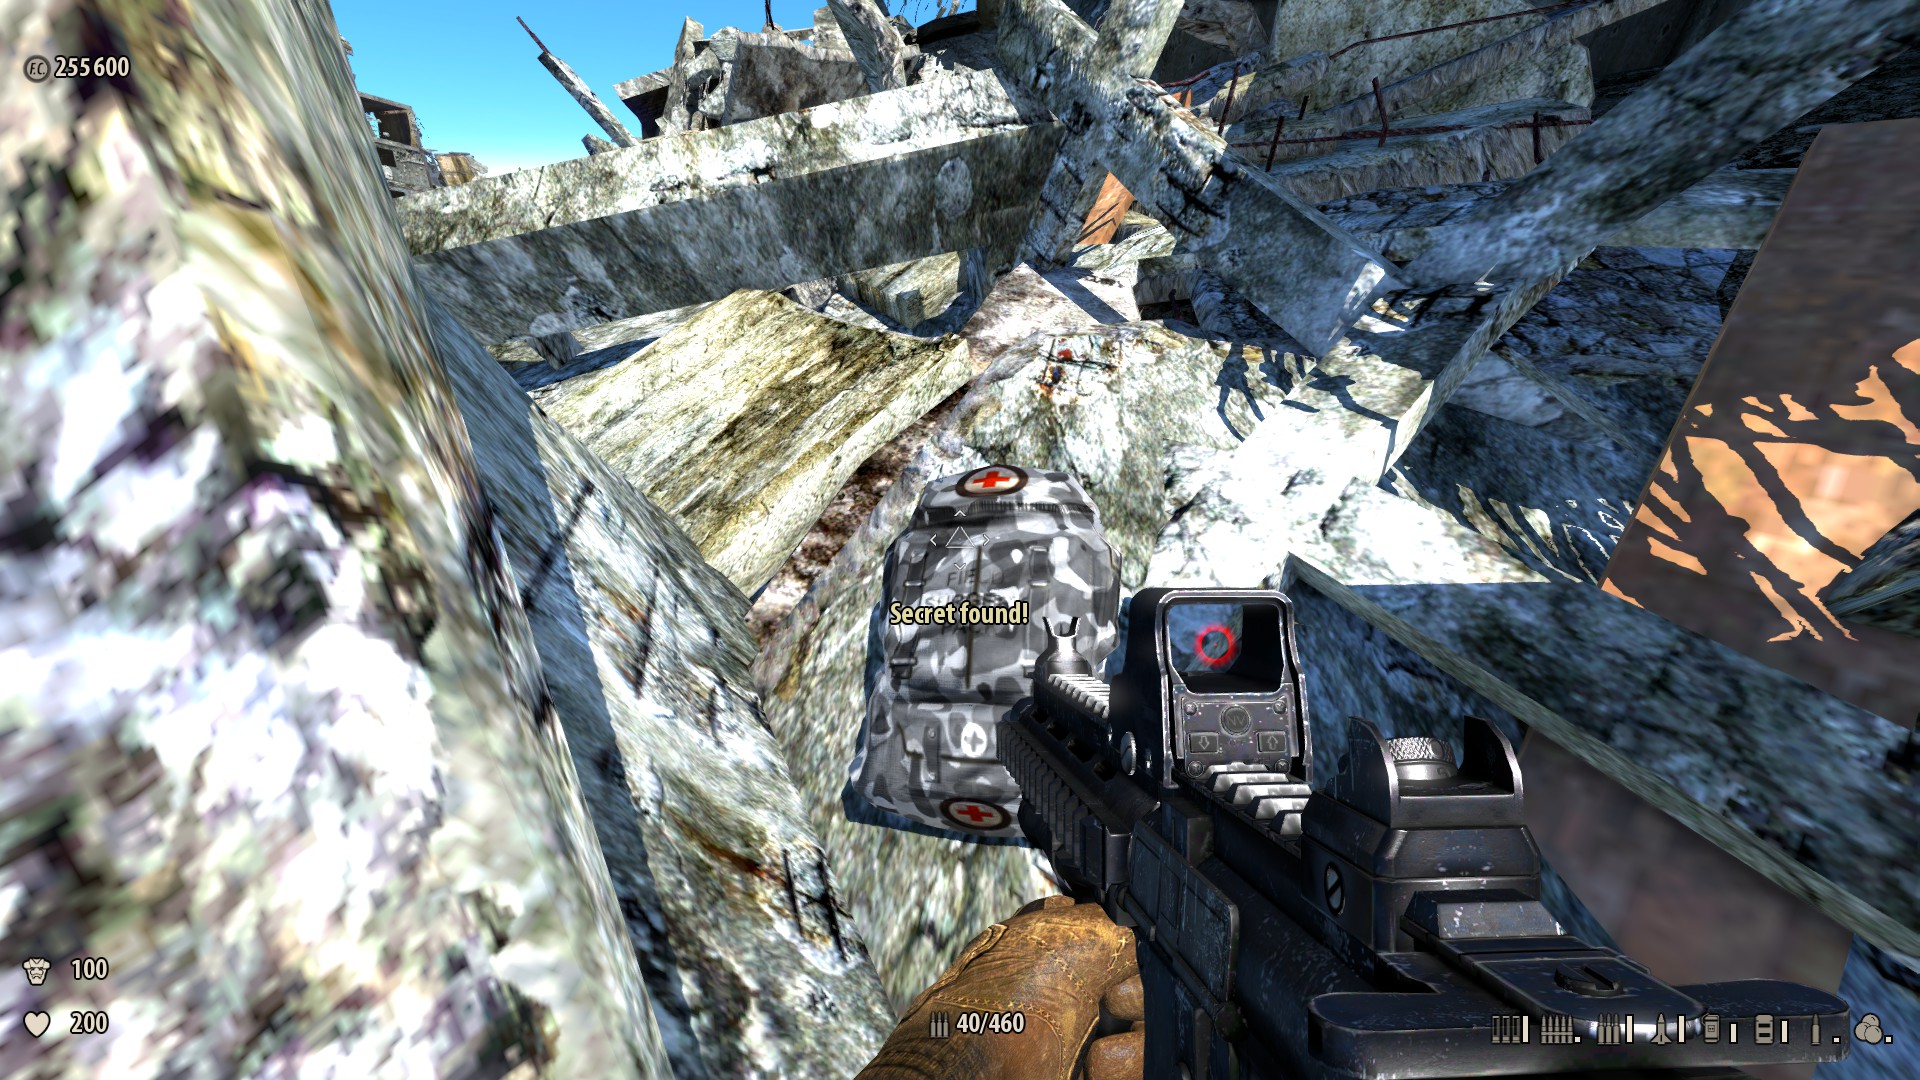
5) In the catacomb — As presently every bit y'all drop down, turn around. A wellness pack is behind you. Reward: Health +25. Message: "Secret found!"
-
6) Collecting keys, up high — When you're getting the iv keys for the Sirian door, straight across from the archway are columns. The rear columns on the left are supporting some ammo; suspension the columns and collect it. Reward: Cannonballs +4.
-
vii) Collecting keys — Left of the column surface area at the corner of the region are some fallen block columns and palm trees. Behind the column is a health pickup. Advantage: Wellness +50. Bulletin: "Mini clandestine establish!"
-
8) At the temple in the rocks — Backside the temple set inside the rocky walls is armor and ammo. Reward: Armor +10, Electricity +fifty.
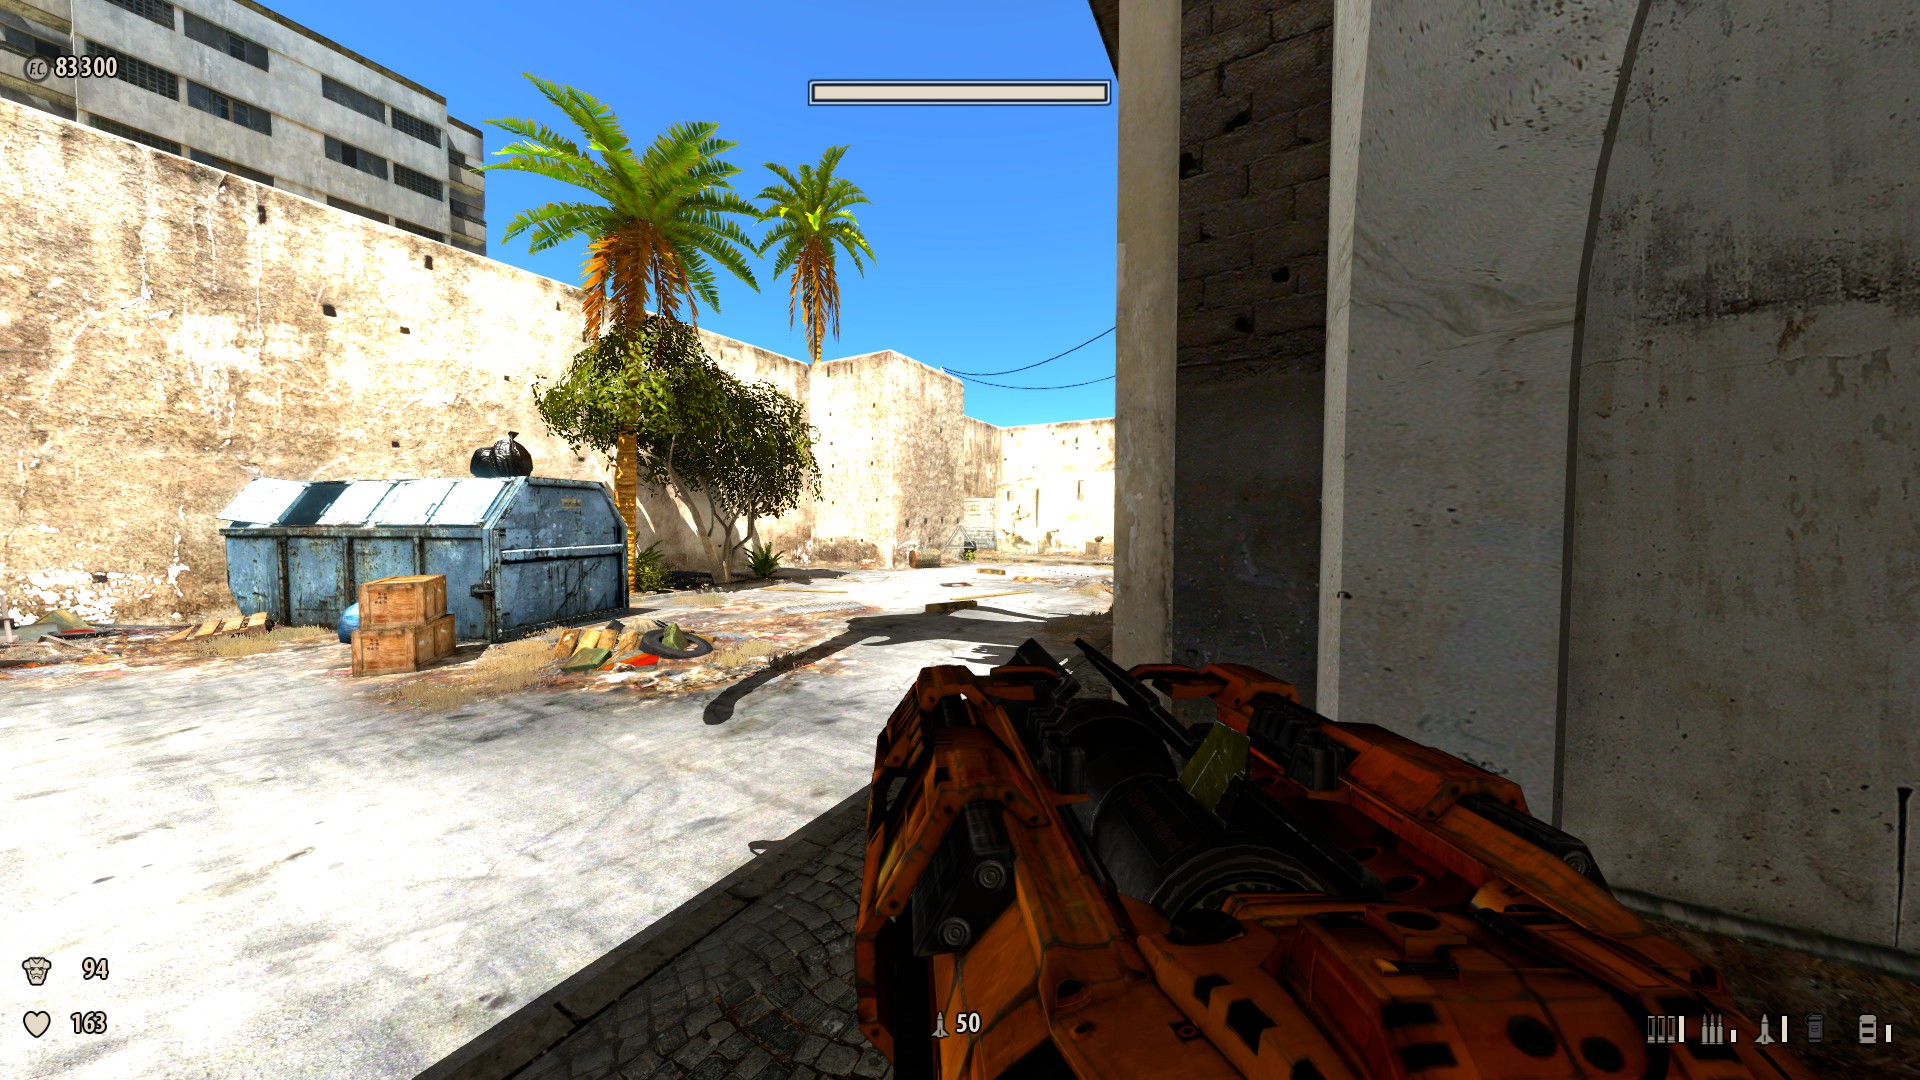
8. The Dark Helpmate (10 Secrets)
9. The Ability of the Underworld (9 Secrets)
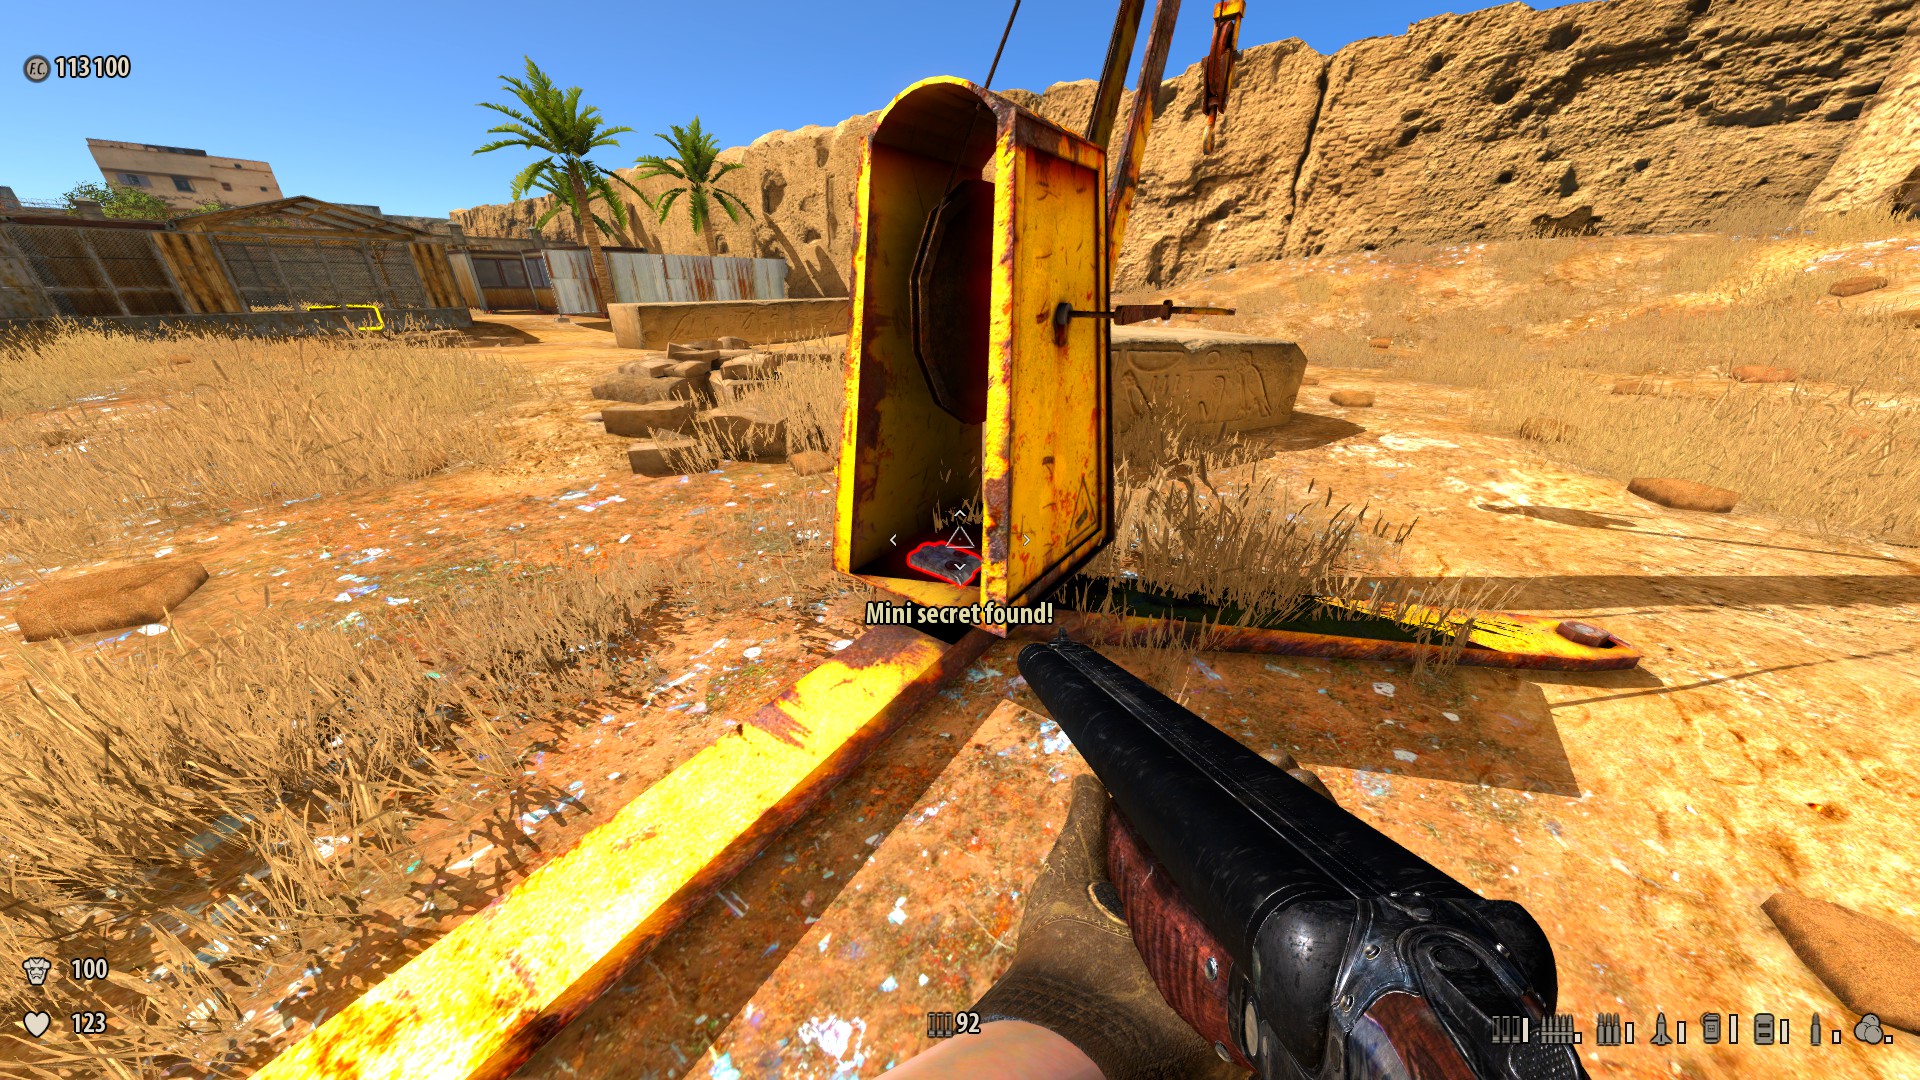
one) Near the archway — Around the right of the archway is a little blocked-off area covered in sand. In the far corner on the right is a health pickup. Advantage: Health +50. Message: "Mini undercover found!"
-
ii) On top of a crypt — One of the little pyramid-topped crypts has a health pickup on meridian (near the second of the locked gates on the left). If y'all face up the entrance to the pyramid shaped crypt, there will be a cleaved wall direct behind you (note, the wall pictured hither is actually from the wall to the left of the crypt, but they are identical and you can scale both walls with the positioning pictured hither). If you walk straight upwards to the wall every bit shown in this screenshot, you can jump four times to brand information technology to the top of the wall — 1, 2, three, and 4. From in that location, you can do a running jump to bound to reach the the lower heart ledge of the catacomb. Then spring up to grab the powerup. Reward is 100 health, up to a maximum of 200.
-
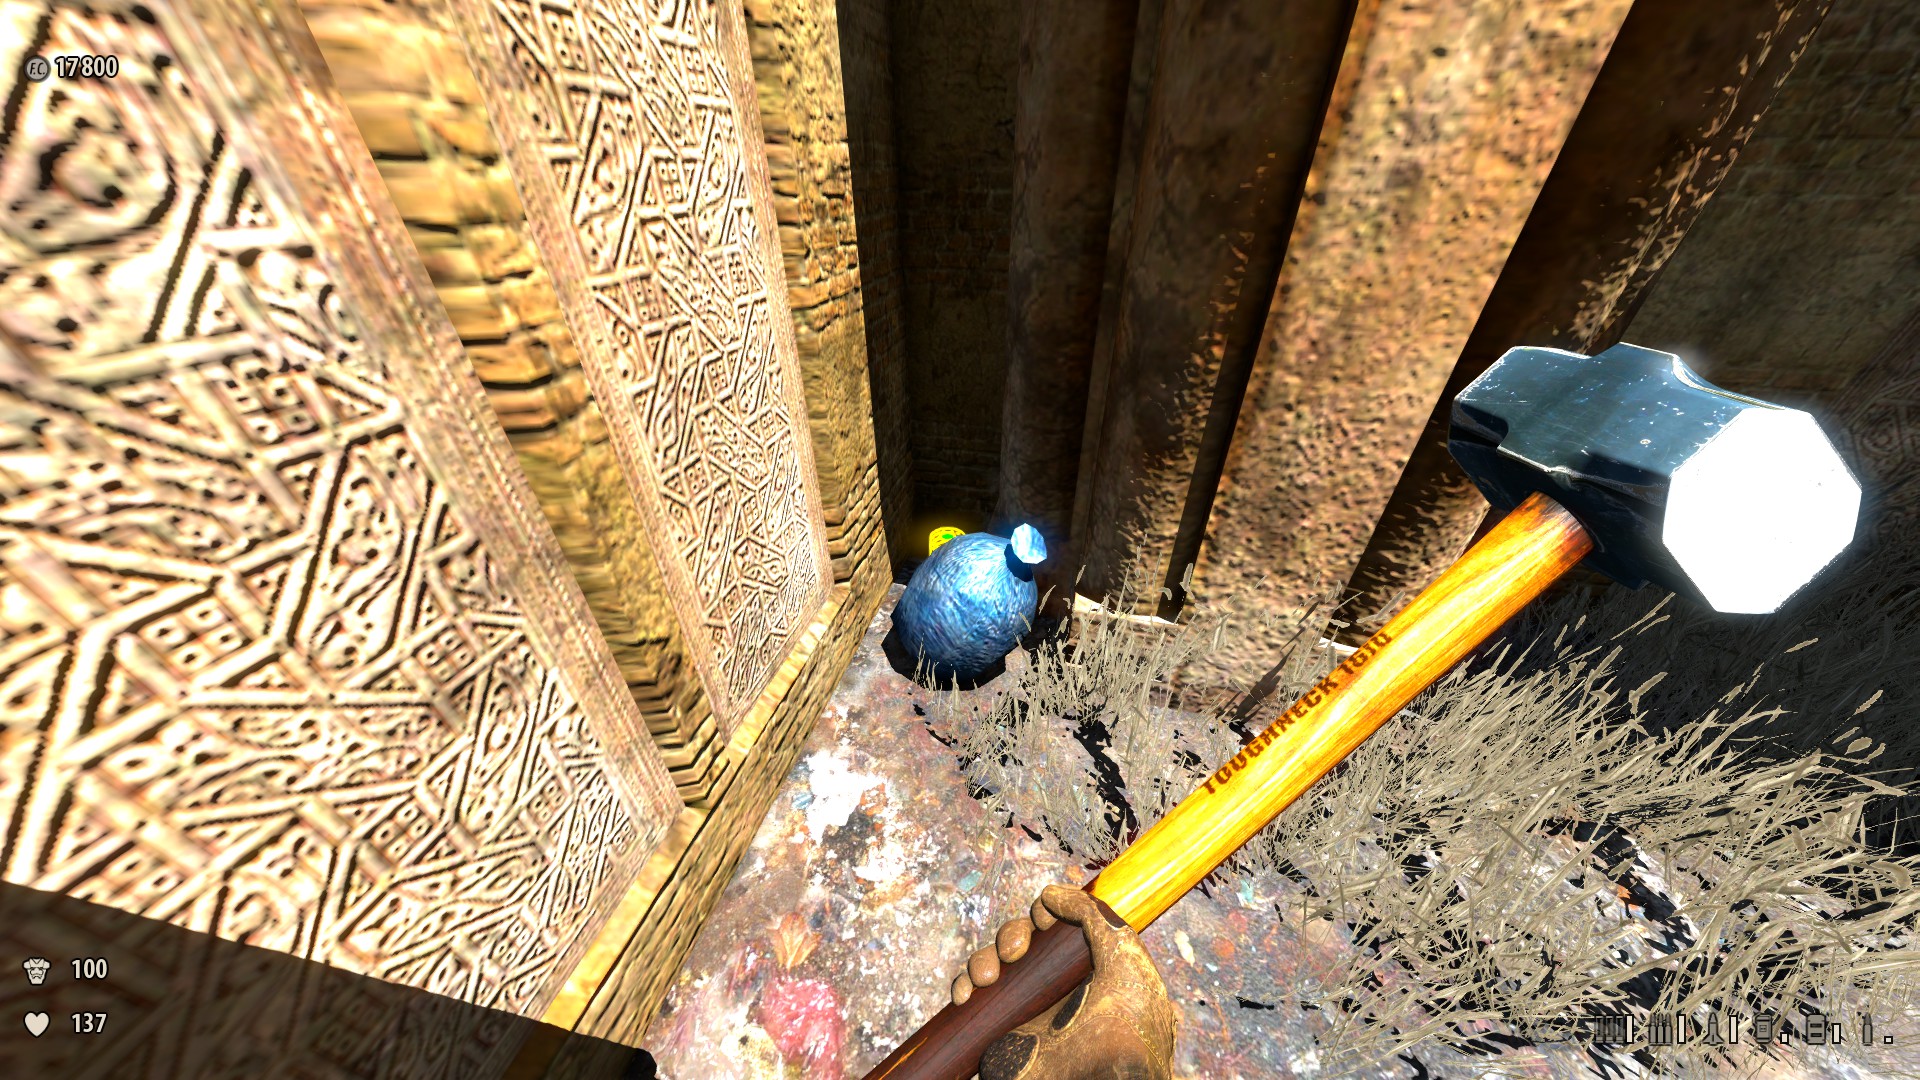
three) In the area with many columns under the level (you lot tin can become there past tunnel, or but jumping down) in that location is a temple with 1 of the Sirian keys, bound onto the ledge behind the statue to find an armor. Reward: Armor+10. Bulletin: "Secret found!"
-
4) Correct before the room with the C4 box and the pigsty in the basis where yous driblet down to the throne room. To the left of the archway to that room is a pit. Drop downwardly, plow around and crouch through the rubble. Reward: Electricity + 50. Message: "Hugger-mugger constitute!".
-
five) The throne room — On the arms of the big throne in that location is some ammo. Become backside the throne and upward two levels, spring onto the headrest, then down to gather the ammo (from only i level up with a sprint jump this is also possible). Advantage: Rockets +10. Bulletin: "Underground establish!"
-
6) Outside the crypt — One time you get outside in the area with a bunch of columns and ammo you lot tin see armor on top of a colonnade. Blow the pillar up to go it. Advantage: Armor +fifty. Message: "Hole-and-corner establish!"
-
7) Before the terminal fight — Before you driblet downwardly to the final open up surface area, y'all climb up some wooden stairs. If you walk along the ledge effectually the left there are some keys. Pick them up and the message "Secret central constitute!" is displayed. Straight alee yous should see a flashing green pickup on top of a big edifice. Head back to that point, get through the door, up the ladder, and get the weapon. Reward: Sniper rifle. (Alternate path: Without the key for the gate, jump onto the modest sphinx statue, to then sprint jump over the fence.) Bulletin: "Cloak-and-dagger vista found!"

-
8) At the terminal fight — Just left effectually the corner of the entrance is some ammo. Reward: Devastator Shells +20. Bulletin: "Secret found!"
-
9) At the final fight — At the far left corner of the area but before the desert is a wellness pickup under four spread out palm trees. Reward: Wellness +25. Message: "Clandestine found!"

ten. The Lost Temples of Nubia (5 Secrets)
11. The Last Man on Globe (11 Secrets)
1) At the boulder — When the boulder crashes downward the tunnel ramp, on the left in a cubby hole backside where it used to be there is some ammo. Reward: Minigun Bullets +100. Message: "Cloak-and-dagger found!"
-
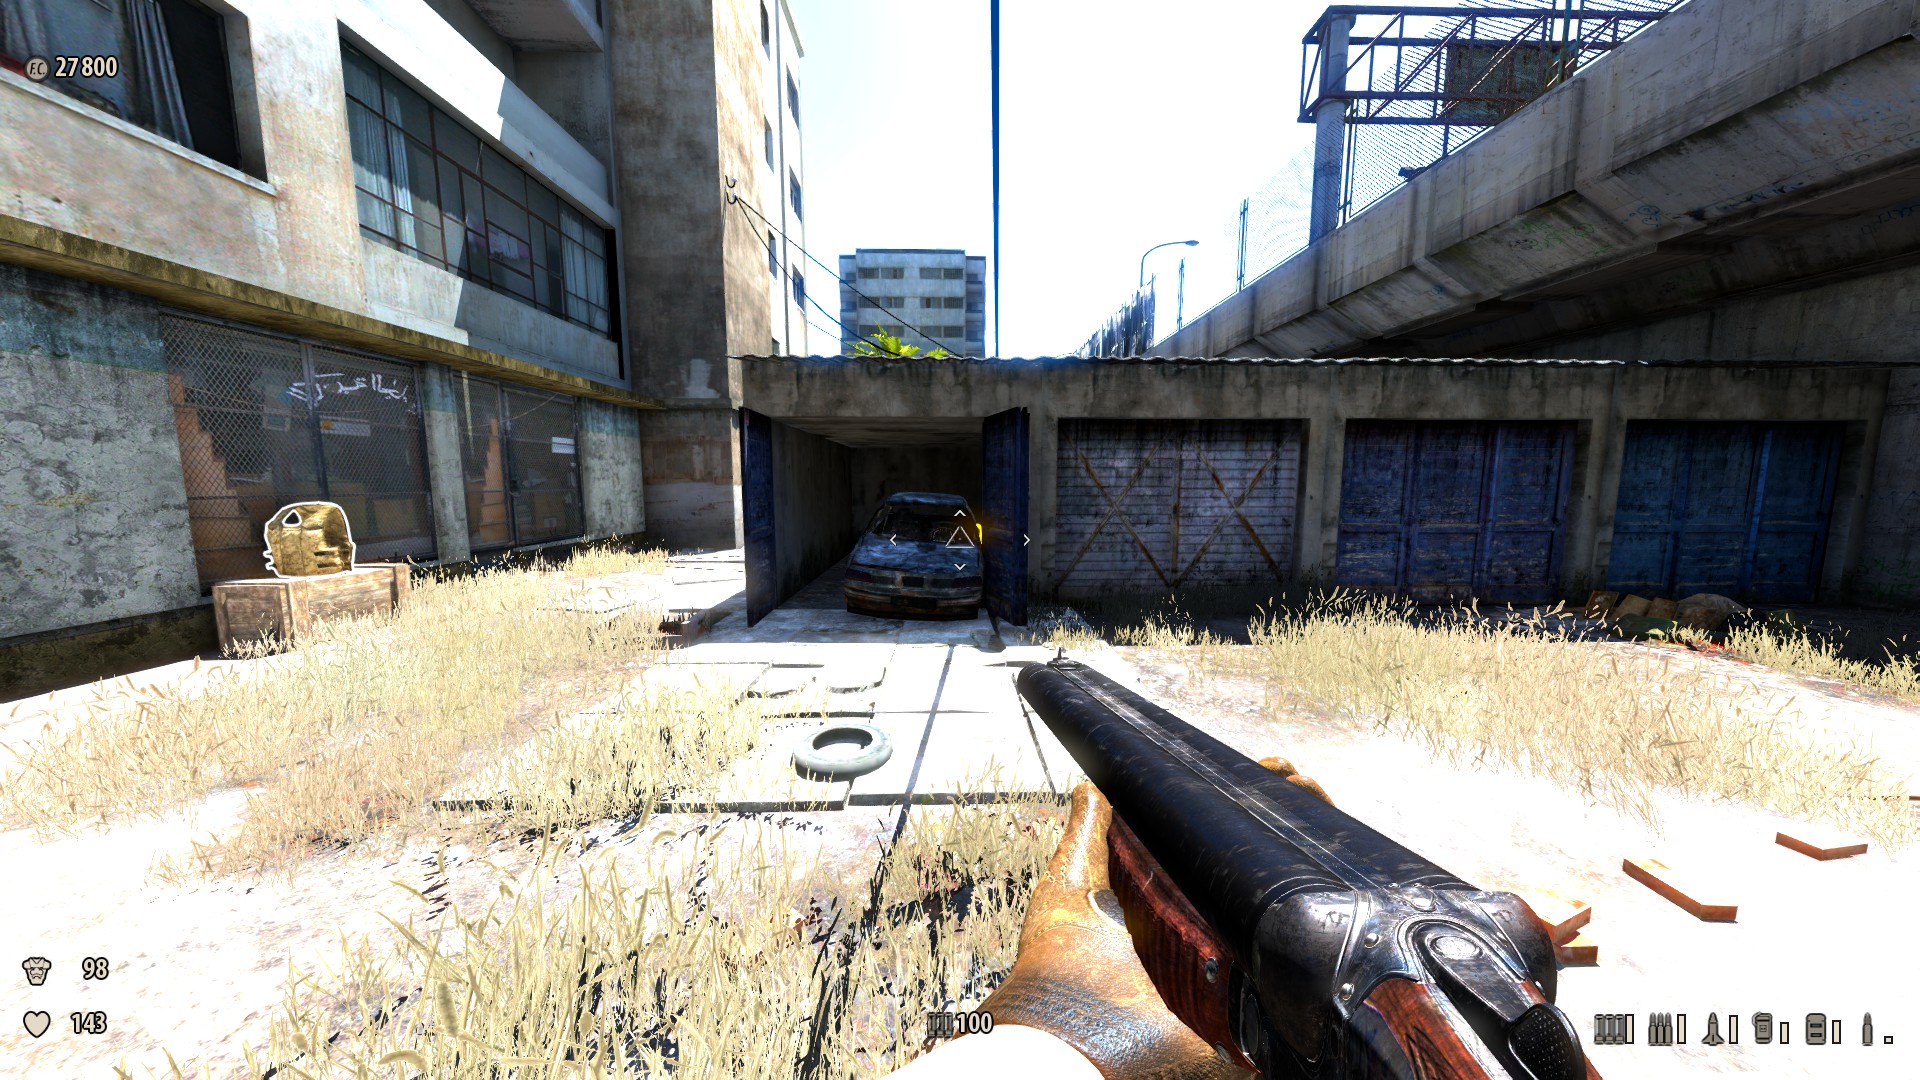
2) Exterior the crypt — One time you become outside where you find the dead soldier, later on the cutscene, get to left, in the corner there is an armor behind the portable. Advantage: Armor +10. Message: "Mini hole-and-corner constitute!"
-
3) Before you walk through ane of the 2 open gate doors — In front of the 2d open gated door is a hollow pocket-sized stone belfry. Yous can jump into it from the broken wall that'due south right next to information technology if it wasn't destroyed during the fight. Reward: XL2 Lasergun. Bulletin: "Secret Institute!".
-
4) Right next to the portable where you pick up the Ramesseum Leave Central is a pocket-size building. Within that building, walk upwards to the wall and look upwards through the pigsty. Shoot the box. Reward: Sniper Rifle. Message: "Hole-and-corner Establish!".
-
5) When you walk through the gates into the final area of the map, the metropolis, y'all'll see a road simply a few meters ahead of you. Follow that road to the correct and through the opening in wall. Continue a few meters exterior and on the first elevation in the sand, turn left. Reward: C4 + seven. Message: "Secret Establish!".

-
6) In the most-left metropolis — Outside the wall on the left is some armor. Reward: Armor +50. Message: "Secret found!"
-
7) In the nearly-right city — There's a two-story red building in this area. On a balcony is a clip. Climb up the wall, and so spring upwards to take hold of it. Advantage: Sniper Bullets +iii. Message: "Underground found!"
-
viii) In the near-right city — There'southward a two-story red building in this surface area. Tucked confronting the wall surrounding it is some wellness (i.eastward. right under vii.). Advantage: Health +25. Message: "Mini secret plant!"
-
9) Mid-right part of the urban center is a walled off area (made of wavy zinc sheets) with some boxes stacked confronting information technology. Climb over for 150 electricity.
-
10) In the far-left city — A building on the last row has ammo on top of it. Jump on one of the two crates (unless destroyed) and then up. Reward: Electricity +150. Bulletin: "Hush-hush institute!"
-
xi) In the far-left city — There's a ruined wall with some palm trees around it in the desert, with some ammo tucked backside the wall. Reward: Minigun Bullets +100. Message: "Undercover institute!"

12. The Guardian of Time (4 Secrets)
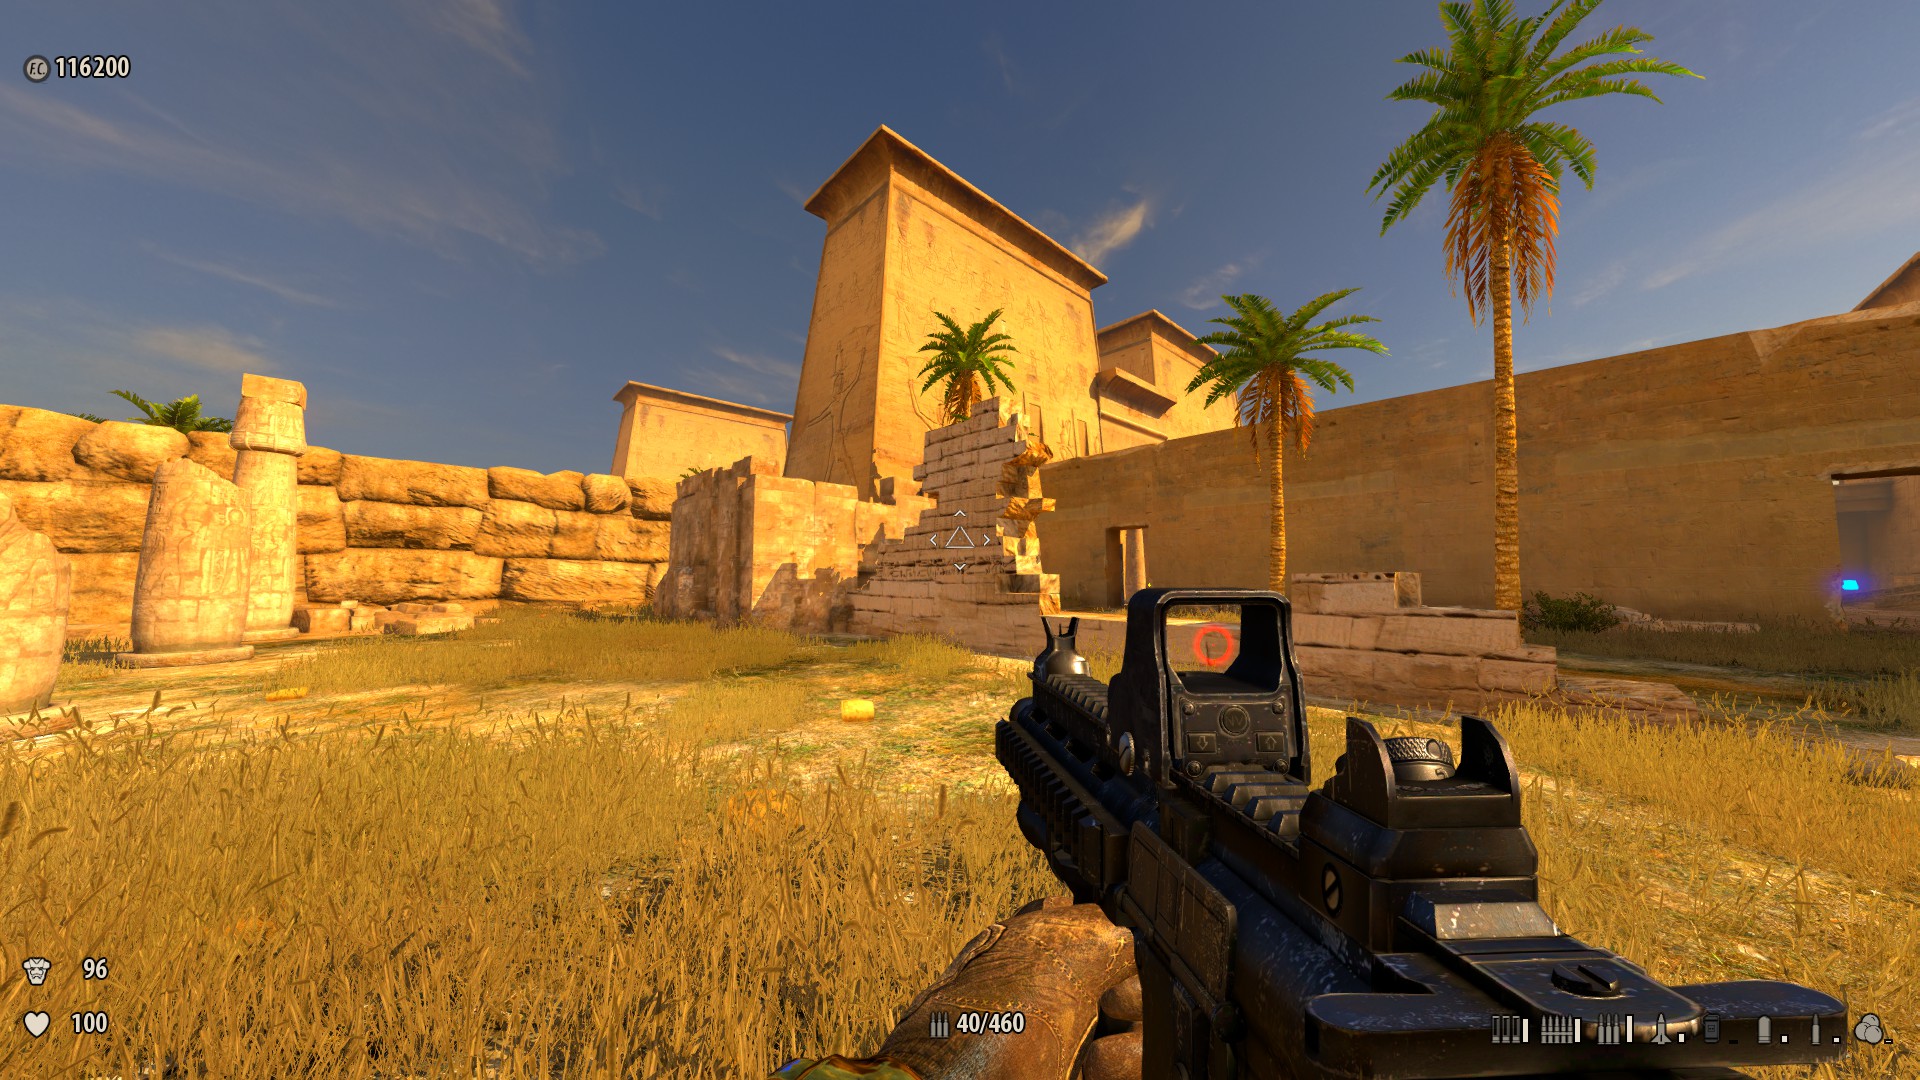
---CHAPTER two: Gem OF THE NILE---
13. Gathering of the Gods (8 Secrets)
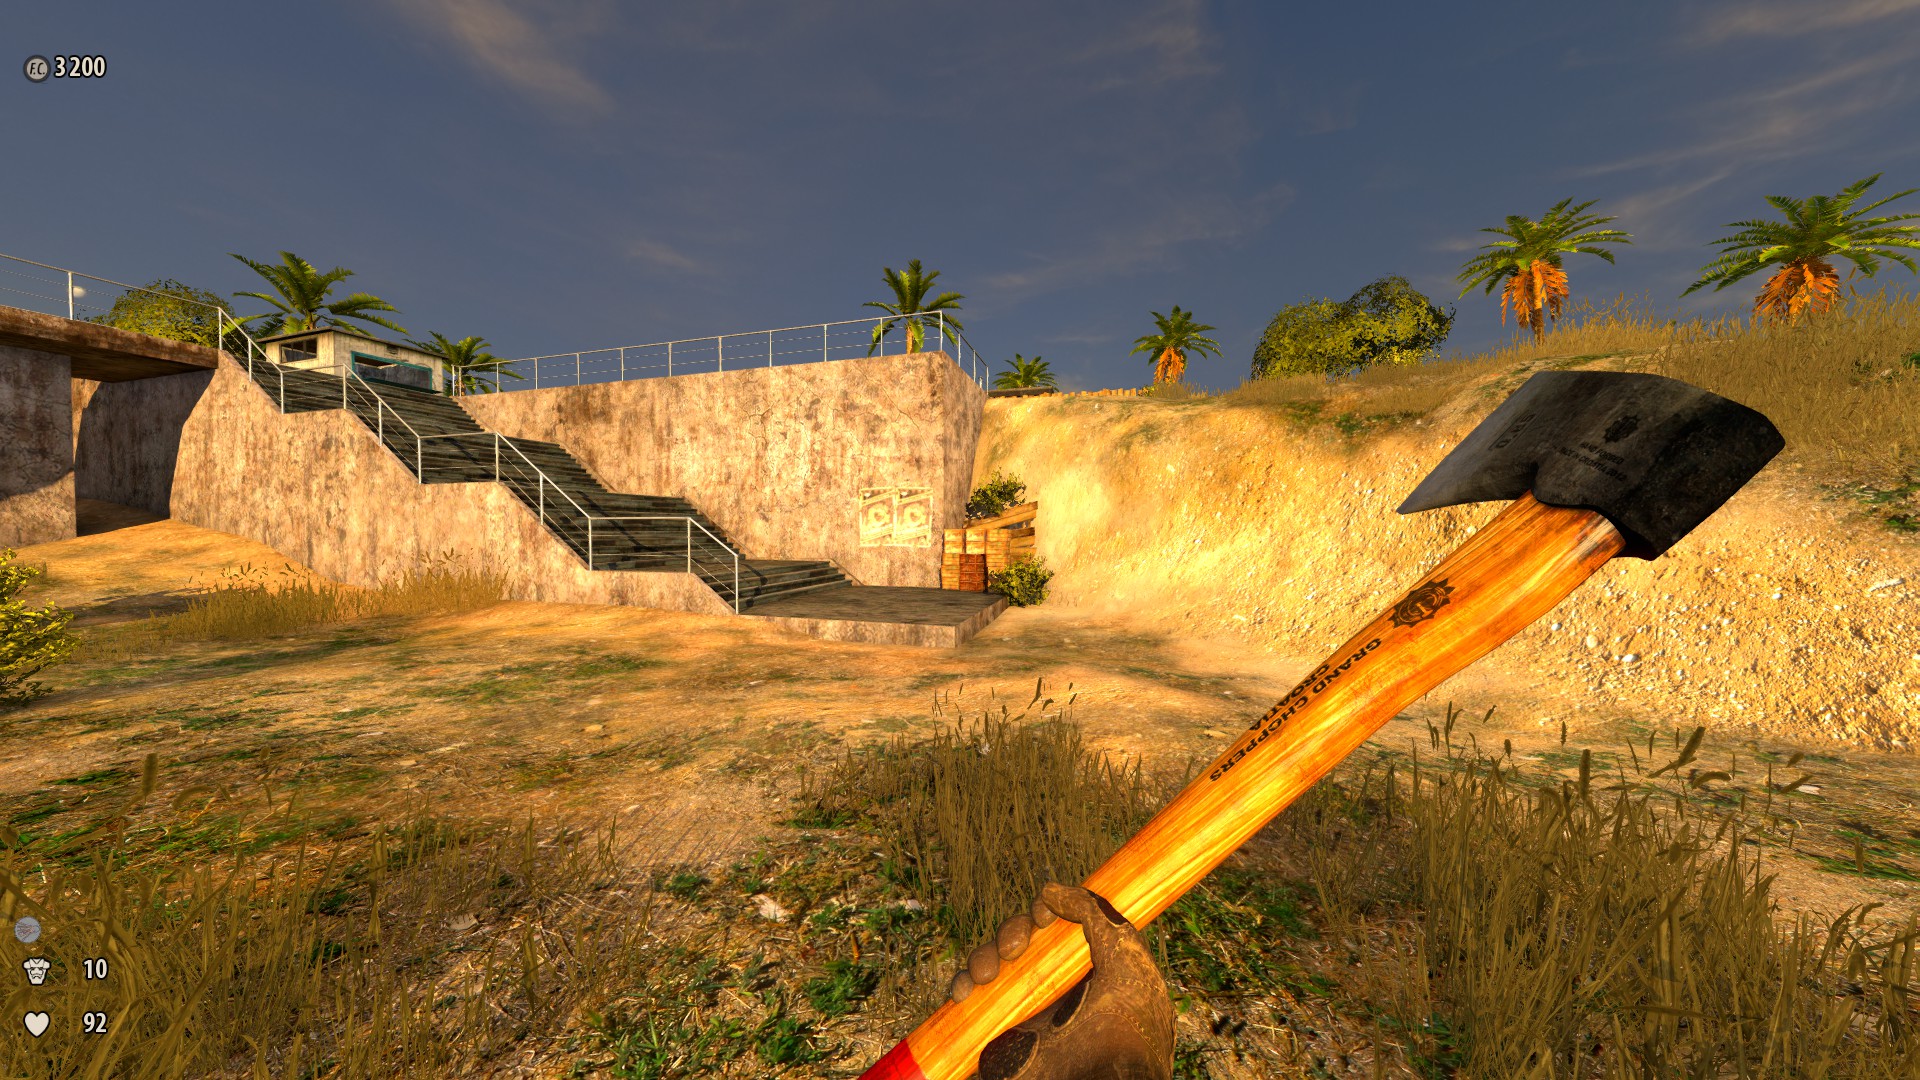
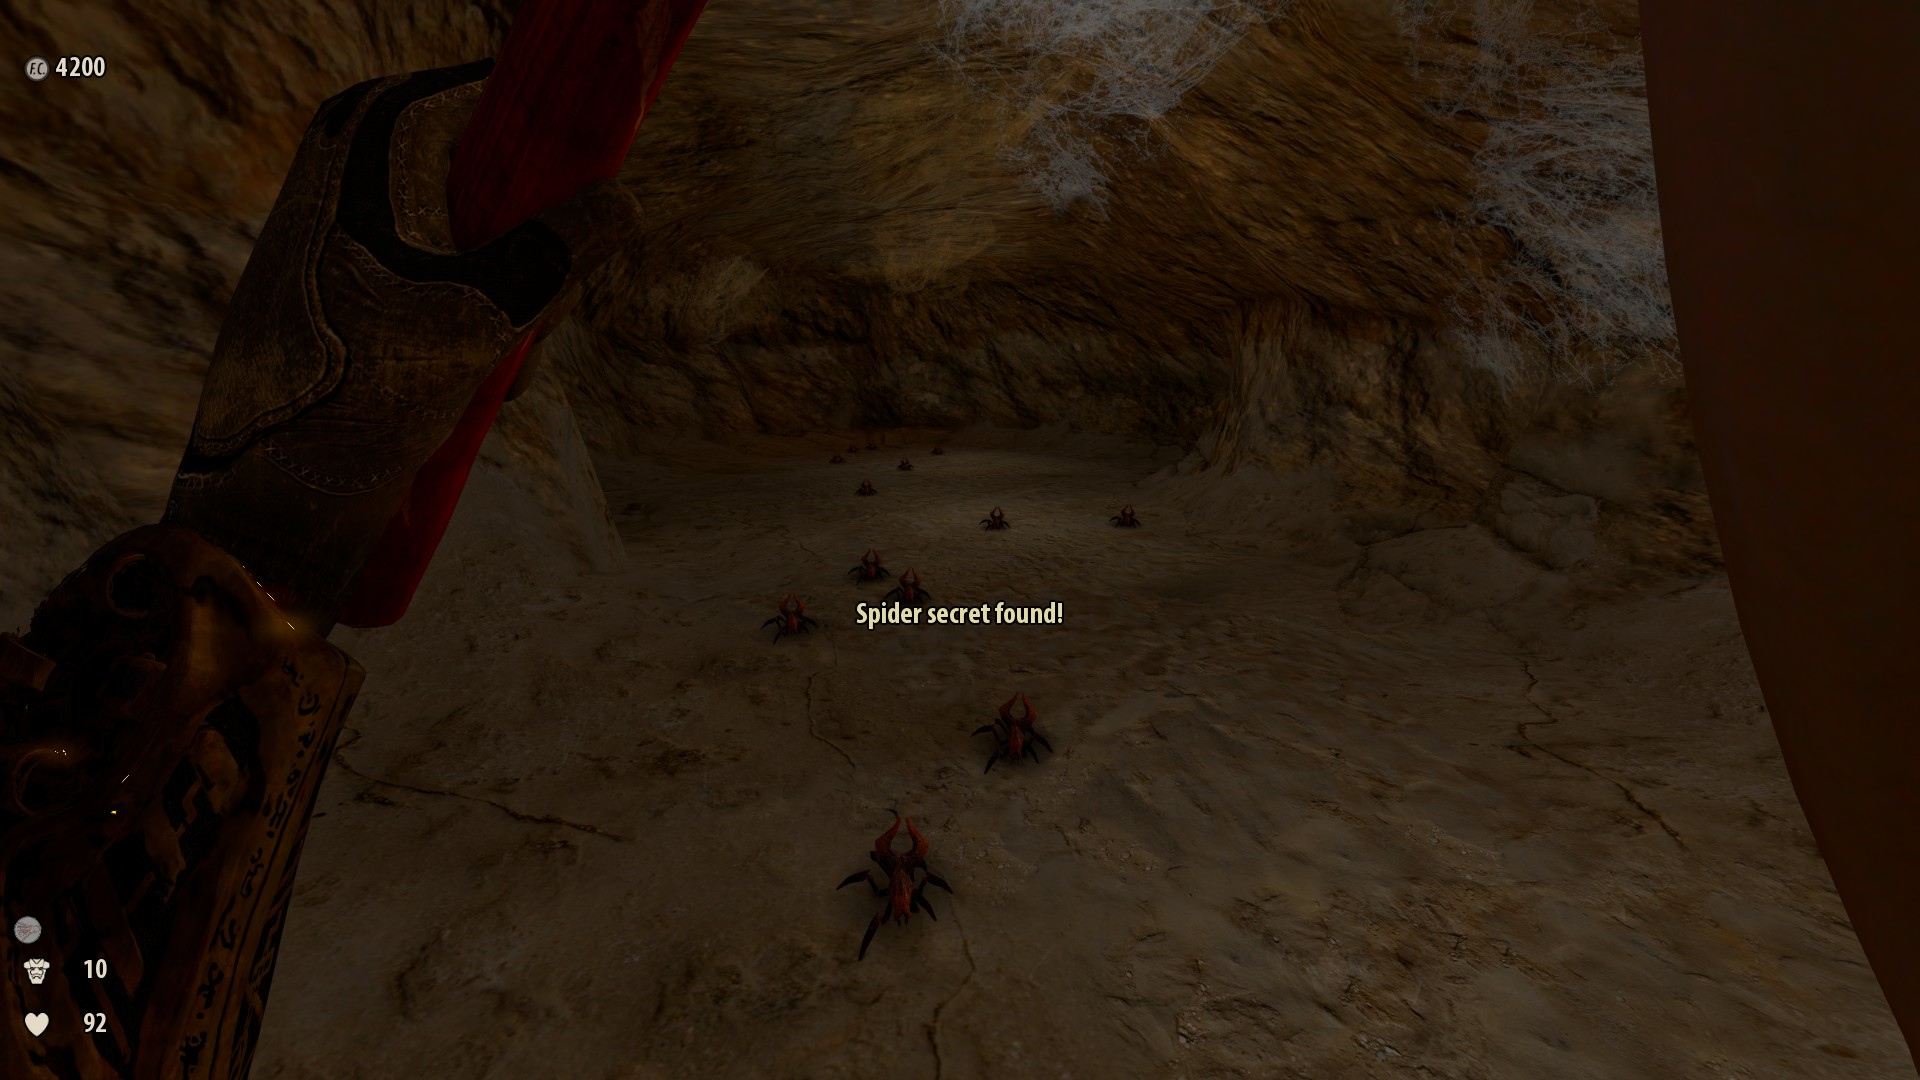
1) At the starting area, near the staircase, you'll spot a bunch of crates with planks behind them. Destroy them with the Axe and go on through the cave to discover a Spider Cavern, just spotter out for a swarm of miniature Hatchling Spiders.
-
2) When you climb up the staircase from #ane, yous'll see a building on your left and a building to your right with a shelter adjacent to information technology. Go backside the building on the right, spring up on the crates and onto its roof. From its roof, jump on the shelter's roof, and from at that place, sprint-jump to the roof of the building on the left to collect a clandestine +l health.
-
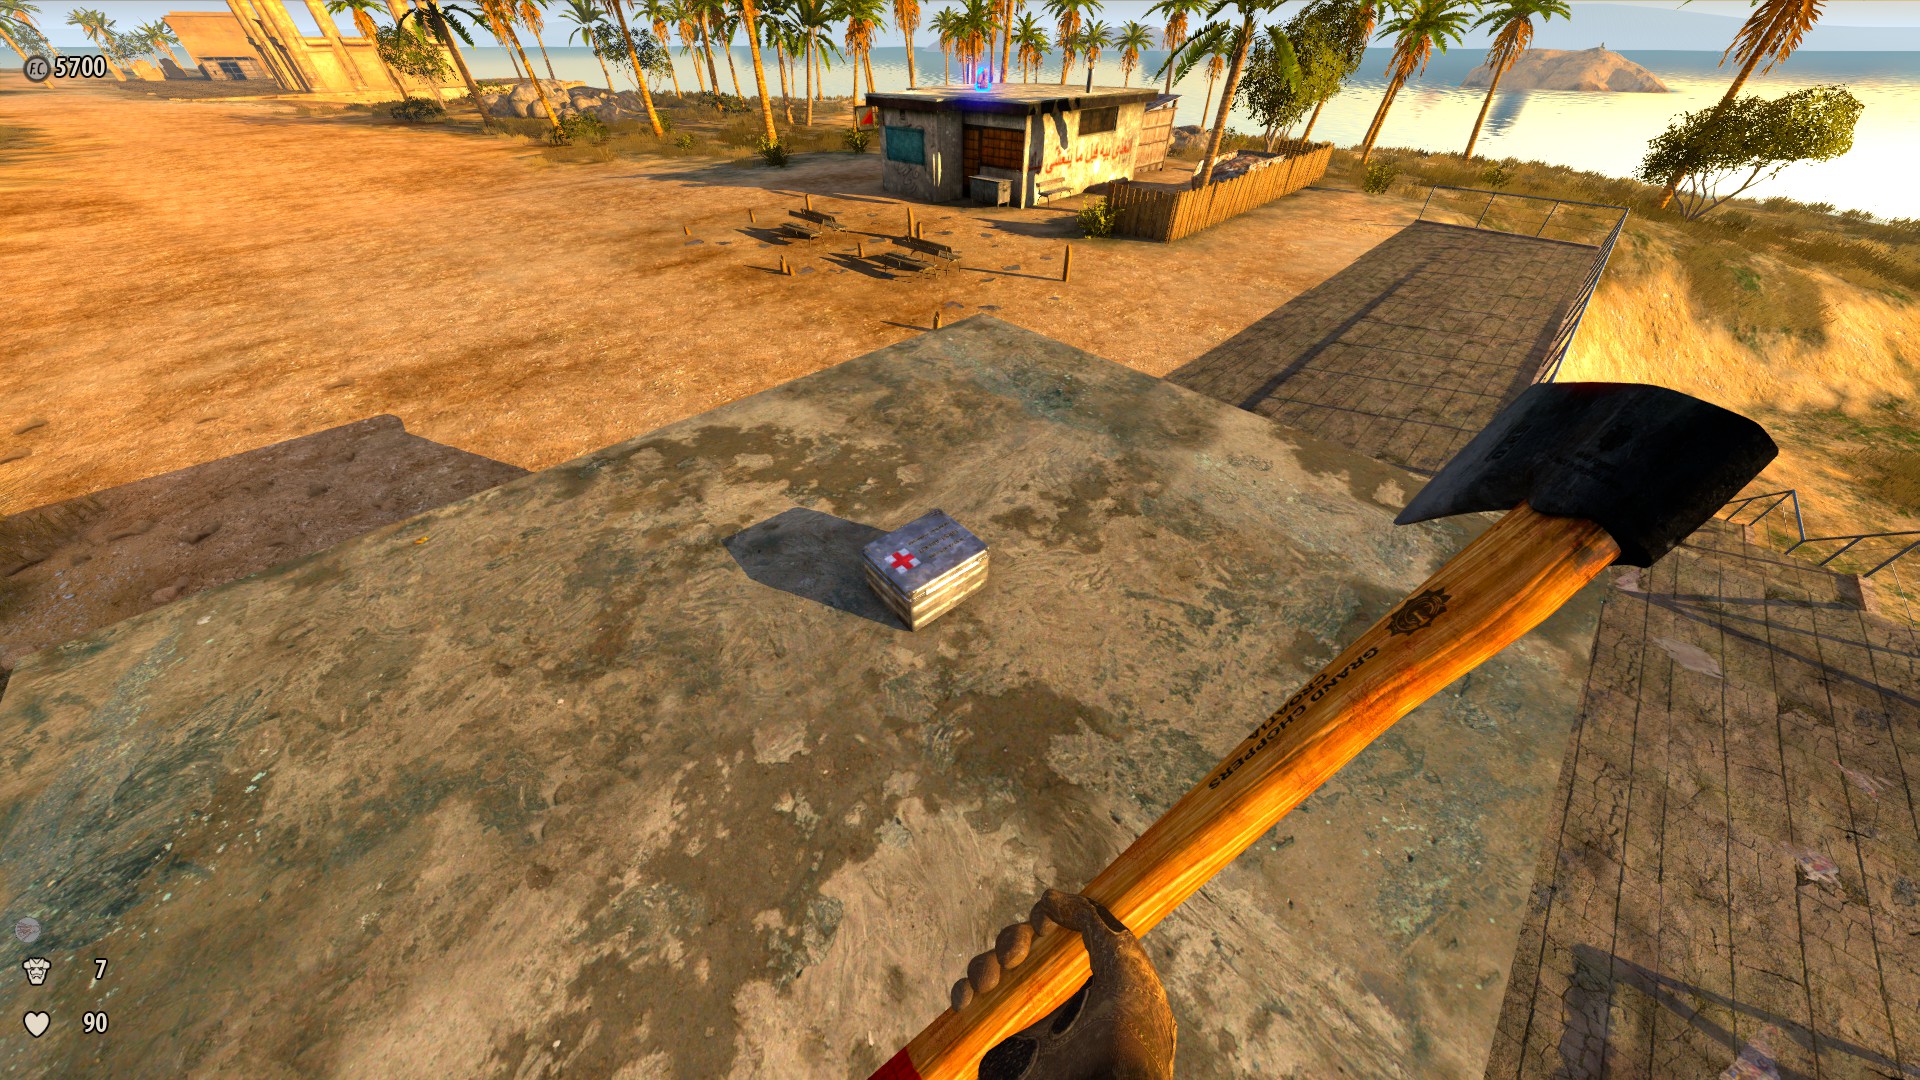
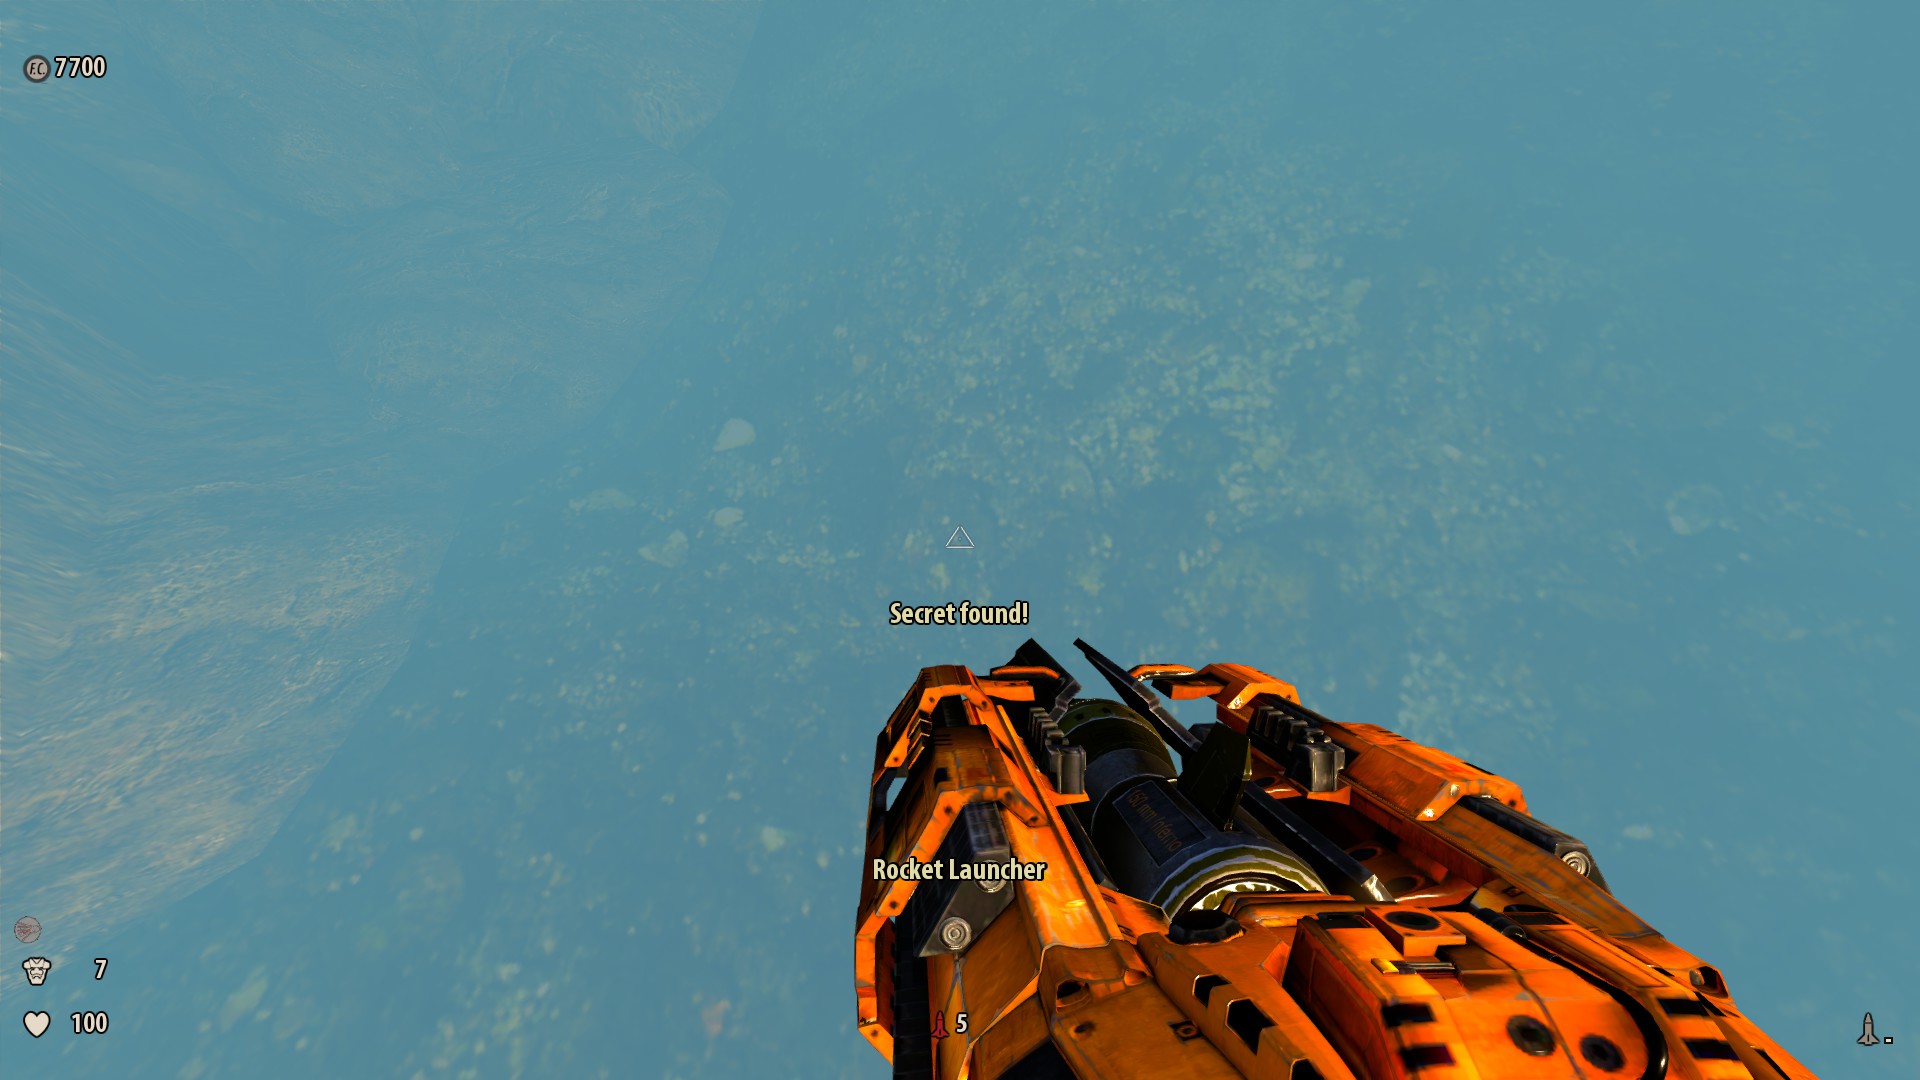
3) On the left side of the island, you'll see a floating red object near the shore. Dive into the water below information technology to collect a rocket launcher.
-
4) Most the first, when you encounter the first Cave Demon, jump and climb on the wall, and then travel over it to collect a secret wellness.
-
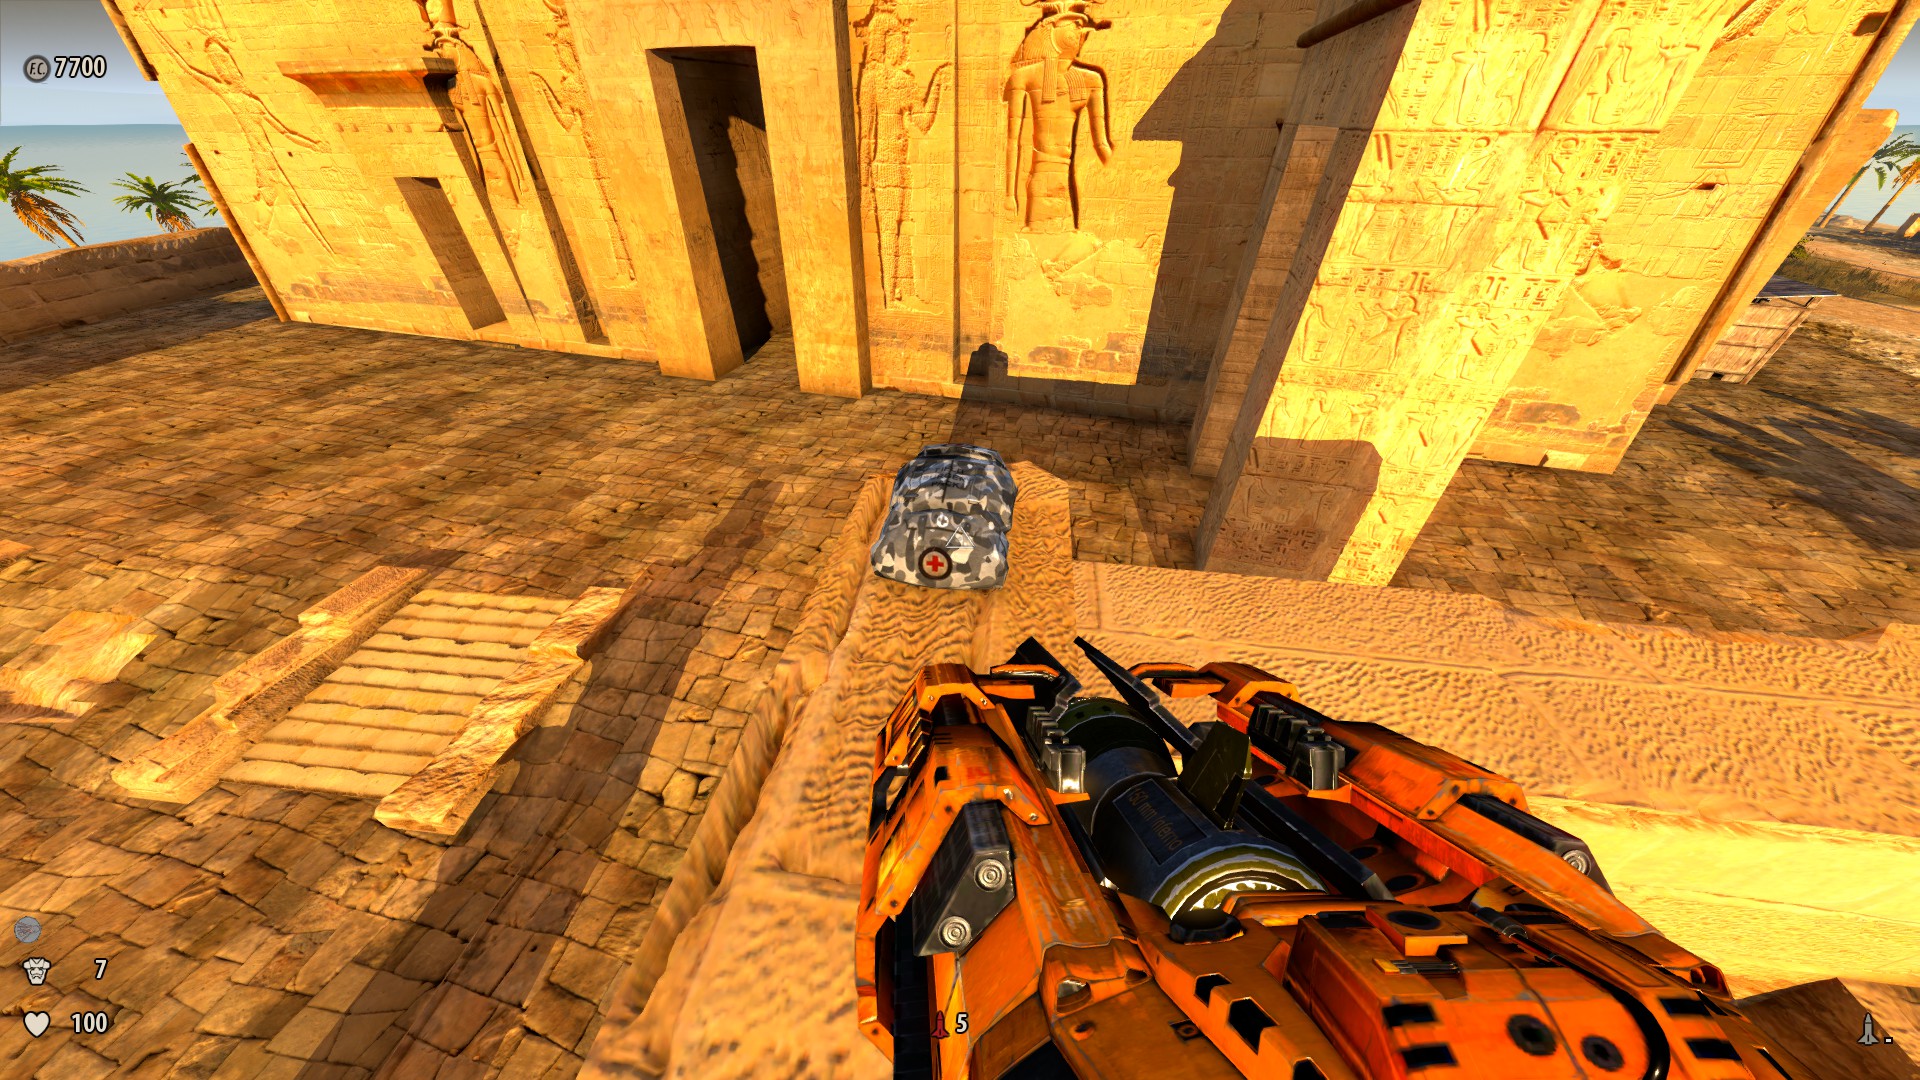
5) Even so on the correct side of the island, near the opposite side from the start and backside a temple, walk along the shoreline until you find some rocks. Approach the rocks to discover the "Wilson Cloak-and-dagger".
-
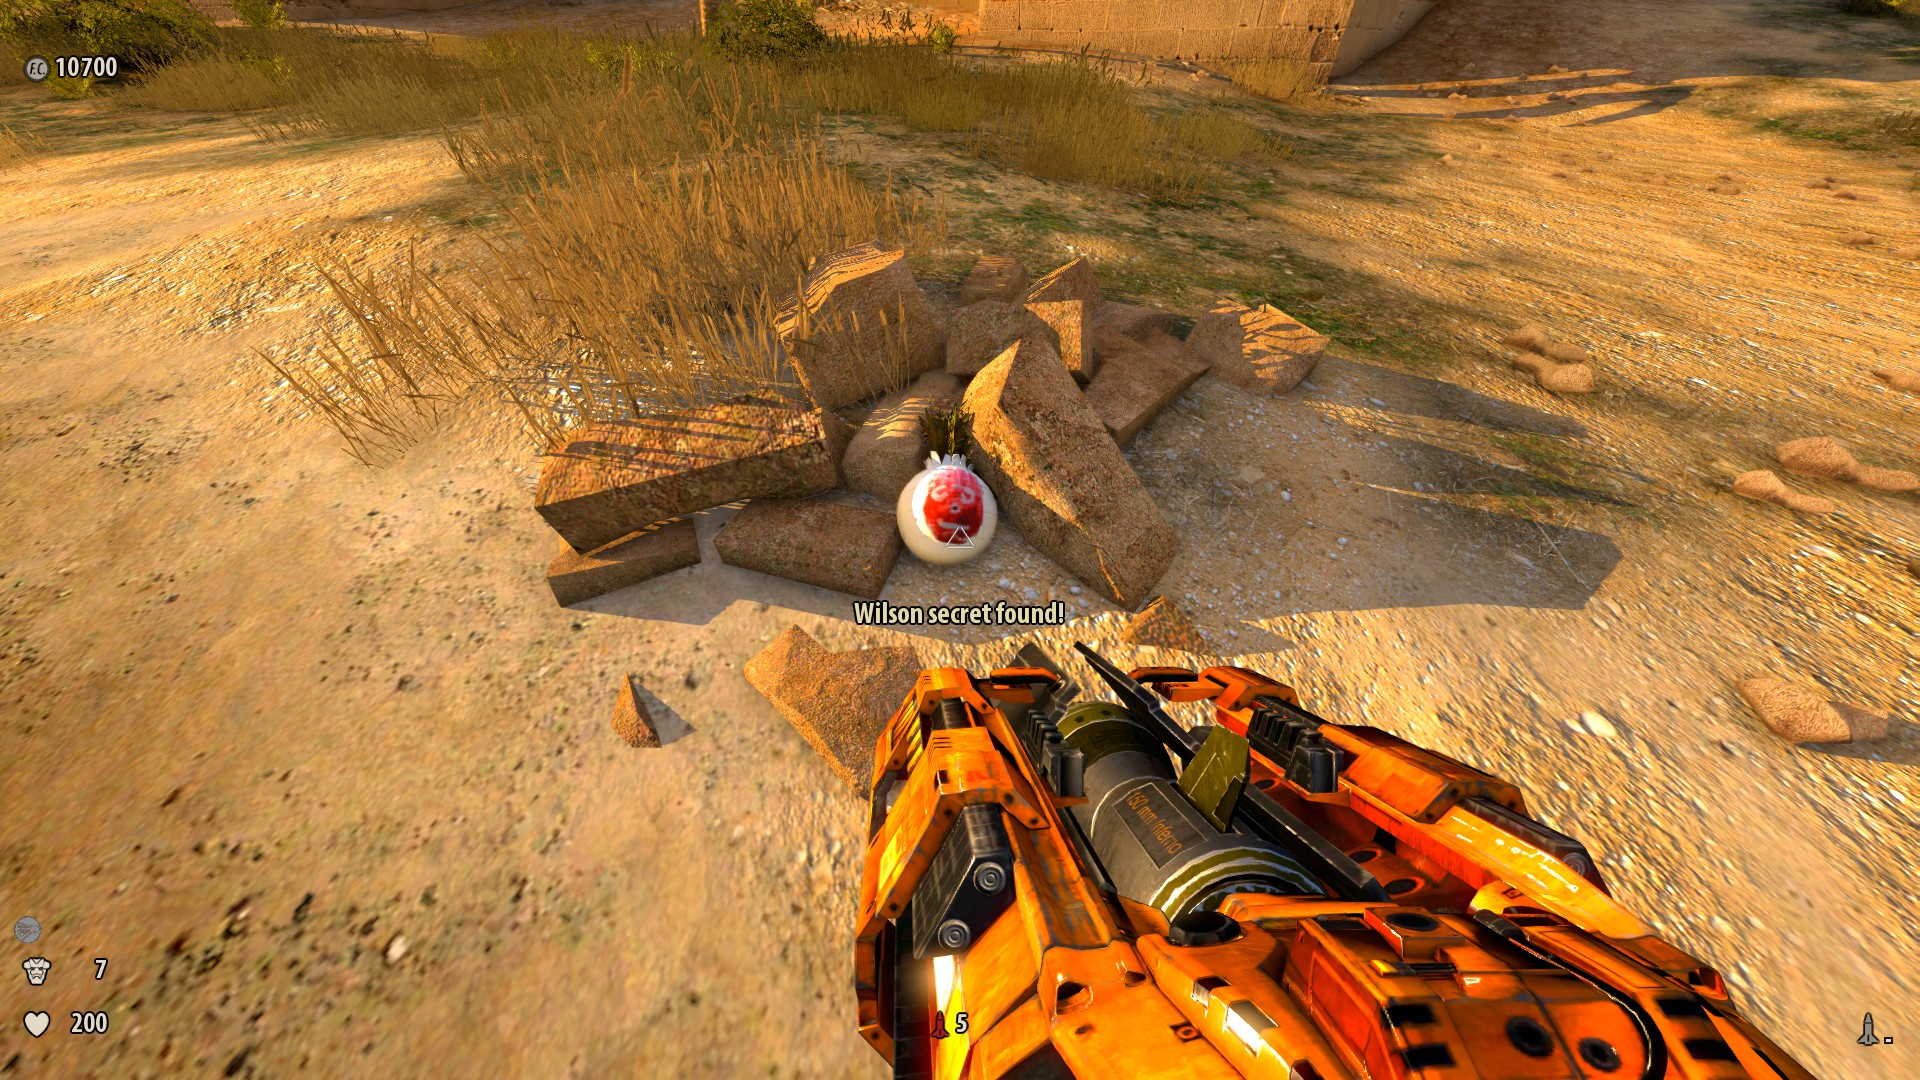
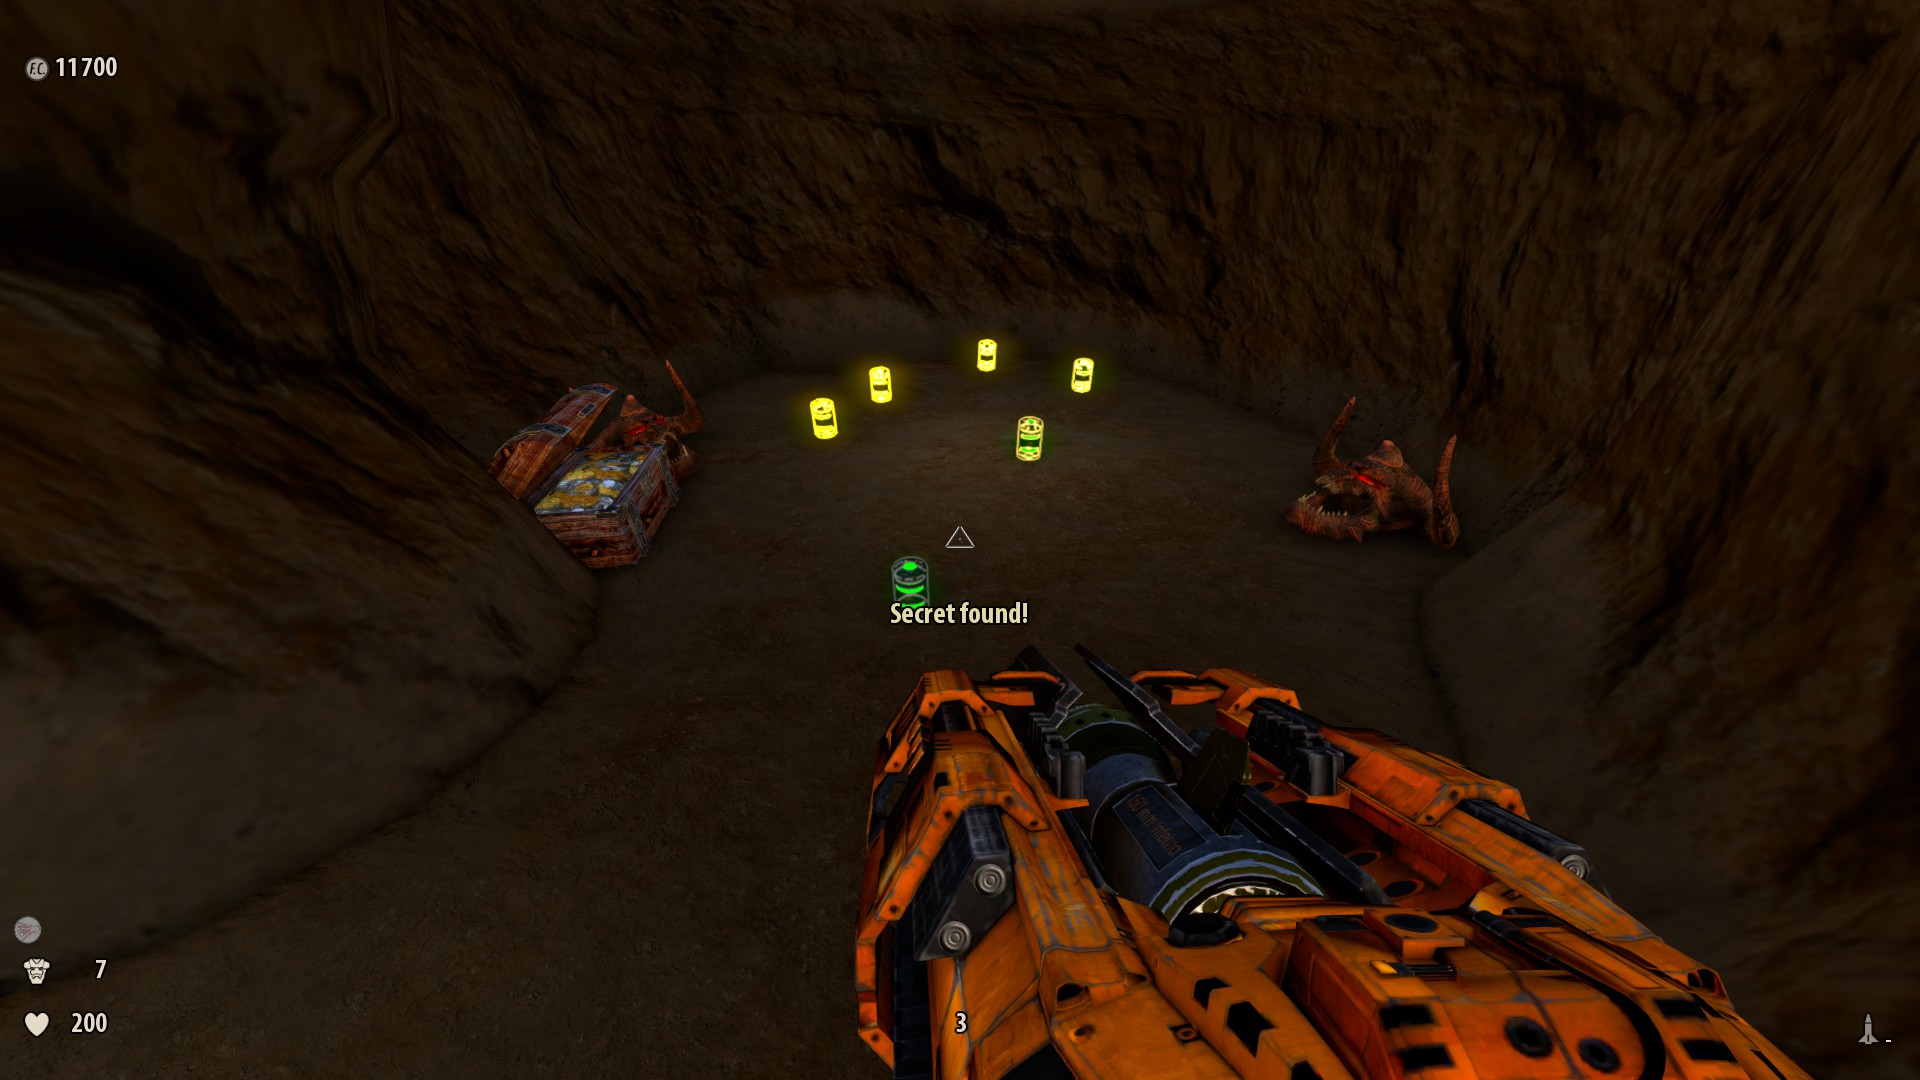
6) A bit earlier #5, there is a suspicious pile of rocks almost one of the temples. Blast the ones close to a bush with a rocket to reveal a secret cave with cells and Kleer skulls.

-
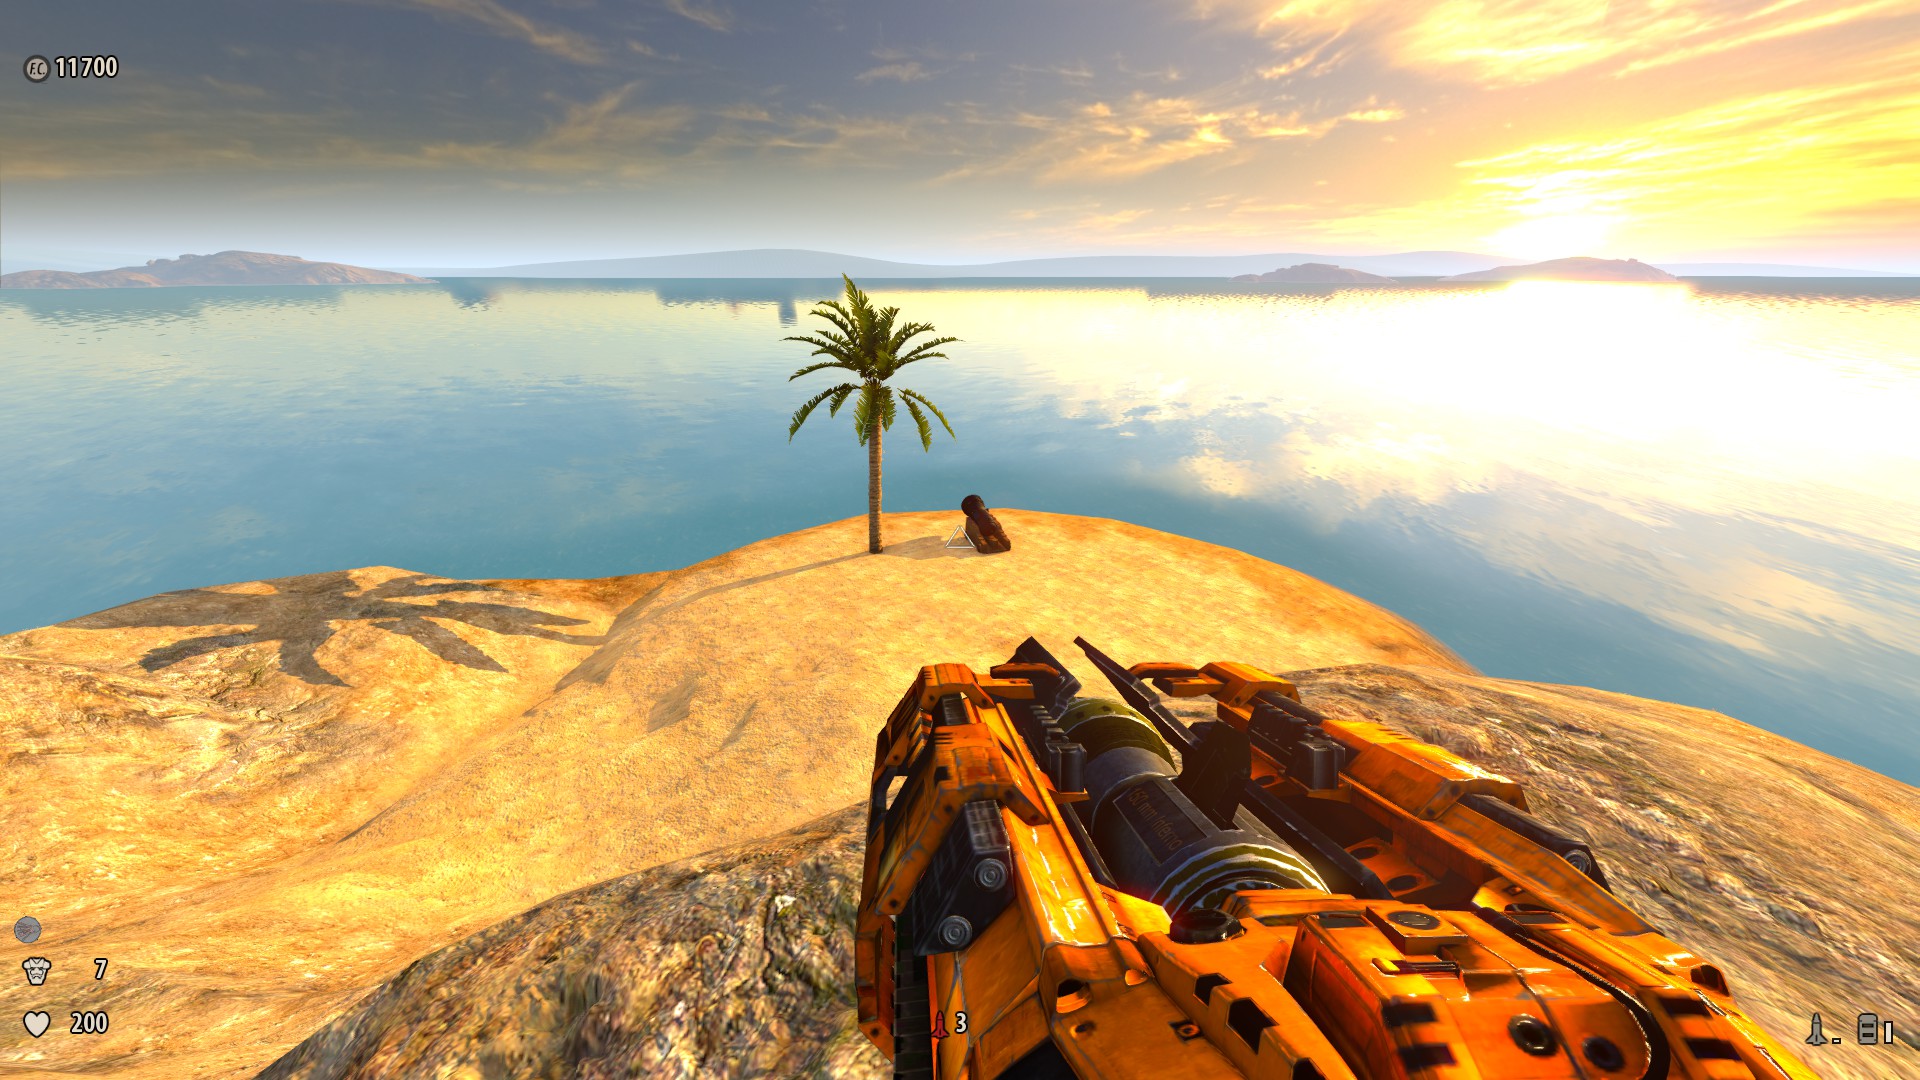
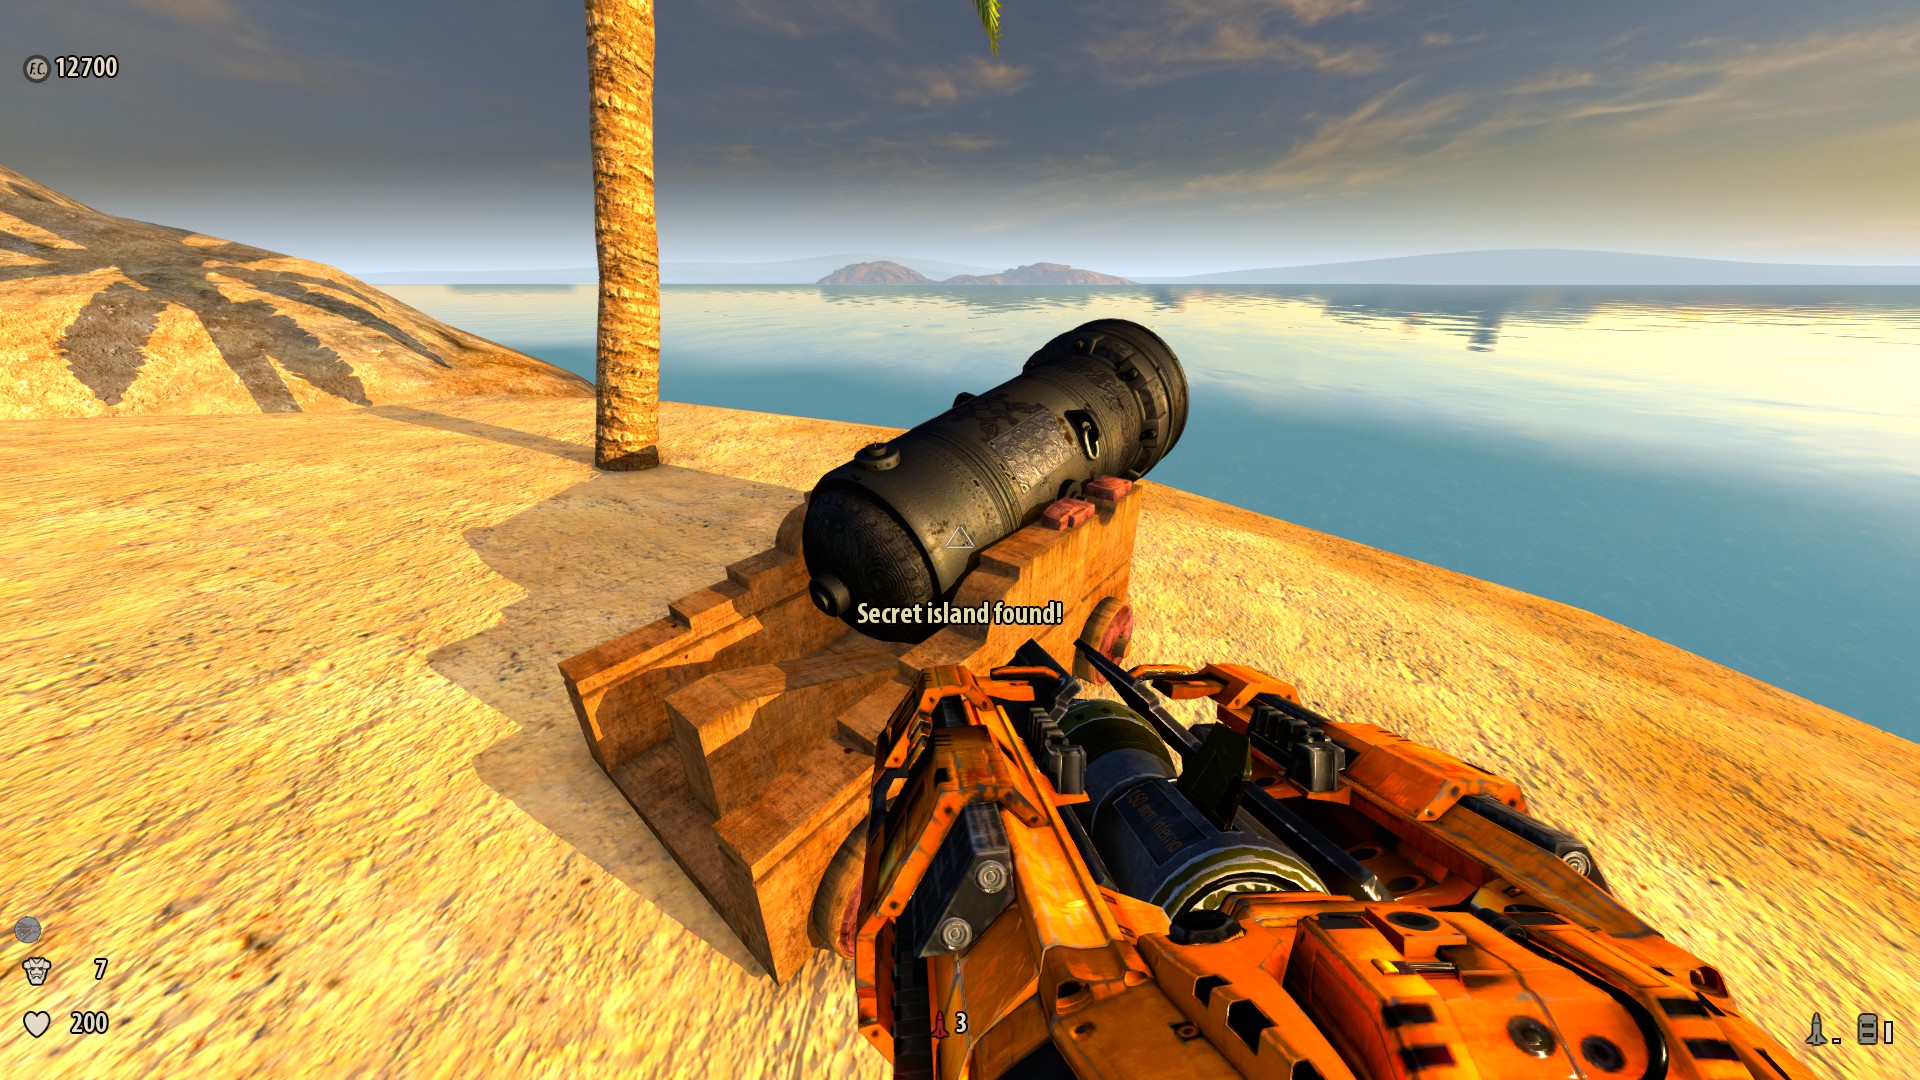
seven) On the correct side of the island, you'll see a smaller island to your e. Swim to and walk over it to detect a secret cannon, become backside it and printing the Employ push to trigger a humorous cutscene.


-
eight) At the temple on the opposite side of the starting area in the isle, expect up to the fouth cavalcade (the one adjacent to a broken department of the wall). You lot'll spot some rocket supplies at that place. Apply the Mutilator or the Rocket Launcher to bring down the cavalcade and collect the ammo.

14. Together Forever (4 Secrets)
1) Equally you start, go to the second building near the shoreline. Autumn down from the cliff next to it, and look at information technology to spot a cave. Walk inside the cave to discover a ladder, which you must use to climb upwards and into the business firm to find a secret cannon. From there, y'all can open up the house's door by pressing the Use push button.


-
2) Just after the ruins in the first area, go to the leftmost part of the mountain and follow the mountainside. When you achieve the first house, go backside it, and you'll spot a door. Destroy it with an Axe to discover a underground Frustrated Kamikaze.
-
3) In the military base of operations, nearly the tower on the right, is a large garbage container with crates near information technology. Bound on the crates, and from in that location to the container. Expect upwardly from in that location until y'all run across a ladder, press E to use information technology and climb up inside the tower to option up a secret Minigun.
-
4) From the outset tomb, follow the Cliffside to the corner to find an entrance to another tomb. Go inside to find a "Hush-hush Legend of the Animate being", with a miniature Khnum in it. (the hugger-mugger is between the two tombs)
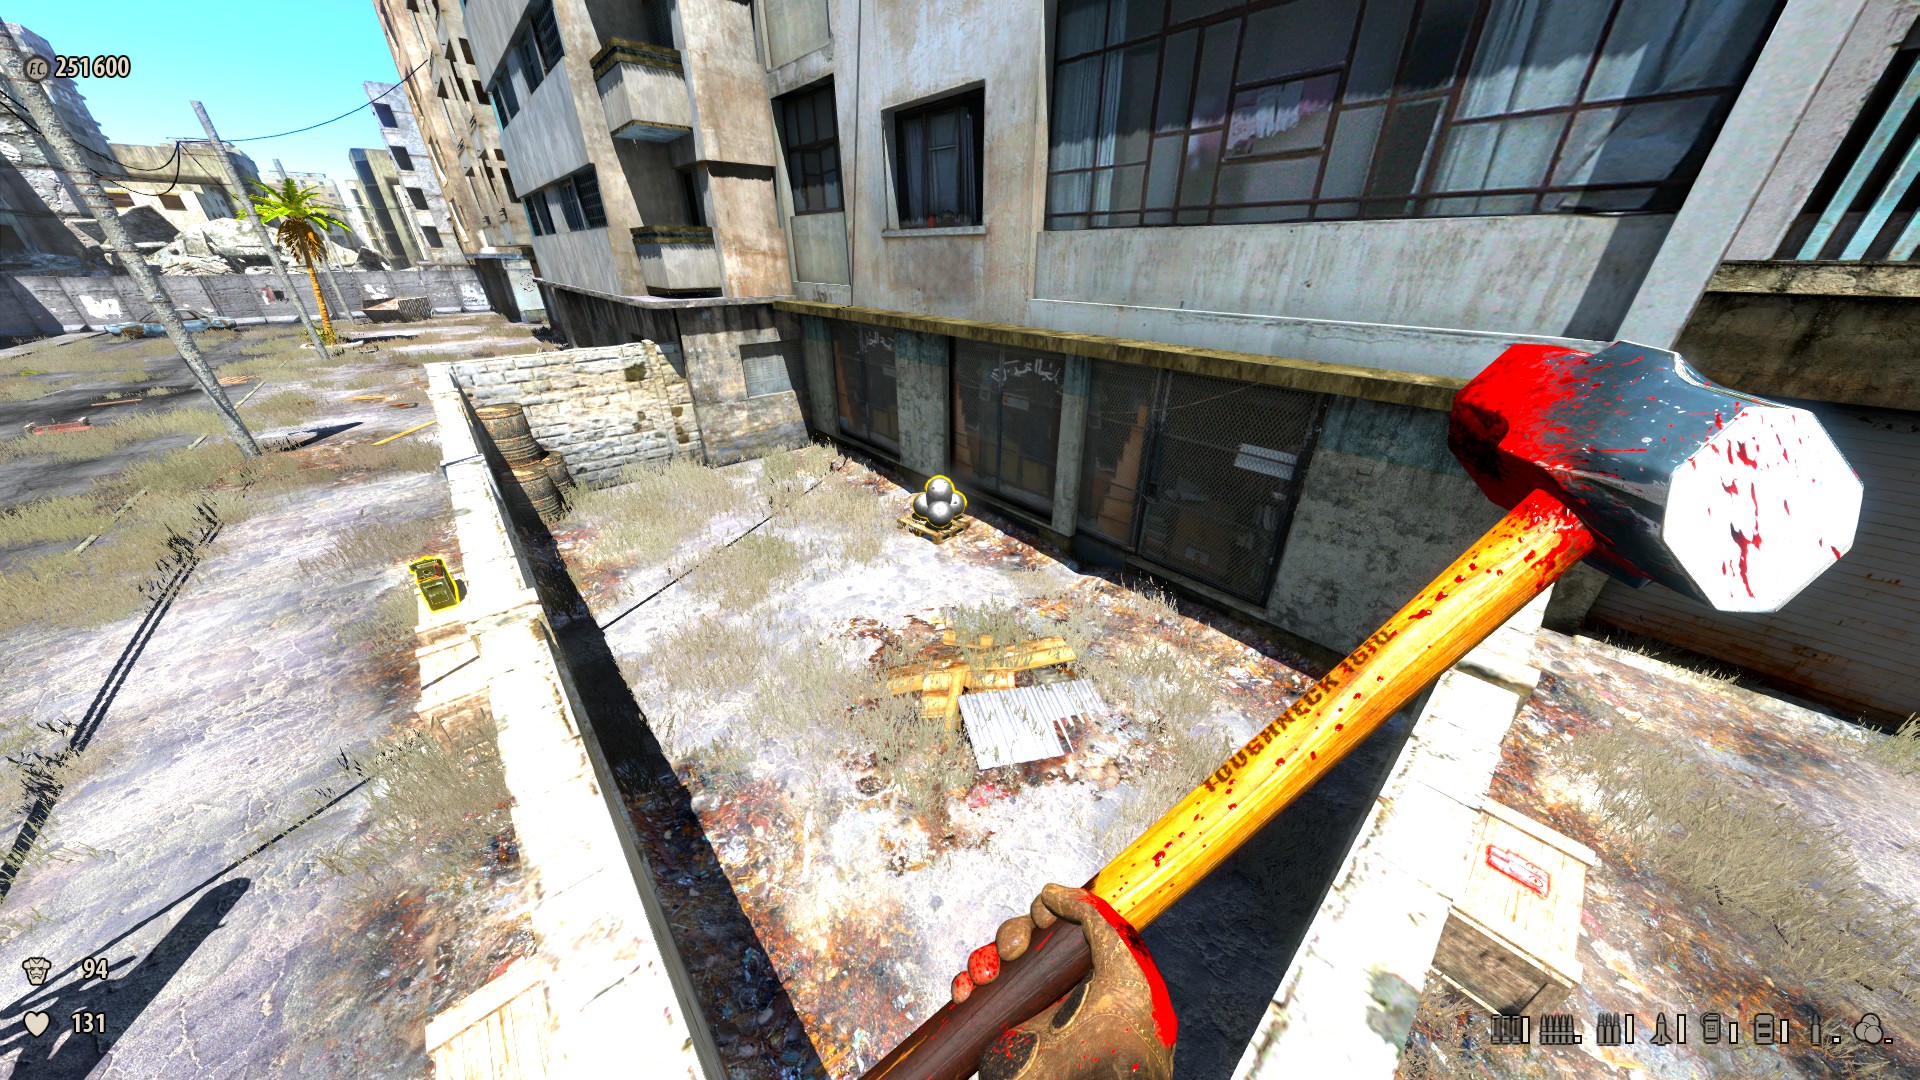
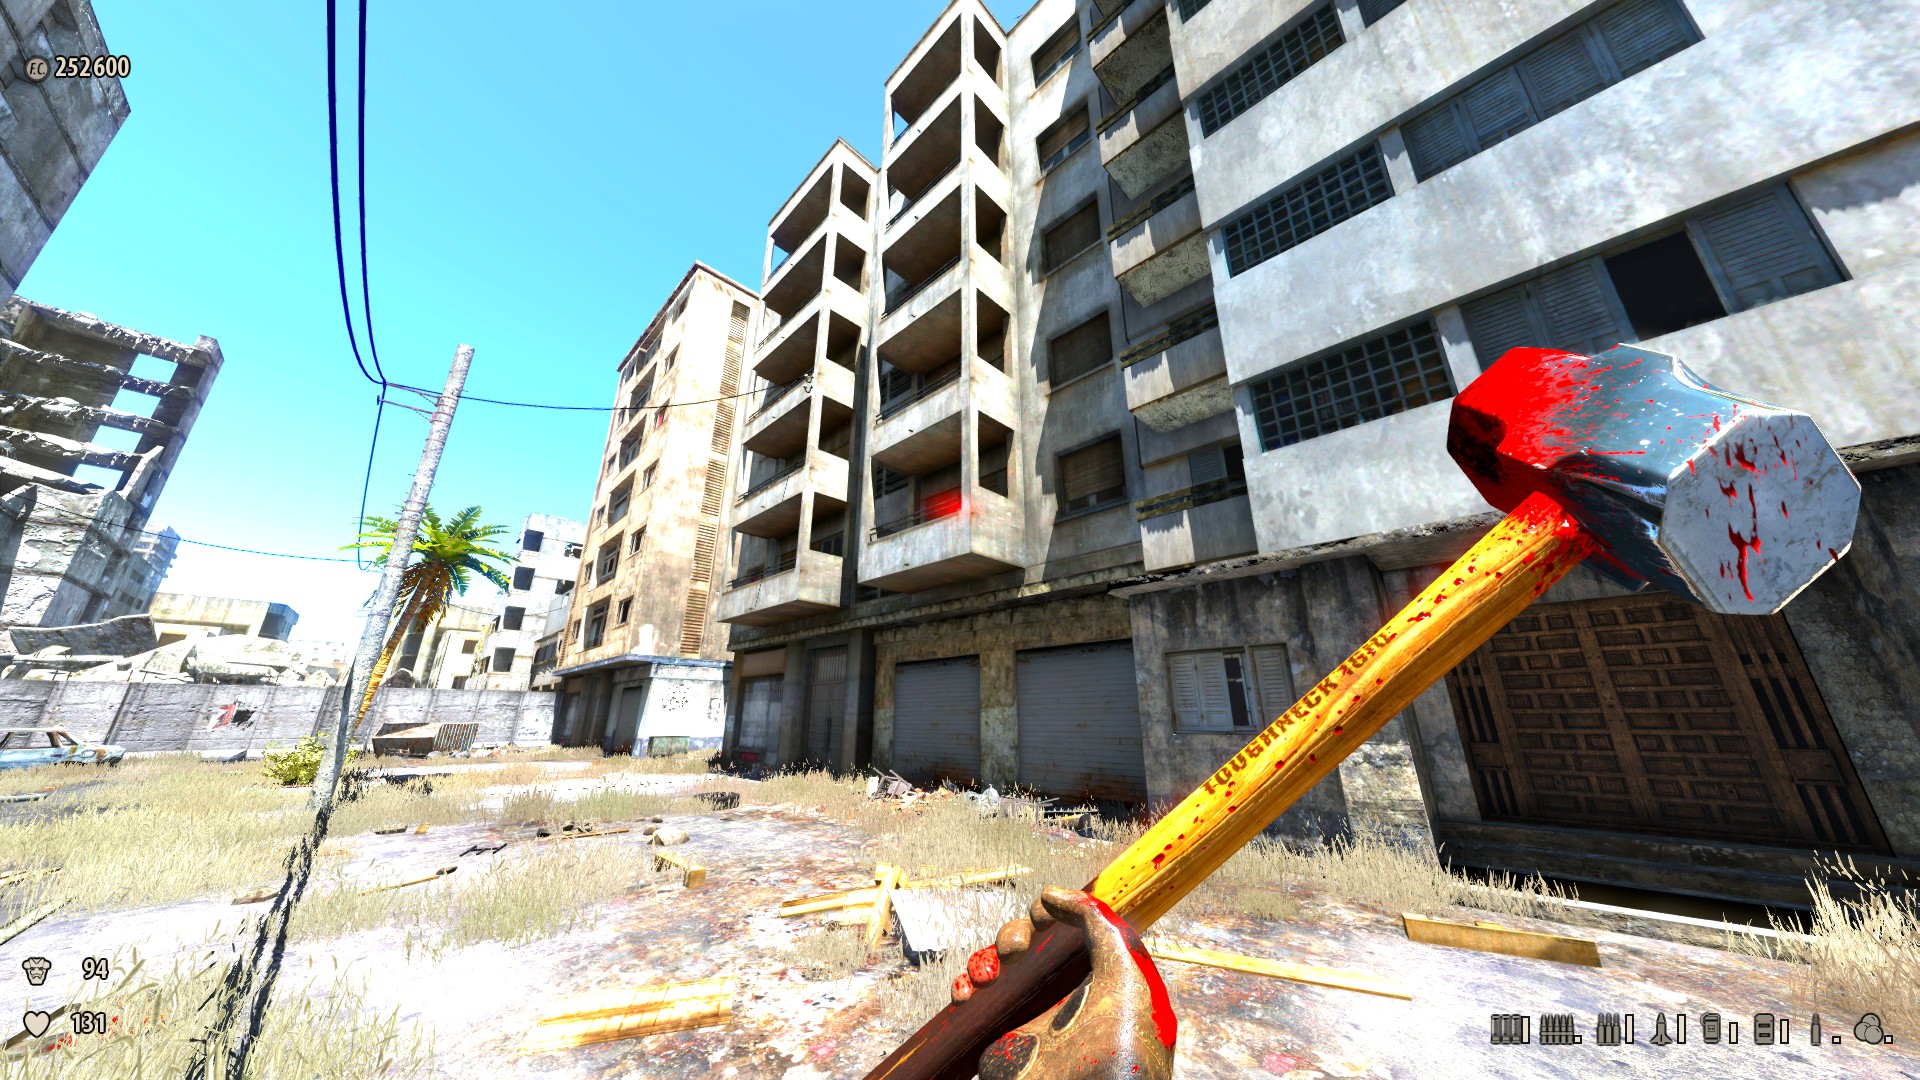
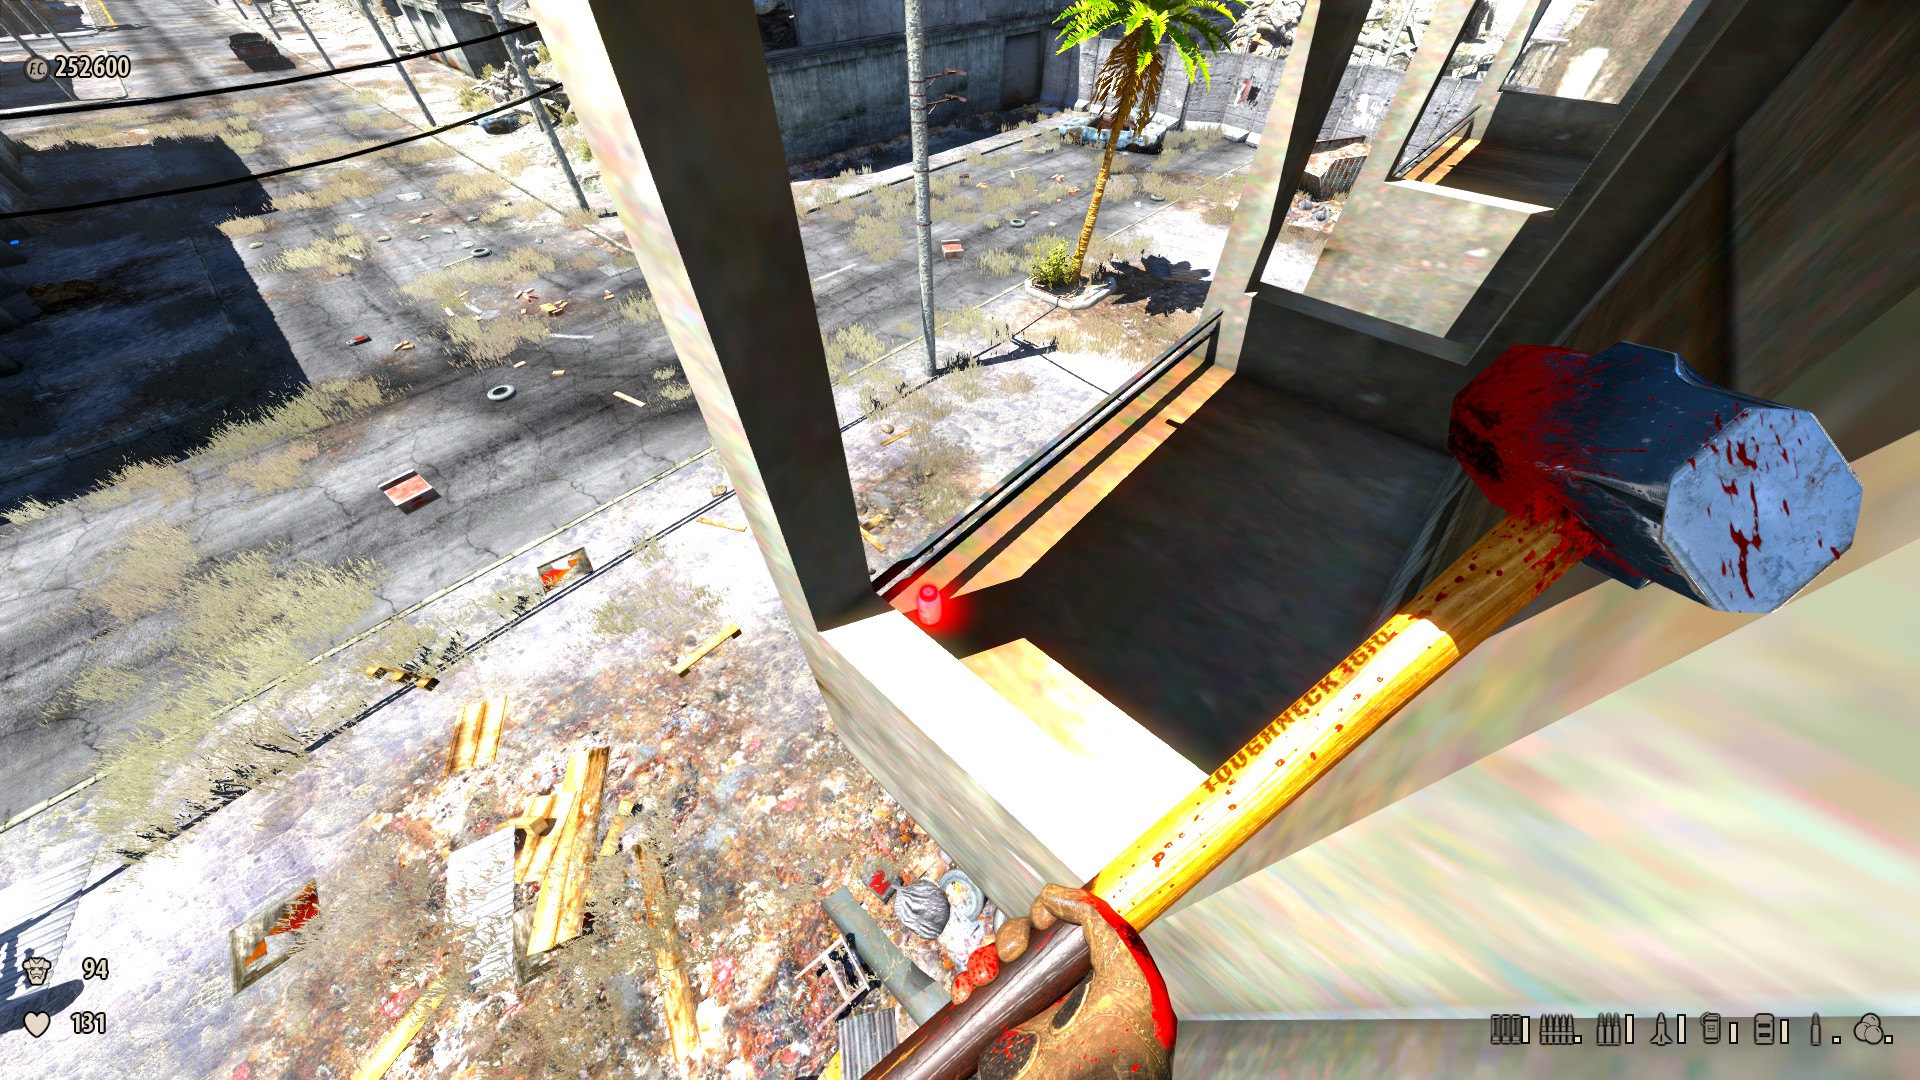
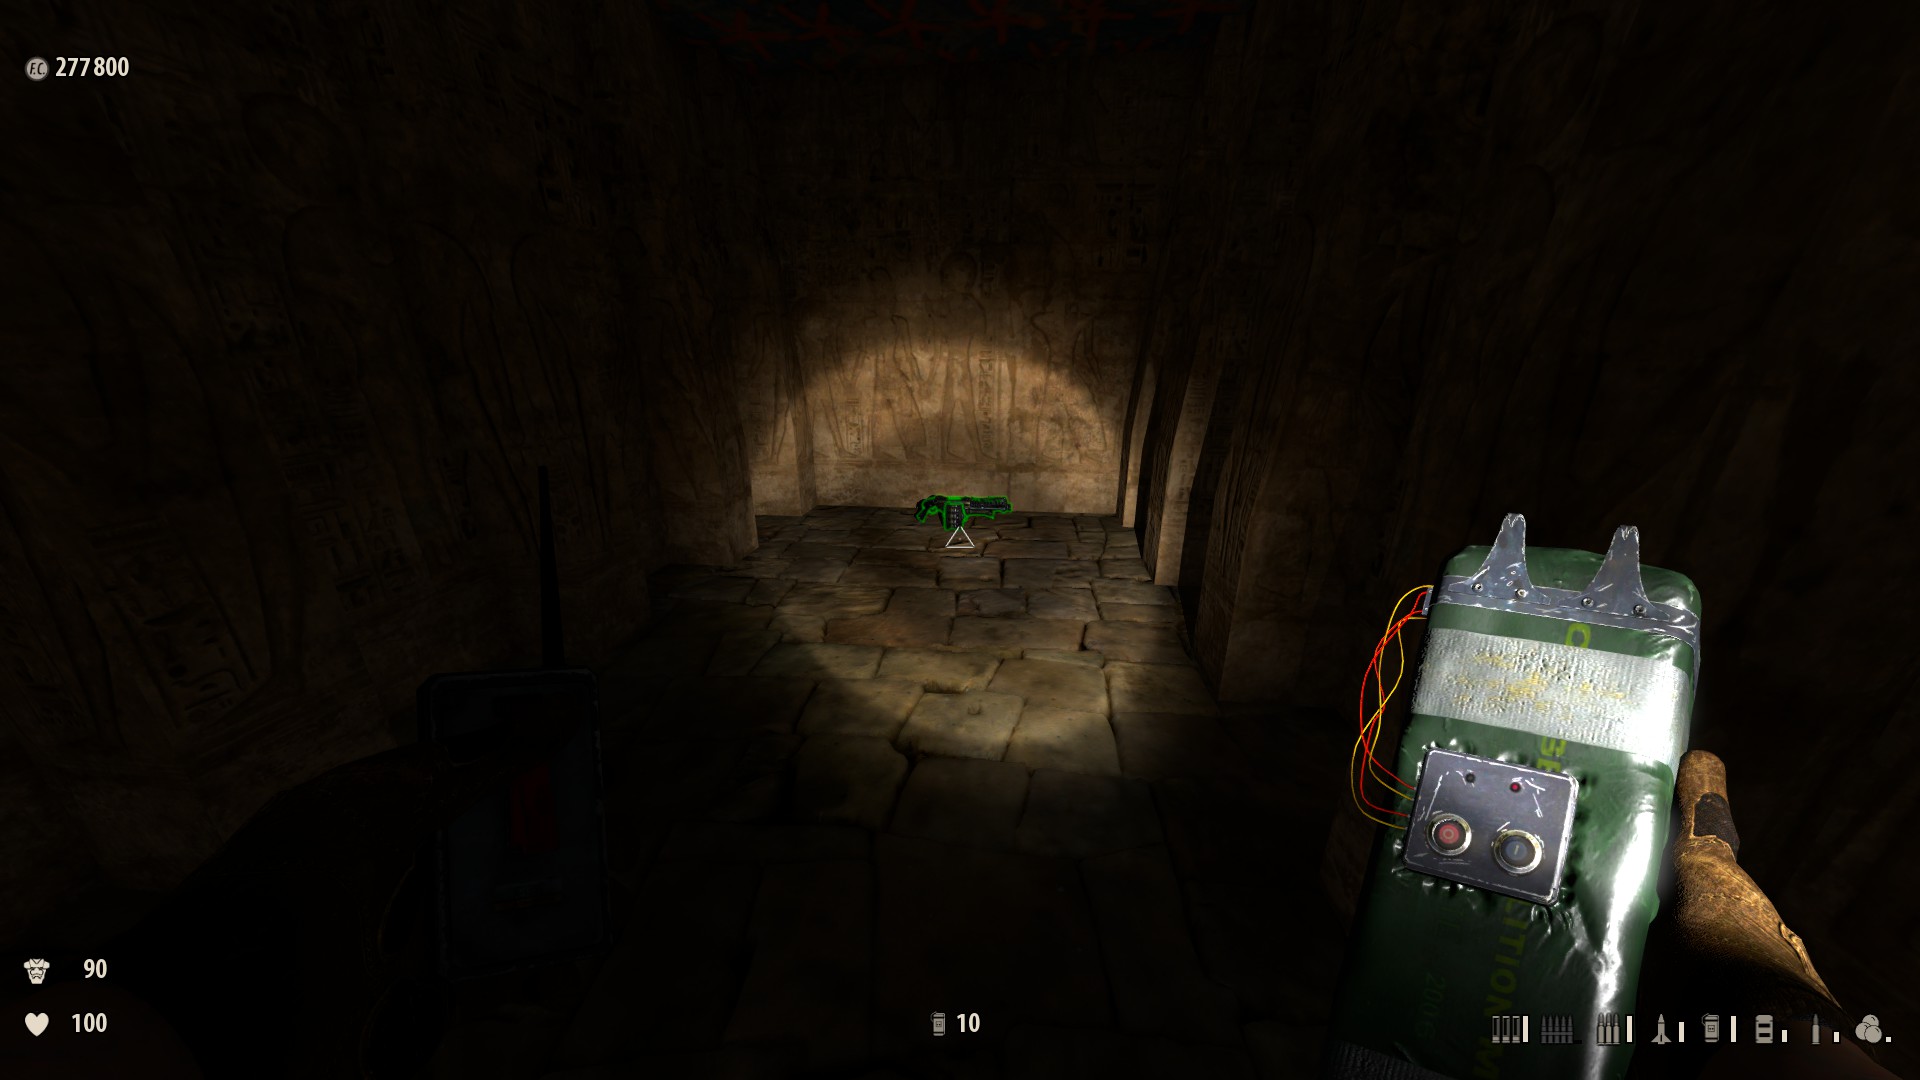
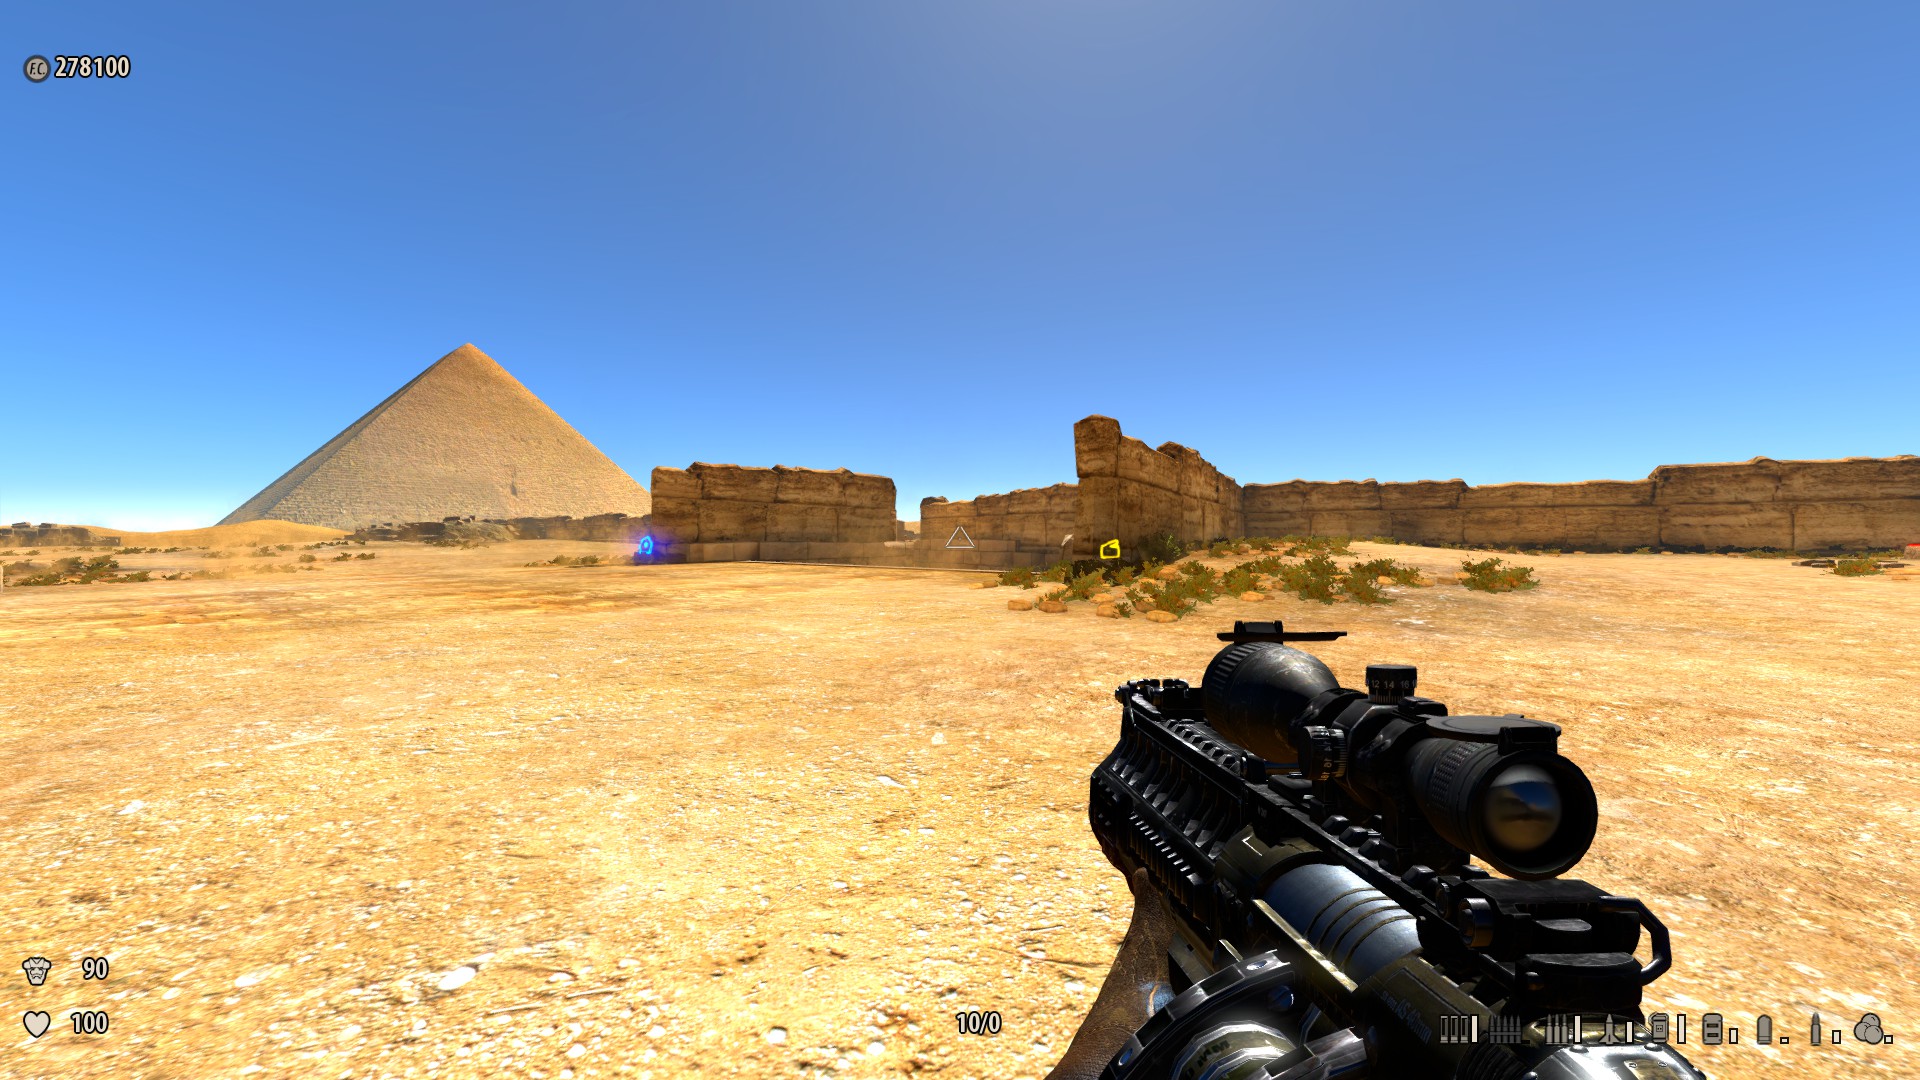
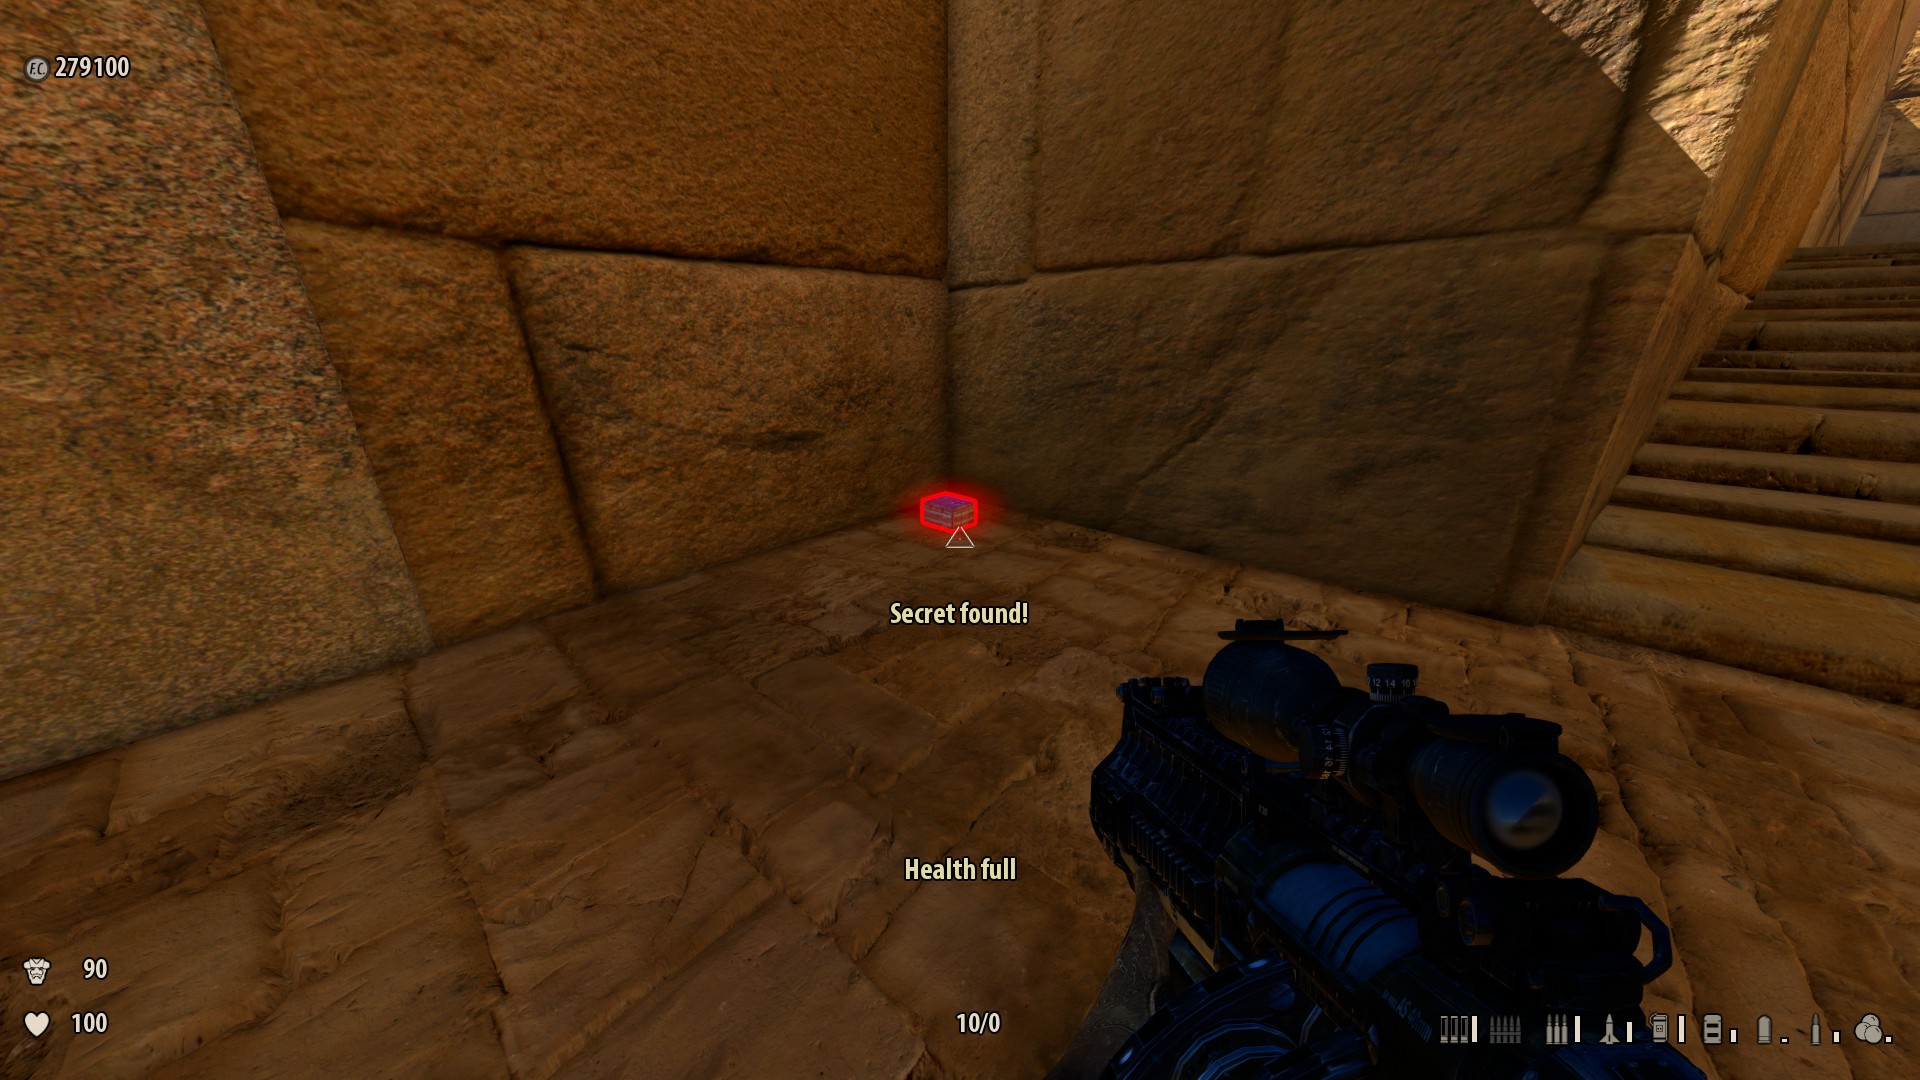
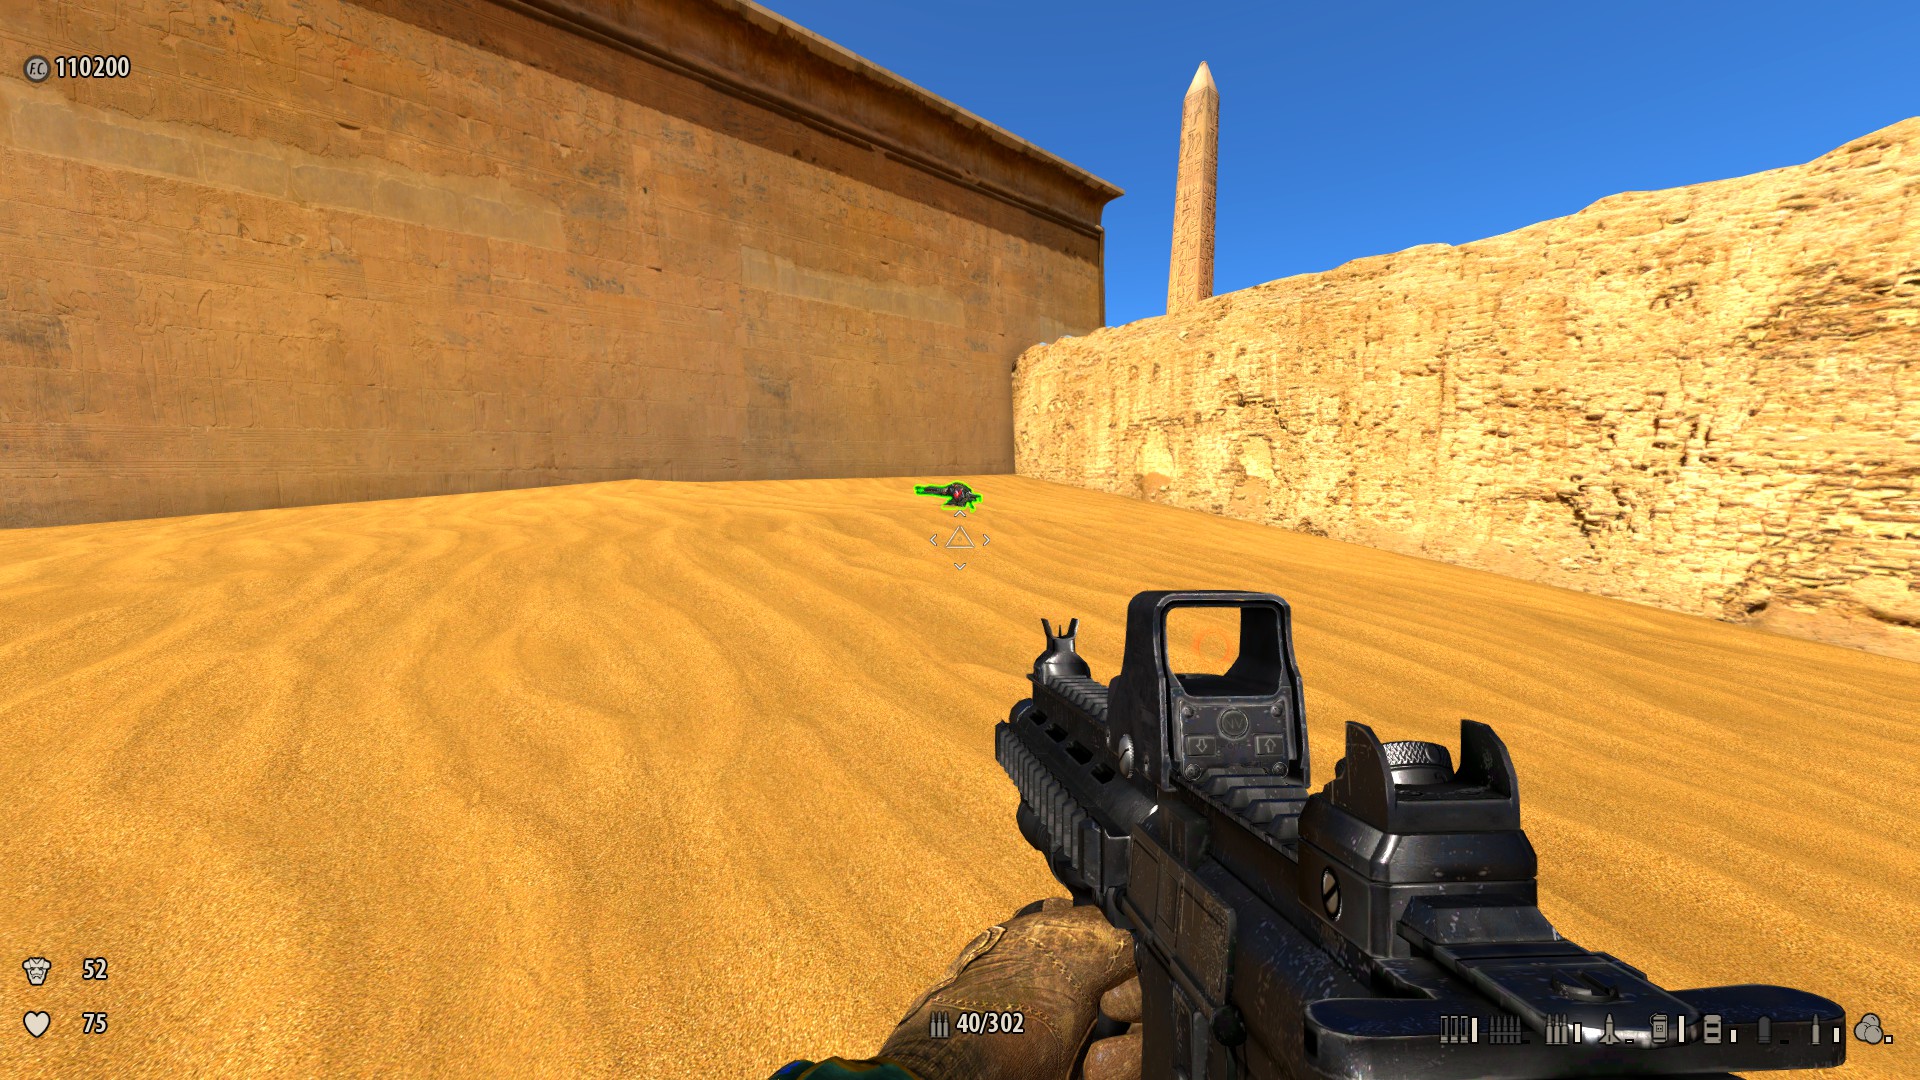
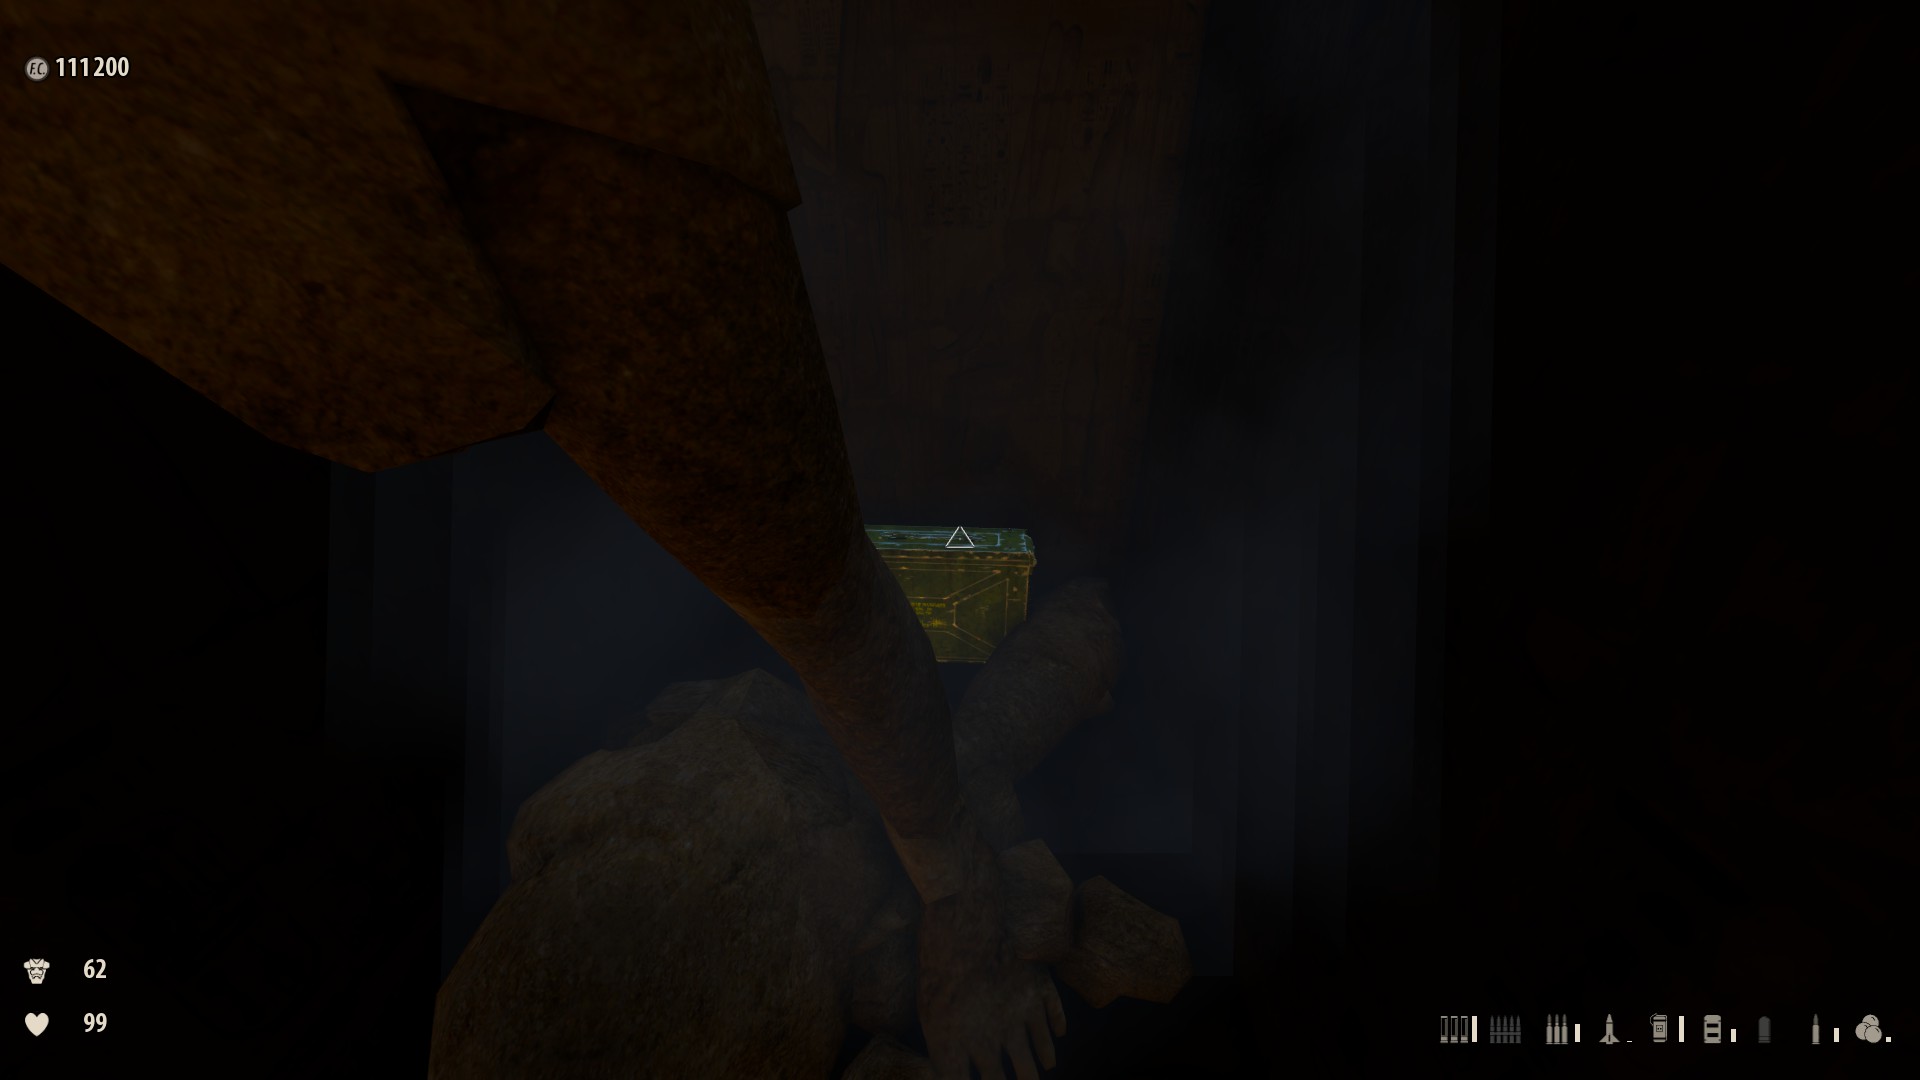
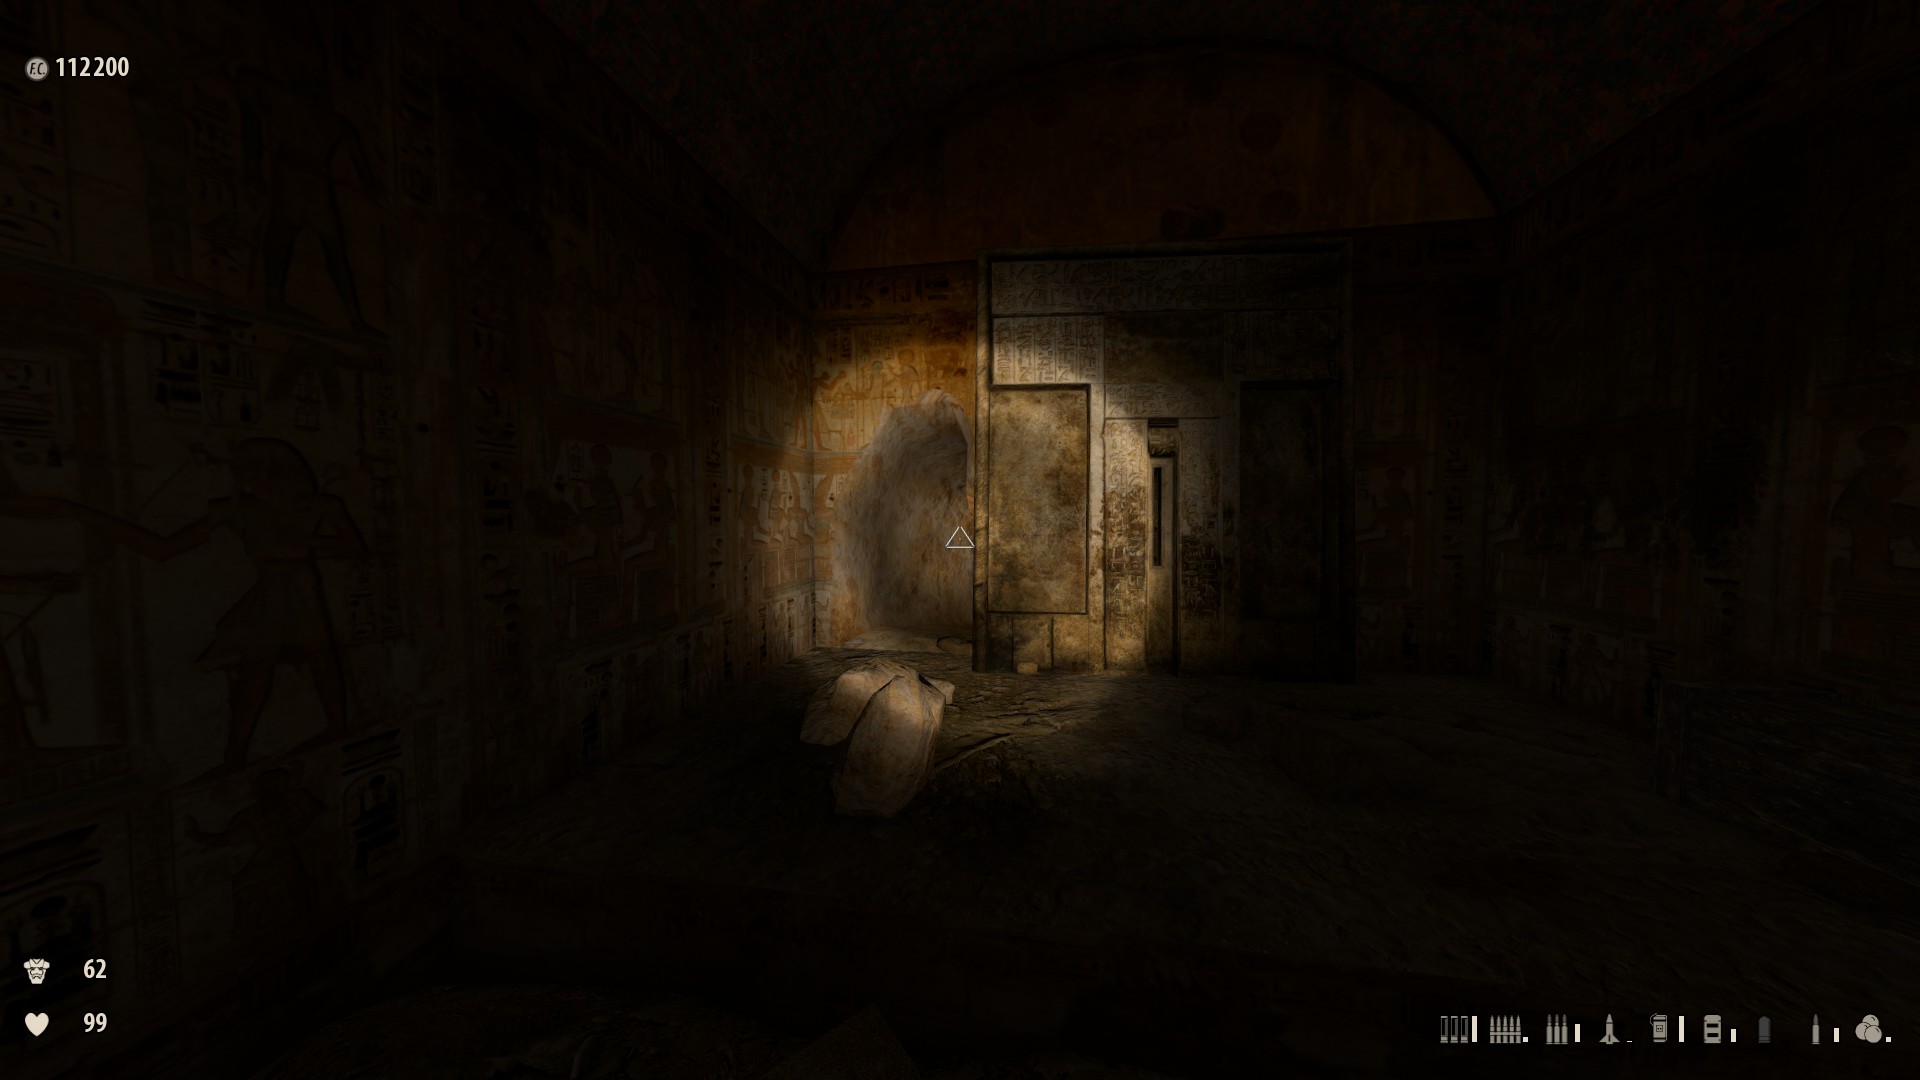
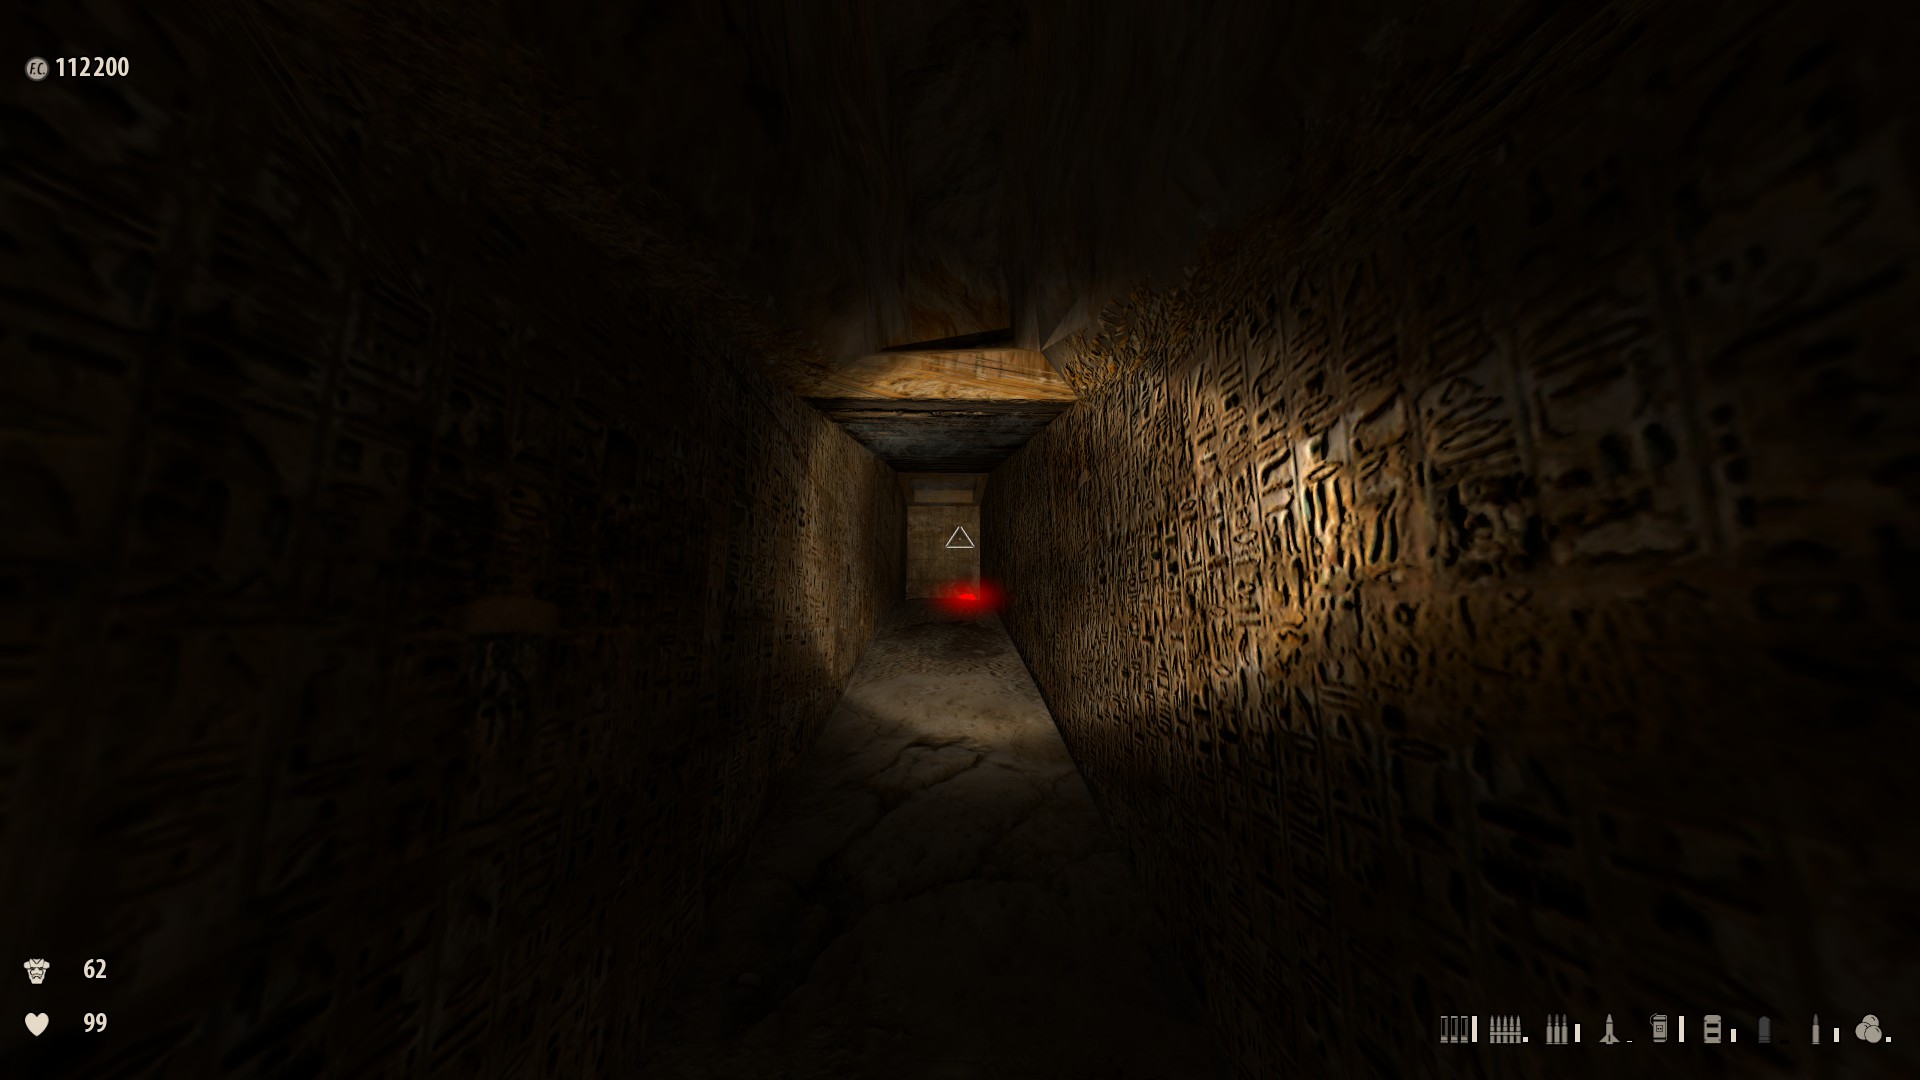
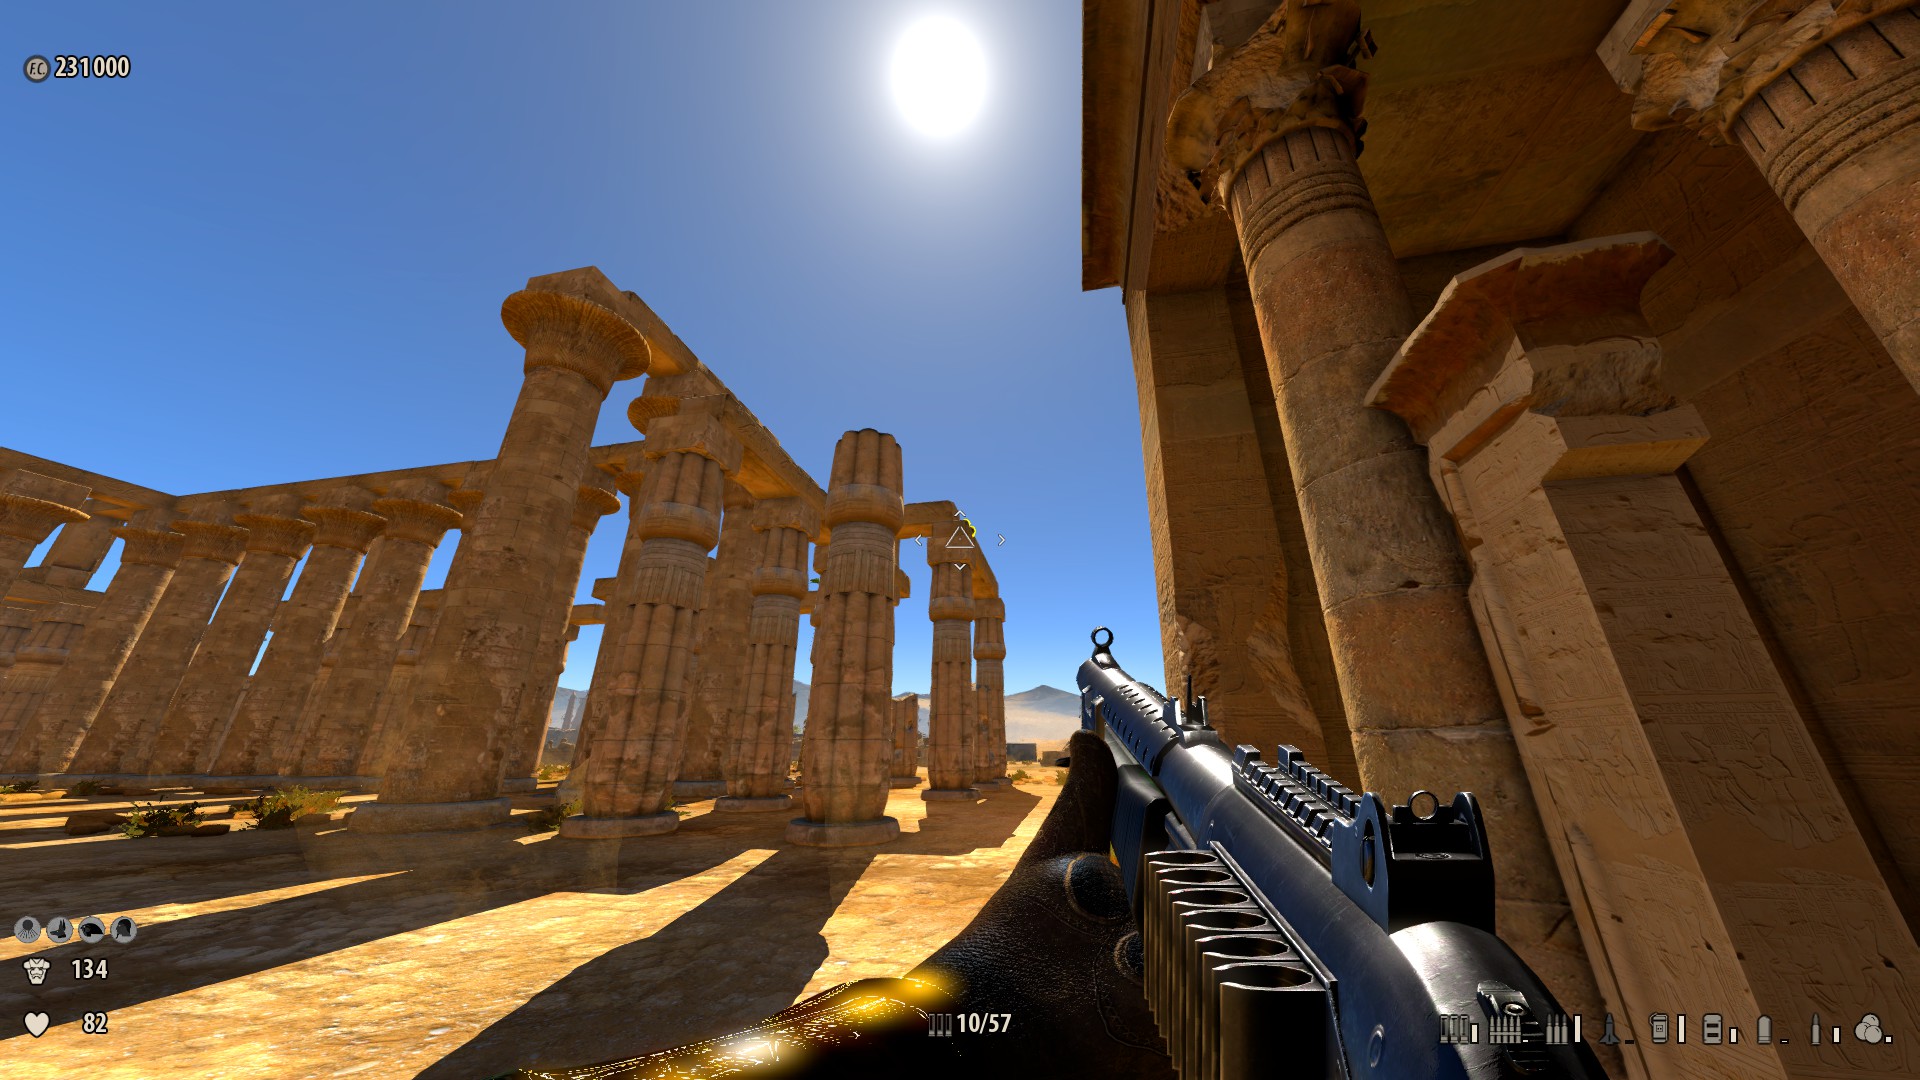
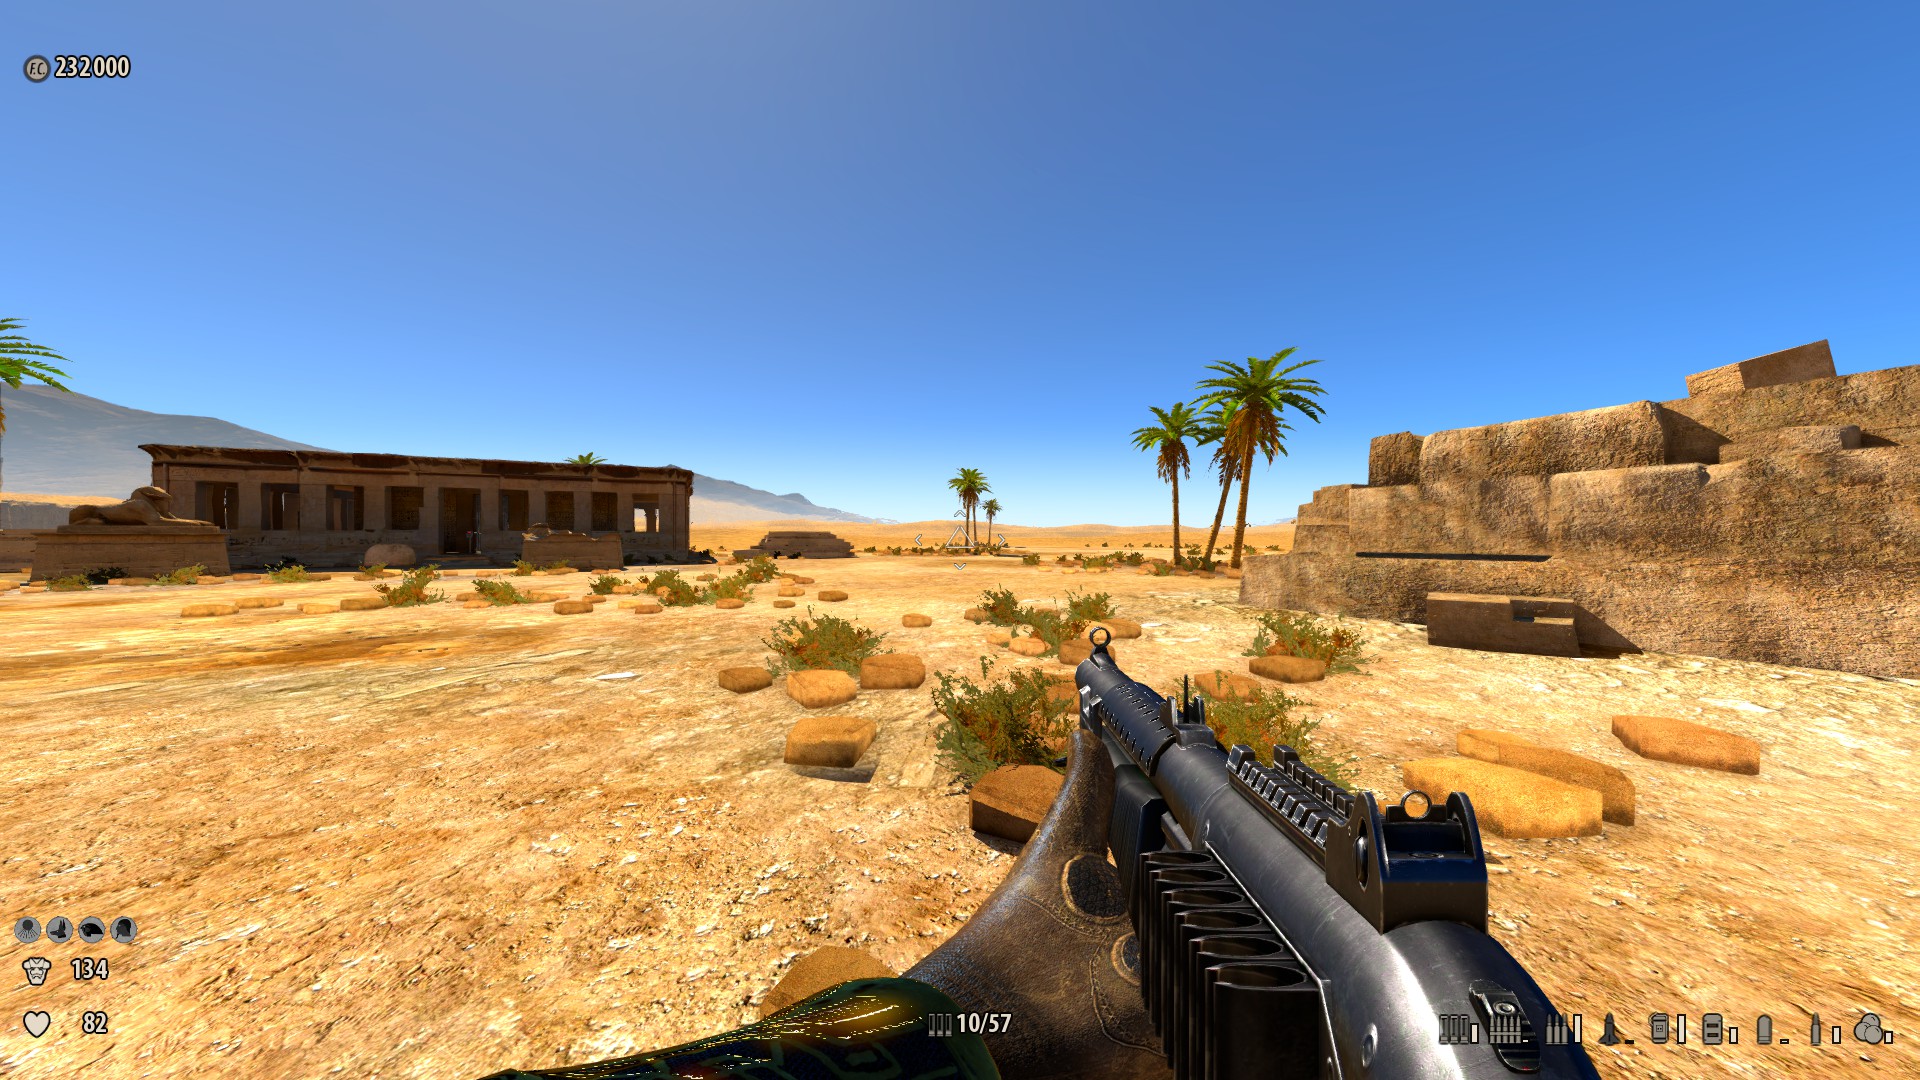
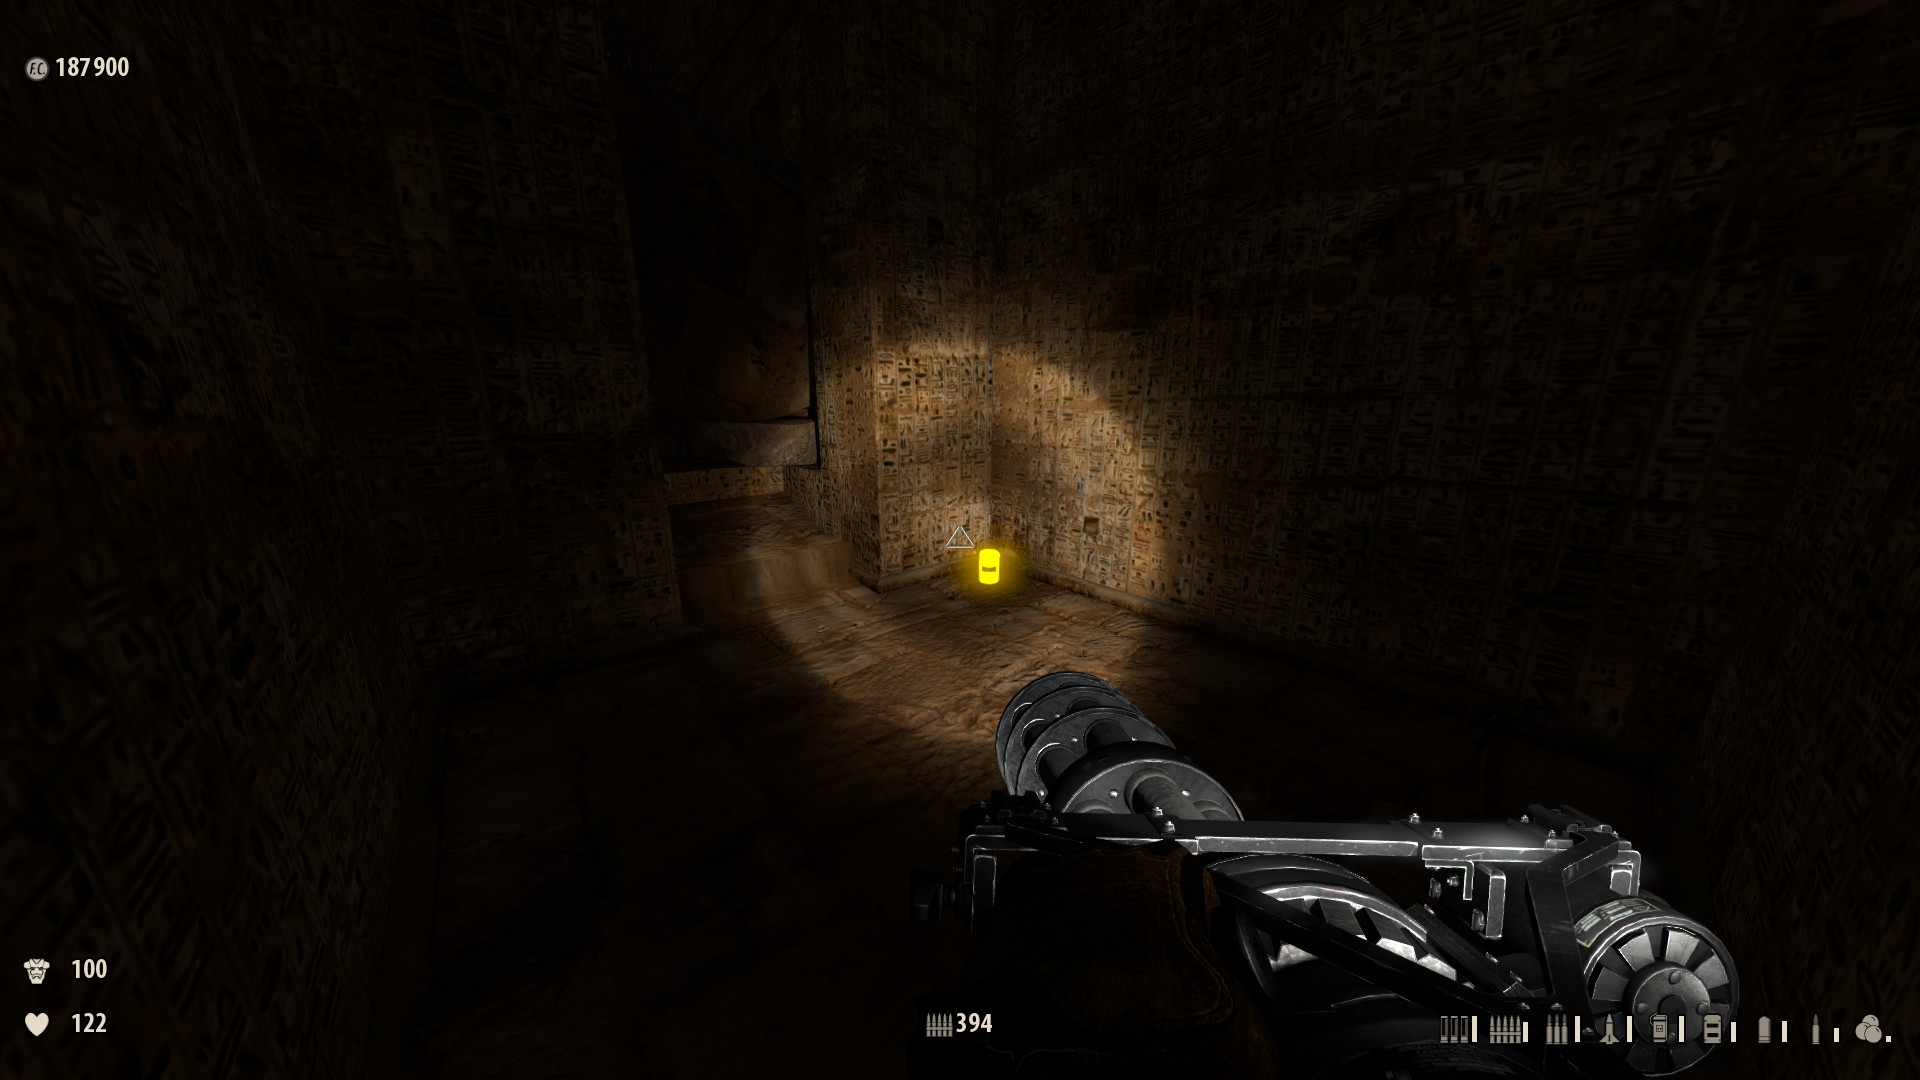
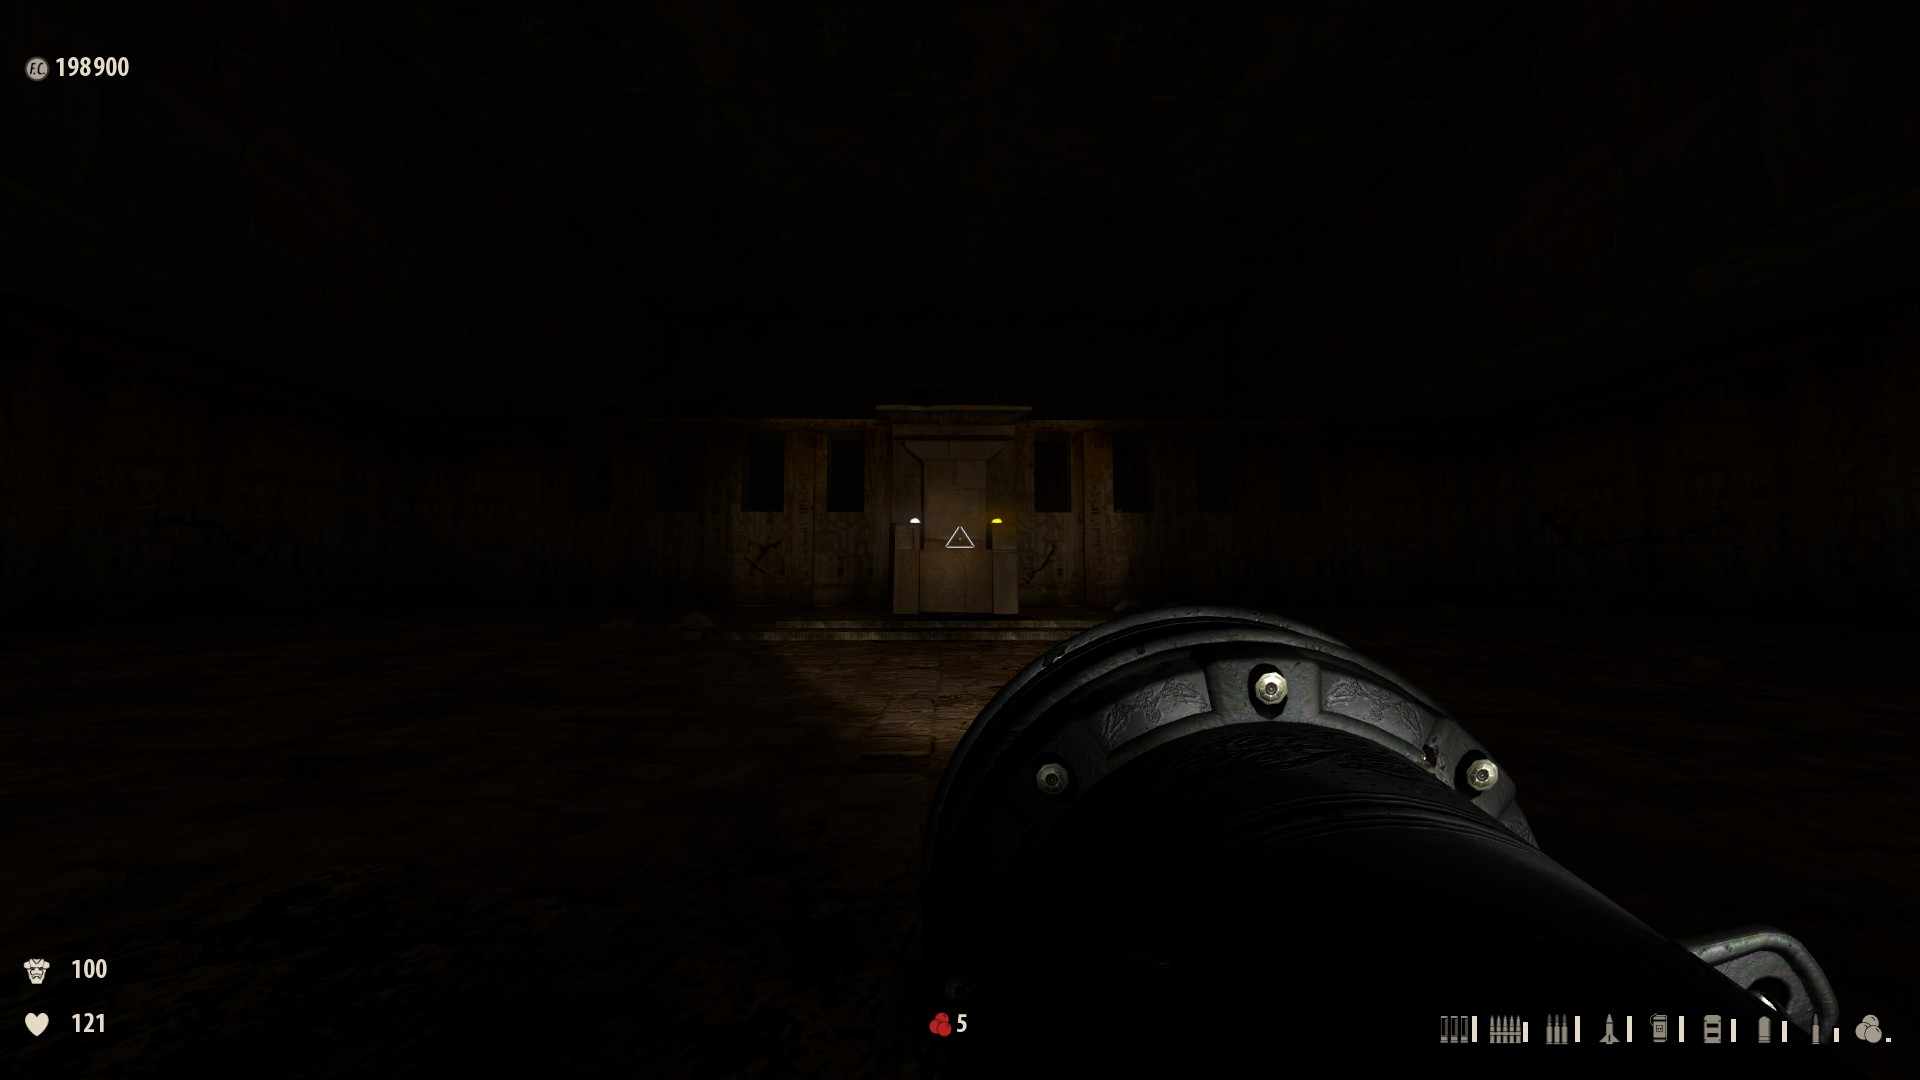
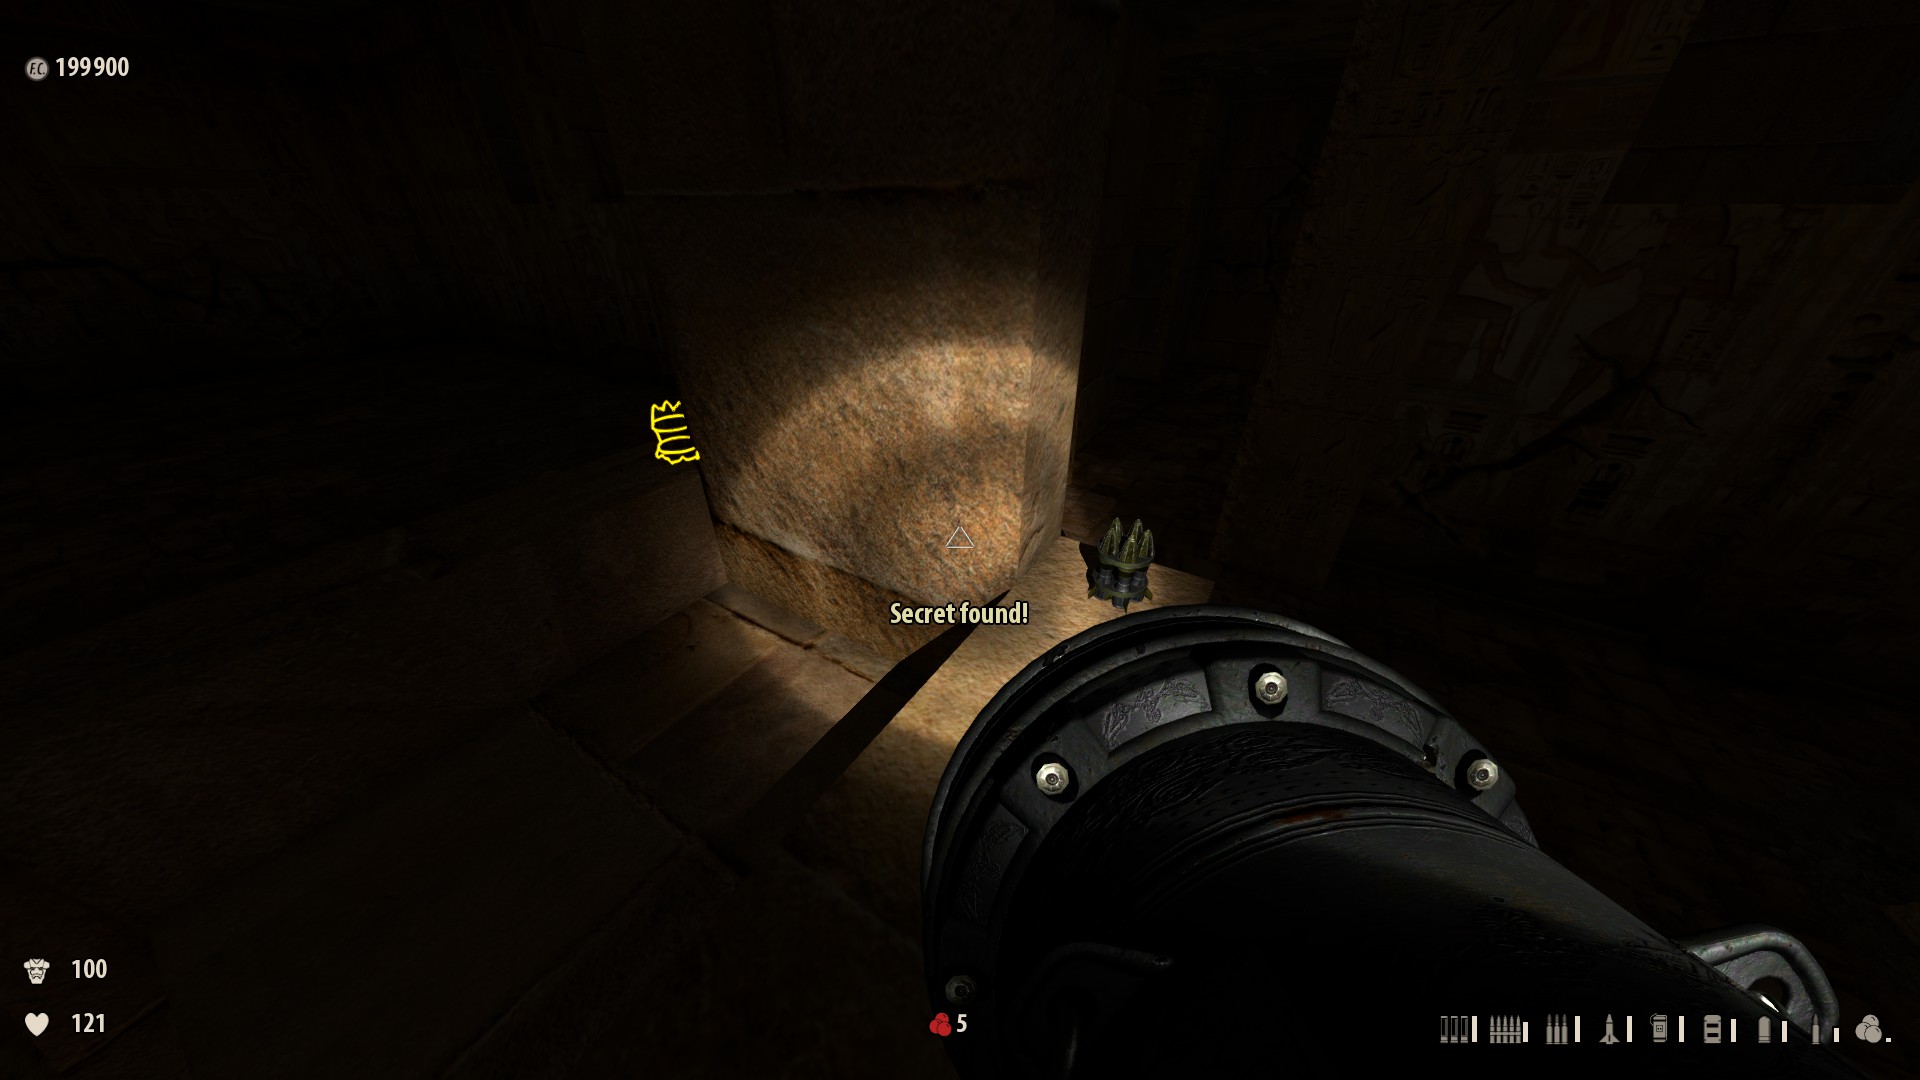
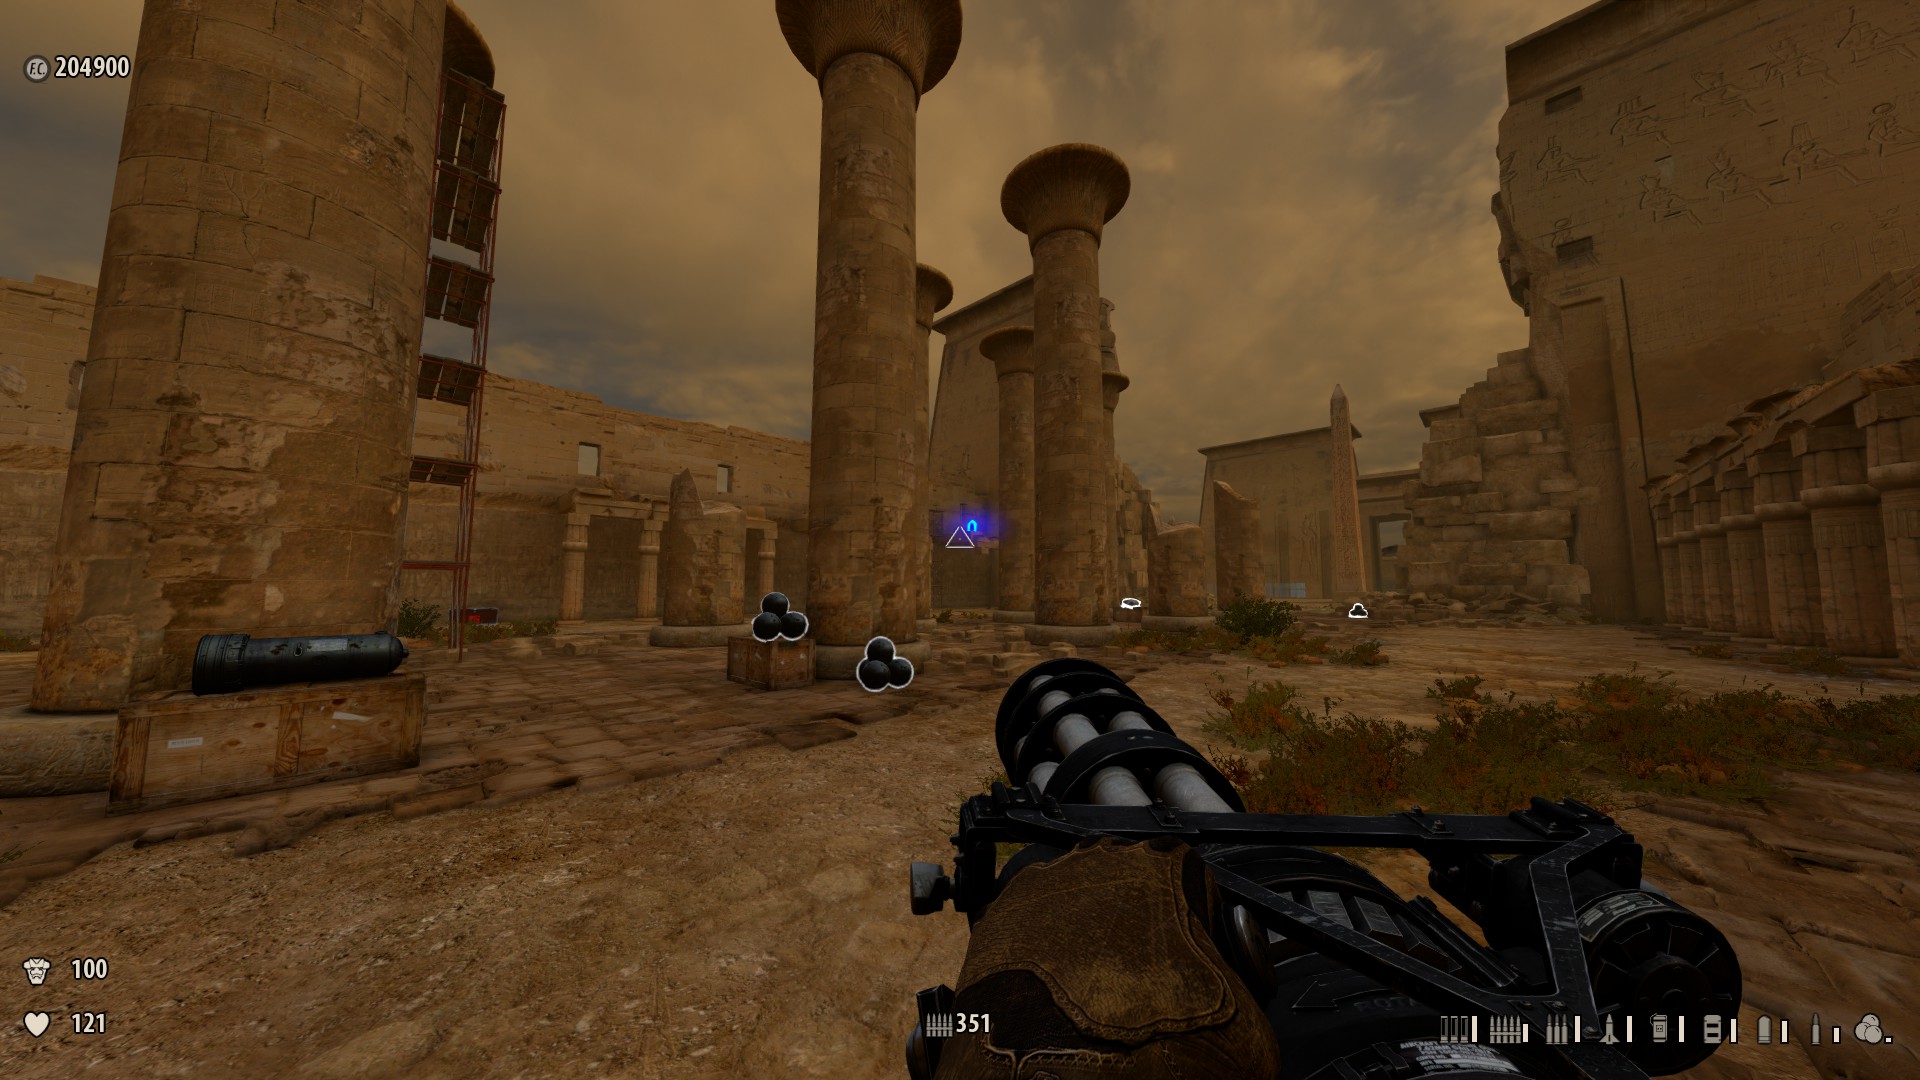
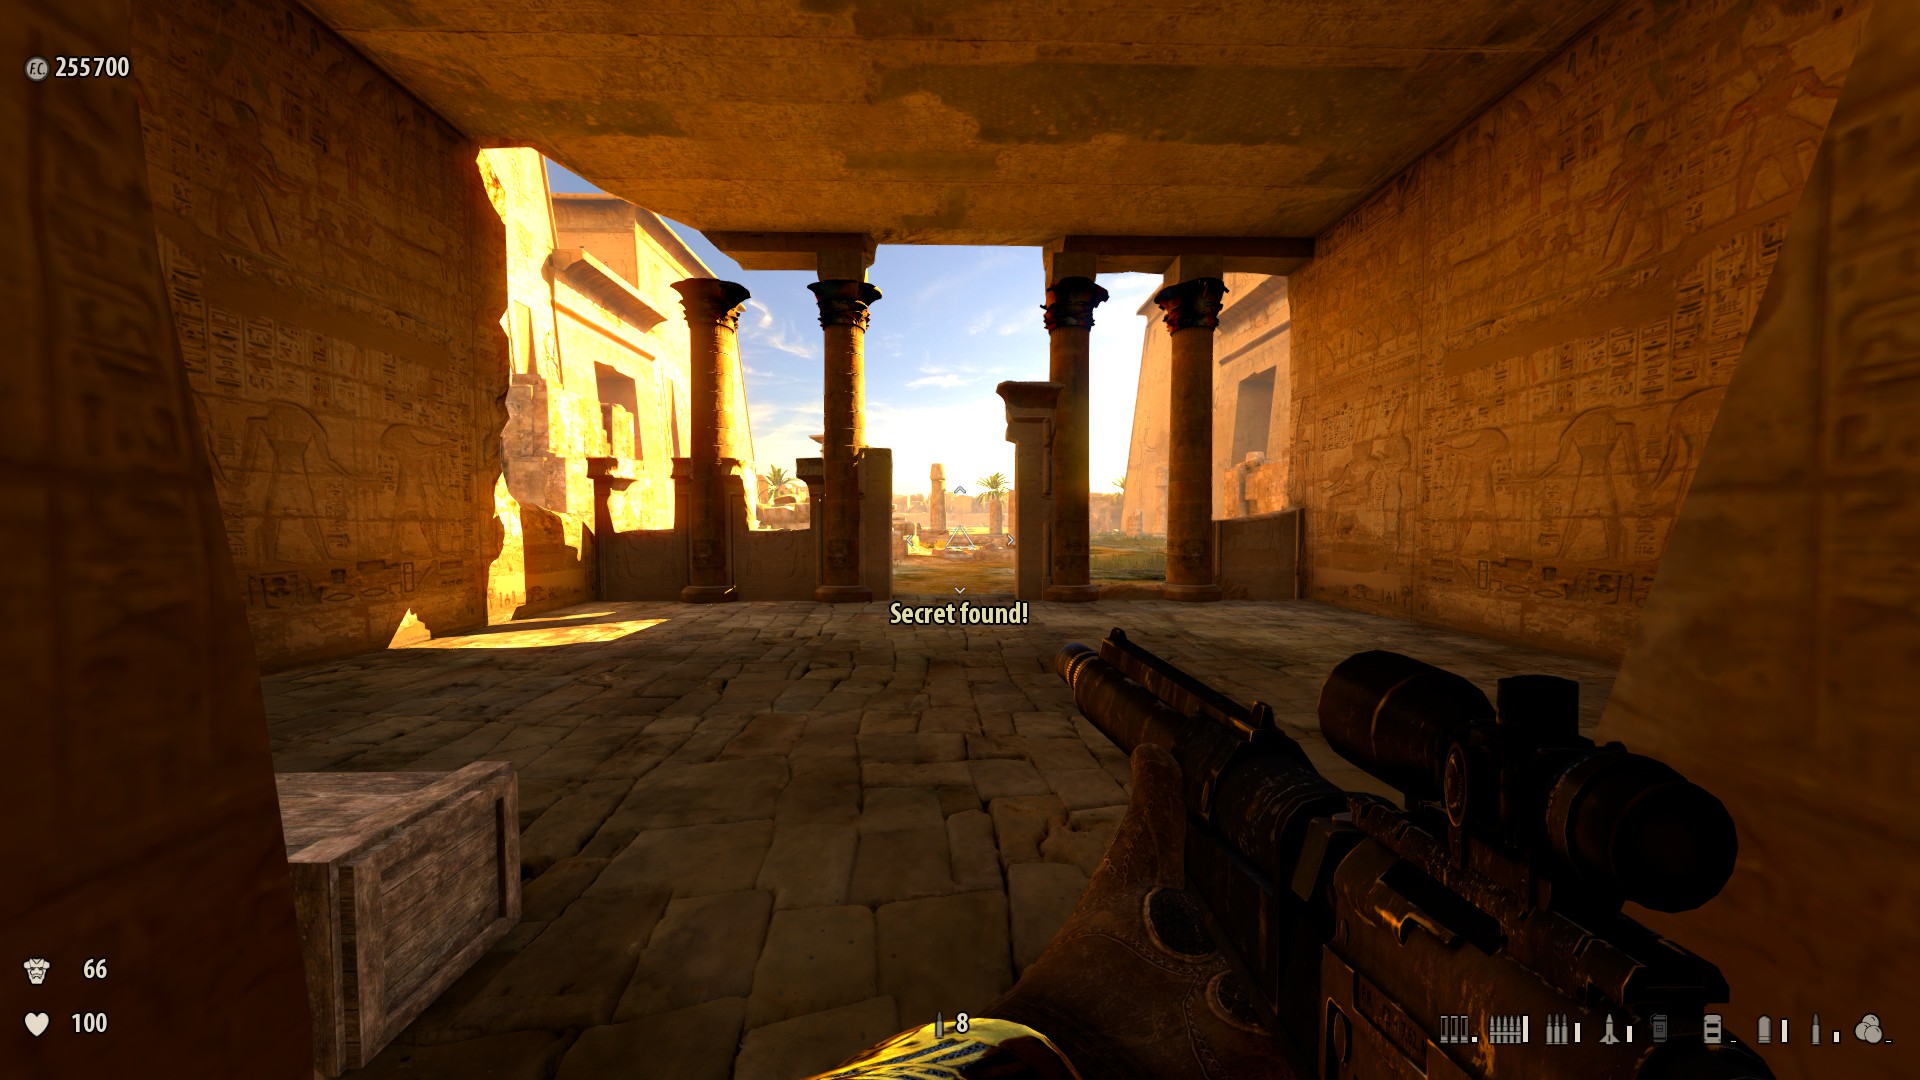
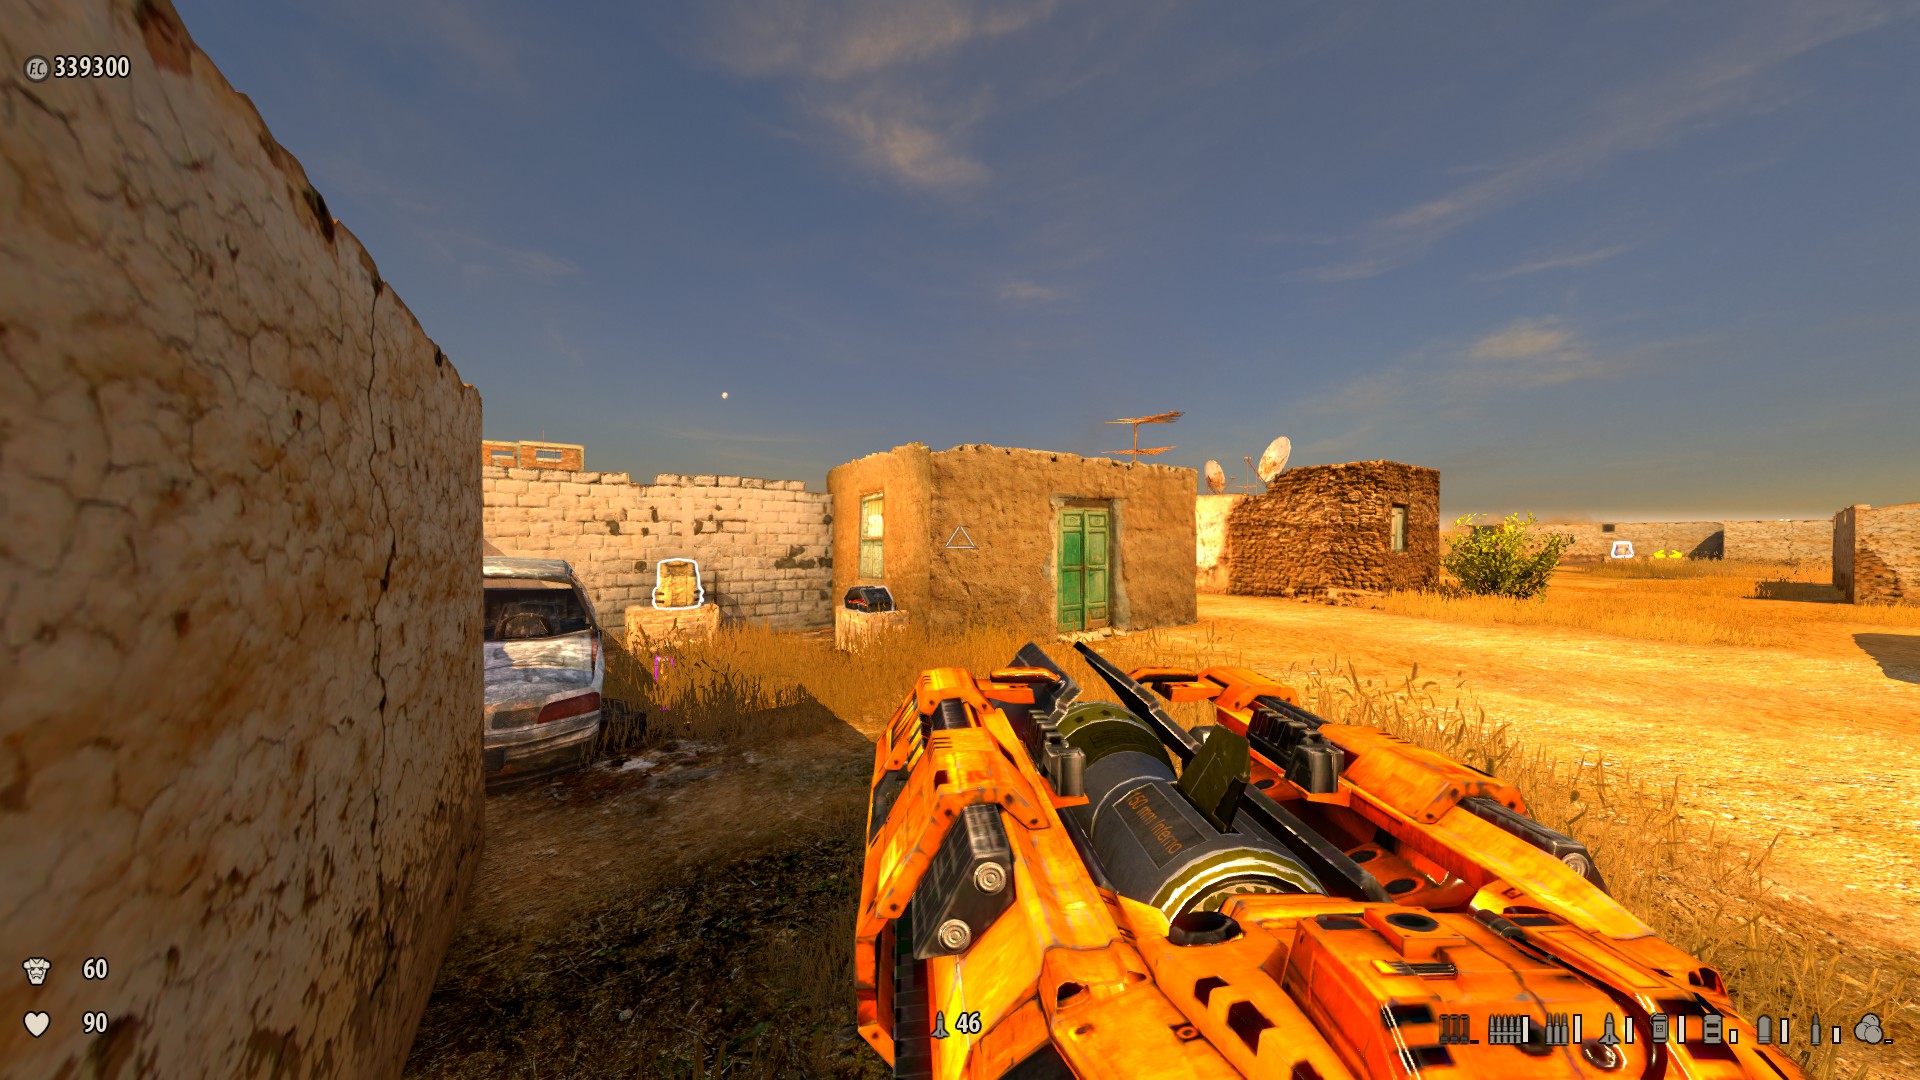
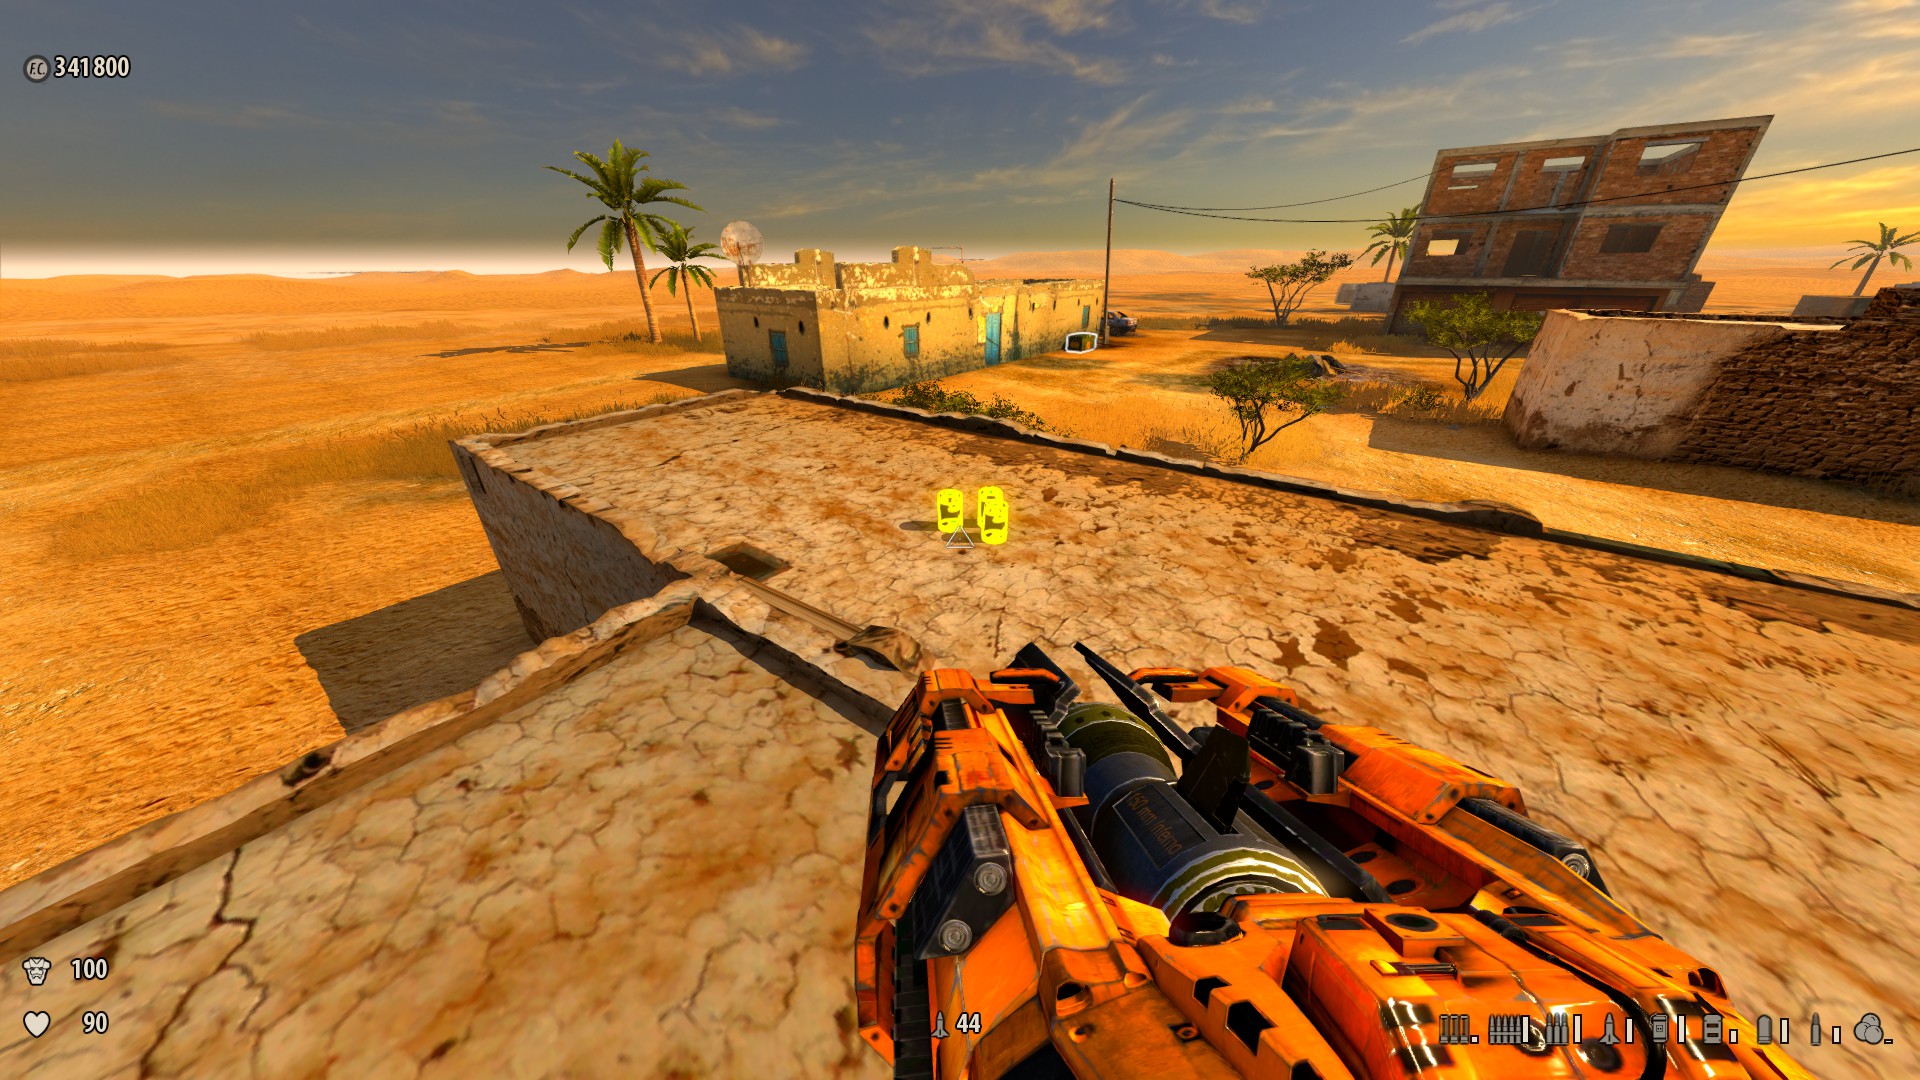
15. Born Once more (seven Secrets)
i) At the starting area, dive into the pocket-size pool all the way downwards to notice a Minigun.
-
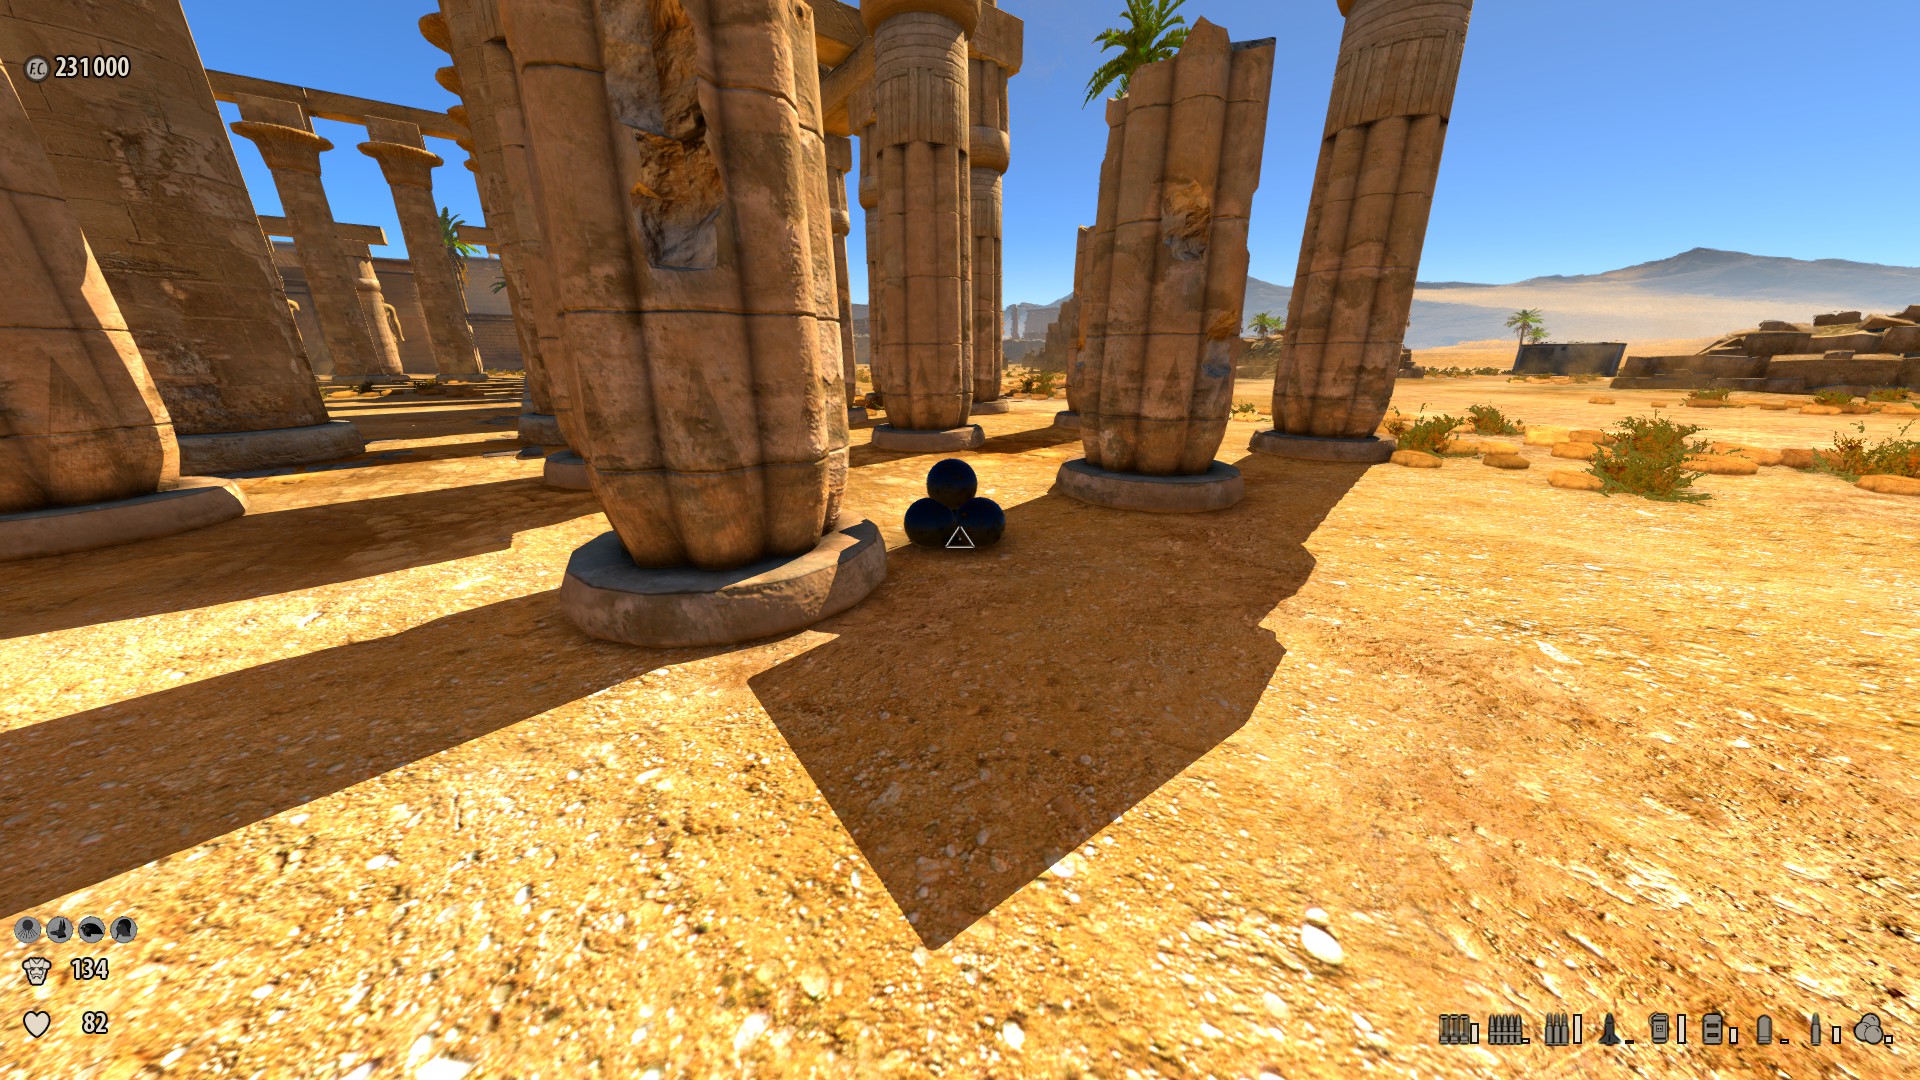
2) Every bit y'all exit the starting cave, look to your right, y'all will notice an enormous stone colonnade. Afterwards acquiring the jetpack, fly over behind it and walk/fly up to the tiptop to discover a cannon with some cannonballs.
-
three) In the area with the jetpack, behind some rocks over the pocket-sized ruined temple lie some items.
-
4) At the first highway you see with the Scrapjack, Arachnoid and/or Reptiloid on it, the leftmost/uttermost terminate has a locked gate, and a panel to the left. Later on acquiring the keycard, use the console to open the gate and collect some supplies.
-
v) At the cease of the level, earlier entering the temple with the control room (and starting the Scrapjack Boss fight), get all the way to the end of the valley behind the temple. Inside some bushes is some armor. (You can practise this after you've started the final boss fight as well, simply it'south easier to practise so before.)
-
6) After sliding down the pipe and losing the jetpack, when you hitting the footing, shoot the Kamikaze running right to left on the top of the offset bridge before he teleports out. Then keep towards the second bridge, where yous will trigger the Revenge of the Kamikaze hugger-mugger and go attacked by several more Kamikazes.
-
seven) At the concluding area, in the middle, y'all'll be betwixt 2 pylons with rubble in front of them. Jump on the rumble of either of the pylons, if you tin't jump to the left, jump to the right. If you can't jump on the right, jump to the left. Repeat the process until you have reached the summit and press a switch. Echo this sequence for the reverse pylon and a teleporter will appear between them on the footing, which will teleport you back to the starting surface area, where an enormous Kamikaze will be standing in front of you, then apace charge at you. Kill him to register the secret.
(Other Secret Guides Connected)
Source: https://steamcommunity.com/sharedfiles/filedetails/?id=231547960
0 Response to "Serious Sam 3 Bfe Secrets Born Again Where Is the Final Key"
Publicar un comentario